


 My Orders




790403419810 Kenmore Range - Overview

Enter a part description. DIY Heroes keep it simple, eg. "belt" or "pump".
Search filter:
Clear Filter
Your search term must have 3 or more characters.

No Longer Available
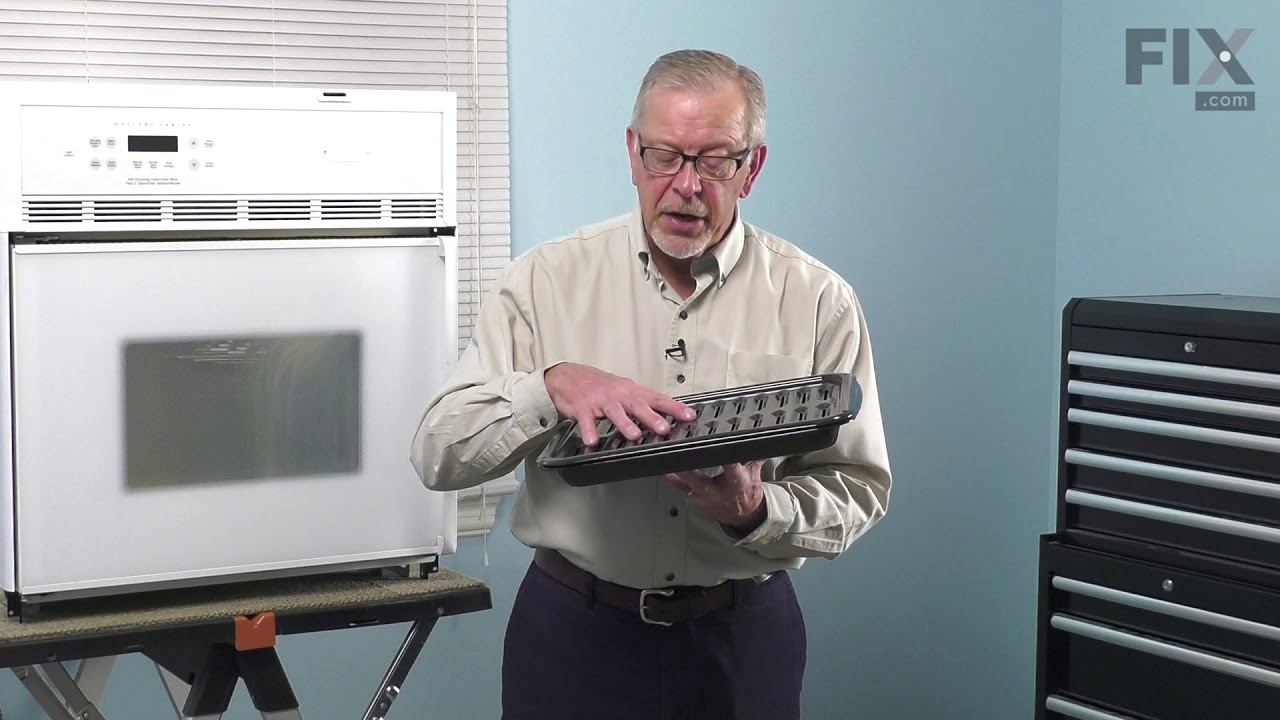
Broiler Pan Grate Insert
Part #5304494997
This OEM broiler pan and grate insert are cooking accessories used in your oven to broil food. The pan catches drippings and prevents them from falling into the appliance, while the grate insert ensures the food is cooked evenly. You can usually find them at the bottom of your appliance. If your broiler pan and grate insert are broken, yo...Read moreur food may not cook evenly and the drippings may fall into your appliance. Additionally, it can be difficult to clean a damaged pan or grate. These authentic accessories come together when you purchase them, ensuring that you can enjoy evenly-cooked food without any mess.
Read less

$26.35
In Stock

No Longer Available

$46.18
In Stock
PROBE
Part #5304525427
This OEM-manufactured metal temperature sensor, or oven probe, measures and regulates the temperature within the oven. If you find that your food is being overcooked, undercooked, or is not cooking evenly, the sensor may be faulty. You can verify this by testing it with a multimeter or looking out for an error code on the control board. I...Read moref you do not replace the broken sensor, your oven will run too hot or too cold. To replace the sensor, you first need to turn off the power to the oven and let it cool down. Access the probe inside the oven cavity, it is commonly attached to the rear wall. Using a screwdriver or pliers, remove any screws or clips that are securing the sensor in position. You may also need to unscrew or unclip the wire attached to the probe from the back of the oven. This sensor is sold as a single unit.
Read less

$31.47
In Stock
Door Spacer
Part #318165800

$81.11
In Stock
Igniter, Broil
Part #5303935059
This genuine OEM oven broil igniter kit is designed to reliably ignite the gas burner, restoring proper heating performance to your appliance. Featuring a durable flat ceramic construction with an integrated half-shield, it helps protect the igniter while ensuring consistent ignition. The included 18-inch wire leads provide flexibility fo...Read morer installation, making it a convenient replacement for a worn or failed igniter. Ideal for resolving issues such as slow preheating, failure to ignite, or lack of heat, this component helps restore efficient and dependable oven operation.
Read less

$20.85
In Stock
SCREW
Part #316282700

$53.85
In Stock
Light Bulb
Part #318946500
This replacement light bulb provides clear illumination to improve visibility during appliance operation. It is commonly replaced when the original bulb burns out, flickers, or no longer produces adequate light.

$61.39
In Stock

$30.42
Special Order
Storage Drawer Roller
Part #318332211
This storage drawer roller allows the drawer to slide in and out smoothly while maintaining proper alignment. Designed for reliable movement and stability, it is an effective replacement when drawers bind, tilt, or become difficult to open and close.

$29.60
In Stock
Toe Panel Insulation
Part #318372017

$53.28
In Stock
SWITCH
Part #808136601
Common Symptoms of the 790403419810
How this model fails, and the parts that fix it.
Door won’t close
Fixed by
these parts
these parts

Show All
Gas igniter glows, but will not light
Fixed by
these parts
these parts

Show All
Watch our pros, then fix it yourself.
See how others fixed this model. Time, tools, difficulty, and steps that lead to victory!
View More