


 My Orders




79032623316 Kenmore Range - Overview

Enter a part description. DIY Heroes keep it simple, eg. "belt" or "pump".
Search filter:
Clear Filter
Your search term must have 3 or more characters.

$42.82
In Stock
CAP
Part #5304508441
Sold individually. This part helps the flame to spread for even heat. Also protects your burner head from spills.

$21.79
In Stock
Igniter/Orifice Mounting Screw
Part #316240600
This part is the igniter/orifice mounting screw for your cooktop or range. It is approximately ½ an inch in length and is made of metal. The mounting screw connects the orifice to the cooktop. If the orifice is loose, or the screw is missing, this is the part that will replace it. This part is sold individually and is a genuine OEM part sourced directly from the manufacturer.

$36.30
In Stock
Left Front Orifice - 9.5K
Part #316527500
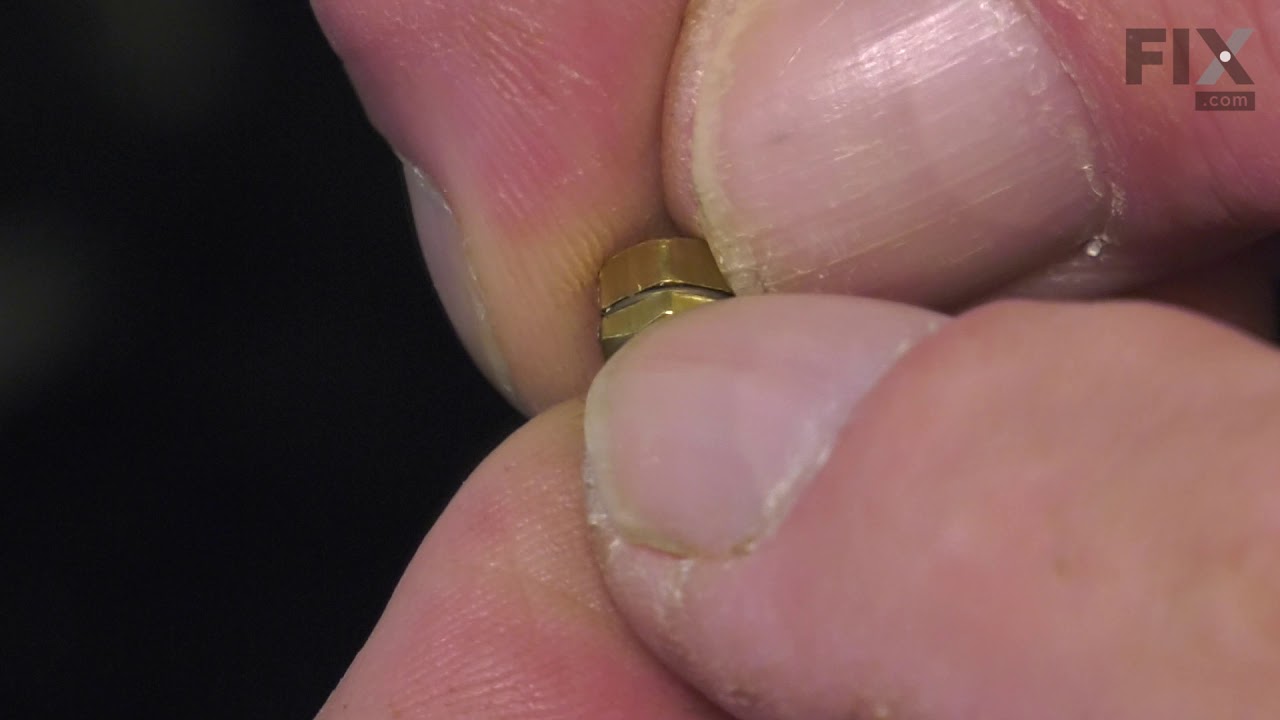
This orifice is a replacement fuel-delivery component designed to regulate gas flow to a burner. It plays a critical role in maintaining proper flame size and efficiency and is commonly replaced when flow becomes restricted or uneven.

$50.55
In Stock
CAP
Part #5304508443
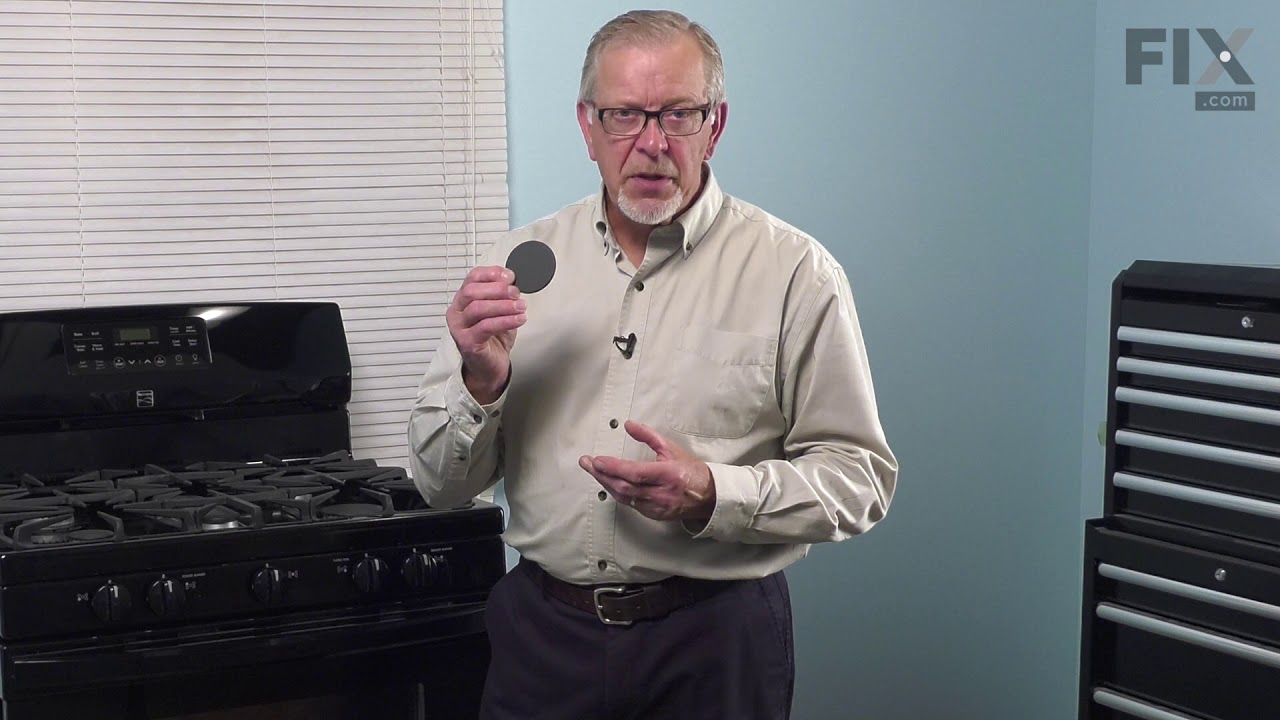
This black burner cap is a genuine OEM part made of a durable material capable of reaching 14,000-BTU, with an approximately 3-inch diameter. It is compatible with various models of ranges and cooktops, where it helps to distribute heat evenly and protects the burner assembly from thermal damage. Since this cap is sold as an individual pa...Read morert, consider how many caps you need to replace on your stovetop before ordering. Burner caps often need to be replaced if they are damaged or worn, no longer providing even heat distribution, or if they simply no longer look good. To replace this cap, make sure the stovetop is cool, and then simply lift any necessary grates to get access to the cap. Then lift and swap out the old cap for the new one, making sure it is settled properly on the burner before you reseat the grate(s).
Read less

$26.35
In Stock

$77.98
In Stock
Spark Ignitor
Part #808608802
The function of the ignitor in your range is to create the spark that ignites the gas on the burners. If your spark ignition system is not functioning properly, you may need to replace the ignitor. This part is approximately 3 inches in length. The ignitor is located in the rear of the range, so you will need to remove the back panel in o...Read morerder to access it for this repair. Before beginning this repair, be sure that the gas valve for the range is shut off. You should also disconnect the power source to the range before you begin.
Read less

$35.14
In Stock

$54.95
In Stock
Sealed Burner - 9.5K
Part #316558300
This sealed burner delivers consistent heat output for precise cooking performance. Its design helps contain spills and simplifies cleanup while ensuring efficient flame control. Installation is straightforward for restoring your cooktop’s functionality.

$31.47
In Stock
Door Spacer
Part #318165800

$13.77
In Stock
SCREW
Part #5304507924
This is an authentic door handle mounting screw, which works with ranges, wall ovens and microwaves.

$216.60
In Stock
VALVE
Part #316031501
Revamp your oven's performance with this genuine Frigidaire dual oven safety valve assembly! Specifically crafted for bake and broil burners, it is designed to safeguard and control gas flow in your oven. Prioritize safety by unplugging your range and shutting off the gas flow before installation. Always ensure gas line connections are th...Read moreoroughly leak checked post-repair. With reliable work gloves, installation becomes a safe and smooth process. Enhance your oven's functionality with the excellence of Frigidaire today!
Read less

$36.06
In Stock
Leveling Leg
Part #318175510
This part is a levelling leg and it is used in conjunction with your range. The function of this part is to supply stability and support to your appliance. This part is adjustable to allow you to tailor each leg to meet your levelled cooking needs. A range typically uses four of these parts, and this model is sold individually. This part ...Read moremeasures to be just over a square inch wide, and almost two inches high. The body of this part resembles a screw and is made of metal. The bottom of the leg is black, flat, and made of plastic.
Read less
Common Symptoms of the 79032623316
How this model fails, and the parts that fix it.
Gas igniter glows, but will not light
Fixed by
these parts
these parts

Show All
Will Not Start
Fixed by
these parts
these parts

Show All
Watch our pros, then fix it yourself.
See how others fixed this model. Time, tools, difficulty, and steps that lead to victory!
View More