This an authentic OEM 40-Watt replacement light bulb, used in a number of household appliances. It is specially designed to withstand extreme temperatures, which is why these replacement bulbs are most often used to light the inside of refrigerators and ranges. It features a standard socket base, which means you simply unscrew the burnt-o...Read moreut bulb and screw in the replacement. Depending on the appliance you may require a screwdriver or nut driver to access the light bulb. We recommend you wear work gloves while handling this replacement part. It is constructed of glass and metal and is sold individually. Depending on the appliance and location of the bulb within it, you may want to consider disconnecting power and using a flashlight for easier access to unscrewing and re-screwing in your bulb during this repair.
This long oven sensor is also commonly known as a temperature sensor. It is designed for use with ovens and ranges. It is similar to a thermostat; it measures and regulates the internal temperature of your oven cavity. There is an adapter at one end, a probe at the other, and they are connected by an insulated wire. The probe is approxima...Read moretely 7 inches long. You can test the sensor with a multi-meter for functionality. You need to check the model-specific manual to determine what the proper resistance is for your specific appliance. This oven sensor comes with two wire harness adapters and a set of instructions.
This broiler pan and roasting rack set is designed to help reduce mess while cooking by allowing grease to drain away from food. Its durable porcelain-coated construction stands up to high temperatures and makes cleanup simple. With approximate dimensions of 16 3/4 inches long, 12 3/4 inches wide, and 1 3/4 inches high, it offers a convenient size for everyday broiling and roasting.
The clock knob attaches to the center of the oven control panel and is used to adjust the built-in clock. This clock knob is less than an inch in diameter. It is all black in color and is made of plastic. This knob will accept a D-shaped shaft. It is worth noting that the clock knob does not work in place of the temperature knob, as they ...Read moreare designed differently. Many of our customers described this repair as easy. To complete the repair, simply pull off the damaged knob and replace it with the new one.
Ask our experts a question about this model and we'll get back to you as soon as possible!
We may have answered a similar question already! Search questions and answers left by others using simple keywords like "fit", "broken", "easy", or "quality" to find questions that match.
Search filter:
Clear Filter
Your search term must have 3 or more characters.
Sort by:
Prev
1
Next
Sorry, we couldn't find any existing answers that matched.Try using some different or simpler keywords, or submit your new question by using the "Ask a Question" button above!
Kevin - For model number 59F-5TXW
October 24, 2024
My clock set knob/temperature set turns but the setting does not change much and will revert back to a different temp. Is there a replacement?
Hi Kevin,
Thank you for your question. If the oven is not heating correctly, the issue may be with the oven sensor. The oven temperature sensor is the part that monitors the oven temperature and signals the electronic control board to turn the elements on and off. Before removing this part from the oven and testing it with a multimeter for continuity, unplug the oven from the electrical outlet. A normal reading should be 1100 ohms, but as readings vary from model to model, you will need to reference your owner’s manual to determine what the correct reading should be. To test it for continuity, use a multimeter on the Rx1 setting and touch the terminals with the probes. This test needs to be done with the sensor at room temperature to produce accurate results. If your test results do not meet the manufacturer’s guidelines, you need a replacement temperature sensor. If the sensor is fine, you will need to check the elements, the electronic control board and the wiring between the parts to see which one is causing the issue. We hope this helps with the repair!
See how others fixed this model. Time, tools, difficulty, and steps that lead to victory!View More
Search repair tips from other customers using simple keywords like "replace", "fit", "remove", "inspect". DIY doesn't mean you have to do it alone!
Search filter:
Clear Filter
Your search term must have 3 or more characters.
Oven not holding 350 F, when cooling the coils did not reheat
163 of 215 peoplefound this instruction helpful.
David from Westford, MA
Really Easy
15 - 30 mins
Screw drivers
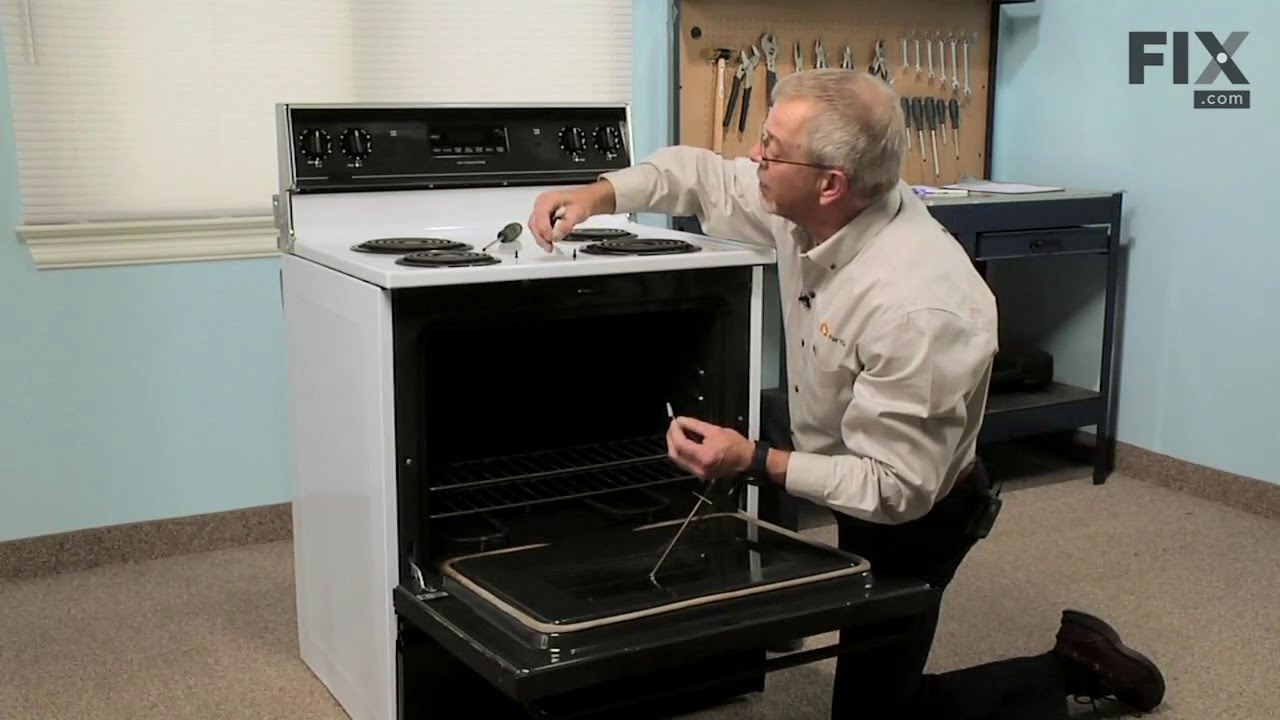
Removed the oven door by opening slightly, then pic door up to remove. Remove 2 screws holding oven sensor in place, gently pull on sensor to remove, had to remove about 8 inches to get at plastic connector. Unplug connector, had to use an adapter cable supplied with the PartSelect kit to install new sensor, push cable back into opening,
... Read morereinstall 2 screws. The oven works fine! Note that due to thermal lag the temperature overshoots to 370 degrees and undershoots to 340 degrees, this appears to be normal oven operation. Putting door back in place was easy.
Read less
Was this helpful?
Thank you for voting!
F1-1 code
79 of 110 peoplefound this instruction helpful.
charles from marstons mills, MA
Really Easy
Less than 15 mins
Screw drivers
First I removed the two screws that hold the element in place. I then pulled the sensor out about 3 inches and disconnected the two wires. Next, I connected new sensor and screwed the new sensor back in place. One area for caution. Make sure that the electrical connection is pushed in past the insulation on the back side of the oven. Fa
... Read moreilure to do so will cause the plastic plug connector to melt from oven heat.
Read less
Was this helpful?
Thank you for voting!
Repeated oven temperature sensor fault codes.
35 of 43 peoplefound this instruction helpful.
David from Arlington, VA
Really Easy
15 - 30 mins
Screw drivers
First I removed the two philips screws inside the oven that hold the element in place. Then I pulled the sensor out and the two insulated wires through the hole to reveal the plastic connector. I unsnapped it from the connector and replaced it with the new element. Then, behind the oven, I removed five or six philips screws on the righ
... Read moret side of the large panel so I could pull the wires back through the layer of fiberglass insulation to make sure only the sensor itself would be exposed to the oven's heat. I then secured the back panel again and replaced the two philips screws holding the sensor in place.




 My Orders