


 My Orders




38H- Maytag Range - Overview
Models starting with 38H-
Click on the best match to narrow your results.
- 38H-3T Maytag Range (Maytag Range/Stove/Oven Model 38H-3T (38H3T, 38H 3T) Parts)
- 38H-42T-EV (B22X) Maytag Range (Maytag Range/Stove/Oven Model 38H-42T-EV/B22X (38H42TEV/B22X, 38H 42T EV/B22X) Parts)
- 38H-42T-EV (B16X) Maytag Range (Maytag Range/Stove/Oven Model 38H-42T-EV/B16X (38H42TEV/B16X, 38H 42T EV/B16X) Parts)
- 38H-42T-EV (B9X) Maytag Range (Maytag Range/Stove/Oven Model 38H-42T-EV/B9X (38H42TEV/B9X, 38H 42T EV/B9X) Parts)
- 38H-42T-EV (B32X) Maytag Range (Maytag Range/Stove/Oven Model 38H-42T-EV/B32X (38H42TEV/B32X, 38H 42T EV/B32X) Parts)
- 38H-42T-EV (B28X) Maytag Range (Maytag Range/Stove/Oven Model 38H-42T-EV/B28X (38H42TEV/B28X, 38H 42T EV/B28X) Parts)
- 38H-42T-EV (B29X) Maytag Range (Maytag Range/Stove/Oven Model 38H-42T-EV/B29X (38H42TEV/B29X, 38H 42T EV/B29X) Parts)
- 38H-42T-EV (B20X) Maytag Range (Maytag Range/Stove/Oven Model 38H-42T-EV/B20X (38H42TEV/B20X, 38H 42T EV/B20X) Parts)
- 38H-42T-EV (B11X) Maytag Range (Maytag Range/Stove/Oven Model 38H-42T-EV/B11X (38H42TEV/B11X, 38H 42T EV/B11X) Parts)
- 38H-42T-EV (B26X) Maytag Range (Maytag Range/Stove/Oven Model 38H-42T-EV/B26X (38H42TEV/B26X, 38H 42T EV/B26X) Parts)
- 38H-42T-EV (B35X) Maytag Range (Maytag Range/Stove/Oven Model 38H-42T-EV/B35X (38H42TEV/B35X, 38H 42T EV/B35X) Parts)
- 38H-42T-EV (B19X) Maytag Range (Maytag Range/Stove/Oven Model 38H-42T-EV/B19X (38H42TEV/B19X, 38H 42T EV/B19X) Parts)
- 38H-42T-EV (B49X) Maytag Range (Maytag Range/Stove/Oven Model 38H-42T-EV/B49X (38H42TEV/B49X, 38H 42T EV/B49X) Parts)
- 38H-42T-EV (B31X) Maytag Range (Maytag Range/Stove/Oven Model 38H-42T-EV/B31X (38H42TEV/B31X, 38H 42T EV/B31X) Parts)
- 38H-42T-EV (B12X) Maytag Range (Maytag Range/Stove/Oven Model 38H-42T-EV/B12X (38H42TEV/B12X, 38H 42T EV/B12X) Parts)
- 38H-42T-EV (B38X) Maytag Range (Maytag Range/Stove/Oven Model 38H-42T-EV/B38X (38H42TEV/B38X, 38H 42T EV/B38X) Parts)
- 38H-42T-EV (B36X) Maytag Range (Maytag Range/Stove/Oven Model 38H-42T-EV/B36X (38H42TEV/B36X, 38H 42T EV/B36X) Parts)
- 38H-42T-EV (B50X) Maytag Range (Maytag Range/Stove/Oven Model 38H-42T-EV/B50X (38H42TEV/B50X, 38H 42T EV/B50X) Parts)
- 38H-42T-EV (B18X) Maytag Range (Maytag Range/Stove/Oven Model 38H-42T-EV/B18X (38H42TEV/B18X, 38H 42T EV/B18X) Parts)
- 38H-42T-EV (B15X) Maytag Range (Maytag Range/Stove/Oven Model 38H-42T-EV/B15X (38H42TEV/B15X, 38H 42T EV/B15X) Parts)
- 38H-42T-EV (B24X) Maytag Range (Maytag Range/Stove/Oven Model 38H-42T-EV/B24X (38H42TEV/B24X, 38H 42T EV/B24X) Parts)
- 38H-42T-EV (B30X) Maytag Range (Maytag Range/Stove/Oven Model 38H-42T-EV/B30X (38H42TEV/B30X, 38H 42T EV/B30X) Parts)
- 38H-42T-EV (B37X) Maytag Range (Maytag Range/Stove/Oven Model 38H-42T-EV/B37X (38H42TEV/B37X, 38H 42T EV/B37X) Parts)
- 38H-42T-EV (B14X) Maytag Range (Maytag Range/Stove/Oven Model 38H-42T-EV/B14X (38H42TEV/B14X, 38H 42T EV/B14X) Parts)
- 38H-42T-EV (B27X) Maytag Range (Maytag Range/Stove/Oven Model 38H-42T-EV/B27X (38H42TEV/B27X, 38H 42T EV/B27X) Parts)
- 38H-42T-EV (B17X) Maytag Range (Maytag Range/Stove/Oven Model 38H-42T-EV/B17X (38H42TEV/B17X, 38H 42T EV/B17X) Parts)
- 38H-42T-EV (B48X) Maytag Range (Maytag Range/Stove/Oven Model 38H-42T-EV/B48X (38H42TEV/B48X, 38H 42T EV/B48X) Parts)
- 38H-42T-EV (B39X) Maytag Range (Maytag Range/Stove/Oven Model 38H-42T-EV/B39X (38H42TEV/B39X, 38H 42T EV/B39X) Parts)
- 38H-42T-EV (B10X) Maytag Range (Maytag Range/Stove/Oven Model 38H-42T-EV/B10X (38H42TEV/B10X, 38H 42T EV/B10X) Parts)
- 38H-42T-EV (B34X) Maytag Range (Maytag Range/Stove/Oven Model 38H-42T-EV/B34X (38H42TEV/B34X, 38H 42T EV/B34X) Parts)
- 38H-42T-EV (B13X) Maytag Range (Maytag Range/Stove/Oven Model 38H-42T-EV/B13X (38H42TEV/B13X, 38H 42T EV/B13X) Parts)
- 38H-42T-EV (B25X) Maytag Range (Maytag Range/Stove/Oven Model 38H-42T-EV/B25X (38H42TEV/B25X, 38H 42T EV/B25X) Parts)
- 38H-42T-EV (21X) Maytag Range (Maytag Range/Stove/Oven Model 38H-42T-EV/21X (38H42TEV/21X, 38H 42T EV/21X) Parts)
- 38H-42T-EV (B33X) Maytag Range (Maytag Range/Stove/Oven Model 38H-42T-EV/B33X (38H42TEV/B33X, 38H 42T EV/B33X) Parts)
- 38H-42T-EV (1X) Maytag Range (Maytag Range/Stove/Oven Model 38H-42T-EV/1X (38H42TEV/1X, 38H 42T EV/1X) Parts)
- 38H-42T-EV (B23X) Maytag Range (Maytag Range/Stove/Oven Model 38H-42T-EV/B23X (38H42TEV/B23X, 38H 42T EV/B23X) Parts)
- 38H-72T-EV (B40X) Maytag Range (Maytag Range/Stove/Oven Model 38H-72T-EV/B40X (38H72TEV/B40X, 38H 72T EV/B40X) Parts)
Enter a part description. DIY Heroes keep it simple, eg. "belt" or "pump".
Search filter:
Clear Filter
Your search term must have 3 or more characters.

$10.95
In Stock
Chrome Drip Bowl - 8 inch
Part #WPW10196405
This manufacturer-certified drip bowl is also known as a drip pan, and it is designed for use with cooktops and ranges. It sits below 8-inch burner elements and catches drips and spills from the cookware on the burner. The diameter of the drip bowl is approximately 10 inches. This replacement might appear slightly different, but it will f...Read moreit your appliance.
You will need no tools to complete this repair. Simply remove the burner element, remove the old bowl, line up the hole on the new bowl with the terminal block and drop it into place. Make sure the bowl is flat before reinstalling the element. While you have the element out you should inspect the terminals for corrosion, damage, or discolouration. If you notice any of those things you should also replace the element and terminal block. You will need to replace your drip bowl if it is lost, damaged, or can no longer be cleaned. This replacement part is sold individually. To extend the life of your new drip bowl we recommend you clean it regularly with soap and water. We recommend only using the recommended drip bowl for your appliance; generic versions will not fit properly which could affect the performance of your elements and cause long-term damage.
Read less

$43.18
In Stock
Long Oven Sensor
Part #12001656
This long oven sensor is also commonly known as a temperature sensor. It is designed for use with ovens and ranges. It is similar to a thermostat; it measures and regulates the internal temperature of your oven cavity. There is an adapter at one end, a probe at the other, and they are connected by an insulated wire. The probe is approxima...Read moretely 7 inches long. You can test the sensor with a multi-meter for functionality. You need to check the model-specific manual to determine what the proper resistance is for your specific appliance. This oven sensor comes with two wire harness adapters and a set of instructions.
Read less

$19.30
In Stock
Surface Burner Receptacle Kit
Part #12001676
The tools you will need to replace the surface burner receptacle kit on your range include a Phillips screw driver, and a pair of wire strippers. Before doing this repair, make sure to disconnect your appliance from the power supply and wear work gloves to protect your hands. The surface burner receptacle kit comes with a plastic block, h...Read moreigh temperature wire nuts, a metal bracket, and wires. This part functions as the connection between the wire harness and the surface element in your range.
Read less

$33.69
In Stock
Surface Burner - 8 Inch - 2600W
Part #WP660533
The surface burner or element on your range provides the heat that you cook with. If your element will not heat, you may need to replace the surface burner. This surface burner is 8 inches in diameter and 2600 watts. The burner element is made of metal and has two prongs that connect it to the range. The manufacturer recommends you replac...Read moree the burner receptacle at the same time that you replace the surface burner. Many of our customers have rated this repair as very easy. To complete the repair simply lift the old burner up and out, and replace it with the new one. Be sure to disconnect power to the range before beginning this repair.
Read less

$28.42
In Stock
Standard Y-Frame Range Surface Burner
Part #WP660532
The standard y-frame surface burner provides heat to your range. If you notice that your element will not heat, you may need to replace your surface burner. This product is 6 inches in diameter, and 1500W. The manufacturer suggests replacing the receptacle at the same time that you replace the surface burner. Many of our customers have ra...Read moreted this repair as very easy, and you will not need any tools. To complete the repair, simply lift out the old burner and replace it with the new one. Check that the burners are turned off before you begin this repair.
Read less

$27.36
In Stock
Range Terminal Block
Part #WPW10245259
This part is for oven ranges, it connects individual wires and protects the device from electrical surges, voltages, and current. With this part, the house power is connected to the range wire harness. Some symptoms replacing the terminal block could be a solution for are little to no heat when baking, element will not heat and/or it will...Read more not start. This part will prevent loosening and will reduce damage caused by corrosion (by two different metals). Refer to the instructional diagram for further replacement guidance and exact placement. You must unplug the appliance before installing this part and wear gloves to protect your hands.
Read less

$15.00
In Stock
Oven Door Spring
Part #WP7803P058-60
The oven door springs create tension which allows the door to open and close with ease. This spring can be used on either the left or right side of your oven, is made completely of metal, and is approximately 6 inches long. If your oven door will not open or close easily, you may need to replace this part. It may be a good idea to replace...Read more both hinges at the same time, because if a spring has become loose, the other hinge is likely to have the same issue. You may need to remove the side panel of the oven to reach where the spring attaches, so make sure the oven is off and is cool to the touch. This part is sold individually.
Read less

$79.80
In Stock
Bake Element (15 Inch long x 19 Inch wide)
Part #WPY04000041
This spade style bake element with push on wire terminals is 15 inches long and 19 inches wide. The depth of the terminals is three inches.

No Longer Available

No Longer Available
Lamp Switch
Part #7403P196-60

No Longer Available

$100.51
Special Order
SWITCH-INF
Part #W11122008
Common Symptoms of models starting with 38H-
How this model fails, and the parts that fix it.
Element will not heat
Fixed by
these parts
these parts


Show All
Little to no heat when baking
Fixed by
these parts
these parts


Show All
Will Not Start
Fixed by
these parts
these parts
Show All
Oven is too hot
Fixed by
these parts
these parts
Show All
Oven not heating evenly
Fixed by
these parts
these parts
Show All
Touchpad does not respond
Fixed by
these parts
these parts
Show All
Will not program
Fixed by
these parts
these parts
Show All
Door won’t close
Fixed by
these parts
these parts

Show All
Door won’t open after self cleaning cycle
Fixed by
these parts
these parts
Show All
Little to no heat when broiling
Fixed by
these parts
these parts
Show All
Watch our pros, then fix it yourself.
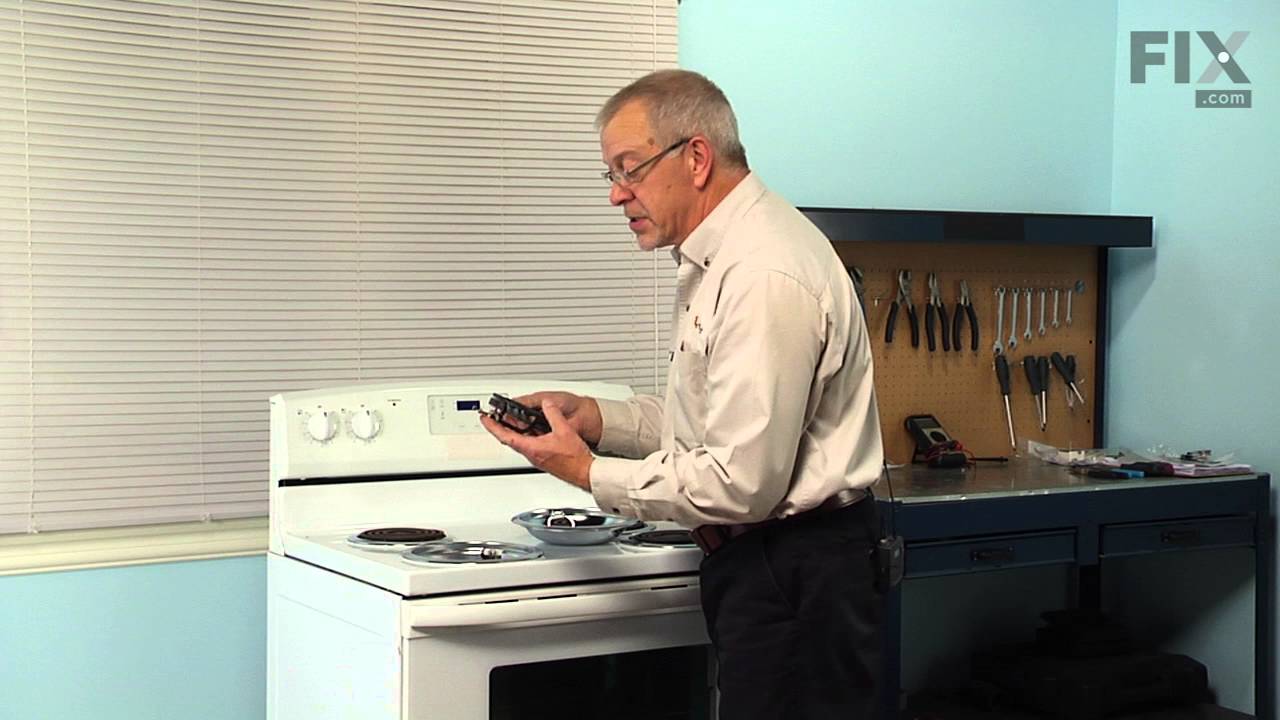
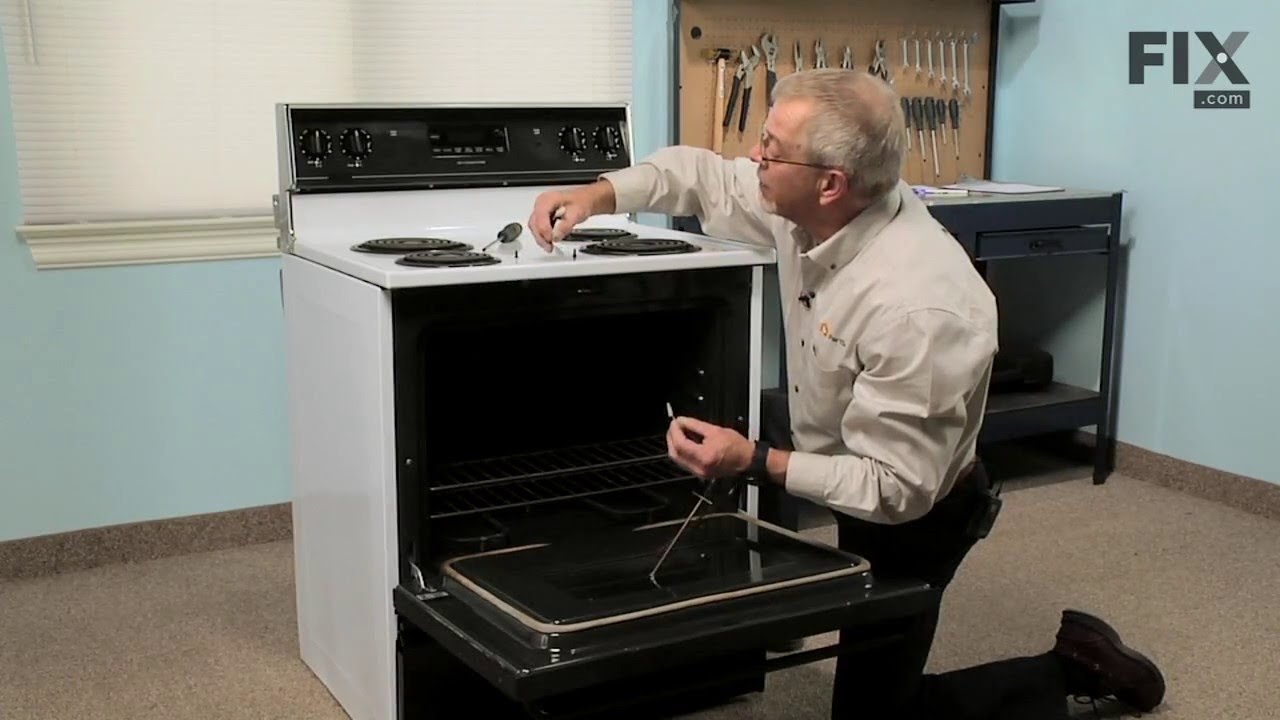
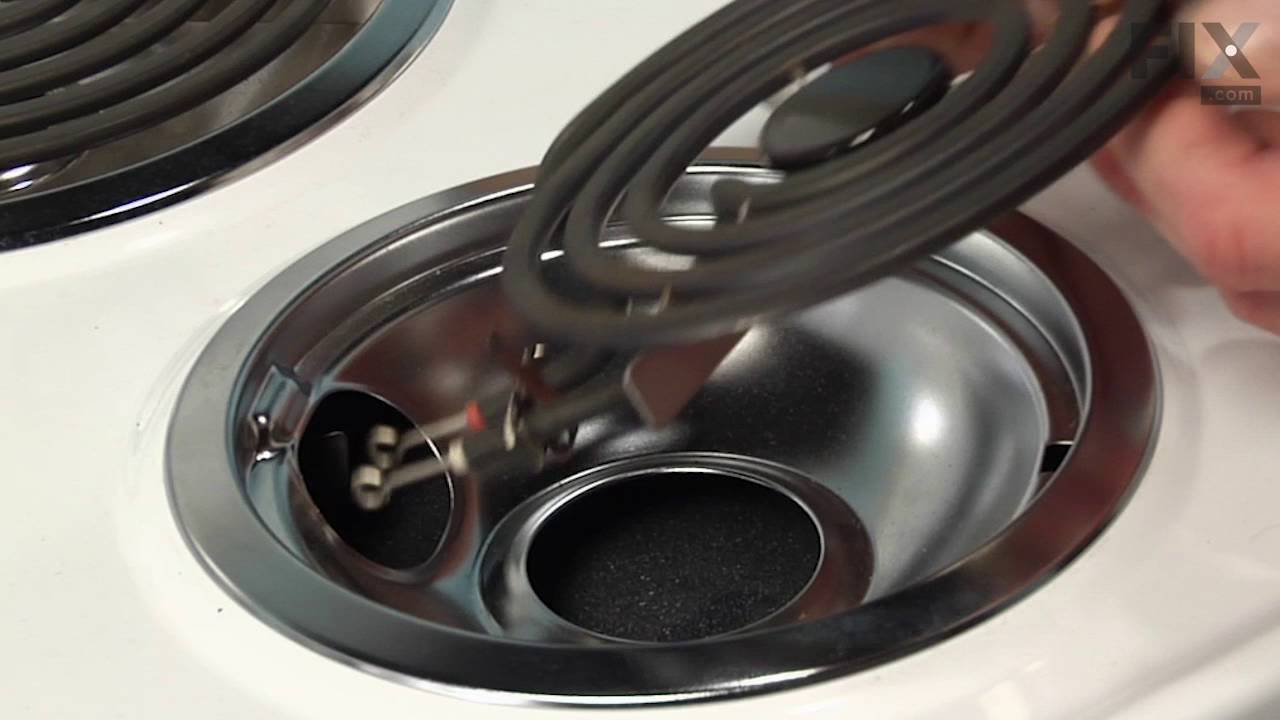
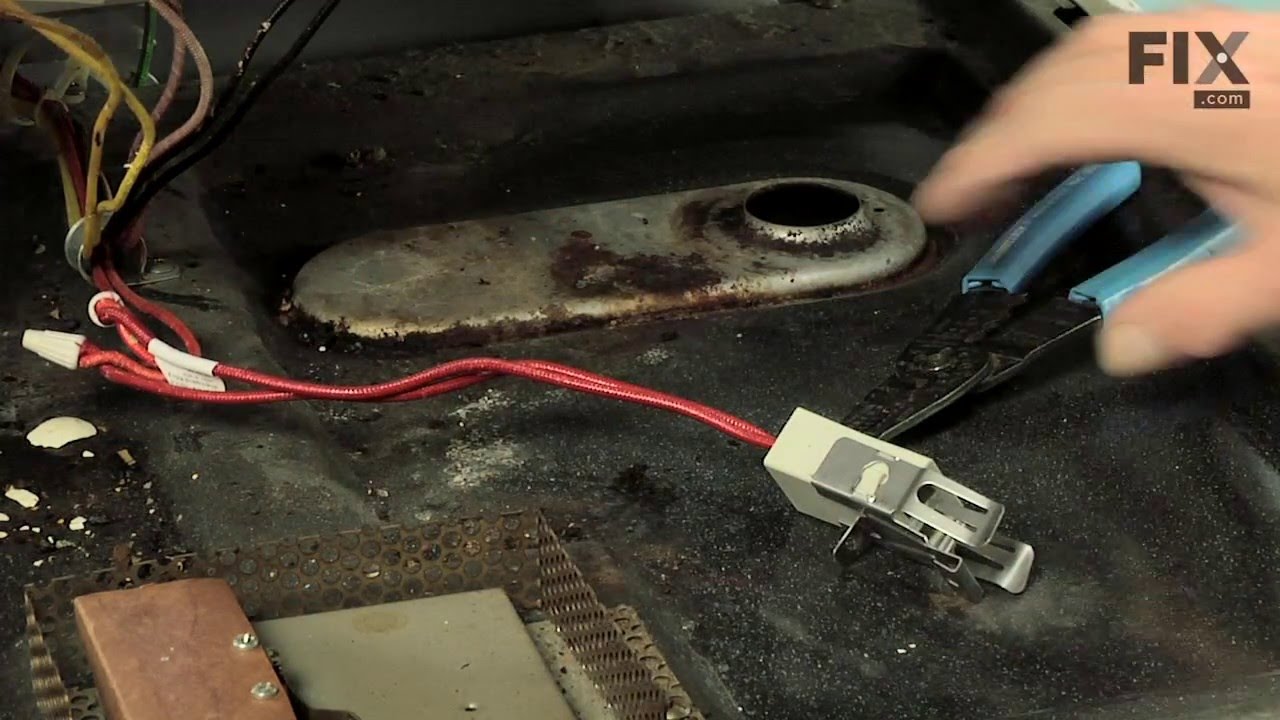
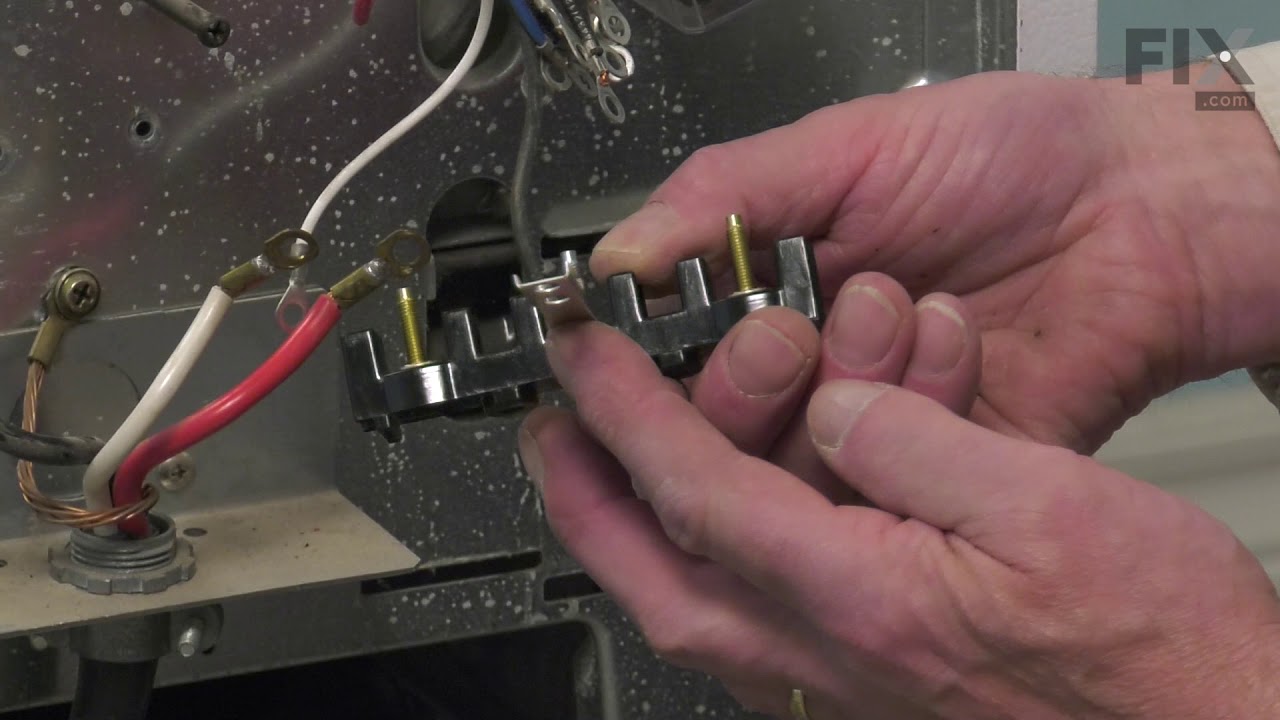
See how others fixed this model. Time, tools, difficulty, and steps that lead to victory!
View More