


 My Orders




363950 Kenmore - Overview
Models starting with 363950
Click on the best match to narrow your results.
- 3639502710 Kenmore Refrigerator
- 3639502711 Kenmore Refrigerator
- 3639502714 Kenmore Refrigerator
- 3639502715 Kenmore Refrigerator
- 3639502780 Kenmore Refrigerator
- 3639502781 Kenmore Refrigerator
- 3639502784 Kenmore Refrigerator
- 3639502785 Kenmore Refrigerator
- 3639504190 Kenmore Range
- 3639504710 Kenmore Refrigerator
- 3639504712 Kenmore Refrigerator
- 3639504714 Kenmore Refrigerator
- 3639504715 Kenmore Refrigerator
- 3639504780 Kenmore Refrigerator
- 3639504782 Kenmore Refrigerator
- 3639504784 Kenmore Refrigerator
- 3639504785 Kenmore Refrigerator
- 3639504810 Kenmore Refrigerator
- 3639504811 Kenmore Refrigerator
- 3639504812 Kenmore Refrigerator
- 3639504813 Kenmore Refrigerator
- 3639504814 Kenmore Refrigerator
- 3639504816 Kenmore Refrigerator
- 3639504880 Kenmore Refrigerator
- 3639504881 Kenmore Refrigerator
- 3639504882 Kenmore Refrigerator
- 3639504883 Kenmore Refrigerator
- 3639504884 Kenmore Refrigerator
- 3639504886 Kenmore Refrigerator
- 3639507710 Kenmore Refrigerator
- 3639507714 Kenmore Refrigerator
- 3639507715 Kenmore Refrigerator
- 3639507780 Kenmore Refrigerator
- 3639507784 Kenmore Refrigerator
- 3639507785 Kenmore Refrigerator
Enter a part description. DIY Heroes keep it simple, eg. "belt" or "pump".
Search filter:
Clear Filter
Your search term must have 3 or more characters.

$47.40
In Stock
Bake Element
Part #WB44K5012
At the floor of your electric oven is the bake element. This partially open-style element comes with push-on terminals. The bake element will likely provide most of the heat for baking. Therefore, if the oven is not heating properly, or if food is burnt on top and undercooked below, your bake element may be at fault. If you can see that t...Read morehe element has been separated or blistered, you should replace the part immediately. If there is no visible damage, turn the oven on and check to see if the element heats evenly. If the element is not heating evenly, or if it is not heating at all, use a multi-meter to test for electrical continuity to see if the element needs replacing.
Read less

$207.55
In Stock
Ice Maker
Part #WR30X10093
This 10 by 5 inch ice maker (Electromechanical Icemaker Kit, Ice Maker Assembly) produces ice. This particular model will produce seven crescent shaped cubes every cycle. It is constructed of plastic and metal, and comes in black/white. This kit includes a set of installation instructions, a 4-pin round plug-in connector, 6 post plug-in c...Read moreonnectors, tube and fill cup. The ideal temperature of a freezer is zero degrees Fahrenheit. If the temperature in your freezer is at an appropriate level yet ice is still not being made, it could be an issue with the water inlet valve or your ice maker assembly. If you determine it is the ice maker, this is the replacement you need. The ice maker can break from normal wear and accidental damage. Ice makers will need to be replaced every 3-10 years depending on the frequency of usage and water quality. This model is mounted on the freezer wall.
Read less

$33.78
In Stock
Door Closing Cam
Part #WR2X4901
This refrigerator door hinge cam riser is designed to ensure smooth and consistent door movement. Installed directly on the door, it helps the appliance open and close properly by guiding the door to rise and fall gently, which also supports a secure seal. Made from durable plastic, this part is ideal for resolving issues such as doors that stick, fail to seal correctly, or make unusual noises during operation.

$21.95
In Stock
Light Bulb - 40W
Part #40A15
This 40-Watt light bulb is sold individually.
It is specially designed to withstand extreme temperatures, so this bulb is compatible with a variety of appliance types including refrigerators, ranges, microwaves, and dryers. It features a frosted glass bulb with a standard metal socket base, which allows you to easily unscrew the burnt-out light and twist the new bulb into place.

$55.29
In Stock
Drawer Slide Rail - Left Side
Part #WR72X207
This drawer track supports the left hand side of the sliding drawer.

No Longer Available
Drawer Slide Rail - Right Side
Part #WR72X206
This drawer track supports the right hand side of the sliding drawer.

No Longer Available
Drawer Slide Rail - Left Side
Part #WR72X209
The drawer slide rail in your refrigerator allows the door bin to slide in and out efficiently. If the slide rail is broken or missing it will need to be replaced. This slide rail is sold individually, and is for the left side of your refrigerator drawer bin. Be sure to order the correct replacement rail for your drawer. The rail is approximately 15 inches wide and is made of white plastic.

No Longer Available
Drawer Slide Rail - Right Side
Part #WR72X208
This is a replacement drawer slide rail for your refrigerator. The slide rails allow the crisper pans to slide in and out efficiently. If the slide rail is broken or missing, the crisper pan will not be able to slide into position. This slide rail is for the right side of the refrigerator and is sold individually, so be sure to order the ...Read moreslide rail for the correct side. This part is made of white plastic and is approximately 15 inches in length. This is an OEM part from the manufacturer.
Read less

$45.29
In Stock
Door Shelf Retainer Bar End Cap - Left or Right Side
Part #WR2X7975
This end cap can be used for the right or left side of the refrigerator door shelf or the freezer door shelf.

No Longer Available
Dairy Door
Part #WR22X383

No Longer Available
Ice Bucket Auger Kit
Part #WR17X2740
This ice bucket auger kit come with an auger and a blade. Please note: As per manufacture the part shown in the picture is no longer available. The updated helix coil is now approximately 5". If you currently have the original part you will need to order the complete auger/bucket assembly.

$43.18
In Stock
Broiler Pan - Large
Part #WB48X10056
This large broiler pan is found in the bottom of your oven and is used to catch drippings from broiling foods. This part includes the grate and bottom pan and is made of porcelain. The grate measures 15-1/2 inches wide by 13 inches deep and the pan is about 17 inches wide by 13 inches deep. No tools are required to replace this item, simp...Read morely pull out the lower drawer of your range, pull down the front of the drawer, slide the pan out and slide the new one into place. This is a genuine part sourced right from the manufacturer.
Read less
Common Symptoms of models starting with 363950
How this model fails, and the parts that fix it.
Little to no heat when baking
Fixed by
these parts
these parts

Show All
Ice maker not making ice
Fixed by
these parts
these parts


Show All
Element will not heat
Fixed by
these parts
these parts

Show All
Door won’t open or close
Fixed by
these parts
these parts

Show All
Leaking
Fixed by
these parts
these parts


Show All
Ice maker won’t dispense ice
Fixed by
these parts
these parts
Show All
Oven not heating evenly
Fixed by
these parts
these parts
Show All
Oven is too hot
Fixed by
these parts
these parts
Show All
Fridge too warm
Fixed by
these parts
these parts

Show All
Door Sweating
Fixed by
these parts
these parts
Show All
Will Not Start
Fixed by
these parts
these parts
Show All
Ice maker dispenses too little ice
Fixed by
these parts
these parts
Show All
Ice maker dispenses too much ice
Fixed by
these parts
these parts
Show All
Won’t start
Fixed by
these parts
these parts
Show All
Fridge runs too long
Fixed by
these parts
these parts
Show All
Little to no heat when broiling
Fixed by
these parts
these parts
Show All
Clicking sound
Fixed by
these parts
these parts
Show All
Noisy
Fixed by
these parts
these parts
Show All
Watch our pros, then fix it yourself.

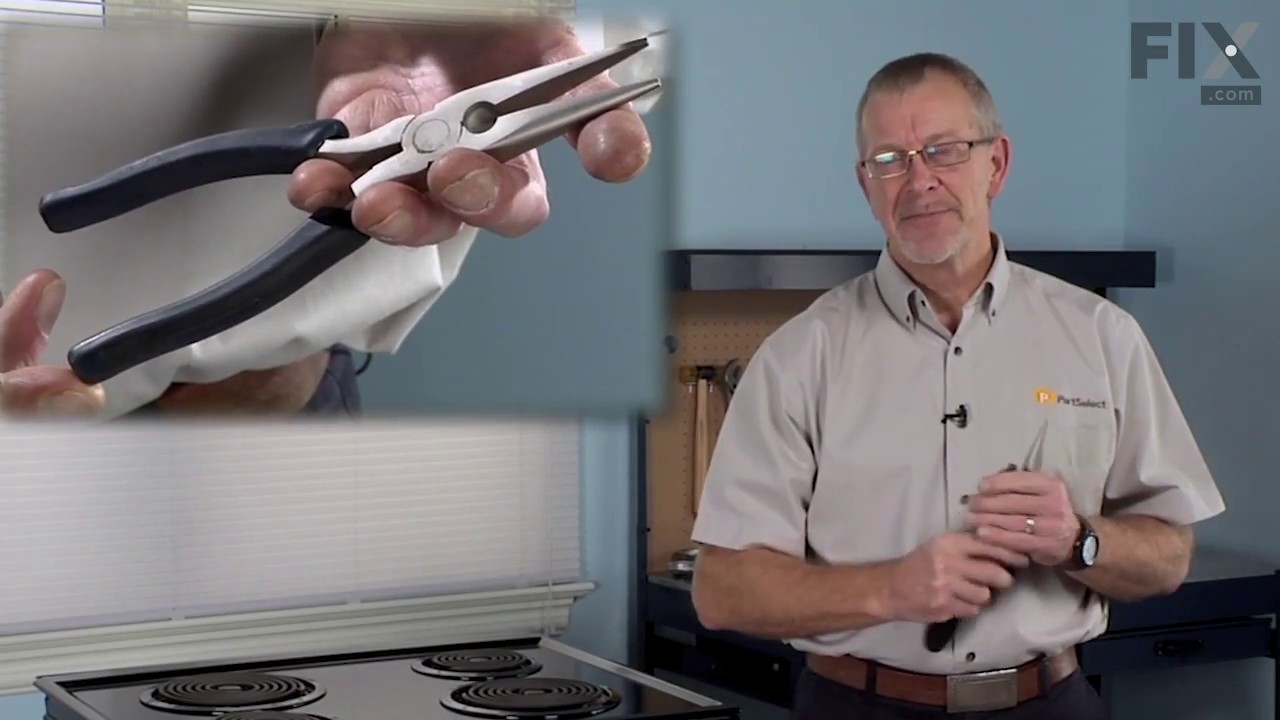
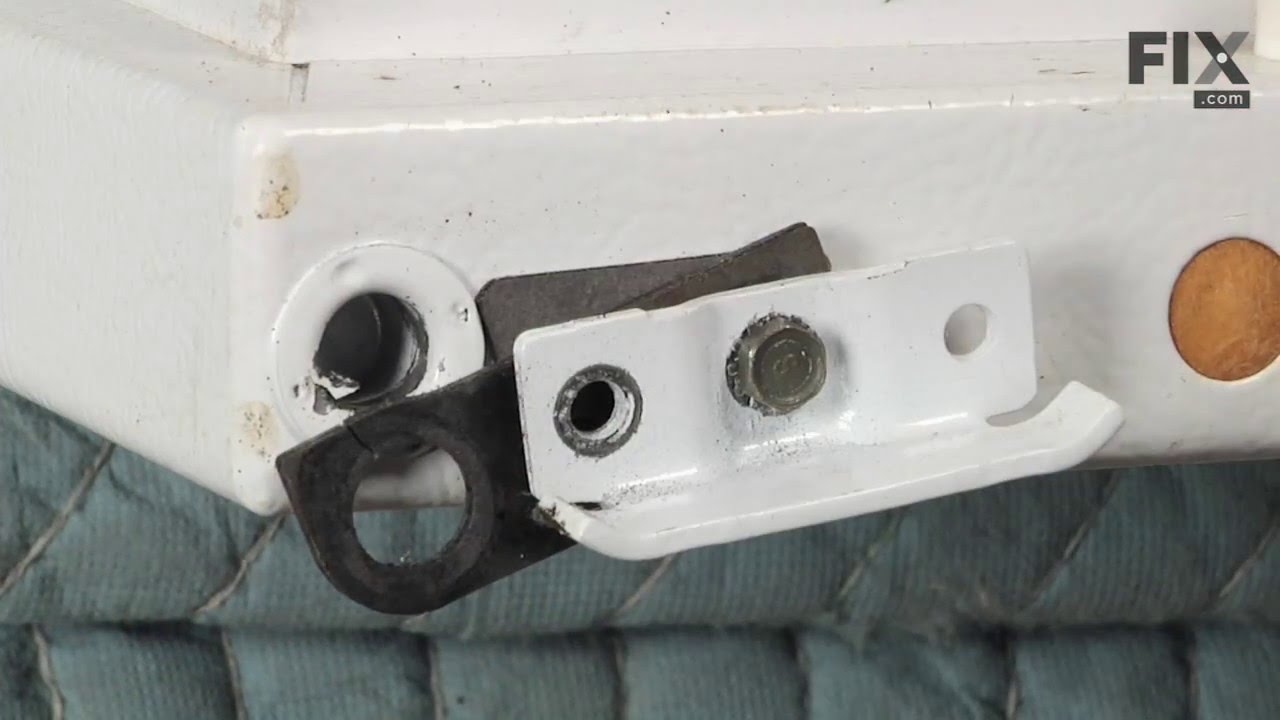
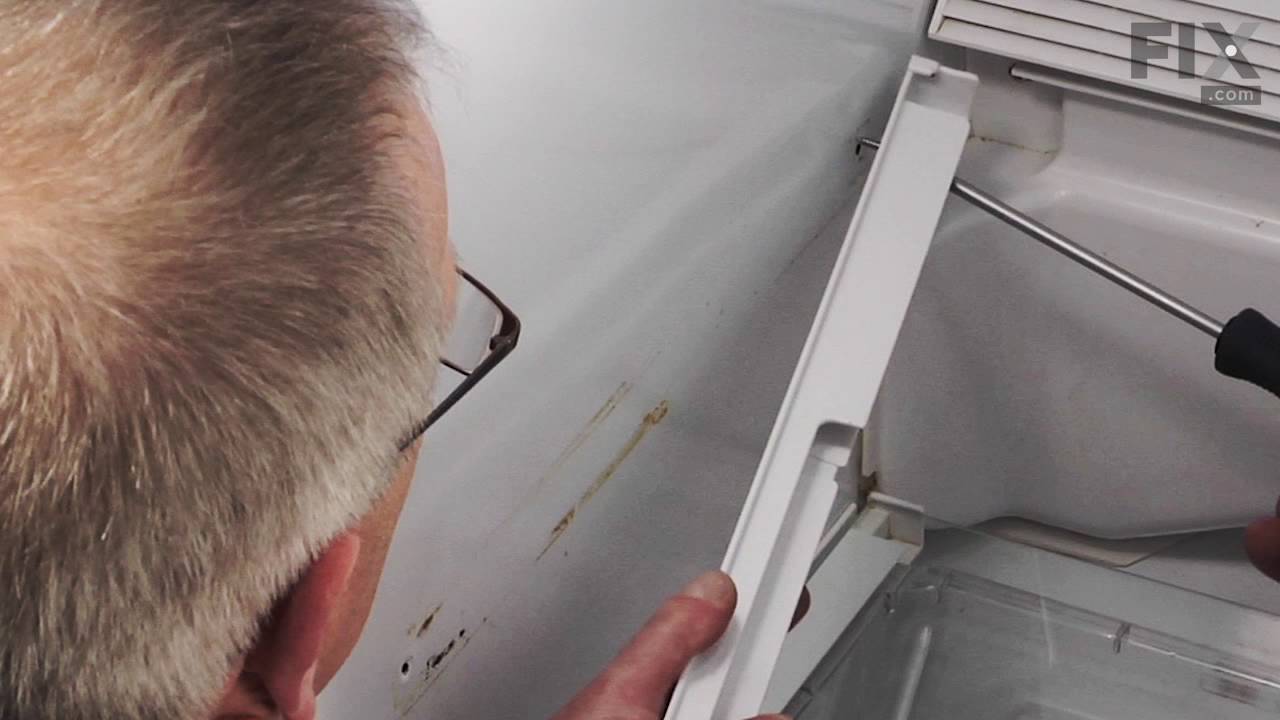
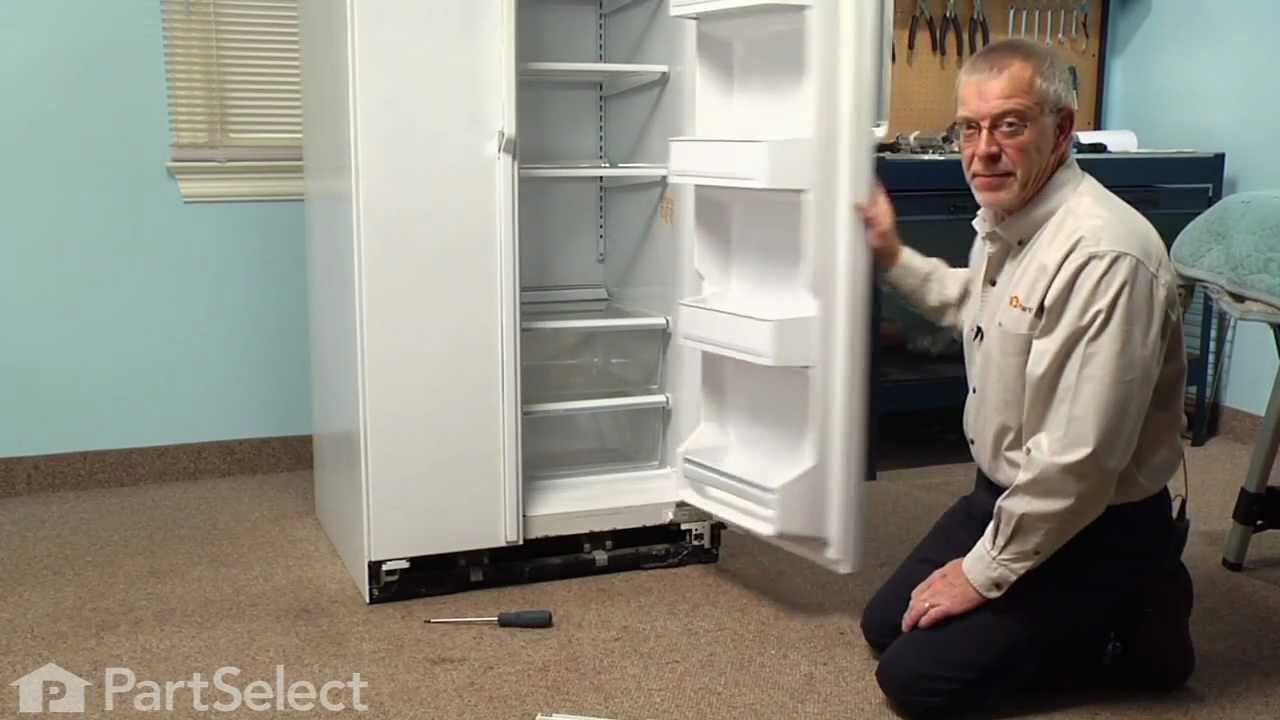
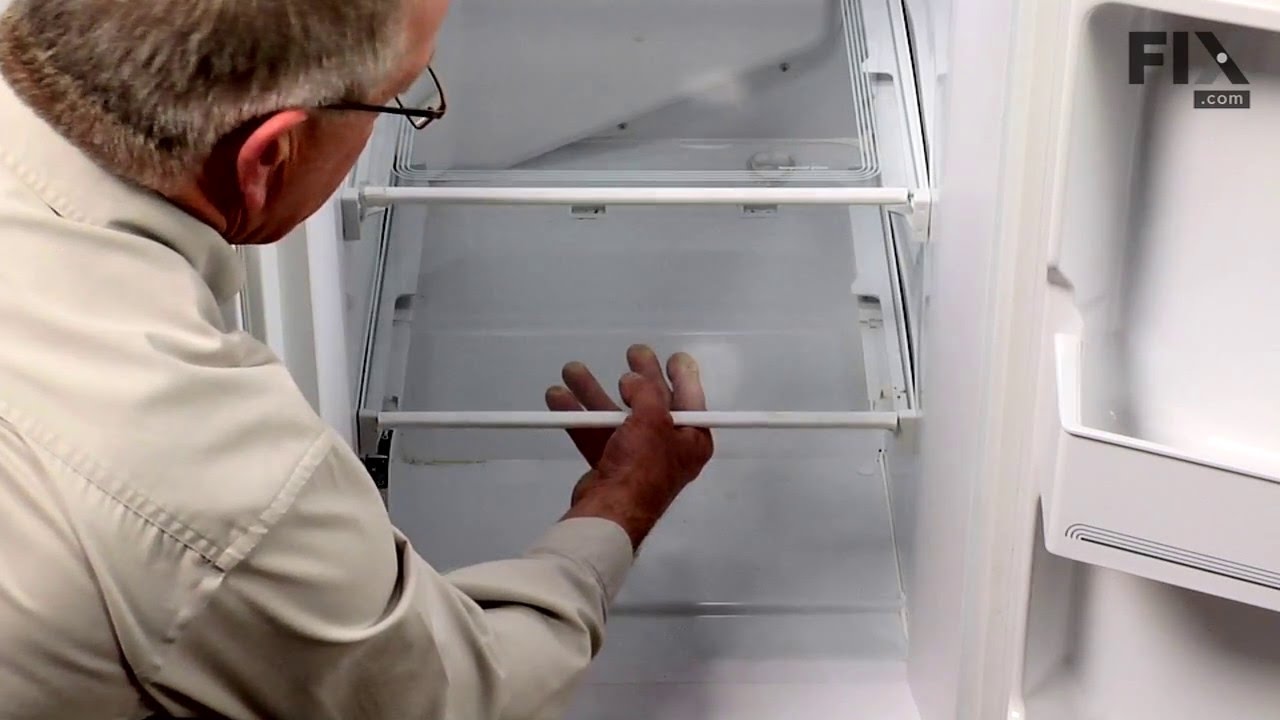
See how others fixed this model. Time, tools, difficulty, and steps that lead to victory!
View More