


 My Orders




36362 Kenmore - Overview
Models starting with 36362
Click on the best match to narrow your results.
Enter a part description. DIY Heroes keep it simple, eg. "belt" or "pump".
Search filter:
Clear Filter
Your search term must have 3 or more characters.

$23.60
In Stock
Light Bulb - 40W 130V
Part #WB36X10003
This light bulb is a 40 watt, 130-volt clear appliance light bulb that is manufactured to fit microwaves with small-base light bulb sockets. The light bulb illuminates the inside of the microwave while the microwave is running. You may need to replace this part if the existing one is burnt-out or broken. If the existing light bulb is brok...Read moreen, disconnect power to the microwave and remove the bulb base with a pair of needle nose pliers. This is a common wear item, so it is recommended to order a spare. These light bulbs are sold individually.
Read less

$47.40
In Stock
Bake Element
Part #WB44K5012
At the floor of your electric oven is the bake element. This partially open-style element comes with push-on terminals. The bake element will likely provide most of the heat for baking. Therefore, if the oven is not heating properly, or if food is burnt on top and undercooked below, your bake element may be at fault. If you can see that t...Read morehe element has been separated or blistered, you should replace the part immediately. If there is no visible damage, turn the oven on and check to see if the element heats evenly. If the element is not heating evenly, or if it is not heating at all, use a multi-meter to test for electrical continuity to see if the element needs replacing.
Read less

$21.81
In Stock
Microwave Fuse
Part #WB27X10928
This ceramic microwave fuse is just over an inch in length. It is white in the center, and metal on both ends. This is a 20-amp fuse, and is used to power your microwave. If the touch pad on the microwave becomes unresponsive, the microwave produces little to no heat, or the appliance simply does not turn on, it could mean that your fuse ...Read moreis at fault and needs to be replaced. Because this part contains an electrical charge, remember to disconnect power to the microwave unit before you begin this repair.
NOTE: Before you start this repair, ensure that the microwave is unplugged, and the capacitor is discharged. A capacitor stores large amounts of electricity even after your microwave is unplugged.
Read less

$37.91
In Stock
Light Socket - 250V 75W
Part #WB08X10016
This light bulb socket that is used in microwaves. The socket is meant to fit small-base light bulbs. * Please note: The light bulb is not included with this part and is sold separately. If the following symptoms occur, you may need to replace this part: existing socket is broken or cracked, light bulb is not turning on, or new light bulb...Read more does not work. Remember to unplug microwave before installing this part and refer to the manual provided by the manufacturer for installation instructions and a detailed diagram.
Read less

$40.02
In Stock
Drive Motor
Part #WB26X10038
This is a microwave turntable drive motor. This is a genuine OEM replacement part. It accepts a D-shaped drive shaft. The drive motor is located under the glass microwave turntable, and allows the turntable plate to rotate while the appliance is in use. Your drive motor might be broken if it is noisy or does not turn at all. Be sure to di...Read moresconnect power to the microwave before starting this repair. Simply unscrew the bottom plate and the drive motor of your microwave, disconnect the wires, and install the replacement part. This drive shaft is 21 volts, is about 2 inches in diameter, and is made of metal.
Read less

$93.10
On Order
Cooking Tray
Part #WB39X10003
This is a cooking tray and it is a common component in any microwave. This piece is transparent and is made of glass. The diameter of this part measures to be roughly 12.5 inches. Although you may find it to be slightly smaller than the original tray it is a genuine OEM replacement part that is sourced directly from the manufacturer. The ...Read morefunction of the cooking tray is to provide a stable surface that rotates in the center of your microwave. The purpose of this piece is to help ensure food cooks evenly in your microwave every time.
Read less

$47.40
In Stock
Secondary Door Switch
Part #WB24X829
The secondary door switch is a simple on/off mechanism that stops the microwave from operating when the door is open (normally opened). The switch monitors the door latch position, and communicates whether the door is open or closed to the electrical control board. This door switch is approximately 1 inch long, and has 2 metal prongs cal...Read moreled terminals that extend out of its body. Common symptoms related to a faulty secondary door switch include: microwave will not turn/shut off, or the microwave will not heat properly.
NOTE: Before you begin this repair, first make sure your microwave is unplugged, and that your capacitor is discharged. A capacitor stores large amounts of electricity even when your microwave is unplugged.
Read less

$21.45
In Stock
Turntable Coupler
Part #WB06X10420
This turntable motor coupler connects the turntable motor to the turntable tray to activate the tray. If your tray does not consistently turn or does not turn at all, replace this part. This part measures 1 1/2" in diameter. Remember to unplug your microwave from the power source as a safety precaution. Refer to the openers manual provid...Read moreed by the manufacturer for further installation instructions and accurate guidance.
Read less

No Longer Available

$48.45
In Stock
Monitor Door Switch
Part #WB24X830
Unplug your microwave before attempting this repair. You will need to remove the grill, which is held into place by two screws at the top of the grill (open your microwave door before doing this). Remove the grill. Remove the screw on the left holding the control panel in place. Loosen the screw behind the panel. You should now be able to...Read more lift the panel up and pull forward to detach. You will find the door switch by removing the screws to detach the switch assembly. Press on the release tab to remove the middle switch. Disconnect the wire connector to release the old switch. The door switch is normally closed.
Read less

$23.60
In Stock
Drip Bowl - 6"
Part #WB31K5024
This is a drip bowl for your range or cooktop. The drip bowl sits beneath the burner of an electric range and collects any spills that occur while cooking. The bowl is 6 inches in diameter and represents the smaller burner for your range. This product is sold individually and is an authentic OEM part sourced directly from the manufacturer.

$22.52
In Stock
Drip Bowl - 8 Inch
Part #WB31K5025
The surface element or the coil surface element transfers heat to the area on top of the range. The element is 8 inches in diameter. If your surface element does not heat, overheats, or is inconsistent, replacing this part can be the solution. If you would like to determine whether the element is defective, use a multimeter. Before instal...Read moreling your new element, make sure that the drip bowl is properly aligned with the notch of the pan. Insert new element into the reciprocal at a 40 degree angle. Refer to the instructions provided by the manufacturer for more guidance.
Read less
Exact Part matches for your search term

$10.76
Special Order
$6.40
Special Order
Common Symptoms of models starting with 36362
How this model fails, and the parts that fix it.
Little to no heat when baking
Fixed by
these parts
these parts

Show All
Won’t turn on
Fixed by
these parts
these parts


Show All
Element will not heat
Fixed by
these parts
these parts


Show All
Tray won’t turn
Fixed by
these parts
these parts


Show All
No heat
Fixed by
these parts
these parts

Show All
Doesn’t shut off
Fixed by
these parts
these parts
Show All
Touchpad does not respond
Fixed by
these parts
these parts
Show All
Noisy
Fixed by
these parts
these parts

Show All
Oven not heating evenly
Fixed by
these parts
these parts
Show All
Door not closing properly
Fixed by
these parts
these parts


Show All
Oven is too hot
Fixed by
these parts
these parts
Show All
Will Not Start
Fixed by
these parts
these parts
Show All
Little to no heat when broiling
Fixed by
these parts
these parts
Show All
Watch our pros, then fix it yourself.
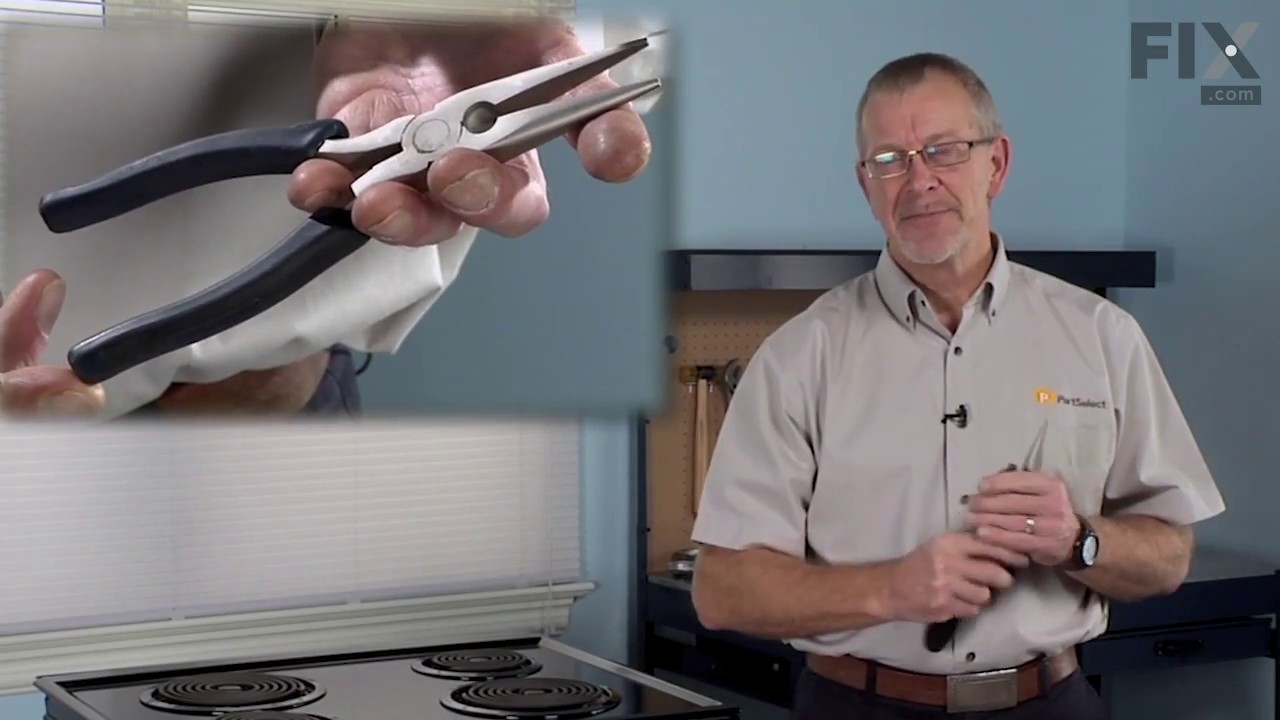

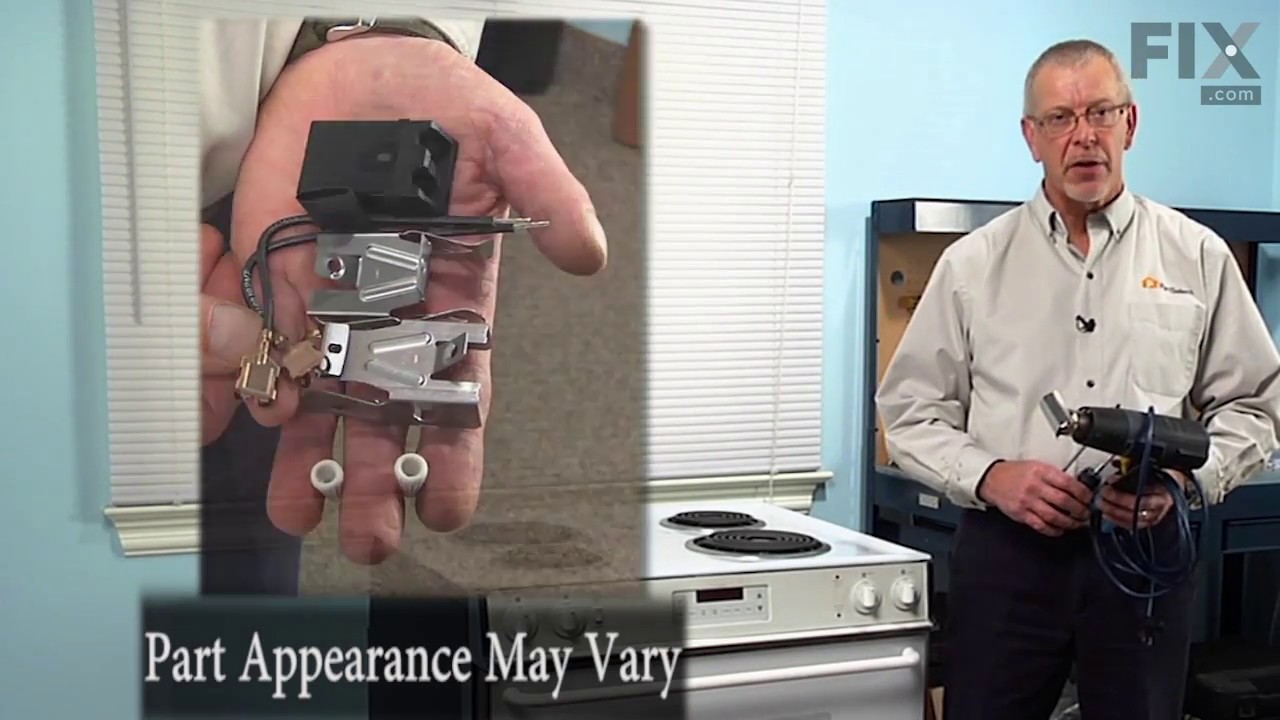
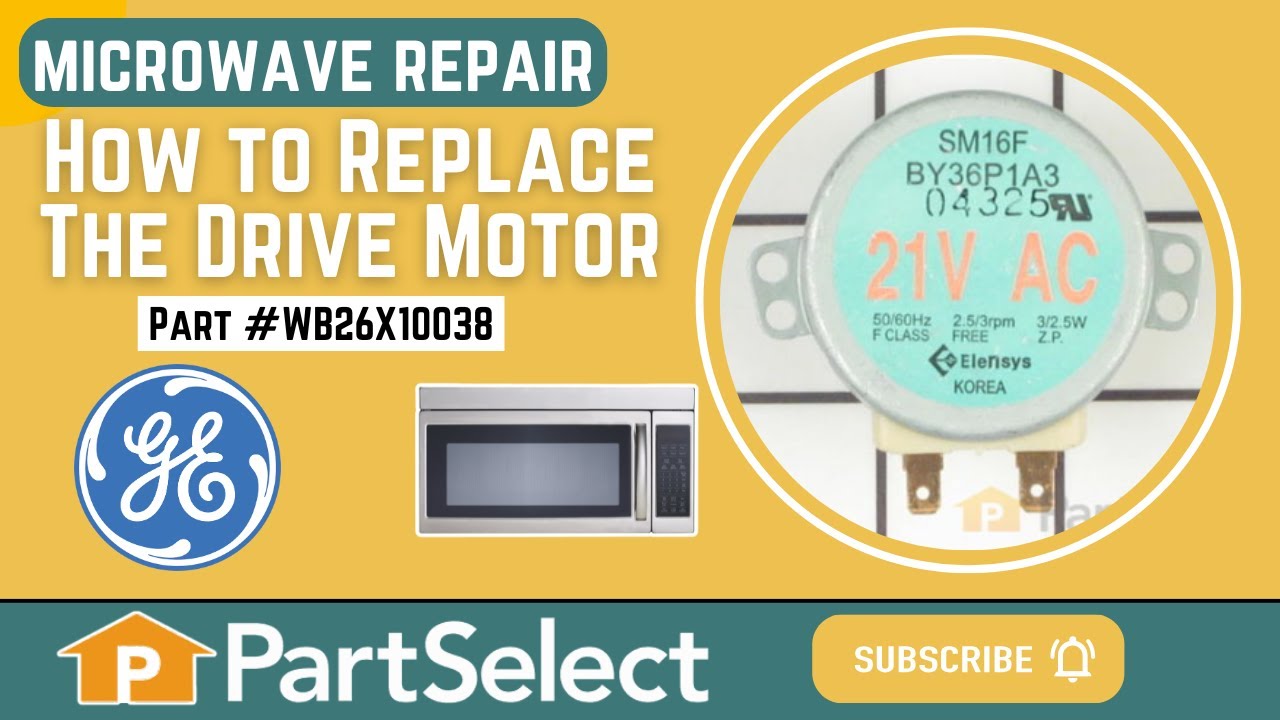
See how others fixed this model. Time, tools, difficulty, and steps that lead to victory!
View More