


 My Orders




3621 - Overview
Models starting with 3621
Click on the best match to narrow your results.
- 3621 Makita Router (Router)
- 36211XBMBRWW General Electric Refrigerator
- 36211XBMDRWW General Electric Refrigerator
- 36211XBMERWW General Electric Refrigerator
- 36211XBMFRWW General Electric Refrigerator
- 36211XBRERWW General Electric Refrigerator
- 36211XBRFRWW General Electric Refrigerator
- 36217 Craftsman Heater (Power Ceramic Furnace)
- 3621A Makita Router (Router)
- 3621A Eureka Canister Vacuum (Mighty Might Canister Vacuum)
- 3621WPA Magic Chef Range
- 3621WPW Magic Chef Range
- 3621WRA Magic Chef Range
- 3621WRW Magic Chef Range
- 3621XPA Magic Chef Range
- 3621XPW Magic Chef Range
- 3621XRA Magic Chef Range
- 3621XRW Magic Chef Range
Enter a part description. DIY Heroes keep it simple, eg. "belt" or "pump".
Search filter:
Clear Filter
Your search term must have 3 or more characters.

$10.95
In Stock
Chrome Drip Bowl - 8 inch
Part #WPW10196405
This manufacturer-certified drip bowl is also known as a drip pan, and it is designed for use with cooktops and ranges. It sits below 8-inch burner elements and catches drips and spills from the cookware on the burner. The diameter of the drip bowl is approximately 10 inches. This replacement might appear slightly different, but it will f...Read moreit your appliance.
You will need no tools to complete this repair. Simply remove the burner element, remove the old bowl, line up the hole on the new bowl with the terminal block and drop it into place. Make sure the bowl is flat before reinstalling the element. While you have the element out you should inspect the terminals for corrosion, damage, or discolouration. If you notice any of those things you should also replace the element and terminal block. You will need to replace your drip bowl if it is lost, damaged, or can no longer be cleaned. This replacement part is sold individually. To extend the life of your new drip bowl we recommend you clean it regularly with soap and water. We recommend only using the recommended drip bowl for your appliance; generic versions will not fit properly which could affect the performance of your elements and cause long-term damage.
Read less

$8.55
In Stock
Drip Bowl - 6 Inch
Part #WPW10196406
This drip bowl is used for electric cooktops and ranges, it is designed to sit under a 6-inch surface burner. It catches the drips and spills coming from the cookware on the surface burner. This drip bowl is chrome, and it has a diameter of 8 inches. You need to remove the burner element to replace this part. Line the hole up with the ele...Read morement terminal blocks, and ensure the new bowl is flush with the surface of the cooktop before replacing the burner element. Drip bowls need to be replaced when they are lost, damaged, or you are no longer able to clean them adequately. This replacement part is sold individually.
Read less

$19.54
In Stock
Light Bulb - 40W
Part #8009
This an authentic OEM 40-Watt replacement light bulb, used in a number of household appliances. It is specially designed to withstand extreme temperatures, which is why these replacement bulbs are most often used to light the inside of refrigerators and ranges. It features a standard socket base, which means you simply unscrew the burnt-o...Read moreut bulb and screw in the replacement. Depending on the appliance you may require a screwdriver or nut driver to access the light bulb. We recommend you wear work gloves while handling this replacement part. It is constructed of glass and metal and is sold individually. Depending on the appliance and location of the bulb within it, you may want to consider disconnecting power and using a flashlight for easier access to unscrewing and re-screwing in your bulb during this repair.
Read less

$15.00
In Stock
Drip Bowl - 6 Inch
Part #W10196406RW
If your element will not heat, there could be an issue with your drip bowl. This chrome drip bowl is 8 inches in diameter, and fits most electric ranges. Before you replace the drip bowl, make sure the element is turned off and cool to the touch. Installation is easy, just remove the element, replace the current drip bowl, and replace the...Read more element. Make sure the small hole on the bowl lines up with the element socket. The manufacturer has substituted this part, it now has a hole in the center, and no longer has a solid bottom. For a step by step guide, click the video below.
Read less

$75.13
In Stock
Evaporator Fan Motor
Part #WR60X31522
This 115-volt 60Hz evaporator fan motor is located in the back of the freezer and circulates air over the refrigerator coils. These coils will convert the heat into cool air, which is then circulated. If the motor has failed, the freezer/refrigerator will become too warm because the fan motor is not circulating the cool air from the freez...Read moreer into the refrigerator. This is a genuine OEM part. Please remember to disconnect the power to the appliance before starting your repair.
Read less

$51.61
In Stock
Oven Bake Element
Part #WP74003019
This is a 2800 watt, 240-volt Whirlpool oven bake element that is sourced directly from the original manufacturer for stoves, ovens, cooktops, or range ovens. This part should be replaced if the element is not heating, heating unevenly, or is too hot. It has a terminal distance of 16 inches with a terminal depth of 3 inches. Disconnect po...Read morewer to the oven before replacing the bake element. Unscrew the Phillips screws directly above the element brackets to remove the existing element, and remove the wire harness without losing the wires. It is recommended to inspect the wire terminals to ensure they are not arced or burnt while the element is removed.
Read less

$13.92
In Stock
Evaporator Fan Grommet - Red
Part #WR02X12008
If you notice that your refrigerator or freezer is noisy or too warm, you may need to replace the evaporator fan grommet. This part is red in color, and is about 1 inch in diameter. The evaporator fan grommet is located behind the evaporator fan cover in the back of the freezer. You will need to remove the evaporator fan cover to access t...Read morehe evaporator fan and complete this repair. Before you begin this repair, ensure the power to the refrigerator is disconnected. You will need a pair of needle nose pliers, a small flat blade screw driver and both a 1/4 and 5/16-inch nut driver to complete this repair.
Read less

$43.93
In Stock
Door Shelf Retainer Bar End Cap - Left or Right Side
Part #WR2X8345
This end cap is sold individually. It can be used for the right or left side of either the freezer or refrigerator door shelves.

$19.30
In Stock
Surface Burner Receptacle Kit
Part #12001676
The tools you will need to replace the surface burner receptacle kit on your range include a Phillips screw driver, and a pair of wire strippers. Before doing this repair, make sure to disconnect your appliance from the power supply and wear work gloves to protect your hands. The surface burner receptacle kit comes with a plastic block, h...Read moreigh temperature wire nuts, a metal bracket, and wires. This part functions as the connection between the wire harness and the surface element in your range.
Read less

$47.34
In Stock
Retainer Bar End Cap - Left or Right Side
Part #WR2X9144
This white plastic end cap is designed to secure the door shelf retainer bar in place within the refrigerator door, providing stability and preventing items from shifting or falling during use. Compatible with a variety of refrigerator models, it can be installed on either the left or right side of a 2-inch wide bottle bar. Its durable co...Read morenstruction ensures long-term reliability, while the snap-in design allows for quick and tool-free installation. Replacing a worn or missing end cap helps restore proper shelf function and maintains interior organization.
Read less

$82.61
In Stock

$16.05
In Stock
Evaporator/Condensor Fan Grommet
Part #WR02X10098
This evaporator fan motor grommet, or condenser fan grommet is built for refrigerators. It provides a cushion between the fan motor and the motor mounting bracket. It is made or round, black plastic and is approximately one inch in diameter. If your grommet is torn or damaged and you are getting noise from the fan motor, you may need to replace it. This is an OEM part sourced directly from the manufacturer.
Exact Part matches for your search term

No Longer Available
No Longer Available
No Longer Available
$186.22
Special Order
Common Symptoms of models starting with 3621
How this model fails, and the parts that fix it.
Noisy
Fixed by
these parts
these parts


Show All
Element will not heat
Fixed by
these parts
these parts


Show All
Little to no heat when baking
Fixed by
these parts
these parts


Show All
Fridge too warm
Fixed by
these parts
these parts


Show All
Light not working
Fixed by
these parts
these parts


Show All
Will Not Start
Fixed by
these parts
these parts

Show All
Freezer section too warm
Fixed by
these parts
these parts
Show All
Fridge and Freezer are too warm
Fixed by
these parts
these parts
Show All
Door won’t open or close
Fixed by
these parts
these parts


Show All
Clicking sound
Fixed by
these parts
these parts
Show All
Freezer not defrosting
Fixed by
these parts
these parts


Show All
Oven not heating evenly
Fixed by
these parts
these parts
Show All
Fridge too cold
Fixed by
these parts
these parts

Show All
Fridge runs too long
Fixed by
these parts
these parts
Show All
Oven is too hot
Fixed by
these parts
these parts
Show All
Door won’t close
Fixed by
these parts
these parts


Show All
Leaking
Fixed by
these parts
these parts

Show All
Too warm
Fixed by
these parts
these parts
Show All
Frost buildup
Fixed by
these parts
these parts
Show All
Won’t start
Fixed by
these parts
these parts

Show All
Door Sweating
Fixed by
these parts
these parts
Show All
Touchpad does not respond
Fixed by
these parts
these parts
Show All
Freezer too cold
Fixed by
these parts
these parts
Show All
Watch our pros, then fix it yourself.
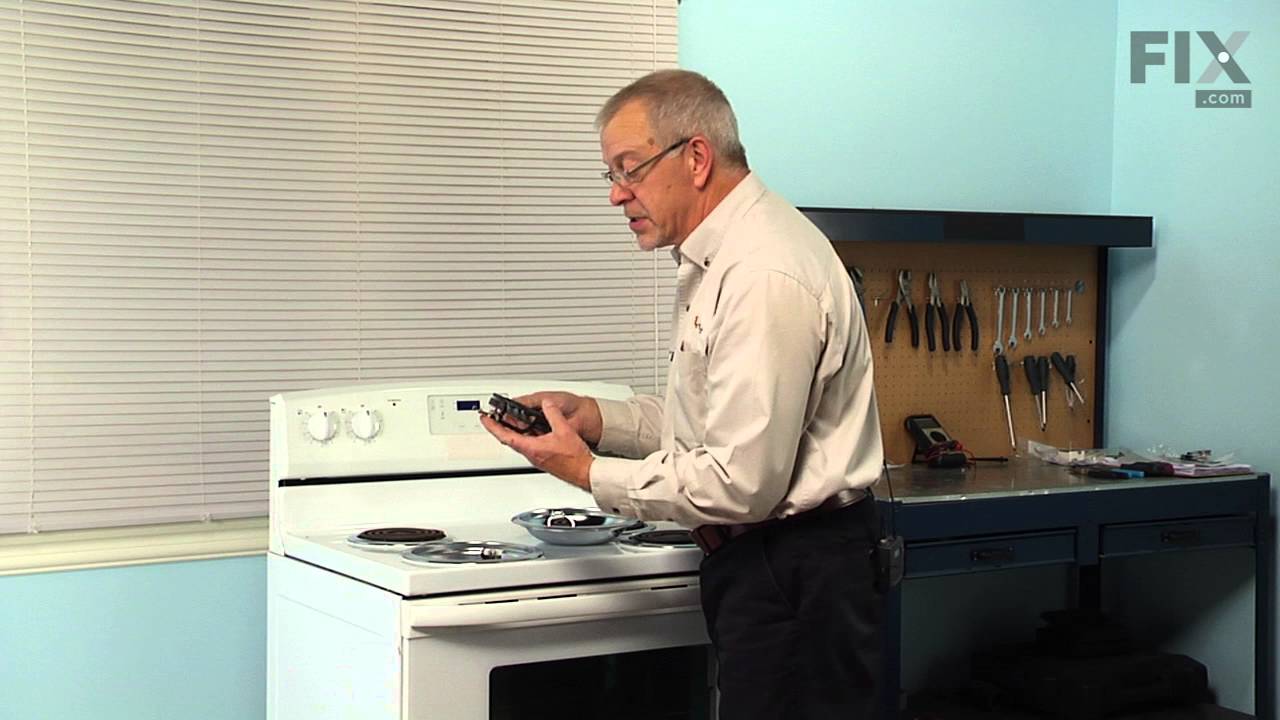
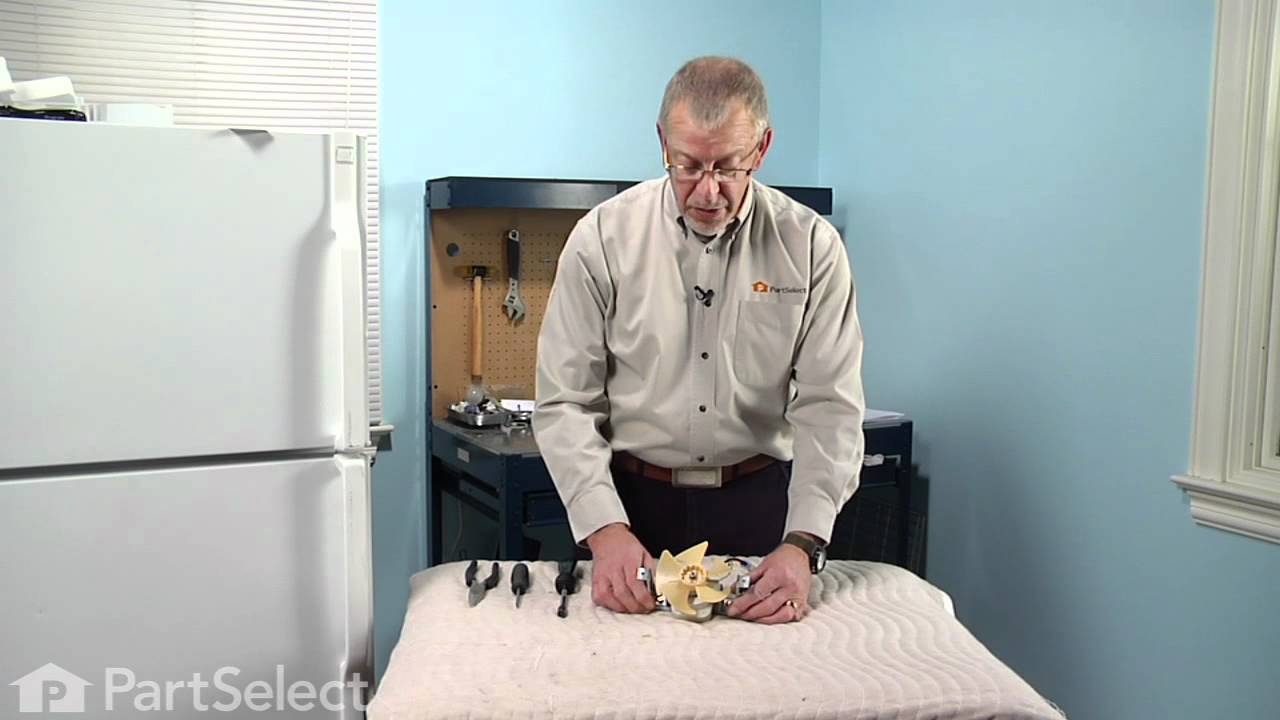
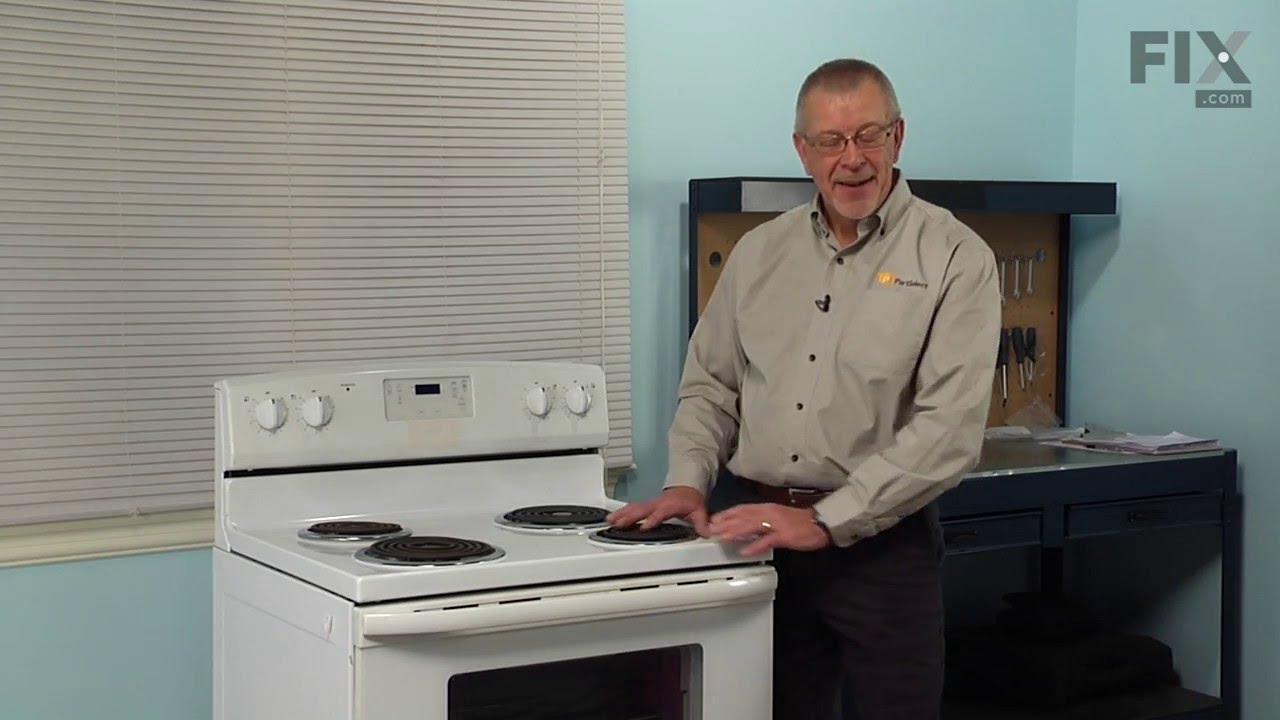

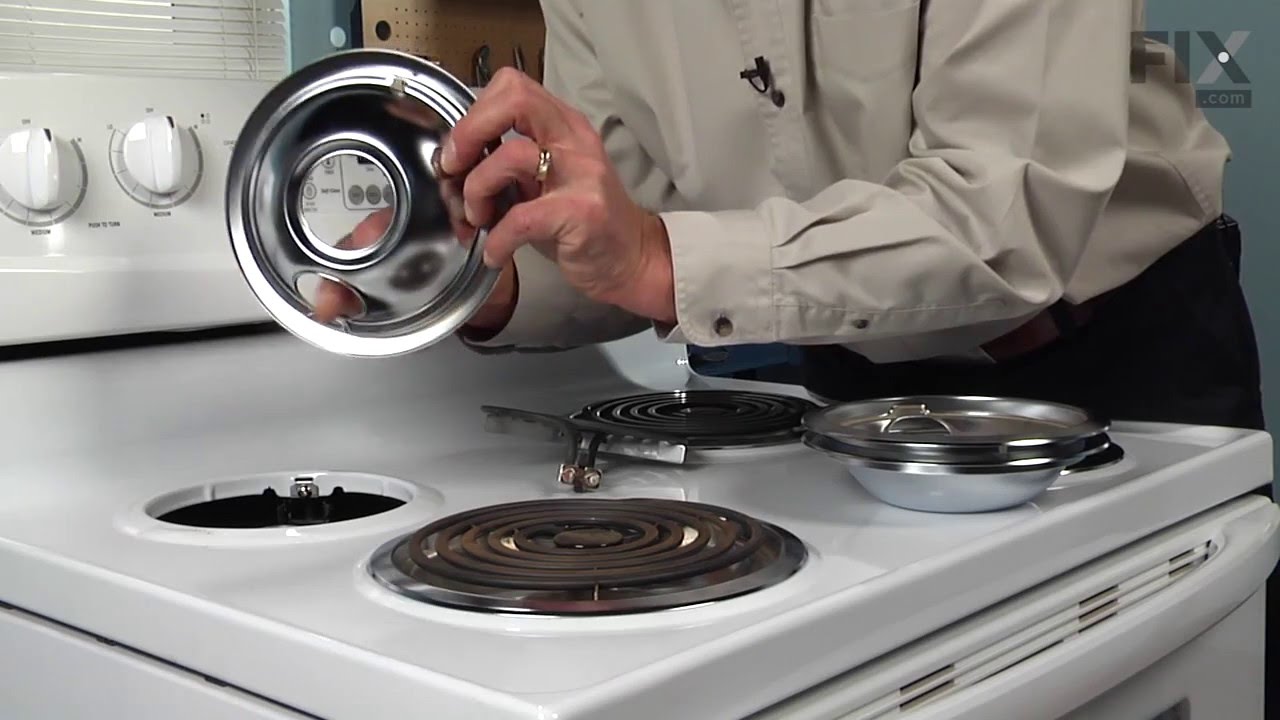
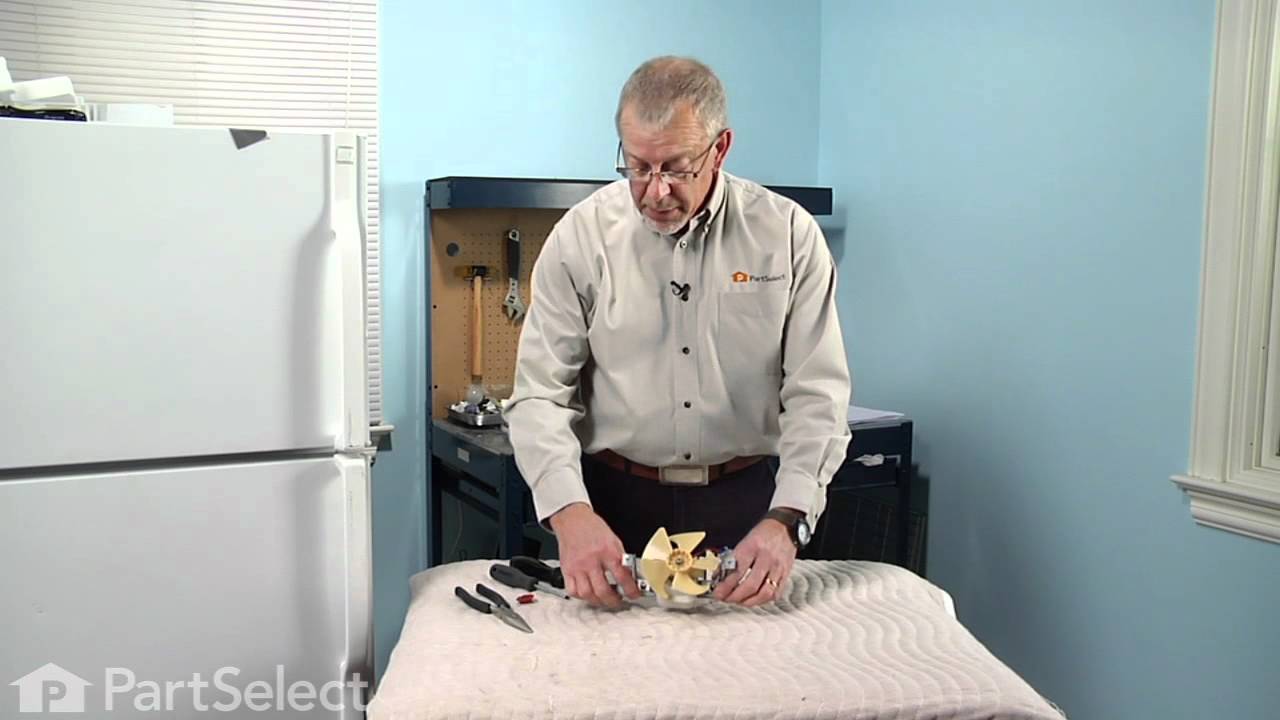
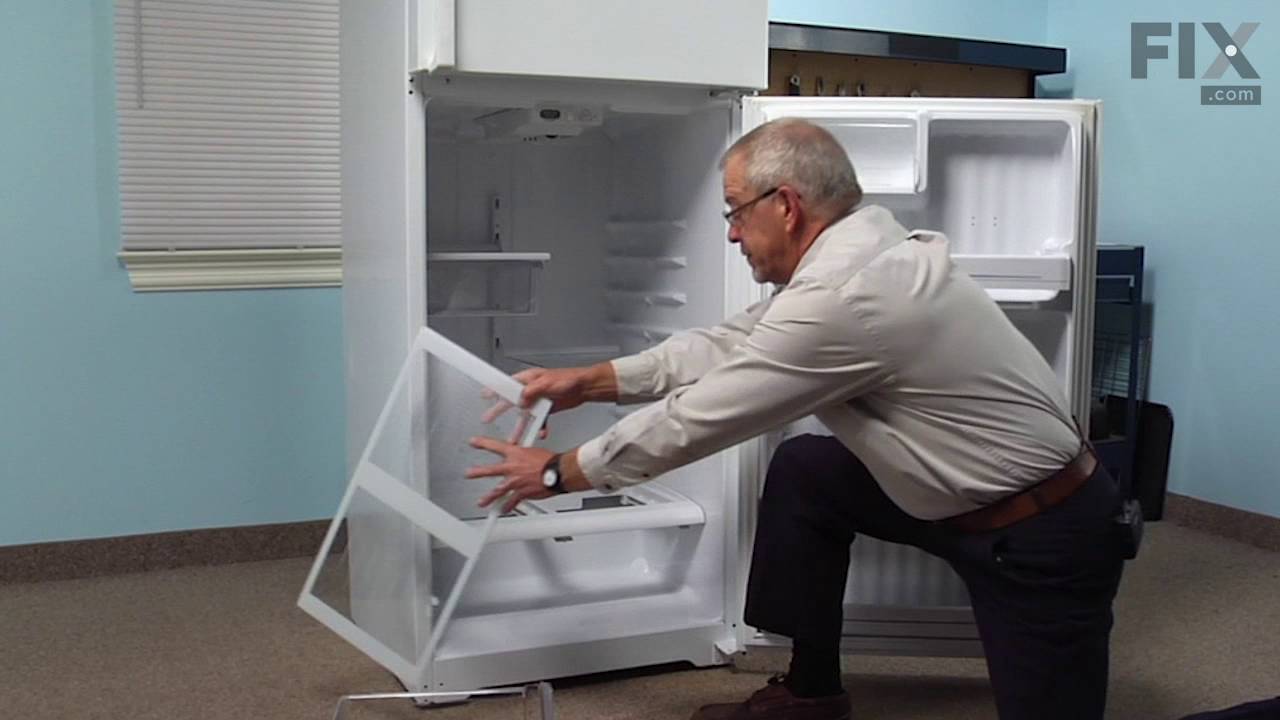
See how others fixed this model. Time, tools, difficulty, and steps that lead to victory!
View More
Search repair tips from other customers using simple keywords like "replace", "fit", "remove", "inspect". DIY doesn't mean you have to do it alone!
Search filter:
Clear Filter
Your search term must have 3 or more characters.
Drip bowls were burned and tacky
473 of 483 people
found this instruction helpful.
First I removed the old bowls and replaced them with the new.
Other Parts Used:
Was this helpful?
Thank you for voting!
Drip bowls needed to be replaced
455 of 546 people
found this instruction helpful.
took old bowls out, put new bowls in, took a coffee break
Other Parts Used:
Was this helpful?
Thank you for voting!