



 My Orders




36211XBMFRWW General Electric Refrigerator - Overview


Enter a part description. DIY Heroes keep it simple, eg. "belt" or "pump".
Search filter:
Clear Filter
Your search term must have 3 or more characters.

$75.13
In Stock
Evaporator Fan Motor
Part #WR60X31522
This 115-volt 60Hz evaporator fan motor is located in the back of the freezer and circulates air over the refrigerator coils. These coils will convert the heat into cool air, which is then circulated. If the motor has failed, the freezer/refrigerator will become too warm because the fan motor is not circulating the cool air from the freez...Read moreer into the refrigerator. This is a genuine OEM part. Please remember to disconnect the power to the appliance before starting your repair.
Read less

$13.92
In Stock
Evaporator Fan Grommet - Red
Part #WR02X12008
If you notice that your refrigerator or freezer is noisy or too warm, you may need to replace the evaporator fan grommet. This part is red in color, and is about 1 inch in diameter. The evaporator fan grommet is located behind the evaporator fan cover in the back of the freezer. You will need to remove the evaporator fan cover to access t...Read morehe evaporator fan and complete this repair. Before you begin this repair, ensure the power to the refrigerator is disconnected. You will need a pair of needle nose pliers, a small flat blade screw driver and both a 1/4 and 5/16-inch nut driver to complete this repair.
Read less

$47.34
In Stock
Retainer Bar End Cap - Left or Right Side
Part #WR2X9144
This white plastic end cap is designed to secure the door shelf retainer bar in place within the refrigerator door, providing stability and preventing items from shifting or falling during use. Compatible with a variety of refrigerator models, it can be installed on either the left or right side of a 2-inch wide bottle bar. Its durable co...Read morenstruction ensures long-term reliability, while the snap-in design allows for quick and tool-free installation. Replacing a worn or missing end cap helps restore proper shelf function and maintains interior organization.
Read less

$16.05
In Stock
Evaporator/Condensor Fan Grommet
Part #WR02X10098
This evaporator fan motor grommet, or condenser fan grommet is built for refrigerators. It provides a cushion between the fan motor and the motor mounting bracket. It is made or round, black plastic and is approximately one inch in diameter. If your grommet is torn or damaged and you are getting noise from the fan motor, you may need to replace it. This is an OEM part sourced directly from the manufacturer.

$21.95
In Stock
Light Bulb - 40W
Part #40A15
This 40-Watt light bulb is sold individually.
It is specially designed to withstand extreme temperatures, so this bulb is compatible with a variety of appliance types including refrigerators, ranges, microwaves, and dryers. It features a frosted glass bulb with a standard metal socket base, which allows you to easily unscrew the burnt-out light and twist the new bulb into place.

$38.32
In Stock
LIGHT SWITCH
Part #WR23X37285
The interior light of your refrigerator is controlled by a switch that is activated when the door is opened and closed. If your refrigerator light will not turn on, there could be an issue with the switch. The switch is spring loaded and is a generally closed type of switch meaning there should be no continuity when the button is depresse...Read mored, and continuity through the switch when the button is not depressed. This plastic, white, OEM switch is sourced directly from the manufacturer, is sold individually and is easy to replace. The repair usually takes less than 15 minutes and requires a flat blade screwdriver and needle nose pliers.
Read less

$16.05
In Stock
Compression Ring
Part #WR02X12149
This compression ring is meant to hold the evaporator fan motor in place in the freezer compartment of your refrigerator. This is is a genuine OEM part. The tools needed to complete this repair are a Phillips screw driver and small flat blade screw driver. Be sure to turn off your refrigerator before removing the evaporator fan cover so t...Read morehe fan does not turn on during repair. It is recommended to check the grommets, evaporator fan, and fan blades during repair in case they also need replacning. The compression ring may need replacing if the fan is noisy, or the refrigerator compartments are too warm. This part is sold individually.
Read less

$29.32
In Stock

$16.05
In Stock
Lid Bumper
Part #WR02X10540
The lid bumper or evaporator fan motor bumper in your refrigerator prevents the fan motor from scraping against the side bracket. If your refrigerator/freezer is noisy, the bumper could be worn down or missing, and the sound could be a result of the motor scraping the side bracket. You will find it between the fan motor and the side brack...Read moreet on the evaporator fan motor assembly. To access the bumper, you will need to remove the evaporator fan motor assembly from the freezer. This part is made of orange rubber and is less than half an inch in diameter. It has a rounded top and a slightly pointed bottom, and is sold individually.
Read less

$61.39
In Stock
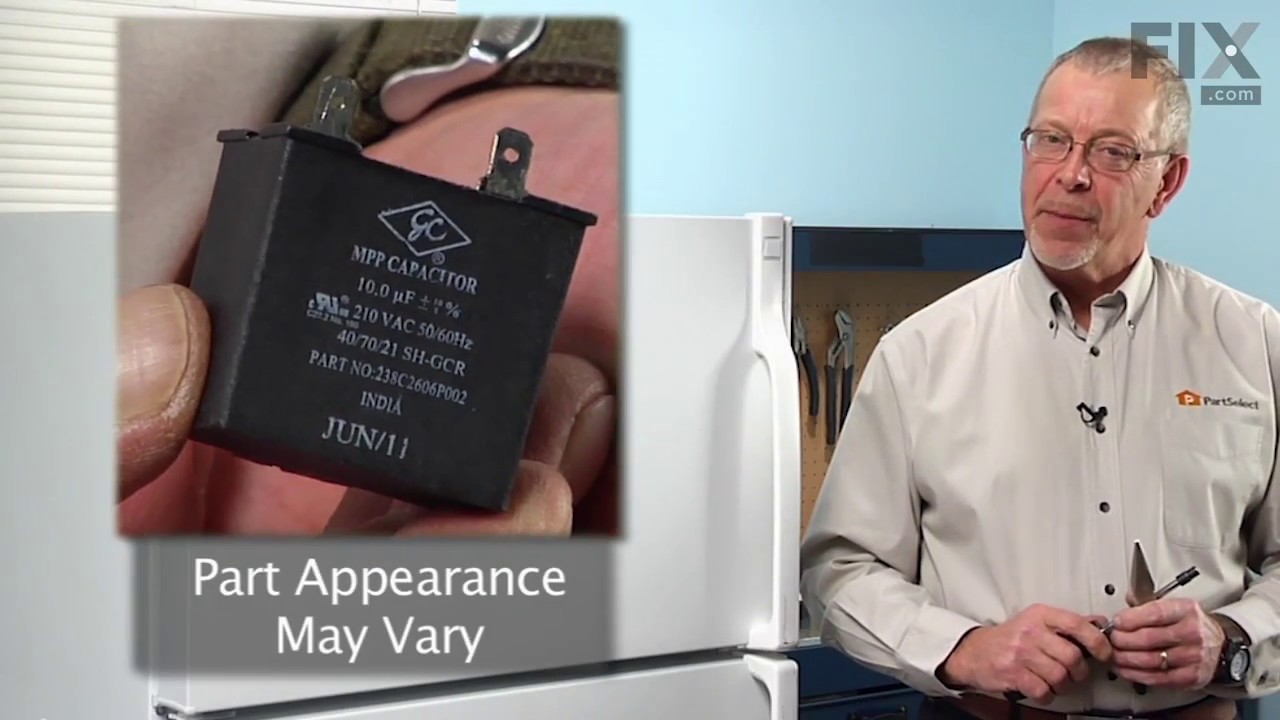
Run Capacitor
Part #WR55X24064
This part helps the compressor kick on and off while maintaining a constant temperature to keep things frozen in your freezer. This part has been updated by the manufacturer and may appear different than the original, but should function the same.

$42.82
In Stock
Front Door Shelf Retainer Bar
Part #WR17X3691
This refrigerator door shelf bar is designed to replace broken or worn-out bars in compatible GE refrigerator models. It helps secure items stored on the door shelves, preventing spills and maintaining organized storage. Constructed from durable, food-safe plastic, the bar is engineered to withstand daily use and temperature fluctuations ...Read morewithin the refrigerator. Installation is simple and requires no tools—just snap the bar into place on the designated shelf brackets. Its clean, neutral finish blends seamlessly with most refrigerator interiors, restoring both function and appearance.
Read less

$32.64
In Stock
Door Shelf Retainer Bar End Cap
Part #WR2X9162
This is a replacement shelf bar end cap. The end cap connects to the shelf bar on either side, and then snaps into position on the freezer door. This will allow you to store items in the freezer door. It is a little more than 2 inches long and is made of white plastic. To replace the end cap, you can simply depress the locking tab and rem...Read moreove the entire bar and end cap assembly. Then, use a flat blade screwdriver to depress the locking tab, and the endcap will detach. Finally, snap the new end cap locking tabs into place, and snap the bar assembly back onto the freezer door. This product is sold individually.
Read less
Common Symptoms of the 36211XBMFRWW
How this model fails, and the parts that fix it.
Noisy
Fixed by
these parts
these parts


Show All
Fridge too warm
Fixed by
these parts
these parts


Show All
Light not working
Fixed by
these parts
these parts


Show All
Will Not Start
Fixed by
these parts
these parts

Show All
Freezer section too warm
Fixed by
these parts
these parts

Show All
Clicking sound
Fixed by
these parts
these parts
Show All
Fridge and Freezer are too warm
Fixed by
these parts
these parts

Show All
Fridge too cold
Fixed by
these parts
these parts
Show All
Freezer not defrosting
Fixed by
these parts
these parts

Show All
Door won’t open or close
Fixed by
these parts
these parts


Show All
Fridge runs too long
Fixed by
these parts
these parts
Show All
Too warm
Fixed by
these parts
these parts
Show All
Frost buildup
Fixed by
these parts
these parts
Show All
Door Sweating
Fixed by
these parts
these parts
Show All
Leaking
Fixed by
these parts
these parts

Show All
Won’t start
Fixed by
these parts
these parts
Show All
Watch our pros, then fix it yourself.
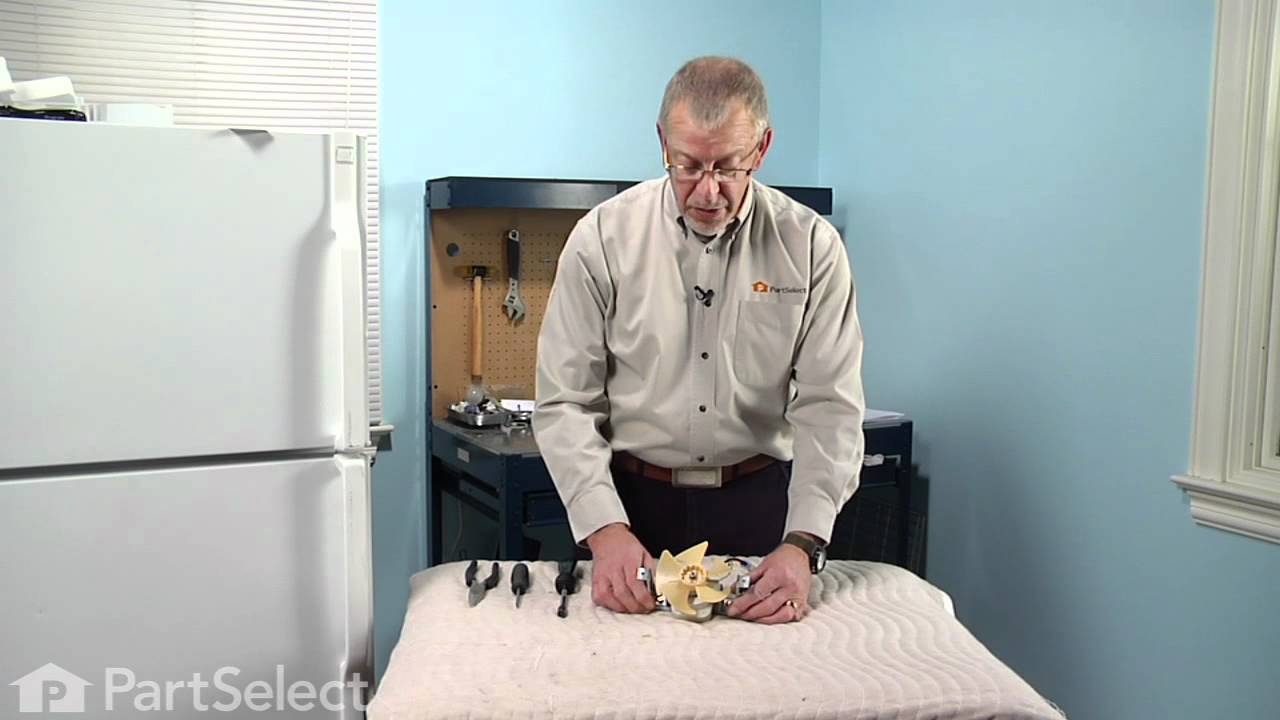
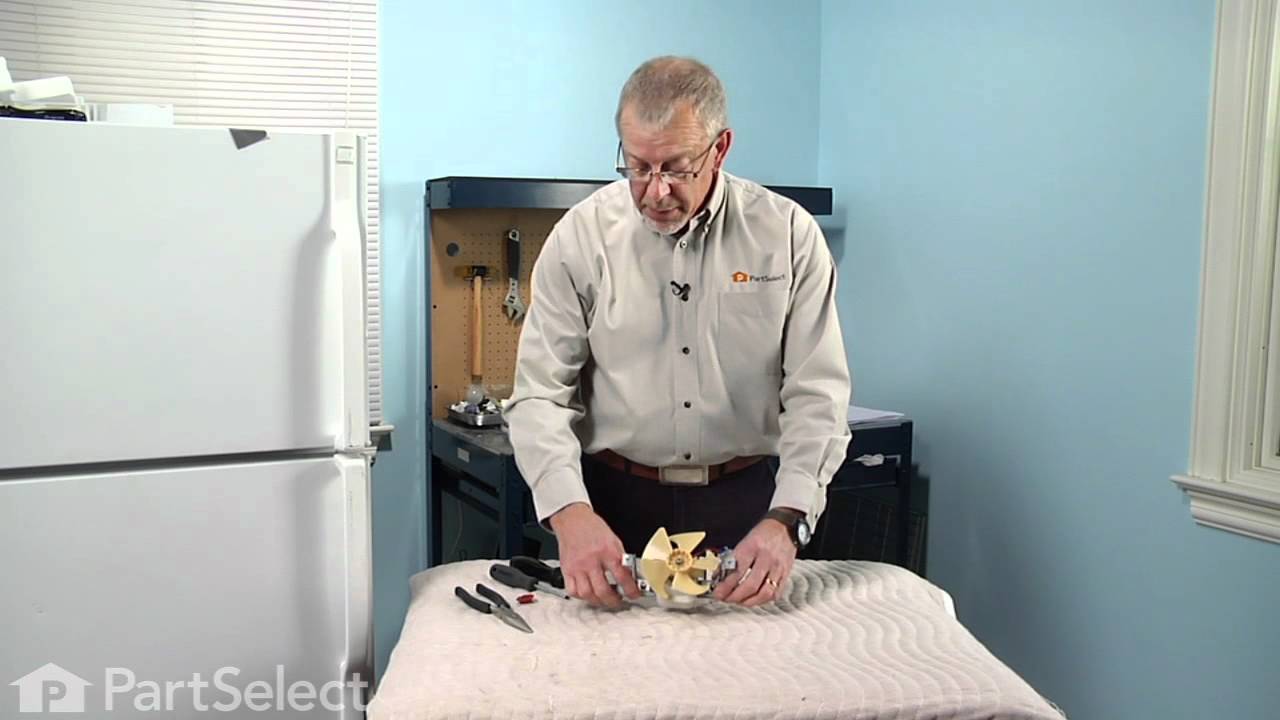
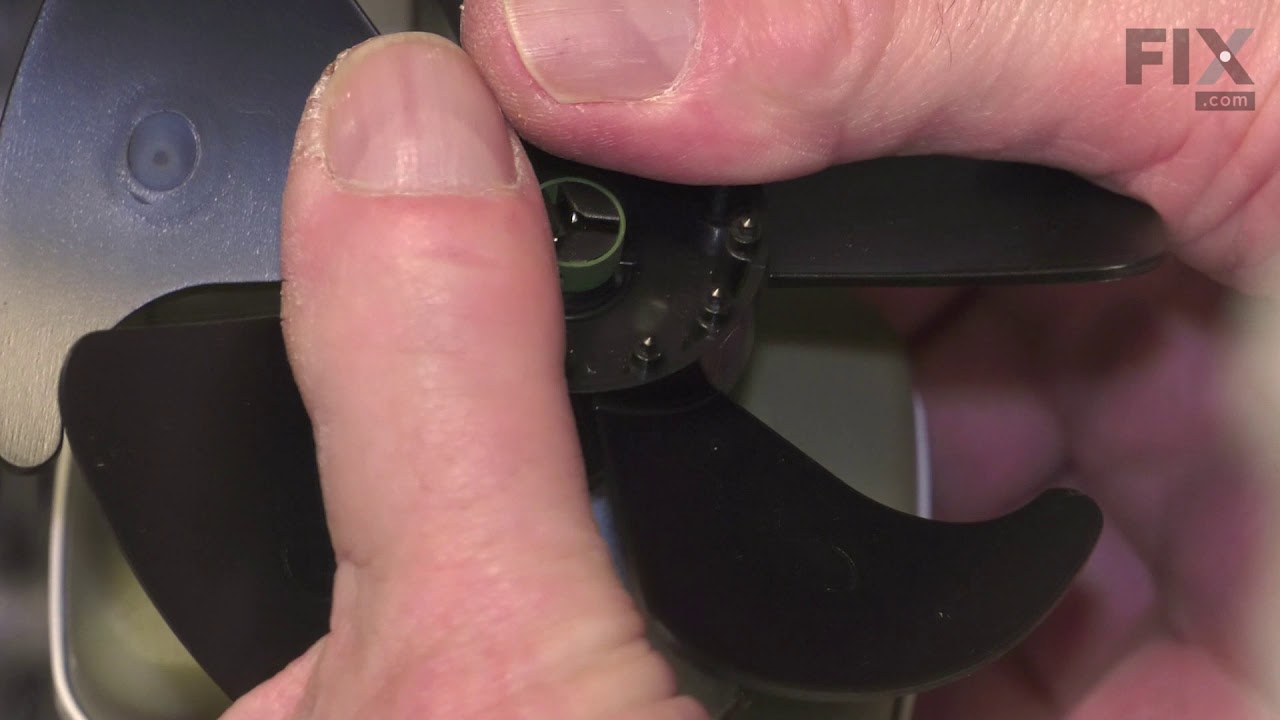

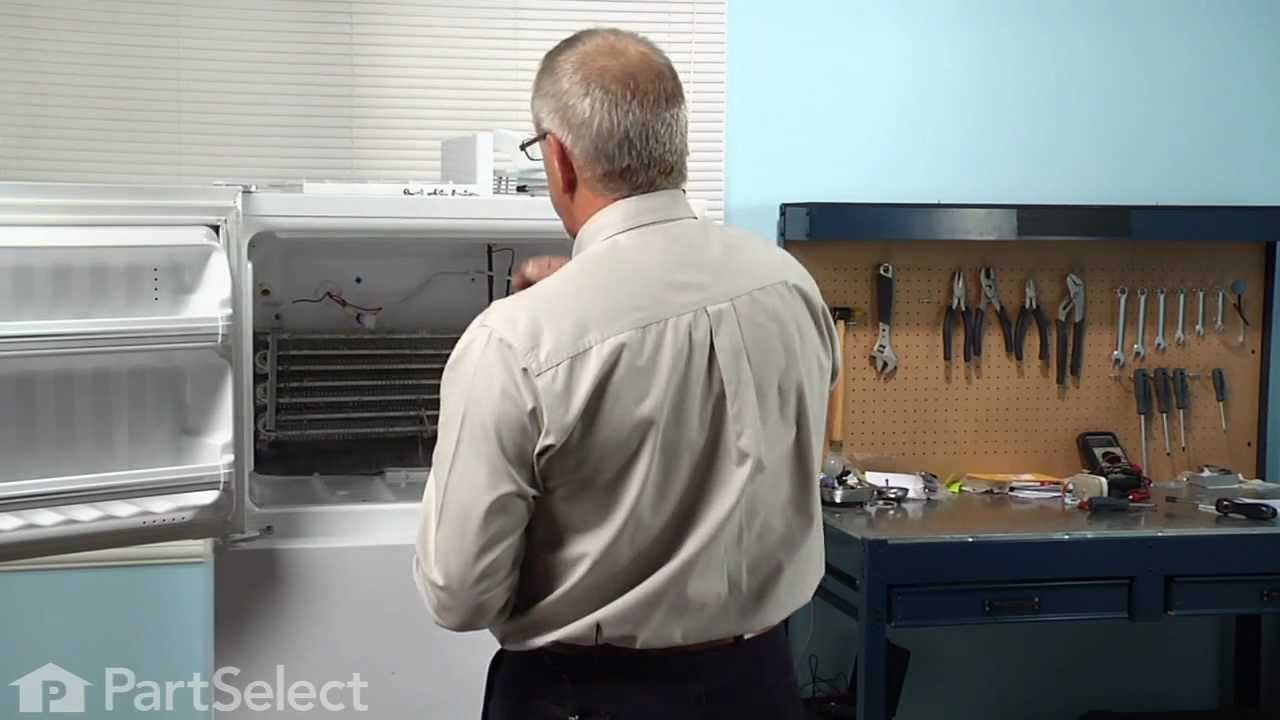
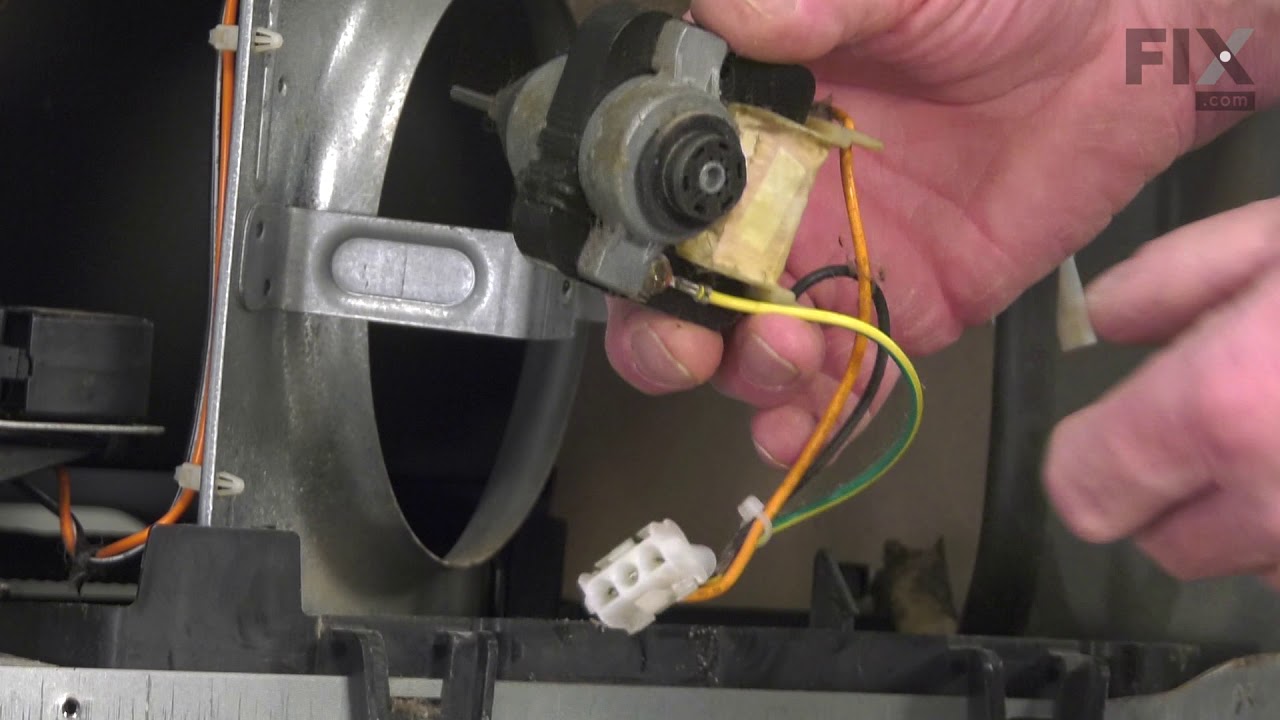

See how others fixed this model. Time, tools, difficulty, and steps that lead to victory!
View More
Search repair tips from other customers using simple keywords like "replace", "fit", "remove", "inspect". DIY doesn't mean you have to do it alone!
Search filter:
Clear Filter
Your search term must have 3 or more characters.
evaporator fan making lots of noise
122 of 150 people
found this instruction helpful.
the repair was really easy!!! took longer to put the little clip on the fan part than it was to install the whole moter and put everthing back together
save money do it yourself.....
save money do it yourself.....
Other Parts Used:


Was this helpful?
Thank you for voting!