


 My Orders




319-9 MTD - Overview
Models starting with 319-9
Click on the best match to narrow your results.
- 319-908 MTD Lawn Mower (MTD Lawn Mower Model 319-908 (319908, 319 908) Parts)
- 319-908 ( 116-418C134 1996 ) MTD Lawn Mower (Walk-Behind Mower)
- 319-908 ( 116-418C129 1996 ) MTD Lawn Mower (Walk-Behind Mower)
- 319-911 ( 136L660G129 1996 ) MTD Lawn Mower (Lawn Tractor)
- 319-911 ( 136L660G134 1996 ) MTD Lawn Mower (Lawn Tractor)
- 319-911 MTD Lawn Mower (MTD Lawn Mower Model 319-911 (319911, 319 911) Parts)
- 319-960-000 (1989) MTD Snow Blower (Snowblower)
- 319-960-027 MTD Snow Blower (MTD Snowblower Model 319-960-027 (319960027, 319 960 027) Parts)
- 319-960-027 (1989) MTD Snow Blower (Snowblower)
- 319-960-050 (1989) MTD Snow Blower (Mtd Snow Thrower)
- 319-960-050 MTD Snow Blower (Snowblower)
- 319-960-206 MTD Snow Blower (MTD Snowblower Model 319-960-206 (319960206, 319 960 206) Parts)
- 319-960-206 (1989) MTD Snow Blower (Snow Thrower)
- 319-960-327 (1989) MTD Snow Blower (Snow Thrower)
- 319-960-327 MTD Snow Blower (MTD Snowblower Model 319-960-327 (319960327, 319 960 327) Parts)
Enter a part description. DIY Heroes keep it simple, eg. "belt" or "pump".
Search filter:
Clear Filter
Your search term must have 3 or more characters.

$34.74
In Stock
Mulching Blade
Part #942-0741A
This authentic replacement blade is manufactured for use with Craftsman walk-behind lawnmowers and is designed to deliver clean, efficient cuts. Measuring 21 inches in length, the blade features an angled design that promotes optimal airflow, allowing grass clippings to circulate through the cutting deck for effective side discharge and m...Read moreulching. Over time, mower blades can dull or wear down, leading to torn grass blades and a less polished lawn appearance. Replacing a worn blade with this high-quality part ensures a sharper, cleaner cut that keeps your lawn looking its best. This blade is sold individually.
Read less

$6.40
In Stock
Carriage Bolt 5/16-18 x 3/4" Lg.
Part #710-0451
This carriage bolt measures 5/16-18 x .75 and fastens two parts in your machine together. It has a round domed head and a square underside so the bolt does not rotate once it has been secured into place. If it has signs of deformation or wear, you will need to replace it. To unthread this bolt, you need an adjustable wrench to loosen the ...Read morenut found on the end of the bolt. You may need to apply a lubricating oil to the bolt if it is stuck. You may need to clamp down on the head of the bolt with pliers while continuing to turn the nut counterclockwise. You can then slide the carriage bolt out of its hole or tap it gently with a hammer. This bolt is a standalone product and the nut is not included. This bolt was sourced directly from its manufacturer.
Read less

$6.40
In Stock
Lawn Mower Hex Washer Head Screw
Part #710-0599
This is an original replacement part sourced directly from the manufacturer. The screw is commonly found in yard equipment from Craftsman, such as lawn tractors, snow blowers, and edgers. This part is made of metal, and may be found in various locations in the machine, depending on model. Please be aware that there are different screws...Read more used in the machine. Refer to the parts diagram to be sure of ordering the correct part. You will require a wrench when replacing this item. The screw is sold as an individual replacement part.
Read less

$6.40
In Stock
Bell Blade Support
Part #736-0524B-1
The Blade Support (Bell Blade Support) fits between the bottom of the blade and the blade bolt to provide support for the blade. It is installed underneath the cutting deck on the blade. Installation requires a hammer, 5/8 socket and torque wrench, and is rated as "Easy" by our customers. If broken or damaged (likely due to fatigue) you m...Read moreay hear a rattling sound coming from it, and the part should be replaced. This part is dark gray/silver, individually sold, and measures approx 3.5 x 1.25 inches. Refer to your make, model and diagrams to check if this is the correct part for you.
Read less

$42.70
Special Order
Control Box-thrott
Part #831-0823A
The Throttle Box Assembly, or the Throttle Assembly, is a kit that includes the housing, handle, and hardware. It is black and constructed of steel and plastic. It can be installed onto the right hand upper handle, using a screwdriver and pliers, and is rated as Medium difficulty to install.
This kit contains the parts that control the ...Read moreamount of the air and fuel entering the engine. When the part breaks (likely due to fatigue) you will no longer be able to control the engine. If nothing happens when you move the handle, that means it has become disconnected. When the part is broken it must be replaced. Check your model number to ensure you are selecting the correct replacement part.
Read less

$6.40
In Stock
Chute Flange Keeper
Part #731-0851A
This chute flange keeper is sourced from the original equipment manufacturer for use in snowblowers. The plastic keeper allows the snowblower chute to pivot, and secures the flange that connects the chute to the blower frame and holds it in place during use. Over time the flange keeper can break or fall off, which causes the chute to disl...Read moreodge or shift from its position. If you notice that debris is discharged in the wrong direction, and you have difficulties adjusting the chute then this is a sign that the flange keeper is no longer functioning as it should. Clean the chute flange and surrounding area before placing the new keeper on. Use a pair of pliers to align the the holes on the flange keeper with the holes on the chute and lock it in place.
Read less

$16.99
In Stock
Spring Lever: Front Wheel
Part #94832
The Lever and Knob Assembly (or Front Wheel Height Adjuster) is used to adjust the front height of the mower, and attaches on the front wheels. It can be installed using a socket set and wrench set, and is rated as "easy" to install by our customers. If broken or damaged (likely due to general wear over time) you will no longer be able to...Read more move it to make adjustments, and the part should be replaced. This black, plastic part is sold individually. Refer to your make, model and diagrams to ensure this part fits your machine.
Read less

$6.40
In Stock
Screw, 3/8-24 x 1.50 (w/25mm Blade Adapter)
Part #710-1044
The hex bolt attaches to the washer and the square key. This part is an OEM from Craftsman for use in snowblowers and lawn mowers. It is available as an individual replacement part and is made of metal. If this item becomes broken or stripped it will need to be replaced and may require a socket set during the installation.

$6.40
In Stock
Bushing-.380 Id
Part #941-0475
This is an authentic OEM part for Craftsman lawn and garden equipment. This bushing has an internal diameter of 0.380", is made of durable black plastic, is not part of an assembly or kit, and is sold individually. The purpose of this bushing is to ensure there is a tight fit between parts.
A common sign this part needs to be replaced i...Read mores if you notice any parts loosely connected or detached. This part will become worn through regular use of the machine. It is located in various areas, depending on your model. Refer to your owner's manual for the exact location. You will need a wrench and pliers to complete this repair.
Customers rate this repair as Medium difficulty.
Read less

$6.40
Special Order
Lawn Mower Hex Flange Bearing
Part #941-0656A

$10.54
In Stock
Lawn Mower Plastic Flange Bearing
Part #741-0487C
Made of durable silver plastic, this Flange Bearing is an authentic manufacturer-source replacement part for hundreds of models of lawn and garden equipment. It is used to allow a shaft to connect while moving smoothly and freely and is sold individually.
When this part malfunctions, you may notice the shaft becomes very sloppy or comes...Read more disconnected. To complete this repair, you will need a screwdriver, a socket set, and pliers.
Customers rate this repair as Medium difficulty.
Read less

$77.44
In Stock
Steering Shaft Assembly
Part #738-0919B
This genuine Steering Shaft is designed to fit all the Lawn Tractor models listed below. It features a 5/8" spline and measures 21.86 inches in length, ensuring a precise fit and reliable performance. A common reason for replacement is wear or stripping of the gear on the shaft, which can lead to steering issues.
Before replacing the s...Read morehaft, it’s recommended to inspect the Steering Gear Segment (Part #717-0622C) to determine if it also needs replacement. Replacing both components together can help restore smooth and accurate steering.
Read less
Exact Part matches for your search term
No Longer Available
Common Symptoms of models starting with 319-9
How this model fails, and the parts that fix it.

Watch our pros, then fix it yourself.
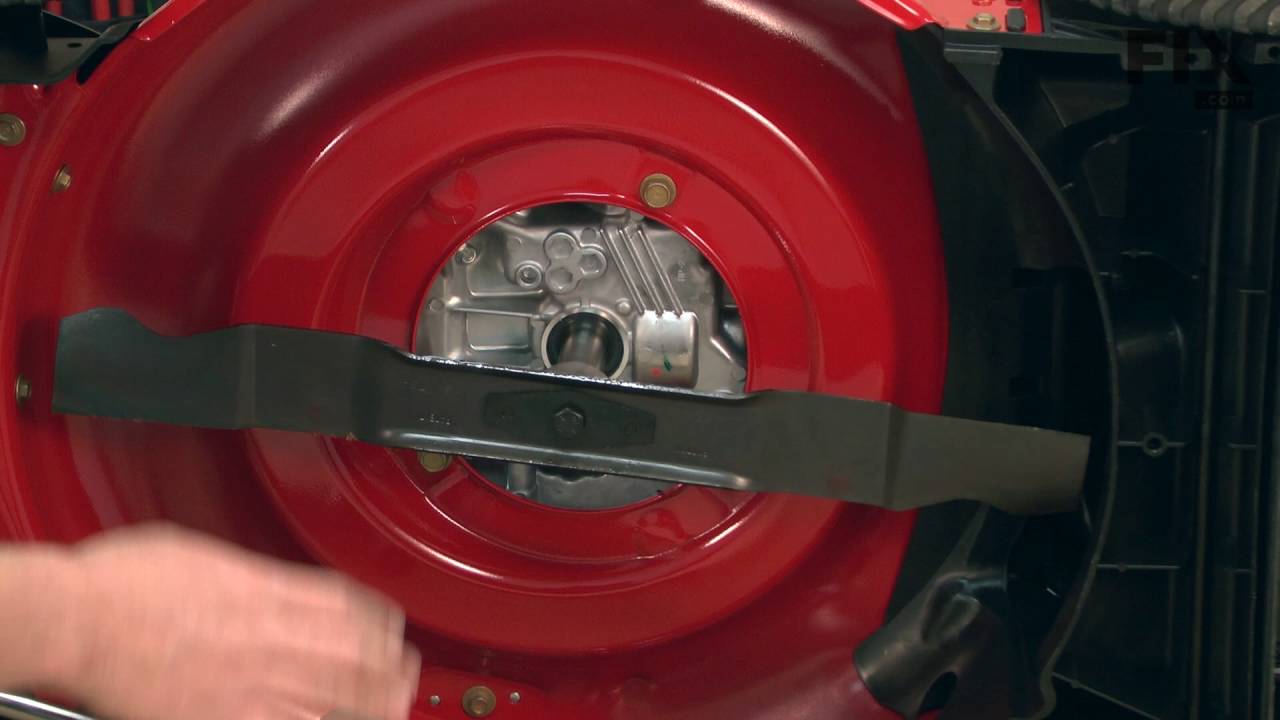
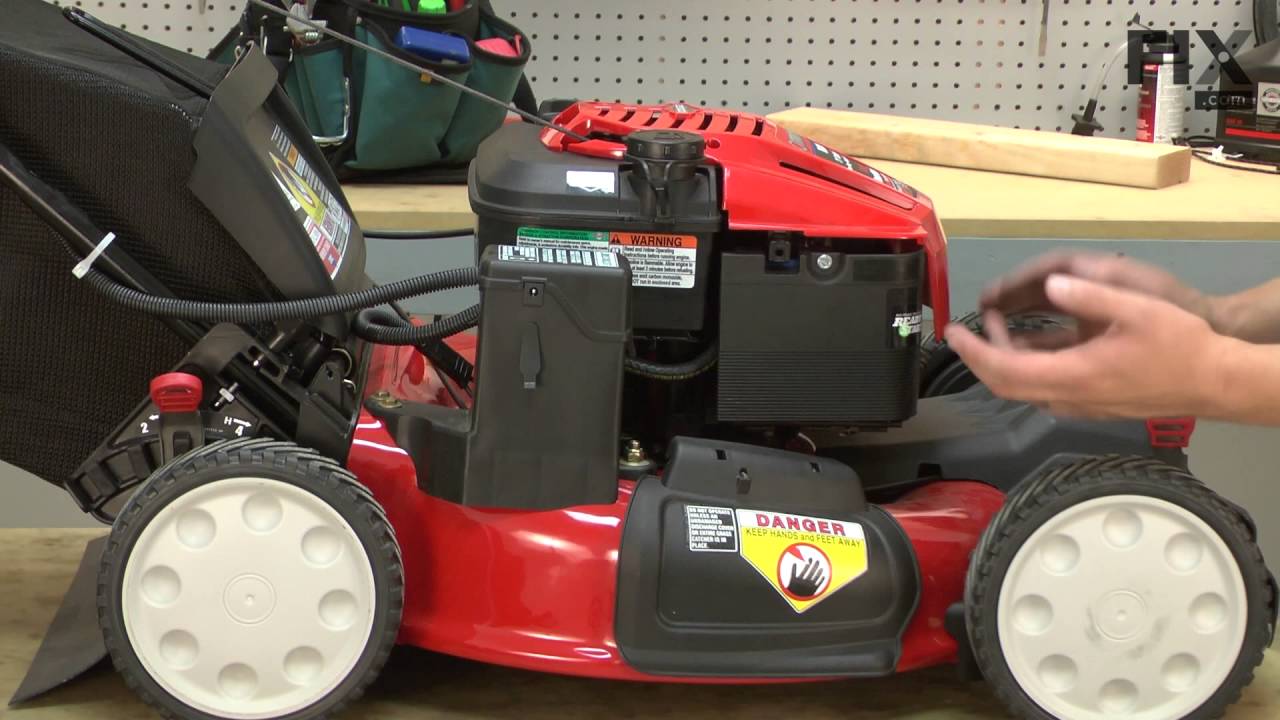

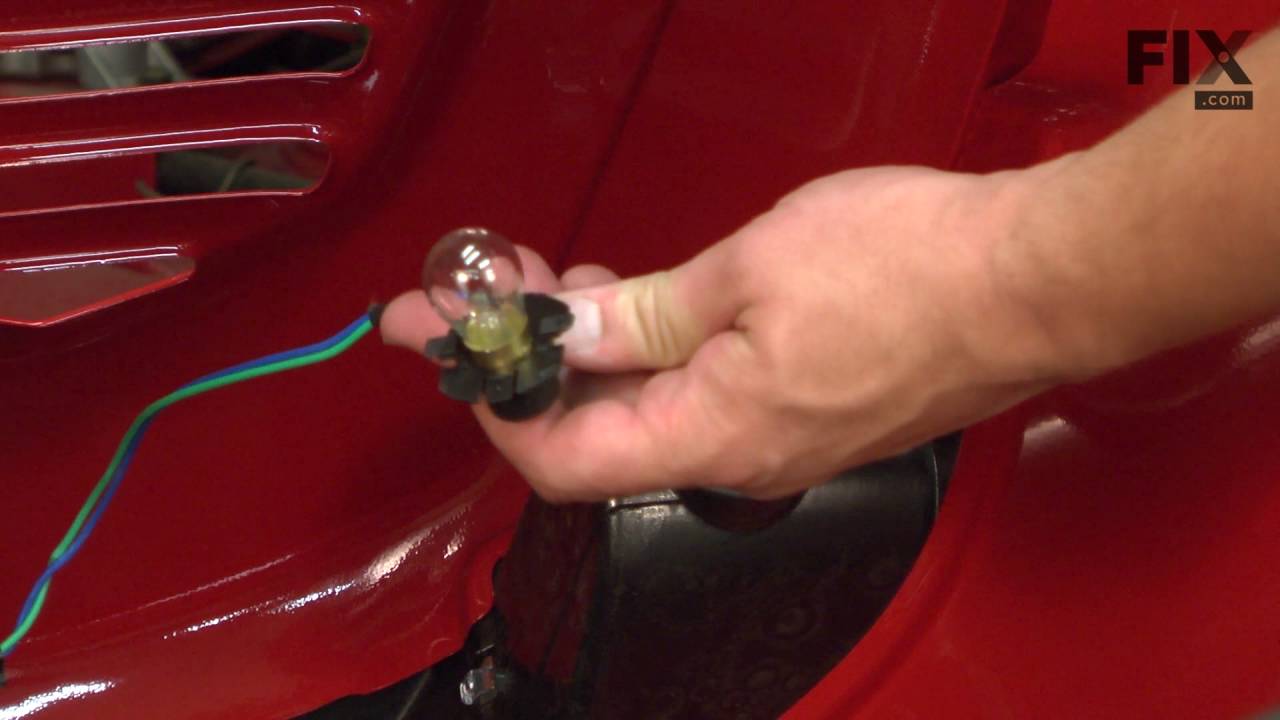
See how others fixed this model. Time, tools, difficulty, and steps that lead to victory!
View More