


 My Orders




3141 - Overview
Models starting with 3141
Click on the best match to narrow your results.
- 31410 Chapin Sprayer (Chapin 31410: 1-Gallon Tri-Poxy Steel Lawn And Garden Tank Sprayer)
- 31411 (0000001 - 0999999) Toro Snow Blower (Snow Pup)
- 31411 (9000001-9999999 - 1969) Toro Snow Blower (Snowthrower)
- 31411 (8000001-8999999 - 1968) Toro Snow Blower (Snowthrower)
- 31411 (1000001-1999999 - 1971) Toro Snow Blower (Snowthrower)
- 31411 (0000001-0999999 - 1970) Toro Snow Blower (Snowthrower)
- 31411 (1000001 - 1999999) Toro Snow Blower (Snow Pup)
- 31411 (9000001 - 9999999) Toro Snow Blower (Snow Pup)
- 31411 (8000001 - 8999999) Toro Snow Blower (Snow Pup)
- 31412 (4000001 - 4999999) Toro Snow Blower (Snow Pup)
- 31412 (2000001 - 2999999) Toro Snow Blower (Snow Pup)
- 31412 (3000001 - 3999999) Toro Snow Blower (Snow Pup)
- 31412 (5000001-5999999 - 1975) Toro Snow Blower (Snowthrower)
- 31412 (4000001-4999999 - 1974) Toro Snow Blower (Snowthrower)
- 31412 (3000001-3999999 - 1973) Toro Snow Blower (Snowthrower)
- 31412 (2000001-2999999 - 1972) Toro Snow Blower (Snowthrower)
- 31412 (ABWESEU) LG Washer Dryer Combo (Washer-Dryer)
- 31412 (5000001-5999999) Toro Snow Blower (31412/Serial: 5000001-5999999)
- 31416 Hamilton Beach Deep Fryer (Sure-Crisp® Air Fryer 6 Slice Toaster Oven (31416))
- 31416G Hamilton Beach Deep Fryer (Sure-Crisp® Air Fryer 6 Slice Toaster Oven (31416g))
- 31418 Hamilton Beach Deep Fryer (Sure-Crisp® Air Fryer Countertop Toaster Oven, Stainless Steel (31418))
- 31418G Hamilton Beach Toaster Oven (Sure-Crisp® Air Fryer Countertop Toaster Oven, Stainless Steel (31418g))
- 3141XRA Magic Chef Range (Gas)
- 3141XRW Magic Chef Range (Gas)
- 3141XTA Magic Chef Range (Gas)
- 3141XTW Magic Chef Range (Gas)
Enter a part description. DIY Heroes keep it simple, eg. "belt" or "pump".
Search filter:
Clear Filter
Your search term must have 3 or more characters.

$19.54
In Stock
Light Bulb - 40W
Part #8009
This an authentic OEM 40-Watt replacement light bulb, used in a number of household appliances. It is specially designed to withstand extreme temperatures, which is why these replacement bulbs are most often used to light the inside of refrigerators and ranges. It features a standard socket base, which means you simply unscrew the burnt-o...Read moreut bulb and screw in the replacement. Depending on the appliance you may require a screwdriver or nut driver to access the light bulb. We recommend you wear work gloves while handling this replacement part. It is constructed of glass and metal and is sold individually. Depending on the appliance and location of the bulb within it, you may want to consider disconnecting power and using a flashlight for easier access to unscrewing and re-screwing in your bulb during this repair.
Read less

$50.56
On Order
Flat Style Oven Igniter Kit
Part #12400035
The flat style oven igniter kit is used in gas ovens and ranges. It is what provides the heat needed to open the gas valve, and it ignites fuel for the burner assembly. This part can be used for both bake and broil elements, and it can replace both short and long igniters. However, it cannot replace round style oven igniters. If your igni...Read moreter glows for 90 seconds or more without igniting the burner, this means it is too weak to open the valve. The element in your igniter may have shorted it and it might not glow at all, or it might only glow orange or red. It needs to glow white hot; if it cannot get hot enough the gas will not be released from the safety valve and it will be impossible to light the burner in your oven. This kit includes the igniter, ceramic wire nuts, an insulation pad, a metal bracket, a variety of plug ends, and an instruction sheet. The body length is 3 3/4 inches, and the element inside is approximately 1 1/2 inches. This replacement part has an amperage range of 3.3 to 3.6. The element inside this igniter is extremely fragile, do not touch it. Before you start repairing your oven or range, make sure you have unplugged it and shut off the gas supply.
Read less

$21.45
In Stock
Screw
Part #W11233072
This is a multi-use and multi-appliance screw. It can be used on a microwave, refrigerator, range/oven, air conditioner, dehumidifier, washer, or dryer. The measurements of this screw are 8 x 1/2 inch. It has 6 threads. Refer to the manual provided by the manufacturer for further information on repair and accurate guidance. Remember to wear work gloves as a safety precaution.

$144.76
In Stock
Washer Water Inlet Valve
Part #AJU75152601
This is an authentic LG water inlet valve for a top-load washer. It is designed to control the flow of water into the washer. If your washer is filling slowly, making loud noises, overflowing, or stopping in the middle of a cycle, you may need to replace the water inlet valve. Be sure to disconnect the power and water supply before you begin this repair.

$36.85
In Stock
Valve Knob
Part #WP7711P135-60
This valve knob is also known as control knob, burn valve, and burner knob. It fits on your stovetop or range to control the heat of the surface burner. No tools are required for this repair, simply remove your old knob by lifting straight up and off, and replace with the new knob by aligning the D-shapes on the shaft and knob and pushing...Read more straight down. This part is made of plastic, and is black in color. This knob accepts a D-shaped shaft. It is sold individually, so consider checking other knobs in case they need to be replaced as well.
Read less

$53.20
In Stock
Door Seal
Part #WP7212P043-60
This door seal is used for ranges and ovens. The seal prevents hot air escaping from the oven to maintain a certain temperature when baking. The clips sticking out of the seal help secure it to the range doors for the most effective performance. This seal is black in color and is made of rubber. If your oven is not heating evenly, has lit...Read moretle to no heat when baking, or is too hot, replacing the seal can solve the problem. The tools needed for this repair are needle nose pliers. Make sure the oven is cool before starting this installation project. Refer to the diagram provided by the manufacturer for further installation instructions.
Read less

$49.45
In Stock
Pulsator Cap
Part #5006EA3009B
Clothing moves over a covered mounting point with help from this washer pulsator cap. The round plastic cover snaps into the center of the washplate, concealing the mounting bolt and providing a smooth surface above it. Cracks, broken retaining tabs, or a missing cap may expose the hardware or allow the cover to come loose during washing....Read more Replacing a damaged cap restores the finished washplate surface and helps keep garments from catching around the recessed bolt opening as laundry moves through the wash cycle. This is an OEM part sourced directly from the manufacturer.
Read less

$186.97
In Stock
Pulsator Assembly
Part #AGZ72909711
This is a pulsator assembly, also known as an agitator, for your washing machine. This pulsator sits at the bottom of your washer and is what is used as the main driving force to wash your clothes. If the pulsator in your washer is broken, it will need replacing immediately to continue to wash and clean your clothes evenly. The cap that sits in the center of this part is sold separately.

$191.52
In Stock
Washer Drain Pump Assembly
Part #5859EA1004P
Drain used wash water with this top-load washer drain pump assembly. Its motor drives an internal impeller that pushes water from the tub through the drain hose during drain and spin cycles. A worn motor, damaged impeller, or leaking housing may cause standing water, slow draining, loud buzzing, or puddles beneath the machine. Replacing a...Read more faulty pump helps restore proper drainage so wash cycles can finish normally. Unplug the washer, shut off the water supply, and prepare for leftover water before disconnecting hoses or wiring. This is an OEM part sourced directly from the manufacturer.
Read less

No Longer Available
Clock Knob
Part #WP7711P466-60
This clock knob is just under an inch long. It is black in color and is made of plastic. There is a chrome disc of decoration on its top.

$42.12
In Stock
Tub-to-Pump Hose
Part #AEM73213001
This washer tub-to-pump drain hose carries used water from the outer tub to the drain pump during draining. Its flexible, corrugated design accommodates tub movement while keeping water contained within the drainage path. Cracks, splits, or worn sections may cause leaks beneath the washer, while a collapsed section can restrict flow and l...Read moreeave water in the tub. Replacing a damaged hose helps restore proper drainage and a secure connection between the tub and pump, allowing wastewater to move out during wash and rinse cycles. This is an OEM part sourced directly from the manufacturer.
Read less

$23.05
In Stock
Washer Hinge
Part #MEF62462103
Smooth lid movement starts with a secure pivot point, and this washer top lid hinge connects the lid to the top panel. It supports the lid as it opens and closes, helping it stay aligned with the washer opening. A cracked, bent, or worn hinge may cause the lid to sit unevenly, shift sideways, or become difficult to close. Replacing a dama...Read moreged hinge helps restore steady support and proper lid movement. Unplug the washer and support the lid before removing the hinge. This is an OEM part sourced directly from the manufacturer.
Read less
Exact Part matches for your search term

No Longer Available
$360.51
Special Order
Common Symptoms of models starting with 3141
How this model fails, and the parts that fix it.
Gas igniter glows, but will not light
Fixed by
these parts
these parts


Show All
Little to no heat when baking
Fixed by
these parts
these parts

Show All
Will Not Start
Fixed by
these parts
these parts

Show All
Leaking
Fixed by
these parts
these parts


Show All
Will not agitate
Fixed by
these parts
these parts


Show All
Will not drain
Fixed by
these parts
these parts

Show All
Water Filling Issues
Fixed by
these parts
these parts
Show All
Element will not heat
Fixed by
these parts
these parts
Show All
Oven not heating evenly
Fixed by
these parts
these parts
Show All
Gas smell
Fixed by
these parts
these parts
Show All
Spinning Issues
Fixed by
these parts
these parts

Show All
Little to no heat when broiling
Fixed by
these parts
these parts
Show All
Lid or door won’t close
Fixed by
these parts
these parts

Show All
Draining Issues
Fixed by
these parts
these parts
Show All
Marks left on clothes
Fixed by
these parts
these parts
Show All
Oven is too hot
Fixed by
these parts
these parts
Show All
No hot or cold water
Fixed by
these parts
these parts
Show All
Door won’t close
Fixed by
these parts
these parts
Show All
Watch our pros, then fix it yourself.
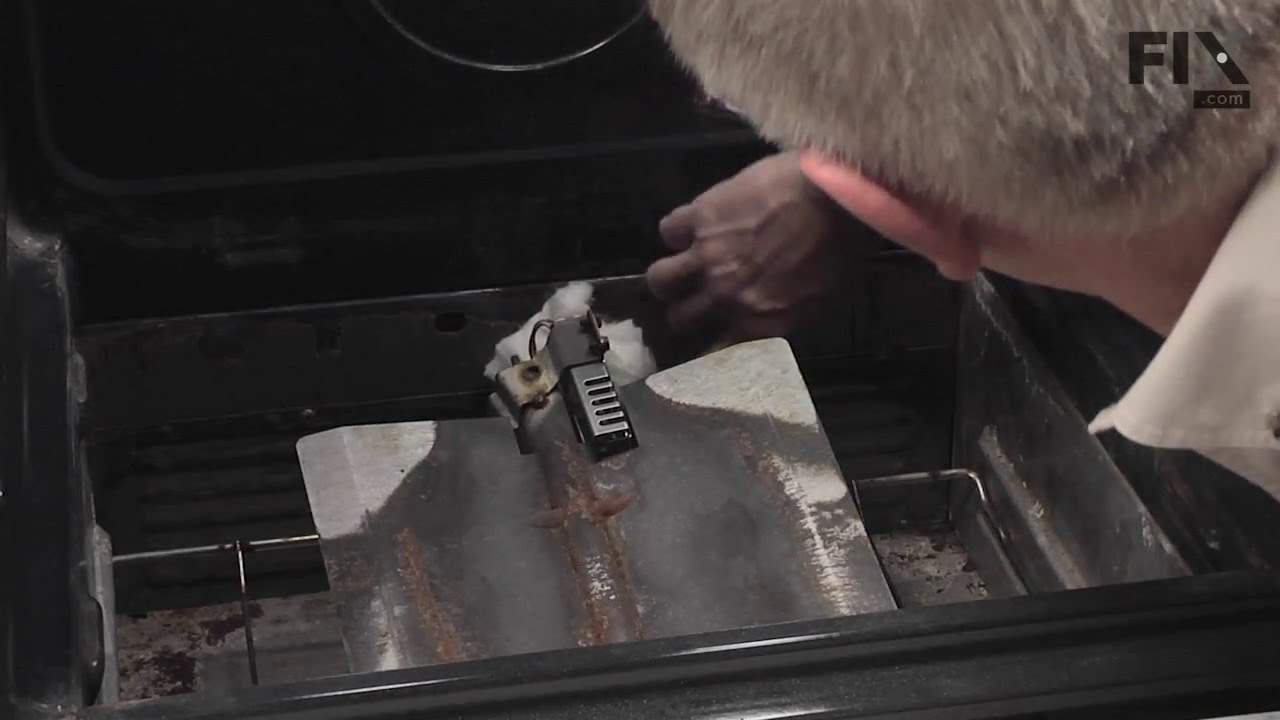
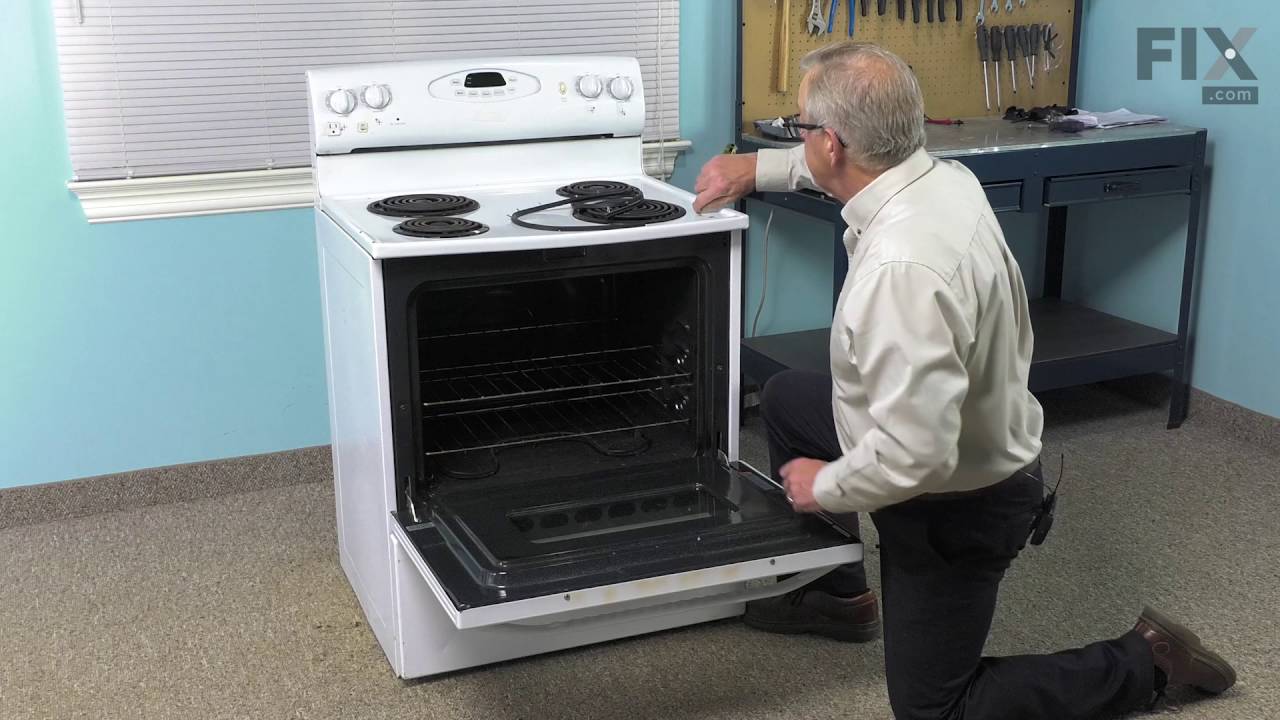
See how others fixed this model. Time, tools, difficulty, and steps that lead to victory!
View More