


 My Orders




2048 - Overview
Models starting with 2048
Click on the best match to narrow your results.
- 2048 Hoover Upright Vacuum
- 2048 Knaack Cabinet (Classic Storage Chest)
- 20480 (7900001-7999999 - 1997) Toro Lawn Mower (Lawn Mower)
- 20480 (7900001 - 7999999) Toro Lawn Mower (Super Recycler Lawnmower)
- 20480K Airmaster Industrial Fan / Circulator (24" 1/4HP Heavy-Duty, Spark Resistant, Non-Oscillating)
- 20481 (7900001-7999999 - 1997) Toro Lawn Mower (Lawn Mower)
- 20481 (7900001 - 7999999) Toro Lawn Mower (Super Recycler Lawn Mower)
- 20482 (790000001 - 799999999) Toro Lawn Mower (Super Recycler Mower)
- 20482 (790000001-799999999 - 1997) Toro Lawn Mower (Lawn Mower)
- 20483 (790000001-799999999 - 1997) Toro Lawn Mower (Lawn Mower)
- 20483 (790000001 - 799999999) Toro Lawn Mower (Lawnmower)
- 20486 (8900001-8999999 - 1998) Toro Lawn Mower (Lawn Mower)
- 20486 Briggs and Stratton Pressure Washer (Troy-Bilt 20486 Presure washer)
- 20486 (8900001 - 8999999) Toro Lawn Mower (Super Recycler Mower, Sr-21os)
- 20487 (9900001-9999999 - 1999) Toro Lawn Mower (Lawn Mower)
- 20487 (8900001-8999999 - 1998) Toro Lawn Mower (Lawn Mower)
- 20487 (210000001-210999999 - 2001) Toro Lawn Mower (Lawn Mower)
- 20487 (200000001-200999999 - 2000) Toro Lawn Mower (Lawn Mower)
- 20487 (9900001 - 9999999) Toro Lawn Mower (Super Recycler Mower, Sr-21osbb)
- 20487 (8900001 - 8999999) Toro Lawn Mower (Super Recycler Mower, Sr-21osbb)
- 2048778180 Kenmore Upright Vacuum (DRYTECH CLEANER)
- 2048778290 Kenmore Upright Vacuum (DRYTECH FLOOR CLEANER)
- 2048778480 Kenmore Upright Vacuum (DRYTECH CLEANER)
- 2048778481 Kenmore Upright Vacuum (DRYTECH VACUUM CLEANER)
- 20488 (8900001-8999999 - 1998) Toro Lawn Mower (Lawn Mower)
- 20488 (8900001 - 8999999) Toro Lawn Mower (Super Recycler Mower, Sr-21ose)
- 20489 (8900001-8999999 - 1998) Toro Lawn Mower (Lawn Mower)
- 20489 (8900001 - 8999999) Toro Lawn Mower (Vacu-Power Mower, V-21s)
- 2048A (YTH 954567086 -2001-02) Husqvarna Lawn Tractor (Ride Mower)
Enter a part description. DIY Heroes keep it simple, eg. "belt" or "pump".
Search filter:
Clear Filter
Your search term must have 3 or more characters.

$43.18
In Stock
Washer Direct Drive Water Pump
Part #WP3363394
The direct drive drain pump (Whirlpool Direct Drive Washer Pump, Drain Pump, Washer Drain Pump, Water Pump) removes water from the washer during the drain cycle without the use of a belt. The pump is supposed to drain the water from the washer; if the water isn’t draining or if there is a leak, you may have a problem with your pump. You ...Read moremust replace this part if there is a blockage or clog. Although the symptoms may point to a malfunctioning drain pump, there could actually be a problem with one of the connecting hoses. This pump connected directly to the motor, and comes in white plastic. This replacement part features 1 direct drive water pump with 2 ports for water to pass through: a large one and a smaller one.
Read less

$8.55
In Stock
Washer Bleach Dispenser
Part #WP3362952
This part holds the bleach until it is ready to be released into the cycle.

$299.77
In Stock

$8.98
In Stock
Filter- A/C Cartridge
Part #491588S
This is a replacement air filter/AC cartridge for your small engine. The air filter prevents dirt and debris from entering the engine. Over time, the air filter can become clogged or damaged, and this can lead to reduced performance. This air filter is approximately 4 inches wide and approximately 5 inches long. To replace the air filter,...Read more locate the air filter cover on the side of the engine, unscrew it, and remove the old filter. Be sure to clear out any dirt, clippings, or other debris that has found its way into the air filter assembly before you insert the new filter. Reattach the air filter cover, and secure it with the screws. This product is sold individually.
Read less

$6.40
In Stock
Lawn Mower Spark Plug
Part #796112S
This is an OEM replacement part and is sold individually. Its propose is to deliver an electric current from an ignition system to the combustion chamber of a gas fueled engine. It will ignite the air fuel mixture by the spark. Spark Plugs will usually have to gapped to the manufactures specifications found in the owners manual. Over tim...Read moree a Spark Plug will become fouled because the air/fuel ratio may be set wrong,worn piston rings, carbon build up and other factors. It is better to replace a fouled spark plug, rather then trying to clean it.
Read less

$11.85
In Stock
Lawn Mower Flange Wheel Bearing
Part #532009040
The OEM bearing, also known as the flange bearing, is silver, made of metal, and sold individually. It is used on riding mowers to secure the wheel in place and allow it to rotate freely on the shaft. Over time, the part may become worn and damaged, which you will notice if you experience a squealing or grinding sound from the wheel in qu...Read moreestion, or you notice the wheel is sloppy on the shaft.
You will need a hammer and punch to complete this repair, which most of our customers rated as easy. Make sure you tap the new bearing into place evenly inside the tire rim.
Read less

$24.28
In Stock
Carburetor Overhaul Kit
Part #498260
This is a replacement carburetor overhaul kit for your small engine. The carburetor is essential to the overall performance of your engine, and the carb can get clogged up over time for a variety of reasons. When your carb becomes clogged, it is often a good idea to take it apart and replace the various parts inside by purchasing a carbur...Read moreetor kit. This is a 15-piece set and contains everything that you will need to do a total overhaul of your carburetor. You may want to purchase some carb cleaner as well, to ensure that the new pieces in the carb kit fit and adhere properly.
Read less

$6.72
In Stock
Lawn Mower Ring Clip
Part #812000029
The Ring Klip Number T5304-75, also known simply as a ring clip, is an OEM part designed to secure your mower wheel to its axle.
This part is black, made of metal, and around an inch in length. It is sold individually and may become damaged over time due to wear and fatigue.

$6.72
In Stock
Washer Head Screw
Part #584953901
This part is the replacement washer head screw for your lawn tractor. It is black in color and is approximately an inch and a half in length. This self-threading screw is most commonly used for securing the mandrel housing to the mower deck of your lawn tractor. The main reason you would need to replace this part is if the old screw is da...Read moremaged or missing. This part is sold individually and is a genuine OEM part sourced directly from the manufacturer.
Read less

$6.72
In Stock
Lawn Mower Washer
Part #532121749
This OEM washer, also known as a flat washer, has dimensions of 25/32 x 1-1/4. Silver in color and metal, the washer is sold individually. Although this part can have a range of applications depending on the equipment, its general function is to spread the load under a bolt. Ensure you consult your owners manual or check your model number...Read more to confirm this is the washer you need for your equipment.
This part will need to be replaced when your existing one is worn or damaged. It is an easy repair according to our customers, and does not require any special tools.
Read less

$169.35
In Stock
Basket Drive Assembly with Clutch
Part #W10820043
This basket drive assembly is for washers. Basket drive assembly sits on top of the transmission shaft and houses the spin basket brake mechanism. The basket drive spins to rotate the basket during the spin cycle.

$6.72
In Stock
Cap Axle Black 1 50 x 1 00
Part #532104757
This genuine black cap axle, also sometimes known as the dust cap, is around 2 inches in diamater and sold individually. Comprised of plastic, it is designed to keep debris out of the hub and axle of your lawn mower or garden tractor. Over time, your dust cap may become damaged or lost due to wear and tear. If this happens, dirt and debri...Read mores can freely enter the axle and hub, causing damage.
This is an easy repair to make and does not require any tools. Just look for the cap axle on the rim of the wheel to make your repair.
Read less
Exact Part matches for your search term

No Longer Available
$38.21
Special Order
$31.92
In Stock
BLADE, 21-INCH STD.LIFT
This part number matches the current model number 2048
Part #7026691BZYP
Enhance the performance of your lawn mower with the Snapper Blade designed specifically for Assuring high-quality cutting. This blade is 21 inches in length offering an optimal cutting width. With an efficient Standard Lift design, it effectively lifts the grass for a perfect, even cut. Safeguard yourself while installing with the usage o...Read moref work gloves. Amplify your mowing experience with this stunning Alloy Blade, achieve the most out of your lawn mowing tasks, and observe the noticeable difference in your yard's look. The Snapper Blade ensures an immaculate, clean-cut each mowing session, making yard maintenance a breeze!
Read less
Common Symptoms of models starting with 2048
How this model fails, and the parts that fix it.
Leaking
Fixed by
these parts
these parts


Show All
Will not drain
Fixed by
these parts
these parts
Show All
Will Not Start
Fixed by
these parts
these parts


Show All
Leaks water
Fixed by
these parts
these parts


Show All
Will not agitate
Fixed by
these parts
these parts

Show All
Spinning Issues
Fixed by
these parts
these parts

Show All
Draining Issues
Fixed by
these parts
these parts
Show All
Cannot pull starter cord out or engine will not turn over
Fixed by
these parts
these parts


Show All
Engine will not idle
Fixed by
these parts
these parts
Show All
Spins slowly
Fixed by
these parts
these parts
Show All
Watch our pros, then fix it yourself.

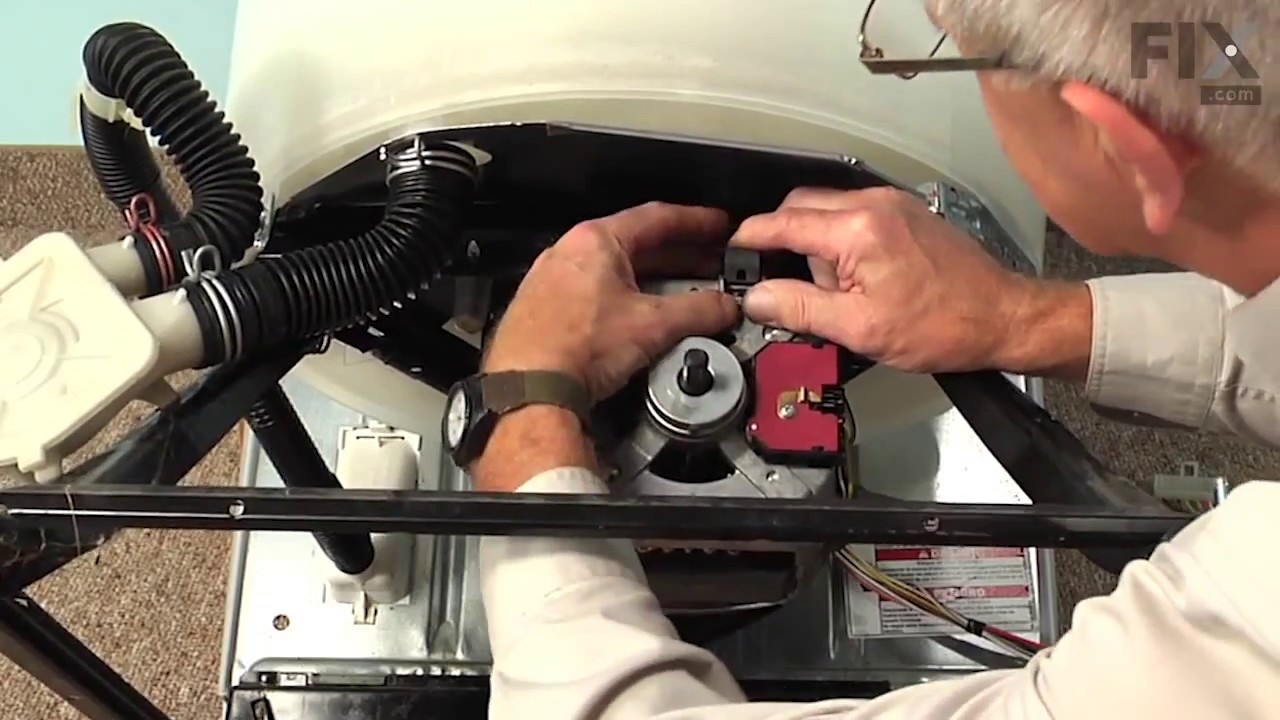
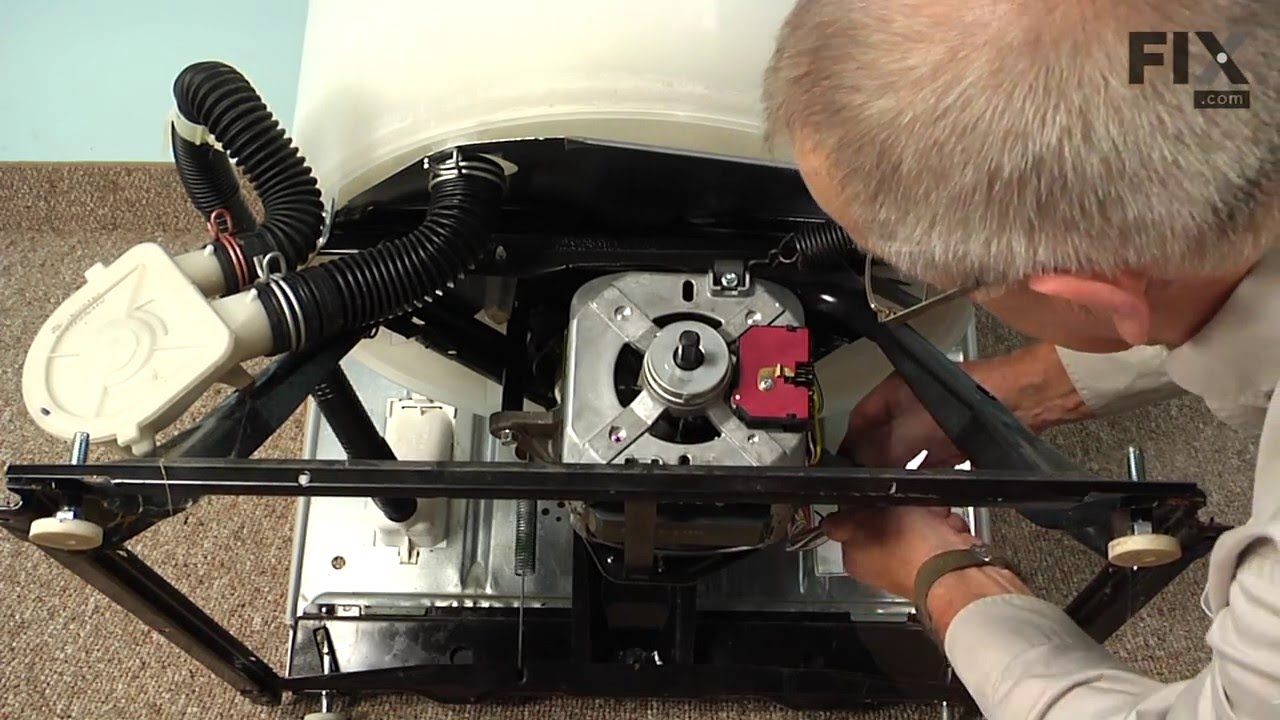
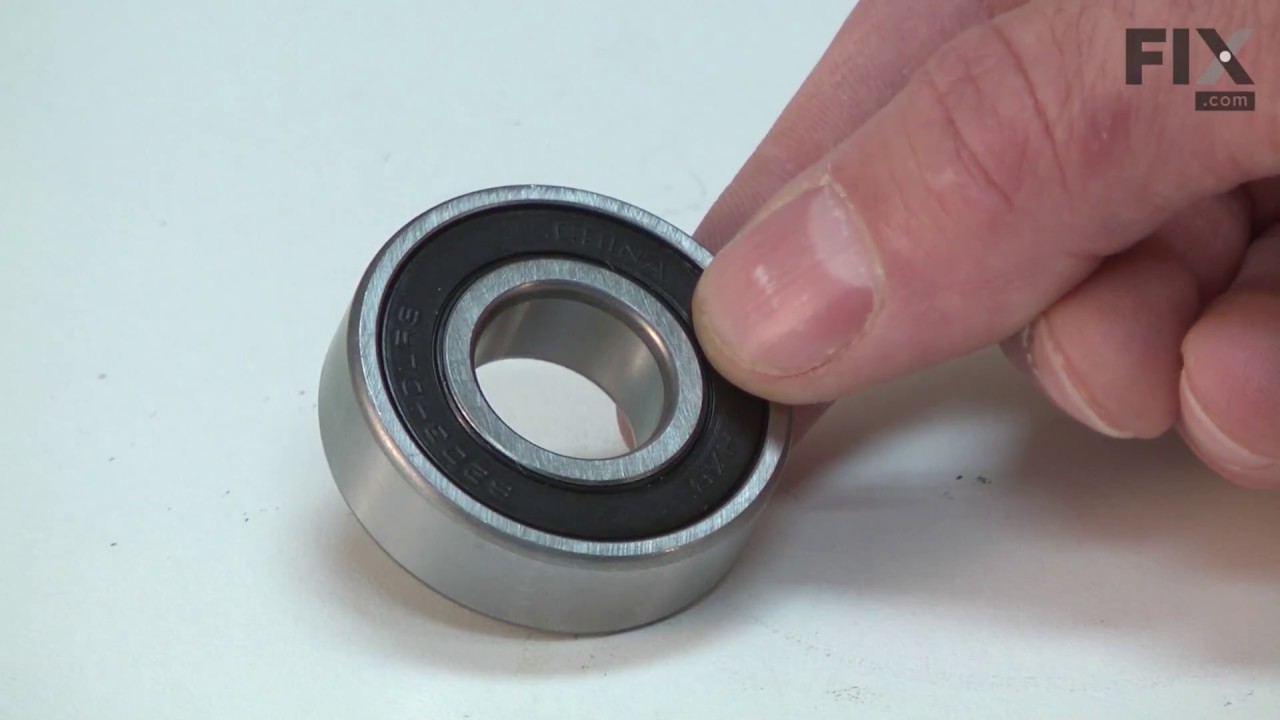

See how others fixed this model. Time, tools, difficulty, and steps that lead to victory!
View More