


 My Orders




20214 - Overview
Models starting with 20214
Click on the best match to narrow your results.
- 20214 (1988) Kenmore Range (Electric Range)
- 20214 (1000001 - 1999999) Toro Lawn Mower (Lawnmower)
- 20214 (2000001 - 2999999) Toro Lawn Mower (Lawnmower)
- 20214 (2000001-2999999 - 1992) Toro Lawn Mower (Lawn Mower)
- 20214 (1000001-1999999 - 1991) Toro Lawn Mower (Lawn Mower)
- 20214X34A Murray Lawn Mower (Murray Lawn Mower Model 20214X34A Parts)
- 20214X34A (1996) Briggs and Stratton Lawn Mower (20214x34a - Walk-Behind Mower (1996))
Enter a part description. DIY Heroes keep it simple, eg. "belt" or "pump".
Search filter:
Clear Filter
Your search term must have 3 or more characters.

$78.26
In Stock
Surface Burner Switch - 240V
Part #W11120791
This surface burner switch, also known as an infinite switch, controls and regulates the heat output of the burners on a stovetop. The user simply adjusts the knob on the user interface panel, which in turn controls this switch. Made for various ranges, wall ovens and cooktops, this is a genuine OEM part that comes by itself, without any ...Read morehardware like screws or nuts. This burner switch is an electrical component that you also handle directly, so it can become faulty leading to problems like your stovetop not heating enough, overheating or staying at a fixed heat. This burner switch is a vital component for your stovetop and if it presents any of those issues, it needs to be replaced immediately. A screwdriver, set of pliers and wiring diagram will be needed for the replacement and installation process, and you will need to remove your appliance from the wall outlet first. Remove the knobs from the control panel and then gain access to the underneath portion of it with your screwdriver and disconnect the switch. Remove the wires from the burner switch with a set of pliers and disconnect the securing screws holding the switch in place. Now, you can install the new switch and reassemble the panel, being mindful of wiring each connector to the appropriate wire.
Read less

$7.47
In Stock
Range Screw
Part #WP179051
Sold individually. Lock washers are used with screws when vibration from an appliance may cause the screw to loosen. Lock washers are also used in the electrical components of an appliance to ensure an electrical connection is not lost.

$91.06
In Stock
Bake Element (16 Inch long x 19 Inch wide)
Part #WPY04100019
This electric oven bake element with screw in wire terminals is 19 inches wide. It has a terminal depth of three inches and a total element length of nineteen inches. This element is intended for use with some electric ovens.

$49.50
In Stock
2 Piece Broiler Pan
Part #4396923
This broiler pan and roasting rack set is designed to help reduce mess while cooking by allowing grease to drain away from food. Its durable porcelain-coated construction stands up to high temperatures and makes cleanup simple. With approximate dimensions of 16 3/4 inches long, 12 3/4 inches wide, and 1 3/4 inches high, it offers a convenient size for everyday broiling and roasting.

$8.98
In Stock
Filter- A/C Cartridge
Part #491588S
This is a replacement air filter/AC cartridge for your small engine. The air filter prevents dirt and debris from entering the engine. Over time, the air filter can become clogged or damaged, and this can lead to reduced performance. This air filter is approximately 4 inches wide and approximately 5 inches long. To replace the air filter,...Read more locate the air filter cover on the side of the engine, unscrew it, and remove the old filter. Be sure to clear out any dirt, clippings, or other debris that has found its way into the air filter assembly before you insert the new filter. Reattach the air filter cover, and secure it with the screws. This product is sold individually.
Read less

$49.50
Special Order

$6.40
In Stock
Lawn Mower Spark Plug
Part #796112S
This is an OEM replacement part and is sold individually. Its propose is to deliver an electric current from an ignition system to the combustion chamber of a gas fueled engine. It will ignite the air fuel mixture by the spark. Spark Plugs will usually have to gapped to the manufactures specifications found in the owners manual. Over tim...Read moree a Spark Plug will become fouled because the air/fuel ratio may be set wrong,worn piston rings, carbon build up and other factors. It is better to replace a fouled spark plug, rather then trying to clean it.
Read less

$103.98
In Stock
Oven Door Seal
Part #WPY702338
This oven door seal prevents heat from escaping the oven cavity when in use.

$24.28
In Stock
Carburetor Overhaul Kit
Part #498260
This is a replacement carburetor overhaul kit for your small engine. The carburetor is essential to the overall performance of your engine, and the carb can get clogged up over time for a variety of reasons. When your carb becomes clogged, it is often a good idea to take it apart and replace the various parts inside by purchasing a carbur...Read moreetor kit. This is a 15-piece set and contains everything that you will need to do a total overhaul of your carburetor. You may want to purchase some carb cleaner as well, to ensure that the new pieces in the carb kit fit and adhere properly.
Read less

$54.24
In Stock
Range Cartridge Receptacle
Part #WPY702434
This cartridge receptacle is almost four inches long. It is white in color and is made of ceramic.

$53.20
In Stock
Range Burner Cartridge Terminal Block
Part #WPY708730
No spades or wiring come with this part. To order the spades or wiring, please research by model# of appliance.

$17.15
In Stock
Clock Knob - black
Part #WP7711P492-60
The clock knob attaches to the center of the oven control panel and is used to adjust the built-in clock. This clock knob is less than an inch in diameter. It is all black in color and is made of plastic. This knob will accept a D-shaped shaft. It is worth noting that the clock knob does not work in place of the temperature knob, as they ...Read moreare designed differently. Many of our customers described this repair as easy. To complete the repair, simply pull off the damaged knob and replace it with the new one.
Read less
Exact Part matches for your search term

No Longer Available
No Longer Available
No Longer Available
No Longer Available
Common Symptoms of models starting with 20214
How this model fails, and the parts that fix it.
Element will not heat
Fixed by
these parts
these parts


Show All
Little to no heat when baking
Fixed by
these parts
these parts


Show All
Will Not Start
Fixed by
these parts
these parts


Show All
Oven not heating evenly
Fixed by
these parts
these parts
Show All
Engine will not idle
Fixed by
these parts
these parts
Show All
Oven is too hot
Fixed by
these parts
these parts
Show All
Little to no heat when broiling
Fixed by
these parts
these parts

Show All
Door won’t close
Fixed by
these parts
these parts

Show All
Touchpad does not respond
Fixed by
these parts
these parts

Show All
Watch our pros, then fix it yourself.
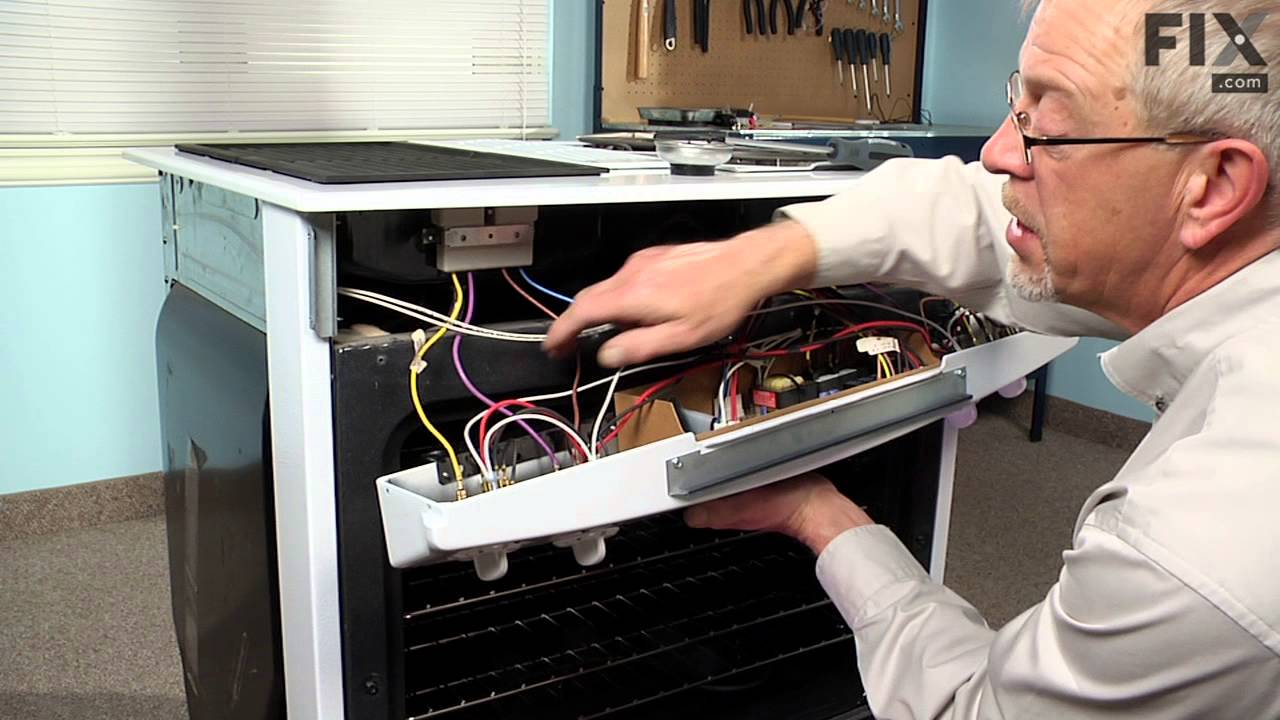


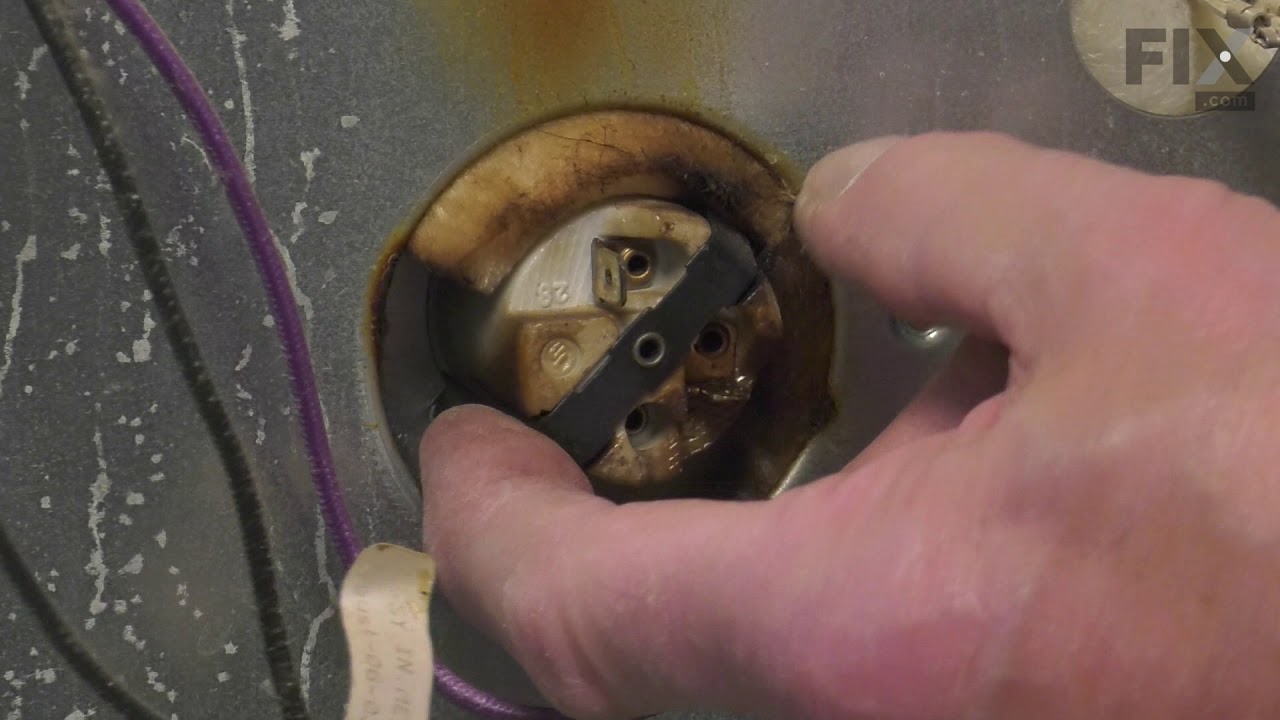
See how others fixed this model. Time, tools, difficulty, and steps that lead to victory!
View More