



 My Orders




1610 - Overview
Models starting with 1610
Click on the best match to narrow your results.
- 1610 Cub Cadet Lawn Mower (Cub Cadet Lawn Mower Model 1610 Parts)
- 1610 Bissell Canister Vacuum (Bissell Vacuum Cleaner Model 1610 Parts)
- 1610 (0350042U-135393100-135393399-136393100) Cub Cadet Lawn Tractor (1610 0350042u 135-393-100 135-393-399 136-393-100)
- 1610 (135-393-100, 135-393-399, 0350042U, 136-393-1) Cub Cadet Lawn Mower (Lawn Tractor)
- 1610-1 (700C) Milwaukee Electric Drill (Milwaukee 1610-1(700c) Parts)
- 1610-1 Milwaukee Electric Drill (Milwaukee 1610-1 Parts)
- 1610-1 (SER 700-23791) Milwaukee Electric Drill (Electric Drill / Driver)
- 1610-1 (SER 700-50000) Milwaukee Electric Drill (Electric Drill / Driver)
- 1610-1 (SER 700B) Milwaukee Electric Drill (Electric Drill / Driver)
- 1610-1 (SER 700-1001) Milwaukee Electric Drill (1/2 Inch Reversing Compact Drill)
- 1610-1 (SER 700A) Milwaukee Drill Press (Drill Press)
- 1610-1 (SER 700-42061) Milwaukee Electric Drill (Electric Drill / Driver)
- 1610-1 (SER 700-1201) Milwaukee Electric Drill (1/2 Inch Reversing Compact Drill)
- 1610-5 Bissell Carpet Cleaner (Deep Cleaner)
- 16100-1 General Electric Range
- 161001 Weber Grill (Summit 600 Gas Grill)
- 161003 Jet Hand Truck & Dolly (Jet 161003 Parts)
- 1610077K Powermatic Planer Jointer (Jointer)
- 1610078K Powermatic Planer Jointer (Jointer)
- 1610079 Powermatic Planer Jointer (Jointer)
- 1610080 Powermatic Planer Jointer (Jointer)
- 1610082 Powermatic Planer Jointer (Jointer)
- 1610083 Powermatic Planer Jointer (Jointer)
- 1610084K Powermatic Planer Jointer (Jointer)
- 1610085K Powermatic Planer Jointer (Jointer)
- 1610086K Powermatic Planer Jointer (Jointer)
- 1610087K Powermatic Planer Jointer (Jointer)
- 16101 Kohler Engine (Basic)
- 16106 (7000001-7999999 - 1977) Toro Lawn Mower (Lawn Mower)
- 16106 (7000001 - 7999999) Toro Lawn Mower (Lawnmower)
- 161067 T-Fal Iron (UltraGliss Iron)
Enter a part description. DIY Heroes keep it simple, eg. "belt" or "pump".
Search filter:
Clear Filter
Your search term must have 3 or more characters.

$6.40
In Stock
Lawn Mower Spark Plug
Part #796112S
This is an OEM replacement part and is sold individually. Its propose is to deliver an electric current from an ignition system to the combustion chamber of a gas fueled engine. It will ignite the air fuel mixture by the spark. Spark Plugs will usually have to gapped to the manufactures specifications found in the owners manual. Over tim...Read moree a Spark Plug will become fouled because the air/fuel ratio may be set wrong,worn piston rings, carbon build up and other factors. It is better to replace a fouled spark plug, rather then trying to clean it.
Read less

$6.40
In Stock
Grommet
Part #692189
This OEM grommet, also called a 90-degree breather tube, is sold individually. Black in color and made of rubber, this is a 90-degree elbow for the crankcase breather tube of your mower engine. If you notice a reduction in the mower engine performance, and engine backfires, this part is likely to be in need of replacing. It can develop cr...Read moreacks due to fatigue, and our troubleshooting tip is to inspect this part if dark smoke is coming out of the exhaust, it is a telltale sign.
This is an easy repair to make, and does not require any tools. The new grommet attaches on the breather tube fromt he crankcase to the carburetor.
Read less

$6.40
In Stock
Engine Filter
Part #298090S
This is a round, inline fuel filter with 0.25-inch nipples, used in a variety of lawn and garden equipment. It is sourced from the original equipment manufacturer and has the capability to filter out particles as small as 150 microns in size. The filter is designed to remove any dirt or debris in the fuel to avoid contaminating the engine...Read more. Over time, it is common for the filter to become clogged with dirt/debris or damaged, resulting in less fuel entering the engine, engine misfiring, stalling, and overall lower performance from your equipment. To replace the faulty fuel filter, first disconnect the fuel lines with pliers or a clamp tool and then pull out the old filter. Install the new filter into the housing and reattach the fuel lines to complete your repair.
Read less

$6.40
In Stock
Carriage Bolt 5/16-18 x 3/4" Lg.
Part #710-0451
This carriage bolt measures 5/16-18 x .75 and fastens two parts in your machine together. It has a round domed head and a square underside so the bolt does not rotate once it has been secured into place. If it has signs of deformation or wear, you will need to replace it. To unthread this bolt, you need an adjustable wrench to loosen the ...Read morenut found on the end of the bolt. You may need to apply a lubricating oil to the bolt if it is stuck. You may need to clamp down on the head of the bolt with pliers while continuing to turn the nut counterclockwise. You can then slide the carriage bolt out of its hole or tap it gently with a hammer. This bolt is a standalone product and the nut is not included. This bolt was sourced directly from its manufacturer.
Read less

$6.40
In Stock
Lawn Mower Hex Washer Head Screw
Part #710-0599
This is an original replacement part sourced directly from the manufacturer. The screw is commonly found in yard equipment from Craftsman, such as lawn tractors, snow blowers, and edgers. This part is made of metal, and may be found in various locations in the machine, depending on model. Please be aware that there are different screws...Read more used in the machine. Refer to the parts diagram to be sure of ordering the correct part. You will require a wrench when replacing this item. The screw is sold as an individual replacement part.
Read less

No Longer Available
Leveling Leg
Part #WB2X8248

$111.62
Special Order
Gasket
Part #WB2X2058
This genuine OEM oven door gasket is designed to create a tight, heat-resistant seal between the oven door and the cooking cavity. By preventing heat from escaping, it helps maintain consistent cooking temperatures and supports efficient oven operation. Replacing a worn, torn, or damaged gasket can resolve issues such as heat loss, uneven...Read more cooking, or longer preheat times, restoring proper performance with a simple, direct-fit installation.
Read less

$40.69
Special Order
Gear-governor
Part #793338
This gear-governor is a special component that helps to engage the drive shaft. It is a genuine Briggs and Stratton item that is supplied by the original manufacturer for use with small engines that are commonly installed on a variety of lawn and garden equipment. It provides an identical replacement for a damaged or a missing hardware th...Read moreat was installed on a new unit. Check the diagrams for your model for the exact location and the correct installation of this part. One durable metal gear-governor is included. You may need a screwdriver and a wrench set to perform this repair.
Read less

$7.88
In Stock
Gear-pinion
Part #695708
This is a manufacturer approved starter pinion gear designed for use with lawn and garden equipment engines. This Starter pinion gear is attach to the starter clutch drive and engages the flywheel to start the engine. It is made out of Plastic and Aluminum and it is Sold Individually.

$6.40
In Stock
Seal-o Ring
Part #270344S
The O-Ring is a black rubber part, used to provide a seal between two pieces. It can be used in various locations on a variety of equipment. Installation is rate as "Easy" and will require a screw driver, pliers, socket set, and wrench set. If broken, damaged, or worn due to fatigue, you will have a leak and the part must be replaced. Refer to your make, model and diagrams to see if this is the right part for you.

$6.40
In Stock
Tiller Jamlock Nut
Part #712-0266A
The Jamlock Nut is a 3/8-16 inch metal nut which can be installed using a socket or wrench set. It's used to secure and lock parts in place. If the part is damaged and comes loose it should be replaced. This is an authentic part authorized by the manufacturer.

$10.60
In Stock
Hose-vacuum
Part #791766
This genuine part is sourced directly from the original equipment manufacturer. It is specially designed for use with Briggs and Stratton engines commonly installed on lawn and garden equipment. The purpose of this hose is to transfer vacuum from the engine. Unfortunately, over time the material may wear out and begin to crack eventually ...Read morerequiring a replacement. Make sure to check the diagrams of your model for the exact location and the correct installation of this part. Note, this item includes one durable rubber hose and two metal clamps to secure it.
Read less
Exact Part matches for your search term

No Longer Available
No Longer Available
No Longer Available
Common Symptoms of models starting with 1610
How this model fails, and the parts that fix it.


Watch our pros, then fix it yourself.
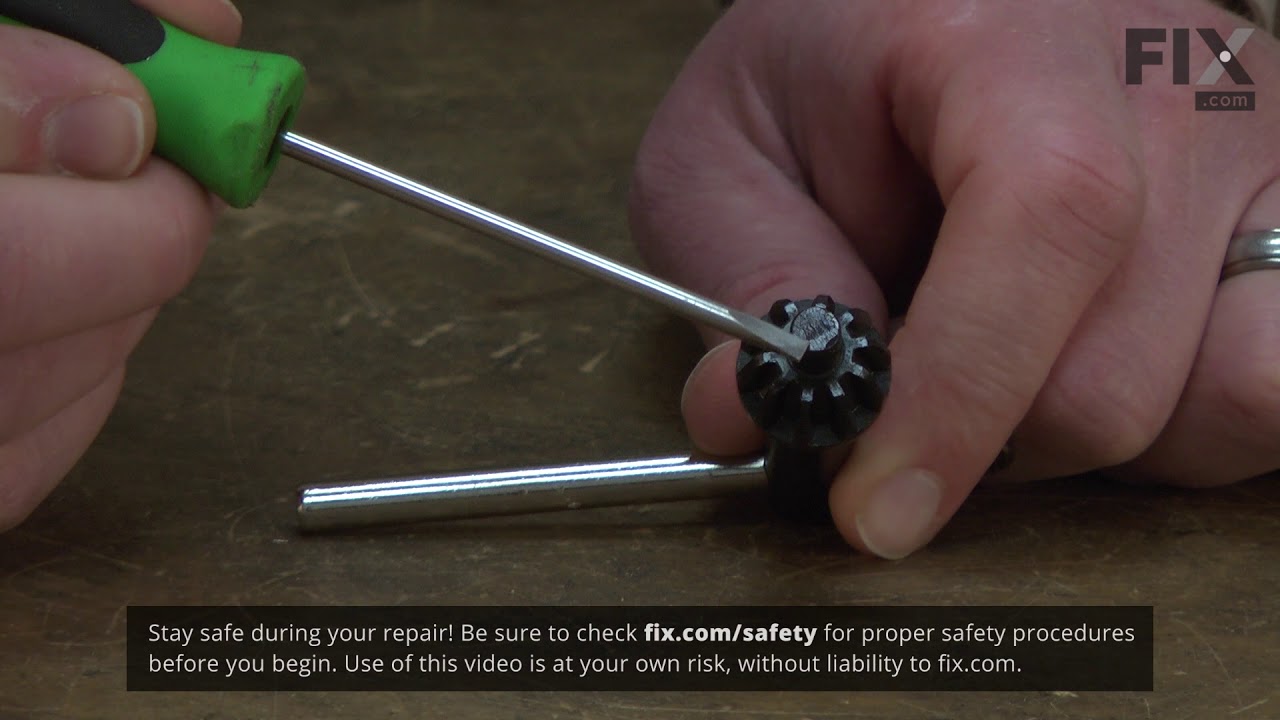
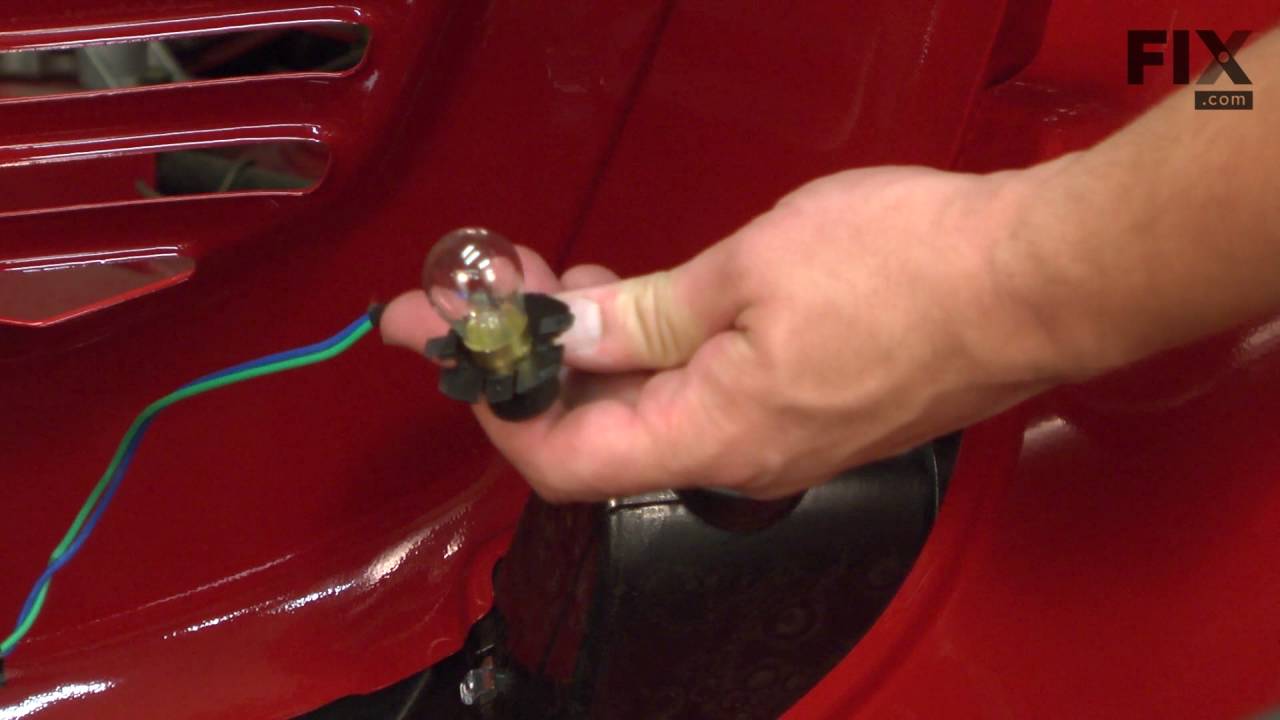
See how others fixed this model. Time, tools, difficulty, and steps that lead to victory!
View More