



 My Orders




1465 - Overview
Models starting with 1465
Click on the best match to narrow your results.
- 14650-1 General Electric Range
- 14650-4 General Electric Range
- 14650-7 General Electric Range
- 1465000 Whirlpool Microwave
- 1465001 Whirlpool Microwave
- 1465002 Maytag Microwave
- 1465003 Whirlpool Microwave
- 14656926810 Kenmore Grill (Gas Grill)
- 1465828P352 (1996) MTD Lawn Tractor (Lawn Tractor)
- 14658841810 Kenmore Grill (Gas Grill)
- 1465A Litton Microwave
Enter a part description. DIY Heroes keep it simple, eg. "belt" or "pump".
Search filter:
Clear Filter
Your search term must have 3 or more characters.

$7.47
In Stock

$8.95
In Stock
Ceramic Fuse - 20 amp
Part #WPM0805101
This microwave fuse is just over an inch in length. It has a white ceramic center, and metal on either end. This is a twenty amp 250-volt fuse, and is used to power your microwave. If your microwave will not heat properly, will not turn on, or the touch pad becomes unresponsive, there could be a faulty fuse which should be replaced. Remem...Read moreber, since this part contains an electrical charge, before you replace the fuse from your microwave, make sure that the power is disconnected from the unit. This part is sold individually.
NOTE: Make sure your microwave is unplugged, and your capacitor is discharged before you begin this repair. A capacitor stores large amounts of electricity even after your microwave is unplugged.
Read less

$26.39
In Stock
Light Cover
Part #WB36X192
This light bulb lens covers the interior light bulb in an oven, range, or stove. No tools are necessary to replace this part. Simply slide off the wire bracket to remove the existing light bulb lens. Disconnect power to your appliance before this repair. It is recommended to check the light bulb while the lens cover is removed in case it ...Read moreneeds to be replaced. Be sure to remove all broken glass, if applicable, before installing new lens. This part is sourced directly from the genuine manufacturer, and is sold individually.
Read less

$18.22
In Stock
Heat Resistant Adhesive
Part #W10841140
This is a heat-resistant adhesive for your appliance. The heat resistance allows you to stick parts such as grate feet, gaskets, and felt seals in hot areas, such as a cooktop, without compromising the integrity of the adhesive. It is white in color, and the tube is approximately 7.5 inches long.

$8.55
Special Order
Range Hex Nut
Part #WP488130
This hex nut is an authentic Whirlpool part that is sourced directly from the original equipment manufacturer, and will fit a variety of appliances including ovens, microwaves, refrigerators, air conditioners, and dishwashers. It is a metal part with a threaded hole to fasten parts in the appliance together. It is common for this part to ...Read morewear out; it is recommended to order a spare. To replace this part the tools needed are a nut driver or wrench. This nut features a built-in external tooth lock washer, which is used to help keep the nut in place.
Read less

No Longer Available

No Longer Available
Oven Sensor
Part #WB21X158
This sensor offers 16 ohms of resistance at room temperature, though the resistance increases as the temperature increases.

$6.40
In Stock
Carriage Bolt 5/16-18 x 3/4" Lg.
Part #710-0451
This carriage bolt measures 5/16-18 x .75 and fastens two parts in your machine together. It has a round domed head and a square underside so the bolt does not rotate once it has been secured into place. If it has signs of deformation or wear, you will need to replace it. To unthread this bolt, you need an adjustable wrench to loosen the ...Read morenut found on the end of the bolt. You may need to apply a lubricating oil to the bolt if it is stuck. You may need to clamp down on the head of the bolt with pliers while continuing to turn the nut counterclockwise. You can then slide the carriage bolt out of its hole or tap it gently with a hammer. This bolt is a standalone product and the nut is not included. This bolt was sourced directly from its manufacturer.
Read less

$6.40
In Stock
Lawn Mower Hex Washer Head Screw
Part #710-0599
This is an original replacement part sourced directly from the manufacturer. The screw is commonly found in yard equipment from Craftsman, such as lawn tractors, snow blowers, and edgers. This part is made of metal, and may be found in various locations in the machine, depending on model. Please be aware that there are different screws...Read more used in the machine. Refer to the parts diagram to be sure of ordering the correct part. You will require a wrench when replacing this item. The screw is sold as an individual replacement part.
Read less

$6.40
In Stock
Lawn Mower Flange Bearing
Part #741-0660A
This OEM-manufactured flange bearing supports and enables the smooth rotation of parts in your lawn equipment, such as the blade assembly, axle assembly, or steering components. This bearing has an inner diameter of .76 inches, an outer diameter of .941 inches, and a width of 1 inch. It is made of plastic. A similar similar style flange b...Read moreearing can be used at the bottom of the crank, but it would be made of metal. When the bearing is broken, you may notice signs of wear and abnormal squealing noises coming from your machine. If neglected, the parts the bearing is supporting can overheat and potentially seize up. To switch out a flange bearing, you need to take off any bolts, screws, or clips that are holding it in place. Using a hammer or a bearing puller tool, gently push the bearing out of its housing. Since this part is sold individually, remember to refer to your user manual to understand how many bearings your machine will need. It is strongly recommended that you replace all the bearings in one go, as they wear out at the same rate.
Read less

No Longer Available
Leveling Leg
Part #WB2X8248

$42.70
Special Order
Control Box-thrott
Part #831-0823A
The Throttle Box Assembly, or the Throttle Assembly, is a kit that includes the housing, handle, and hardware. It is black and constructed of steel and plastic. It can be installed onto the right hand upper handle, using a screwdriver and pliers, and is rated as Medium difficulty to install.
This kit contains the parts that control the ...Read moreamount of the air and fuel entering the engine. When the part breaks (likely due to fatigue) you will no longer be able to control the engine. If nothing happens when you move the handle, that means it has become disconnected. When the part is broken it must be replaced. Check your model number to ensure you are selecting the correct replacement part.
Read less
Exact Part matches for your search term

$705.26
Special Order
Common Symptoms of models starting with 1465
How this model fails, and the parts that fix it.
Leaking
Fixed by
these parts
these parts

Show All
Won’t turn on
Fixed by
these parts
these parts

Show All
Element will not heat
Fixed by
these parts
these parts
Show All
Little to no heat when baking
Fixed by
these parts
these parts

Show All
Watch our pros, then fix it yourself.

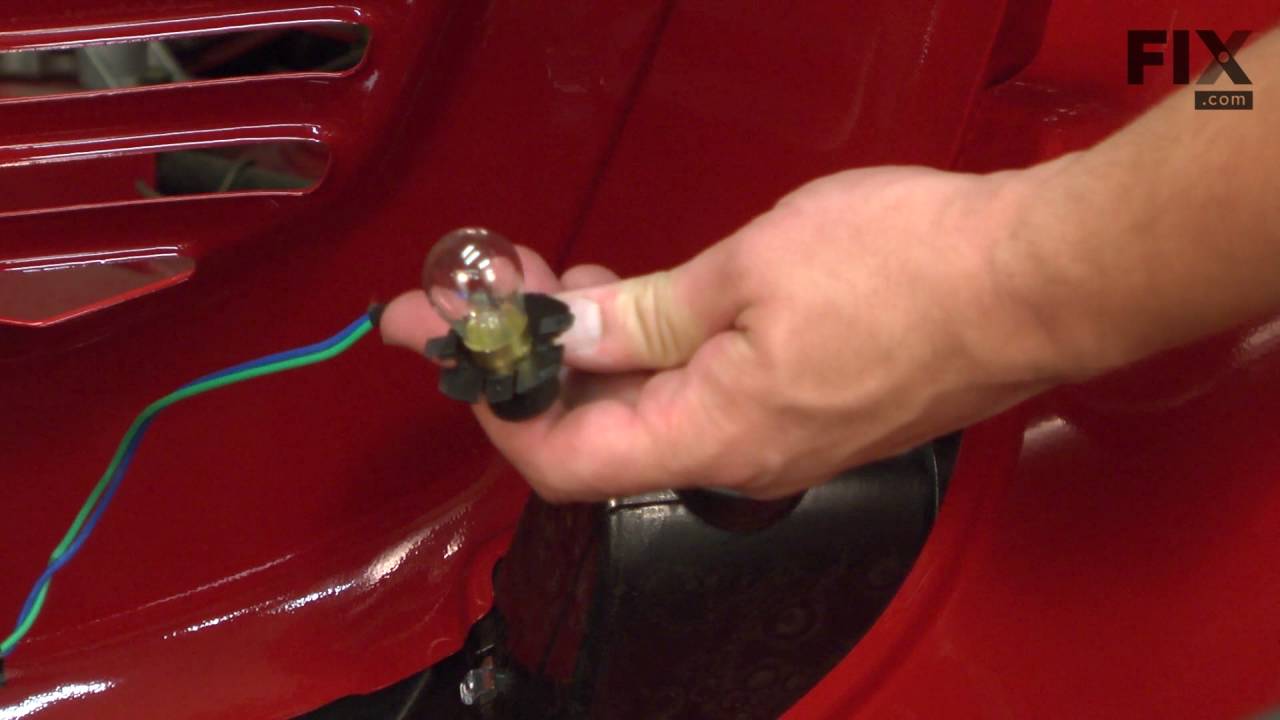
See how others fixed this model. Time, tools, difficulty, and steps that lead to victory!
View More