


 My Orders




108R - Overview
Models starting with 108R
Click on the best match to narrow your results.
- 108R (1996) Cub Cadet Lawn Mower (Cub Cadet Lawn Mower Model 108R/1996 Parts)
- 108RA220E General Electric Range (GE Range/Stove/Oven Model 108RA220E Parts)
- 108RB15A General Electric Range (GE Range/Stove/Oven Model 108RB15A Parts)
- 108RB18A General Electric Range (GE Range/Stove/Oven Model 108RB18A Parts)
- 108RB545-G General Electric Range (GE Range/Stove/Oven Model 108RB545-G (108RB545G, 108RB545 G) Parts)
- 108RB646H General Electric Range (GE Range/Stove/Oven Model 108RB646H Parts)
- 108RS40J General Electric Range (GE Range/Stove/Oven Model 108RS40J Parts)
Enter a part description. DIY Heroes keep it simple, eg. "belt" or "pump".
Search filter:
Clear Filter
Your search term must have 3 or more characters.

$21.45
In Stock
Drip Bowl - 6 Inch
Part #WB32X10012
This six inch chrome drip bowl is intended for use with tilt lock style surface mount burner element units.

$10.70
In Stock
Trim Ring - 6 Inch
Part #WB31X5013
This 6 inch high rise burner trim ring is intended for use with detached style low rise tilt lock surface mount burners on ranges.

$17.15
In Stock
Trim Ring - 8 Inch
Part #WB31X5014
This 8 inch high rise burner trim ring is intended for use with detached style low rise tilt lock surface mount burners on ranges.

$28.42
In Stock
Drip Bowl - 8 Inch
Part #WB32X10013
This eight inch chrome drip bowl is intended for use with with tilt lock style surface mount burner element units.

$53.20
In Stock
Range Infinite Heat Switch Kit
Part #WB21X36771
The infinite switch controls the stove top surface burner. This switch will work with most of the electrical range models with coil burner elements.

$81.50
In Stock
Tilt-Lock Hinge-Mounted Surface Burner - 8"
Part #WB30X354
This kit includes an 8", three wire, 2450W surface element. This low rise element has an attached trim ring, and a terminal block with all three-wire units.

$56.93
In Stock
Tilt Lock Hinge Mounted Surface Burner Kit - 6"
Part #WB30X342
This genuine 6-inch surface heating element provides the heat needed for cooking on compatible electric ranges and cooktops. Designed with a tilt-lock hinge mounting system, it delivers consistent heat distribution for everyday cooking tasks such as boiling, simmering, and frying. Replacing a worn or failed surface element can help restor...Read moree proper burner performance when the burner no longer heats, heats unevenly, or cycles inconsistently. The element features a durable 3-wire design, operates at 240 volts, and delivers approximately 1,325 watts of heating power. Installation typically involves disconnecting power to the appliance, lifting the element from the receptacle, disconnecting the terminal connections, installing the replacement element, and restoring power to test operation. The element measures approximately 14 inches long, 7.5 inches wide, and 2 inches high and weighs approximately 1 pound.
Read less

$43.18
In Stock
Broiler Pan - Large
Part #WB48X10056
This large broiler pan is found in the bottom of your oven and is used to catch drippings from broiling foods. This part includes the grate and bottom pan and is made of porcelain. The grate measures 15-1/2 inches wide by 13 inches deep and the pan is about 17 inches wide by 13 inches deep. No tools are required to replace this item, simp...Read morely pull out the lower drawer of your range, pull down the front of the drawer, slide the pan out and slide the new one into place. This is a genuine part sourced right from the manufacturer.
Read less

$24.28
In Stock
Carburetor Overhaul Kit
Part #498260
This is a replacement carburetor overhaul kit for your small engine. The carburetor is essential to the overall performance of your engine, and the carb can get clogged up over time for a variety of reasons. When your carb becomes clogged, it is often a good idea to take it apart and replace the various parts inside by purchasing a carbur...Read moreetor kit. This is a 15-piece set and contains everything that you will need to do a total overhaul of your carburetor. You may want to purchase some carb cleaner as well, to ensure that the new pieces in the carb kit fit and adhere properly.
Read less

$64.73
In Stock
Tilt Lock Hinge Mounted Surface Unit - 6"
Part #WB30X356
This 6-inch high-rise heating element offers fast and even heat for electric ranges. Ideal for a variety of cooking needs, it features a raised coil design that improves heat distribution. Installation is simple and requires no special tools. The element has a durable build and a neutral metallic finish.

$63.61
In Stock
Tilt Lock Hinge Mounted Surface Burner Kit - 8 Inch
Part #WB30X341
This tilt lock hinge mounted surface element kit includes an 8 inch element, three wire, 2450 watt surface element, and a terminal block with all three-wire units. These high rise elements do not come with an attached trim ring.

$58.73
In Stock
Bake Element
Part #WB44X5043
The GE Appliances Bake Element is a top-quality replacement part designed specifically for electric ovens. Located at the bottom of the oven, it provides the necessary heat for baking. Its installation can be easily managed by disconnecting utilities and using safety equipment such as work gloves. An important reminder is to disconnect th...Read moree range or deactivate the house circuit breaker for the range before installation to ensure safety. This Bake Unit, featuring 236V L O, is recognized for its compatibility with numerous models, making it a versatile choice. This GE part promises to upgrade your oven's performance back to its optimum condition.
Read less
Common Symptoms of models starting with 108R
How this model fails, and the parts that fix it.
Element will not heat
Fixed by
these parts
these parts


Show All
Will Not Start
Fixed by
these parts
these parts


Show All
Little to no heat when baking
Fixed by
these parts
these parts

Show All
Cannot pull starter cord out or engine will not turn over
Fixed by
these parts
these parts


Show All
Engine will not idle
Fixed by
these parts
these parts
Show All
Watch our pros, then fix it yourself.
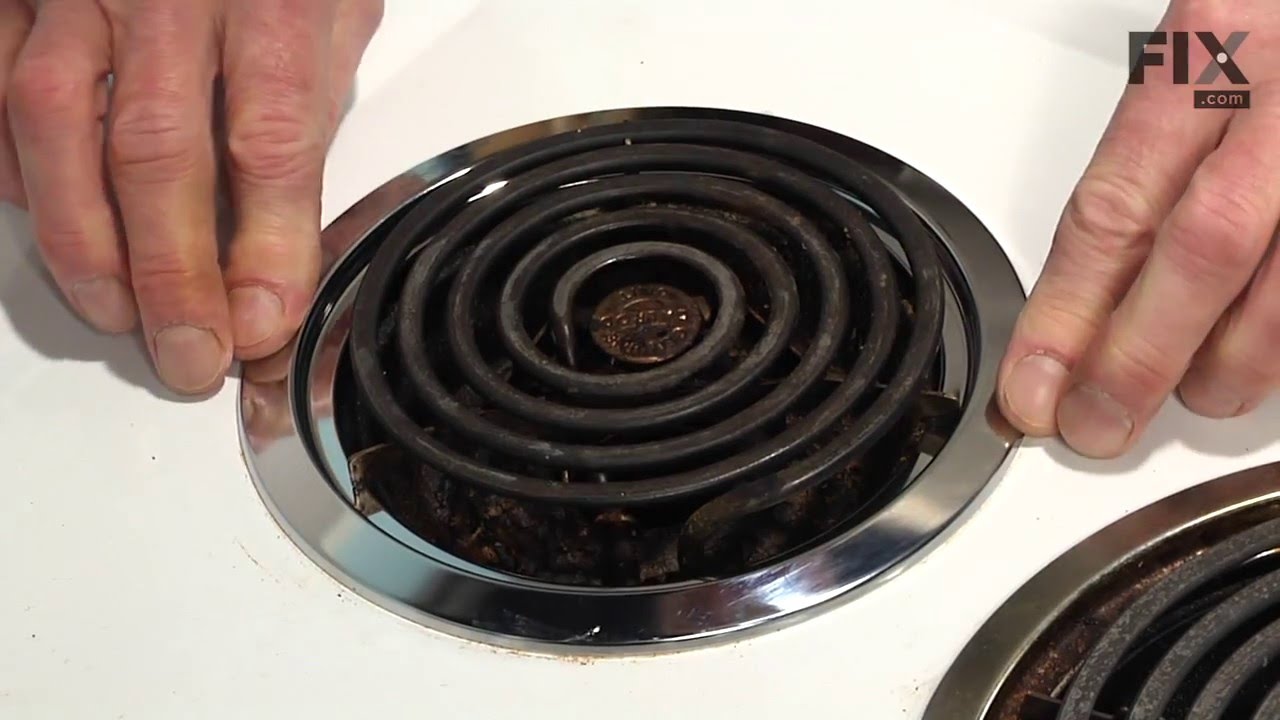
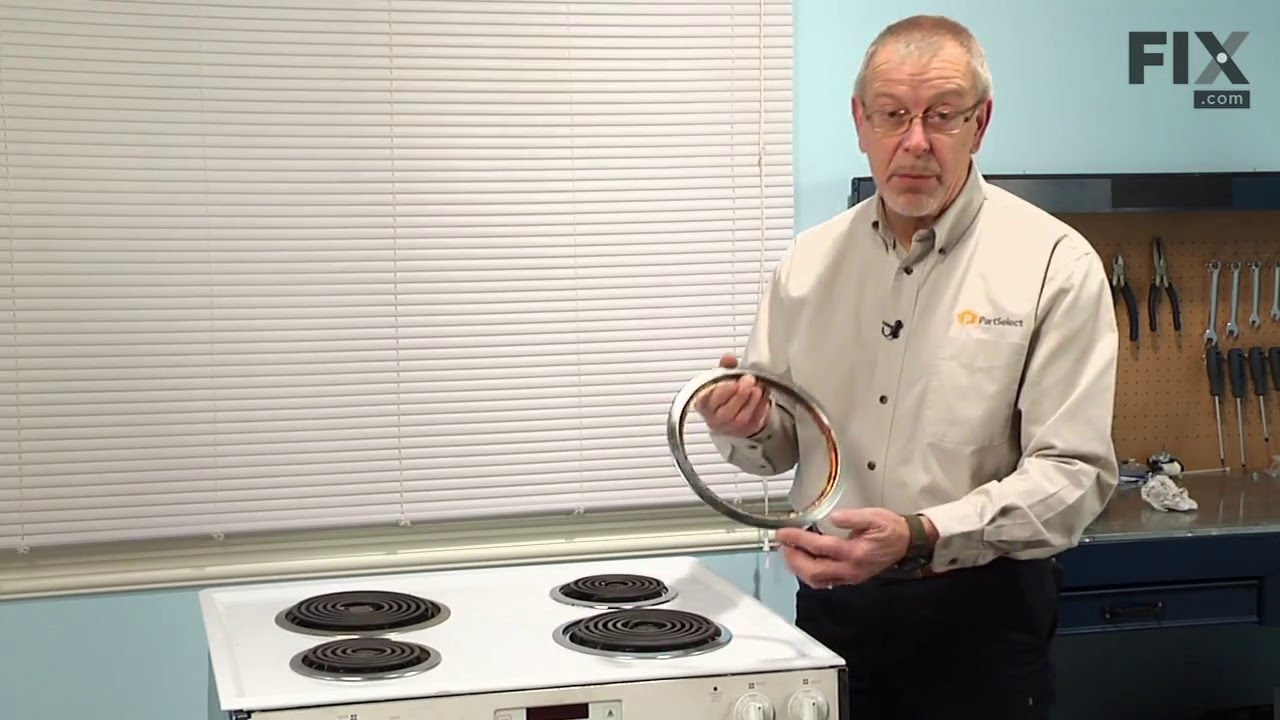
See how others fixed this model. Time, tools, difficulty, and steps that lead to victory!
View More
Search repair tips from other customers using simple keywords like "replace", "fit", "remove", "inspect". DIY doesn't mean you have to do it alone!
Search filter:
Clear Filter
Your search term must have 3 or more characters.
Stove Top Burners damaged and needed to be replaced
45 of 53 people
found this instruction helpful.
First I shut the power off to the stove, then I lifted the burner and removed the screw that holds the hinge to the stove surface. Then gently I pulled the element out of the stove, exposing the wire connection (the ceramic block, the connection is samwiched between.) Then I took my screw driver and popped off one side of the clamped blo
... Read more
ck(there is 2), then removed the top piece of the ceramic. Taking note of wire placment. Carefully used my socket wrench to remove screws that hold the 3 wires from the old element. Placed the new element in and screwed the wires on and placed the top ceramic piece back on. ( making sure wires are clear of pinching) Then push the clamps back on. Push wire connection(block) back in the stove top and screw on the hinge that holds it to the stove. I turned the power back on and now they are like new. This was very easy.
Read less
Other Parts Used:

Was this helpful?
Thank you for voting!
Needed to replace Drip Pans and Trim Rings for old stove
40 of 47 people
found this instruction helpful.
Repair was simple (just lift off the old and put on the new). What was pleasantly surprising was how quickly I received the parts (amazing)!
Lastly, I've been looking for the correct parts/sizes in stores for years (yes, I should have tried this sooner). I was delighted to finally find a place that actually had the correct ... Read more parts.
Lastly, I've been looking for the correct parts/sizes in stores for years (yes, I should have tried this sooner). I was delighted to finally find a place that actually had the correct ... Read more parts.
Read less
Other Parts Used:
Was this helpful?
Thank you for voting!