


 My Orders




106M1 Kenmore Refrigerator - Overview
Models starting with 106M1
Click on the best match to narrow your results.
- 106M10B-F Kenmore Refrigerator (COLDSPOT REFRIGERATORS)
- 106M10BL-F Kenmore Refrigerator (COLDSPOT REFRIGERATORS)
- 106M10T-F Kenmore Refrigerator (COLDSPOT REFRIGERATORS)
- 106M10TL-F Kenmore Refrigerator (COLDSPOT REFRIGERATORS)
- 106M12A-F Kenmore Refrigerator (COLDSPOT REFRIGERATORS)
- 106M12AL-F Kenmore Refrigerator (COLDSPOT REFRIGERATORS)
- 106M12C-F Kenmore Refrigerator (COLDSPOT REFRIGERATORS)
- 106M12CL-F Kenmore Refrigerator (COLDSPOT REFRIGERATORS)
- 106M12CS-F Kenmore Refrigerator (COLDSPOT REFRIGERATORS)
- 106M12CSL-F Kenmore Refrigerator (COLDSPOT REFRIGERATORS)
- 106M12D-F Kenmore Refrigerator (COLDSPOT REFRIGERATORS)
- 106M12D1-F Kenmore Refrigerator (COLDSPOT REFRIGERATORS)
- 106M12DL-F Kenmore Refrigerator (COLDSPOT REFRIGERATORS)
- 106M12DL1-F Kenmore Refrigerator (COLDSPOT REFRIGERATORS)
- 106M12DS-F Kenmore Refrigerator (COLDSPOT REFRIGERATORS)
- 106M12DS1-F Kenmore Refrigerator (COLDSPOT REFRIGERATORS)
- 106M12DSL-F Kenmore Refrigerator (COLDSPOT REFRIGERATORS)
- 106M12DSL1-F Kenmore Refrigerator (COLDSPOT REFRIGERATORS)
- 106M12F-F Kenmore Refrigerator (COLDSPOT REFRIGERATORS)
- 106M12FL-F Kenmore Refrigerator (COLDSPOT REFRIGERATORS)
- 106M12H-F Kenmore Refrigerator (COLDSPOT REFRIGERATOR)
- 106M12P-F Kenmore Refrigerator (COLDSPOT REFRIGERATOR)
- 106M12S-F Kenmore Refrigerator (COLDSPOT REFRIGERATOR)
- 106M12T-F Kenmore Refrigerator (COLDSPOT REFRIGERATORS)
- 106M12TL-F Kenmore Refrigerator (COLDSPOT REFRIGERATORS)
- 106M13E-F Kenmore Refrigerator (COLDSPOT REFRIGERATORS)
- 106M13EL-F Kenmore Refrigerator (COLDSPOT REFRIGERATORS)
- 106M13ES-F Kenmore Refrigerator (COLDSPOT REFRIGERATORS)
- 106M13ESL-F Kenmore Refrigerator (COLDSPOT REFRIGERATORS)
- 106M15E-F Kenmore Refrigerator (COLDSPOT REFRIGERATORS)
- 106M15EL-F Kenmore Refrigerator (COLDSPOT REFRIGERATORS)
Enter a part description. DIY Heroes keep it simple, eg. "belt" or "pump".
Search filter:
Clear Filter
Your search term must have 3 or more characters.

$22.52
In Stock
Drum Support Roller
Part #WP37001042
This drum support roller is used for square-ported model clothes dryers. This part is sold individually; however, rollers tend to wear at the same rate, so it is suggested that both should be replaced at the same time. It has a metallic bearing in its center. The drum support roller holds the drum in place while it rotates on the support ...Read morewheels. You may have a faulty or damaged roller if your dryer will not start or tumble, takes too long to dry clothes, or starts making loud noises. Customers have ranked this repair as easy and should take 15-30 minutes to complete.
Read less

$7.47
In Stock

$7.47
In Stock
Screw
Part #WP488729
Metallic screw that is less than an inch long. Does not include the plastic washer.

$54.24
In Stock
Light Socket Kit
Part #4387478
The light socket in your refrigerator houses the light bulb and connects it to the power source. If your refrigerator light is not coming on when you open the door, you may need to replace the light socket. Before you replace the light socket, be sure that your light bulb is in working condition, as this may solve the same problem. This l...Read moreight socket kit comes with 2 wire connectors, a light shield, and the new socket. The wire connectors that come with this kit are included so your new socket can replace a variety of old ones. If this light socket is different than your original, you will need to use the connectors to make it fit your refrigerator. Be sure to follow the instructions provided, so this part will fit your refrigerator properly.
Read less

$40.65
In Stock
Refrigerator Tray
Part #WP841180A
This fourteen cube ice cube tray is eleven inches long. It is all white in color and is made entirely of plastic.

$36.85
In Stock
Spray Paint - 12 oz. - White
Part #350930
Appliance spray paint is a great way to cover up any chips and scratches that have appeared on your appliances. Instead of replacing the part entirely, this is an easy fix. This is also a great way to give a fresh new look to any handles or areas that have discoloring due to wear. Make sure to clean the area before you begin and wear a pr...Read moreotective mask for safety. Give the can a good shake and spray a few inches away from the surface. Apply the paint until the area is fully covered as desired. Wait until the paint has dried before using the appliance.
Read less

$46.34
Special Order
Refrigerator 40w Light Bulb
Part #WP548049
This light bulb is found behind the controls box in some refrigerators.

$11.77
In Stock

$17.15
Special Order
Refrigerator Leveler
Part #W11117769
This is an OEM part that is made of metal and sold individually. The leveling leg is generally used with refrigerators, dryers, freezers, ranges, cooktops, and microwaves. The leveling leg is meant to keep your appliance steady and level to the floor. If you notice your appliance is uneven to the floor it may need to have the leveling leg...Read more replaced. You will notice that the bottom of the leveling leg has a smooth surface to ensure moving your appliance does not require as much effort. This part screws into a pre-drilled hole underneath the appliance.
Read less

$7.47
In Stock

$10.70
In Stock

$11.77
In Stock
Transformer Screw
Part #WP488787
This screw is sold individually. It is a genuine OEM replacement part, and it is designed for use with refrigerators. Most often it is used with the ice bucket ice deflector, retainer clip, and front cover. Due to varied uses we recommend referring to model-specific diagrams for exact placement. This screw measures 8-18 by 1/2 inch.
Exact Part matches for your search term

$6.40
Special Order
Common Symptoms of models starting with 106M1
How this model fails, and the parts that fix it.
Noisy
Fixed by
these parts
these parts

Show All
Light not working
Fixed by
these parts
these parts

Show All
Drum Not Spinning
Fixed by
these parts
these parts
Show All
Door won’t close
Fixed by
these parts
these parts

Show All
Watch our pros, then fix it yourself.
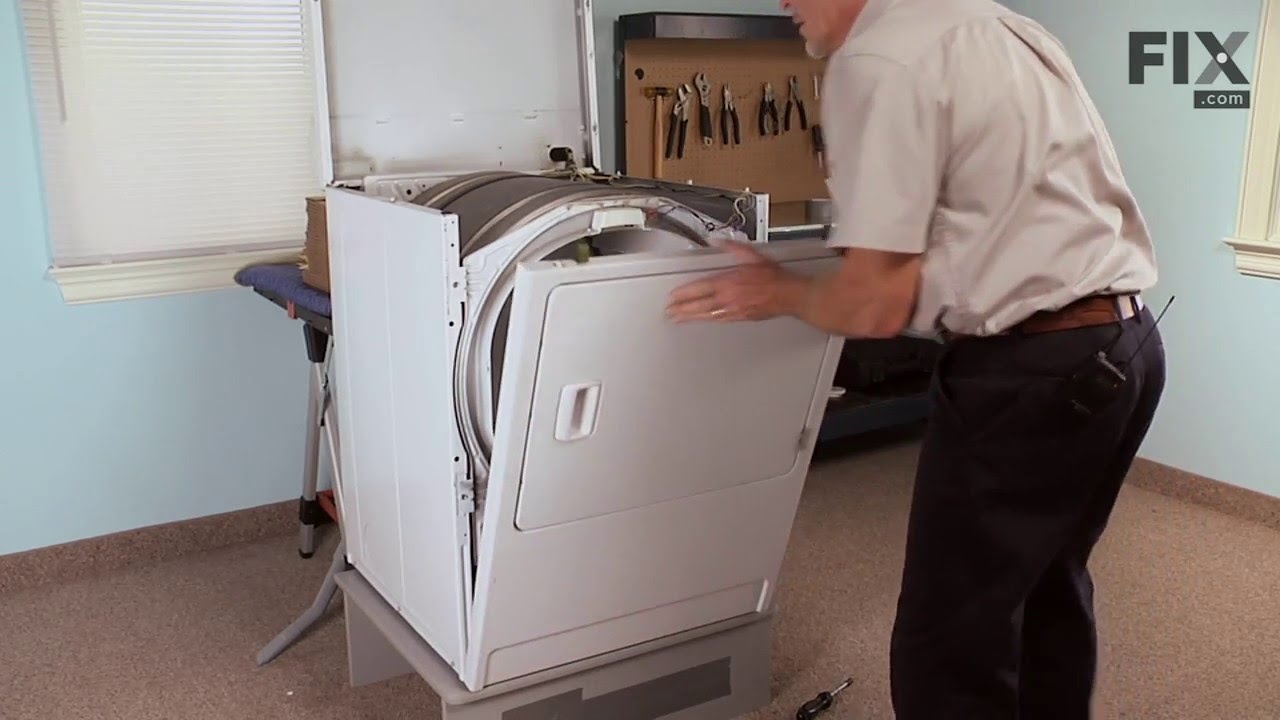
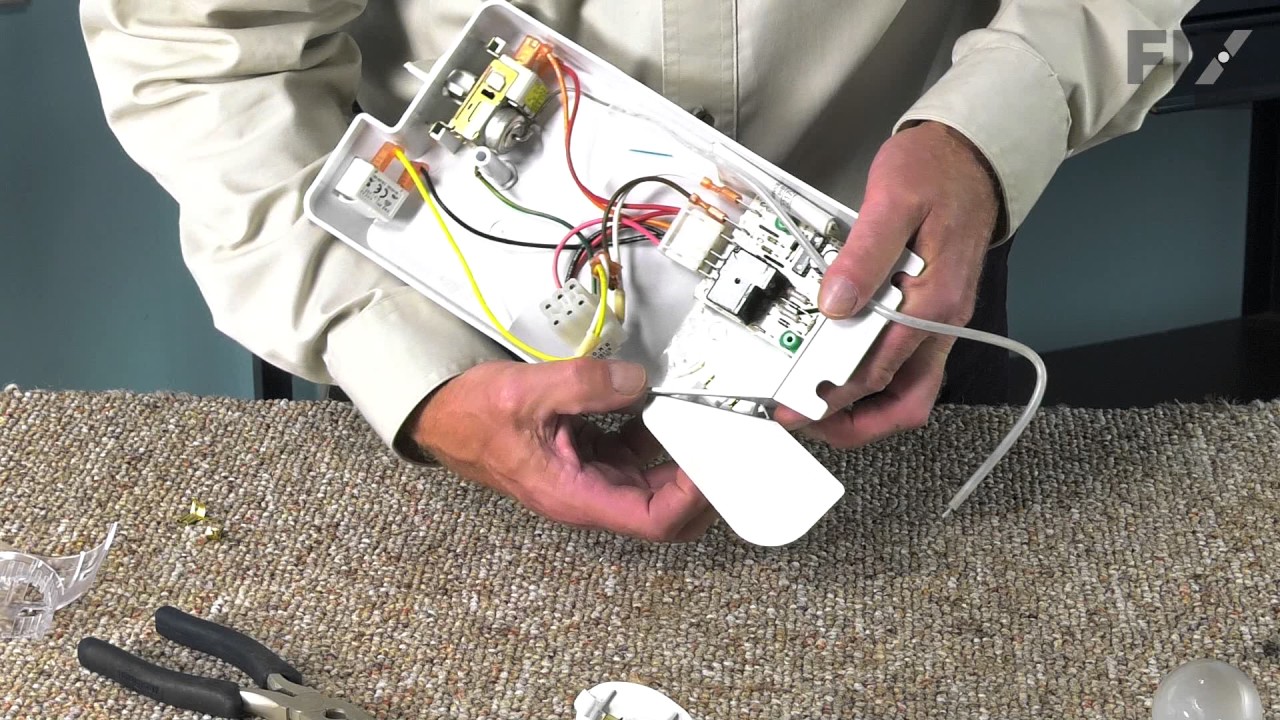
See how others fixed this model. Time, tools, difficulty, and steps that lead to victory!
View More