EasyApplianceParts is now PartSelect! We've merged our sites to provide a better shopping experience for you.   Full Details

Find Parts

Parts Departments

Top Model Types

Top Brands

Repair Help

Expert Repair Videos

Keep typing for more specific results...

106M12P-F Kenmore Refrigerator - Overview

Diagrams for 106M12P-F

See every part. Know exactly what you need.

Enter a part description. DIY Heroes keep it simple, eg. "belt" or "pump".

Search filter:
Clear Filter
Your search term must have 3 or more characters.
Drum Support Roller – Part Number: WP37001042
$22.52
In Stock
Drum Support Roller
★★★★★
★★★★★
(15)
Part #WP37001042
This drum support roller is used for square-ported model clothes dryers. This part is sold individually; however, rollers tend to wear at the same rate, so it is suggested that both should be replaced at the same time. It has a metallic bearing in its center. The drum support roller holds the drum in place while it rotates on the support wheels. You may have a faulty or damaged roller if your dryer will not start or tumble, takes too long to dry clothes, or starts making loud noises. Customers have ranked this repair as easy and should take 15-30 minutes to complete.
Screw – Part Number: WP488729
$7.47
In Stock
Screw
★★★★★
★★★★★
(1)
Part #WP488729
Metallic screw that is less than an inch long. Does not include the plastic washer.
Light Socket Kit – Part Number: 4387478
$54.24
In Stock
Light Socket Kit
★★★★★
★★★★★
(7)
Part #4387478
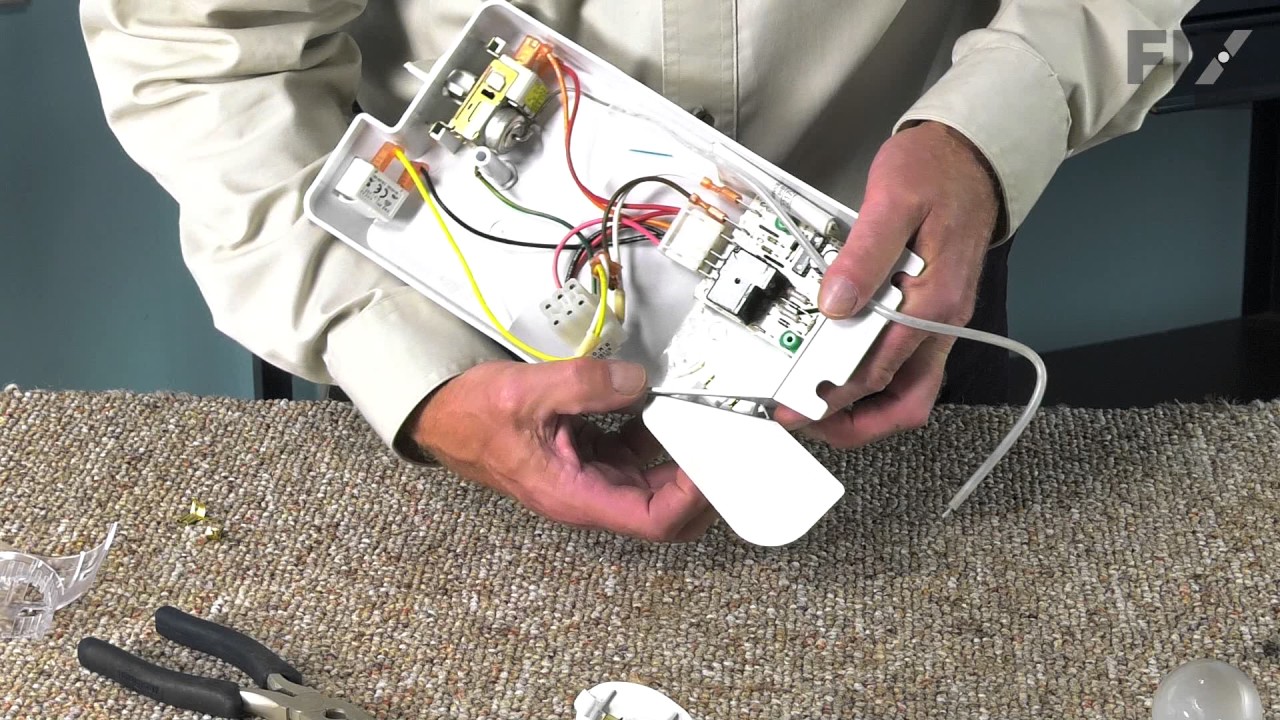
The light socket in your refrigerator houses the light bulb and connects it to the power source. If your refrigerator light is not coming on when you open the door, you may need to replace the light socket. Before you replace the light socket, be sure that your light bulb is in working condition, as this may solve the same problem. This light socket kit comes with 2 wire connectors, a light shield, and the new socket. The wire connectors that come with this kit are included so your new socket can replace a variety of old ones. If this light socket is different than your original, you will need to use the connectors to make it fit your refrigerator. Be sure to follow the instructions provided, so this part will fit your refrigerator properly.
Refrigerator Tray – Part Number: WP841180A
$40.65
In Stock
Refrigerator Tray
★★★★★
★★★★★
(1)
Part #WP841180A
This fourteen cube ice cube tray is eleven inches long. It is all white in color and is made entirely of plastic.
Spray Paint - 12 oz. - White – Part Number: 350930
$36.85
In Stock
Spray Paint - 12 oz. - White
★★★★★
★★★★★
(3)
Part #350930
Appliance spray paint is a great way to cover up any chips and scratches that have appeared on your appliances. Instead of replacing the part entirely, this is an easy fix. This is also a great way to give a fresh new look to any handles or areas that have discoloring due to wear. Make sure to clean the area before you begin and wear a protective mask for safety. Give the can a good shake and spray a few inches away from the surface. Apply the paint until the area is fully covered as desired. Wait until the paint has dried before using the appliance.
Refrigerator Leveler – Part Number: W11117769
$17.15
Special Order
Refrigerator Leveler
Part #W11117769
This is an OEM part that is made of metal and sold individually. The leveling leg is generally used with refrigerators, dryers, freezers, ranges, cooktops, and microwaves. The leveling leg is meant to keep your appliance steady and level to the floor. If you notice your appliance is uneven to the floor it may need to have the leveling leg replaced. You will notice that the bottom of the leveling leg has a smooth surface to ensure moving your appliance does not require as much effort. This part screws into a pre-drilled hole underneath the appliance.
Dryer Screw – Part Number: W10815455
$7.47
In Stock
Dryer Screw
Part #W10815455
This tapping screw is sold individually.
Dryer Screw – Part Number: WP488627
$10.70
In Stock
Dryer Screw
★★★★★
★★★★★
(1)
Part #WP488627
Sold individually.
8-18 X .625 TR CR AB – Part Number: W11693756
$18.22
In Stock
8-18 X .625 TR CR AB
Part #W11693756
Sold individually.
Spray Paint - Superior Black – Part Number: 285006
$57.38
In Stock
Spray Paint - Superior Black
★★★★★
★★★★★
(1)
Part #285006
This is a 12oz (about 355 ml) can of black spray paint that is compatible with a variety of different home appliances and is used to cover and conceal any visible scuffs, scratches or chips. This can is sold individually, so consider how much paint you need for your appliances prior to placing an order. To use this spray paint, make sure to have the proper personal protective equipment, such as protective glasses or gloves, as well as a respirator. Clean the surface of whatever you are spraying before you begin and shake the can for 1 minute after hearing the internal mixing balls rattle. Do not spray during high heat or humidity, spray at room temperature and in several thin coats to ensure the best adherence.
Screw – Part Number: WP486754
$7.47
In Stock
Screw
Part #WP486754
Sold individually.
SCREW – Part Number: 798639
No Longer Available
SCREW
Part #798639

Common Symptoms of the 106M12P-F

How this model fails, and the parts that fix it.

Watch our pros, then fix it yourself.
See how others fixed this model. Time, tools, difficulty, and steps that lead to victory! View More

Search repair tips from other customers using simple keywords like "replace", "fit", "remove", "inspect". DIY doesn't mean you have to do it alone!

Search filter:
Clear Filter
Your search term must have 3 or more characters.
Support Roller removal and Installation
142 of 206 people found this instruction helpful.
  • Fred from Chicago, IL
  • A Bit Difficult
  • 30 - 60 mins
  • Socket set
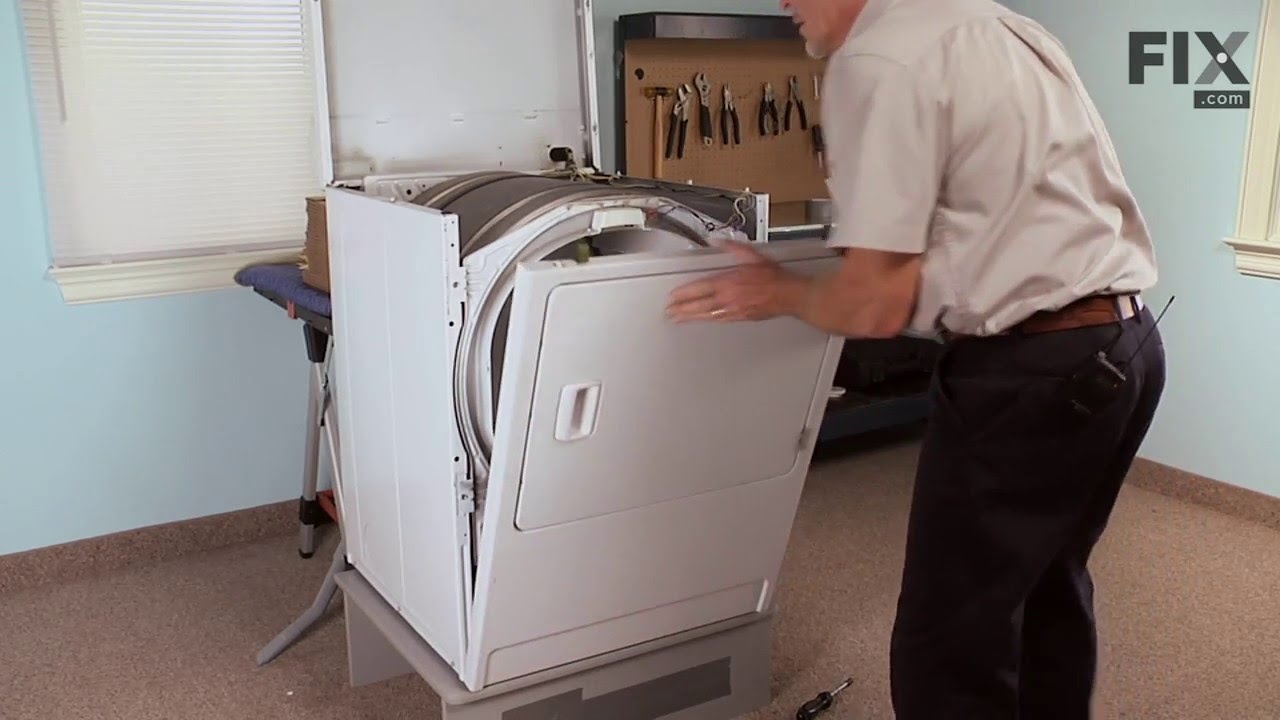
First I turned off the gas supply line. Then unplug the dryer. Remove bottom front cover by removing the 2 screws (1 at each side) at the bottom. Next remove the 2 screws (1 at each side) located at bottom of front door panel. Pull front panel away from dryer and pull down slightly. This will disconnect the entire front panel(with door) f rom dryer. Carefull because there is a switch located at the top right corner of the panel on the inside. This will not allow you to remove the door yet. On some scratch paper, sketch the switch and correct color wire positions. Remove wires at connections. Pull the drum toward front dryer carefully. This dislodges it from the back of the dryer. No need to remove it from dryer. This way the belt still remains in place. From inside drum, use a pair of snap ring pliers to remove the snap ring from the support roller shaft located on left side of drum, below where the drum was sitting prior to pulling it forward to dislodge it from inside rear of dryer.
Remove old wheel , place some grease on inside of new support roller and some on the shaft. Install new roller and replace snap ring. Slide drum back in place inside the dryer at the rear. Hand rotate the drum to ensure it is properly installed. Reconnect the switch wires to the front panel. Slide panel up into place so that the clips (at top of panel) lock into place(square holes in top cover plate of dryer). Have the door open when doing this because you have to seat the front of the drum into the front cover. Reinstall the 2 screws. Test spin the drum again by hand. If it feels right, it's correctly seated.
Reinstall bottom front cover. While everything is apart, you may want to use a vacuum cleaner to clean the inside of your dryer. Perfect time to do this. Plug dryer back in and open gas supply line. Test the dryer. Should be nice and quiet again.
This fix is for the left side support roller only. There is a support roller on the right side also. In my case I only needed to fix the left side support roller. The inner diameter of the roller was badly worn and needed to be replaced. You may want to purchase the support roller shaft at the same time. I didn't and will need to do this repair again. I only purchased the support roller and when I removed it, I noticed the shaft is badly worn also. In my case, temporary fix until the shaft is ordered and then I'll do this again.
Was this helpful?
Thank you for voting!
Light Would Not Go On In The Refrigerator
62 of 82 people found this instruction helpful.
  • DANIEL from MINNEAPOLIS, MN
  • Easy
  • Less than 15 mins
  • Screw drivers
First I removed the old lightbulb from the socket and replaced it with a new one to confirm that the bulb was not the problem. I then pryed the socket out with a flat-head screwdriver. I could tell that the socket was anchored in its hole with clips so it was relatively easy to pry it out. Once the socket was out, I disconnected the le ad wires and ordered a replacement socket kit from Partselect. When the new one arrived, I reconnected the lead wires to it, snapped it back into its hole, screwed in a new lightbulb, and presto!! The light was back on with no further problem. Thank you, Partselect!! A $15.00 part saved me what probably would have been at least a $100. service call and heaven knows what the technician would have told me I needed!!!
Was this helpful?
Thank you for voting!
socket melted with bulb in it.
12 of 18 people found this instruction helpful.
  • martin l. from JACKSONVILLE,, IL
  • Really Easy
  • Less than 15 mins
plastic warped in ,spaced out and, the socket snapped back in place.
Was this helpful?
Thank you for voting!