


 My Orders




10676392411 Kenmore Refrigerator - Overview

Enter a part description. DIY Heroes keep it simple, eg. "belt" or "pump".
Search filter:
Clear Filter
Your search term must have 3 or more characters.

$34.74
In Stock
Refrigerator Bimetal Defrost Thermostat
Part #WPW10225581
If you have ice building up in your freezer, or if your freezer is getting too warm during the defrost cycle you may need to replace the bi-metal defrost thermostat. The function of the defrost bi-metal thermostat is to clip onto the evaporator and protect your evaporator from overheating during the defrost cycle. If your refrigerator doe...Read mores not defrost properly you can test both the thermostat and the heater to figure out which part is at fault. For this repair, you will need a Phillips screwdriver, a 1/4 inch nut driver, a flat blade screwdriver, a pair of wire strippers, a roll of electrical tape, and a few butt splice connectors.
Read less

$11.77
In Stock

$12.85
In Stock
BRACKET-DOOR STOP,ZINC
Part #W11745278
This hinge bracket, also known as a door stop, is attached to the bottom of the door and is used to limit how far the door swings out to protect the refrigerator itself, and any surrounding cabinets from potential damage. If your fridge is having issues opening or staying closed, check the hinges for any damage or cracking. To replace thi...Read mores bracket, simply remove the door off your refrigerator, unscrew and remove this bracket from the bottom of the door, and install the new one. This hinge bracket is an OEM replacement and is compatible with several different makes and models of refrigerator.
Read less

$11.77
In Stock
Refrigerator Insert
Part #WP489467
You've got an issue? We have the solution! Let us introduce you to our latch and handle assembly tailor-made for your GE range. Having issues with your oven door during self-cleaning cycles? No worries, this assembly provides a solid locking feature, making sure your oven door remains secure and safe throughout the cycle. Remember, befo...Read morere getting started on those repairs, it?s key to switch off the electrical power connected to your range. This safety step is not to be skipped or taken lightly. We also encourage you to put on those work gloves while handling and installing this assembly, keeping your hands safe and protected. So, why is this part so important? It's simple?it's the one component that ensures your oven door stays locked when it's required, preventing any mishaps during self-cleaning cycles. Plus, with the GE brand on it, you are assured the part you've got in your hand is top quality and durable. Ready to give your range a new lease on life and have it working just like new? It's time to get that latch and handle assembly installed!
Read less

$55.29
On Order
Refrigerator Door Bin
Part #WPW10364007
This door bin is for refrigerators. Door bin attaches to the inside of the refrigerator door and typically holds jars and bottles.

$50.56
In Stock
Freezer Evaporator Fan Blade
Part #WP2163777
This part is used to circulate air through the inside of the refrigerator to help improve the cooling efficiency.

$81.44
In Stock
Start Relay
Part #WPW10448874
The Compressor Start Relay with Overload is an essential component for refrigerators, designed to ensure your compressor starts efficiently. This genuine OEM part is compatible with various refrigerator models. The relay attaches to the compressor and helps initiate the motor, allowing the refrigerator to operate smoothly. With the built-...Read morein overload protection, it also provides a safeguard to prevent potential damage to the compressor. Installation requires safety precautions—be sure to unplug the refrigerator and store any perishable items before proceeding with the repair. Wear work gloves to protect your hands from sharp edges or electrical components during installation. It’s important to follow the manufacturer's guidelines when replacing the start relay, and to verify compatibility with your specific refrigerator model, as slight variations in size or shape may occur between different models.
Read less

$17.15
In Stock

$25.75
In Stock

$9.62
In Stock
Hinge-Pin, Bottom
Part #WP2325483

$157.50
In Stock
Glass Shelf
Part #WPW10337637
Having trouble with your microwave's turntable? Meet the Whirlpool Microwave Turn Ring - your solution for a smooth-rotating turntable tray. It?s an essential piece for your microwave, produced by Whirlpool, focused on quality and reliability. This authentic OEM accessory ensures that your microwave's turntable tray rotates with ease, pro...Read moreviding you a much more consistent cooking experience. Here's a tip: while this turn ring might look similar to other parts, it's important to match it with your model number to ensure a flawless fit. You have the liberty to use it with various models from brands like Whirlpool, KitchenAid, Maytag, Jenn-Air, Amana, Inglis, and Magic Chef. Isn't that versatile? Installation is a breeze with this Whirlpool turn ring. Just refer to your owner's manual for detailed instructions and you're all set. Get your microwave back to performing like new with the Whirlpool Microwave Turn Ring and enjoy a seamless cooking experience.
Read less

$9.62
Special Order
Common Symptoms of the 10676392411
How this model fails, and the parts that fix it.
Fridge too warm
Fixed by
these parts
these parts


Show All
Door won’t open or close
Fixed by
these parts
these parts


Show All
Freezer not defrosting
Fixed by
these parts
these parts
Show All
Freezer section too warm
Fixed by
these parts
these parts
Show All
Fridge and Freezer are too warm
Fixed by
these parts
these parts
Show All
Fridge too cold
Fixed by
these parts
these parts
Show All
Frost buildup
Fixed by
these parts
these parts
Show All
Freezer too cold
Fixed by
these parts
these parts
Show All
Noisy
Fixed by
these parts
these parts
Show All
Too warm
Fixed by
these parts
these parts
Show All
Fridge runs too long
Fixed by
these parts
these parts
Show All
Will Not Start
Fixed by
these parts
these parts
Show All
Clicking sound
Fixed by
these parts
these parts
Show All
Leaking
Fixed by
these parts
these parts
Show All
Watch our pros, then fix it yourself.

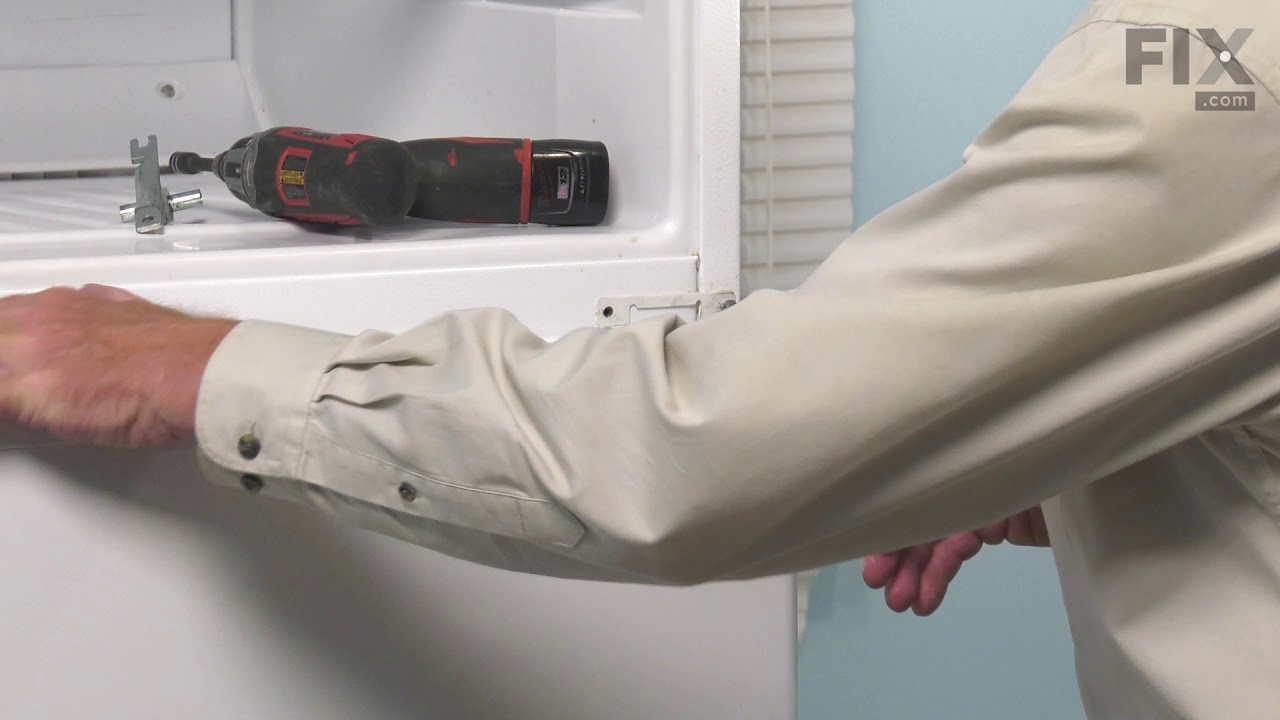
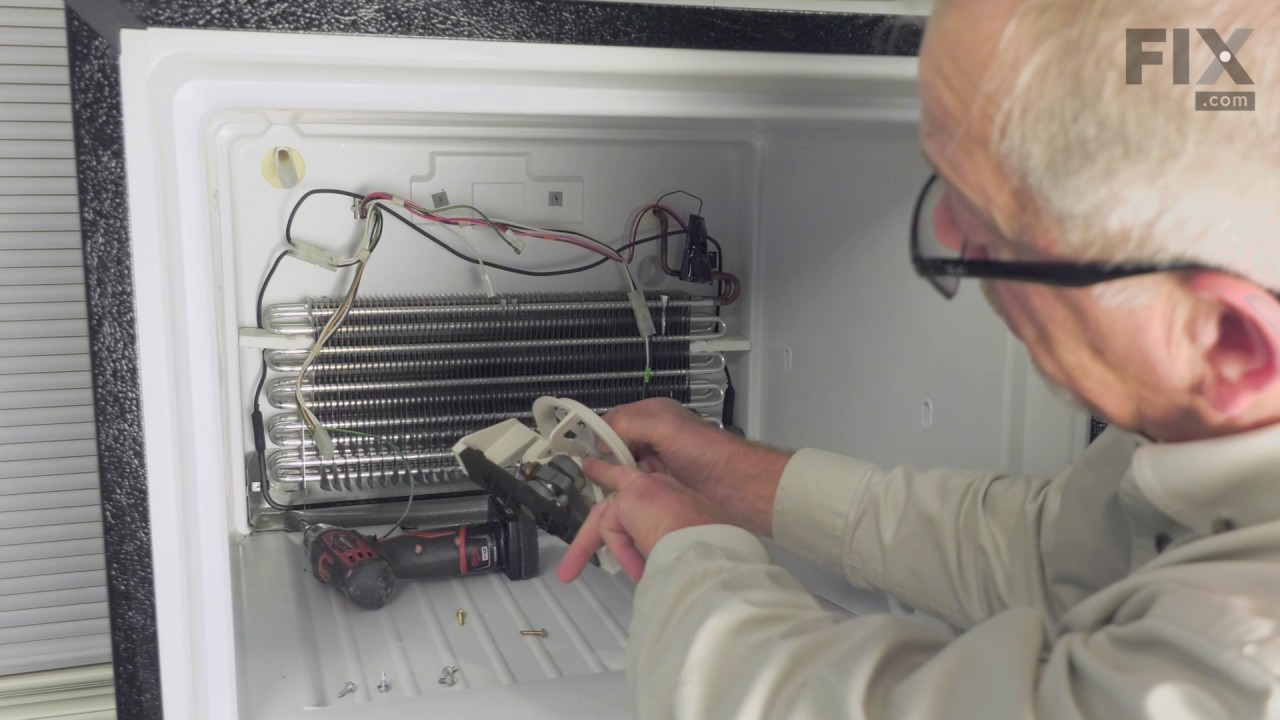
See how others fixed this model. Time, tools, difficulty, and steps that lead to victory!
View More