



 My Orders




1015 - Overview
Models starting with 1015
Click on the best match to narrow your results.
- 1015 (400000001-499999999 - 1974) Lawn Boy Trimmer (9" Edger/Trimmer)
- 1015 (300000001-399999999 - 1973) Lawn Boy Trimmer (9" Edger/Trimmer)
- 1015 (200000001-299999999 - 1972) Lawn Boy Trimmer (9" Edger/Trimmer)
- 1015 (100000001-199999999 - 1971) Lawn Boy Trimmer (9" Edger/Trimmer)
- 1015 (000000001-099999999 - 1970) Lawn Boy Trimmer (9" Edger/Trimmer)
- 1015 (126001-207400,138-200-100,131-200D100,139-) Cub Cadet Lawn Mower (Lawn Tractor)
- 1015 Jenn-Air Range (Jenn Air Range/Stove/Oven 1015)
- 1015 (126001-207400-130200100-131200D100-138200100-139200100) Cub Cadet Lawn Tractor (1015 S/N 126, 001 - 207, 400 130-200-100 131-200d100 138-200-100 139-200-100)
- 1015-0 Briggs and Stratton Pressure Washer (1015-0 - 1,250 Psi)
- 1015-0 Generac Pressure Washer (1250 Psi Pressure Washer)
- 1015-A Generac Welder (1015-A 350a Dc Welder)
- 1015000 Litton Microwave (Table Top)
- 101510 Jet Hoist & Winch (1 Ton 10 Foot Lift)
- 10151K Airmaster Industrial Fan / Circulator (30" 1/3HP Heavy-Duty, 2-Speed, Pull Chain Switch)
Enter a part description. DIY Heroes keep it simple, eg. "belt" or "pump".
Search filter:
Clear Filter
Your search term must have 3 or more characters.

$7.47
In Stock

$8.95
In Stock
Ceramic Fuse - 20 amp
Part #WPM0805101
This microwave fuse is just over an inch in length. It has a white ceramic center, and metal on either end. This is a twenty amp 250-volt fuse, and is used to power your microwave. If your microwave will not heat properly, will not turn on, or the touch pad becomes unresponsive, there could be a faulty fuse which should be replaced. Remem...Read moreber, since this part contains an electrical charge, before you replace the fuse from your microwave, make sure that the power is disconnected from the unit. This part is sold individually.
NOTE: Make sure your microwave is unplugged, and your capacitor is discharged before you begin this repair. A capacitor stores large amounts of electricity even after your microwave is unplugged.
Read less

$18.22
In Stock
Heat Resistant Adhesive
Part #W10841140
This is a heat-resistant adhesive for your appliance. The heat resistance allows you to stick parts such as grate feet, gaskets, and felt seals in hot areas, such as a cooktop, without compromising the integrity of the adhesive. It is white in color, and the tube is approximately 7.5 inches long.

No Longer Available
Wall Vent Cap Kit - 6 Inch duct
Part #A406
This wall vent cap kit comes with a spring loaded damper and instructions. It is designed for a 6" diameter outside vent.

No Longer Available
Wall Vent Cap Kit - 5 Inch duct - with Gray Cover
Part #A405
This wall vent cap kit comes with a spring loaded damper. This part can be painted.

$8.55
Special Order
Range Hex Nut
Part #WP488130
This hex nut is an authentic Whirlpool part that is sourced directly from the original equipment manufacturer, and will fit a variety of appliances including ovens, microwaves, refrigerators, air conditioners, and dishwashers. It is a metal part with a threaded hole to fasten parts in the appliance together. It is common for this part to ...Read morewear out; it is recommended to order a spare. To replace this part the tools needed are a nut driver or wrench. This nut features a built-in external tooth lock washer, which is used to help keep the nut in place.
Read less

$241.48
In Stock
Blower Motor
Part #707704K
This is a blower motor for your range, but you may also know it as a blower fan motor or a downdraft vent fan motor. This part is used with down draft models. It helps draw the steam and odors through the vent for the stove top when the switch is activated. The blower motor has a diameter of five inches. The shaft on this model has a 3/8-...Read moreinch diameter with a counter clockwise rotation. This motor includes the foam seal.
Read less

$94.66
In Stock
Range Exhaust Vent Blower Wheel
Part #WPY707985
This blower wheel attaches to the ventilation motor to draw in and exhaust smoke, steam, and cooking vapors, helping maintain clean airflow in your kitchen. Built from durable metal for heat resistance and long-lasting performance, it measures approximately 7 inches in diameter and under 4 inches deep for a secure, efficient fit. Designed...Read more to spin smoothly on the motor shaft, replacing a worn or damaged blower wheel can restore proper airflow, reduce noise, and ensure reliable ventilation performance.
Read less

$6.40
In Stock
Carriage Bolt 5/16-18 x 3/4" Lg.
Part #710-0451
This carriage bolt measures 5/16-18 x .75 and fastens two parts in your machine together. It has a round domed head and a square underside so the bolt does not rotate once it has been secured into place. If it has signs of deformation or wear, you will need to replace it. To unthread this bolt, you need an adjustable wrench to loosen the ...Read morenut found on the end of the bolt. You may need to apply a lubricating oil to the bolt if it is stuck. You may need to clamp down on the head of the bolt with pliers while continuing to turn the nut counterclockwise. You can then slide the carriage bolt out of its hole or tap it gently with a hammer. This bolt is a standalone product and the nut is not included. This bolt was sourced directly from its manufacturer.
Read less

$6.40
In Stock
Tiller Jamlock Nut
Part #712-0266A
The Jamlock Nut is a 3/8-16 inch metal nut which can be installed using a socket or wrench set. It's used to secure and lock parts in place. If the part is damaged and comes loose it should be replaced. This is an authentic part authorized by the manufacturer.

$6.74
In Stock
Wsh, Bell., .34 x .872 x .06
Part #736-0242
Sourced directly from the original manufacturer, this Bell Washer is made of gold-colored metal and is sold individually, not as part of a kit or assembly. It is used to provide spacing between various part assemblies along a shaft.
If you hear a strange noise coming from the shaft area, or you notice the Washer is visibly worn or damag...Read moreed, it will need to be replaced. Refer to your owners manual to determine the exact location of this part.
Customers rate the difficulty of this repair as Medium.
Read less

$31.58
In Stock
Lawn Mower Solenoid
Part #925-1426A
This starter solenoid is designed to reliably engage the starter motor by allowing a low-power ignition signal to trigger the high-current starting circuit. Built for dependable performance, it helps resolve no-start or intermittent starting issues caused by a failed relay. Ideal for replacing a worn or faulty solenoid, it restores consis...Read moretent starting and reliable operation in lawn mowers, tractors, and snow-clearing equipment.
Read less
Exact Part matches for your search term

$29.27
In Stock
Cleaning Brush
This part number matches the current model number 1015
Part #4210463RW
Cleaning brush for coils on refrigerator and freezers, dryer lint filter housings, and more.

No Longer Available

No Longer Available
Electrode
This part number matches the current model number 1015
Part #1015
This is an authentic Patio Comfort replacement part that has been OEM sourced and is intended to be used with outdoor patio heaters. The electrode is used to create an electric arc at the pilot to ignite the burners when the ignitor button is pressed. This electrode is priced as a single item, please note the ignitor is available separately.
No Longer Available
No Longer Available
Common Symptoms of models starting with 1015
How this model fails, and the parts that fix it.
Leaking
Fixed by
these parts
these parts

Show All
Won’t turn on
Fixed by
these parts
these parts

Show All
Will Not Start
Fixed by
these parts
these parts

Show All
Watch our pros, then fix it yourself.
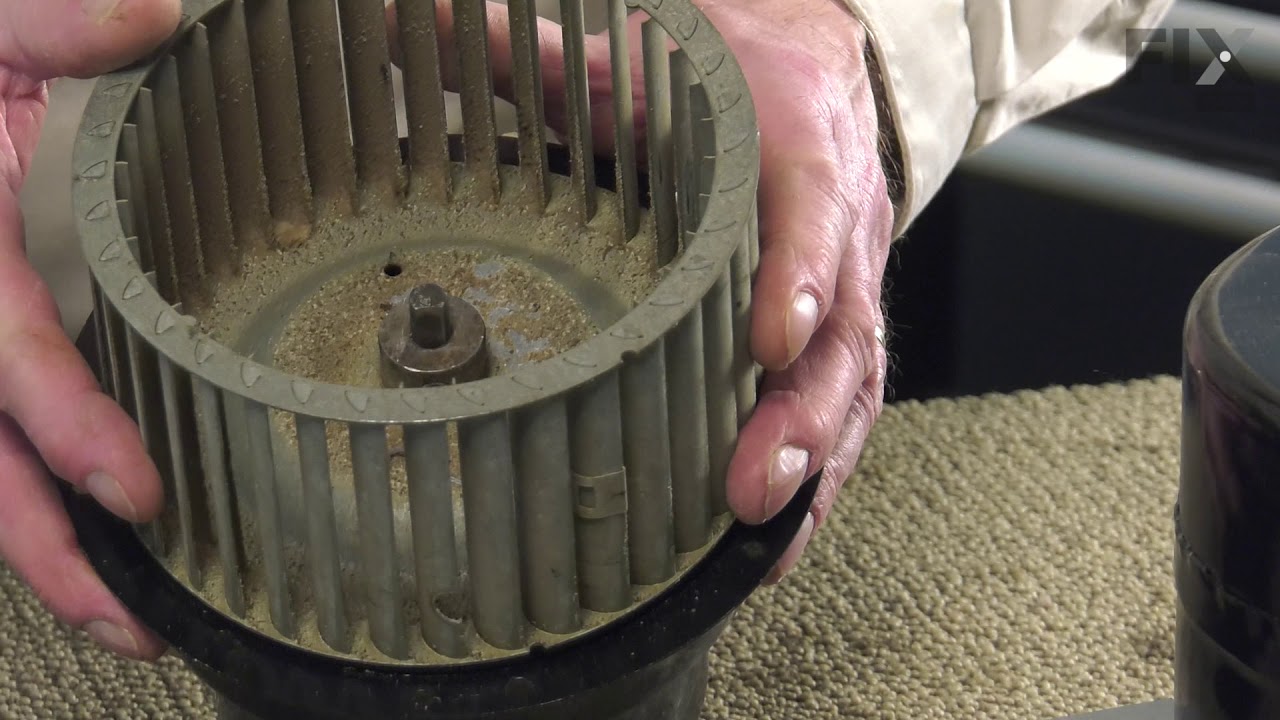
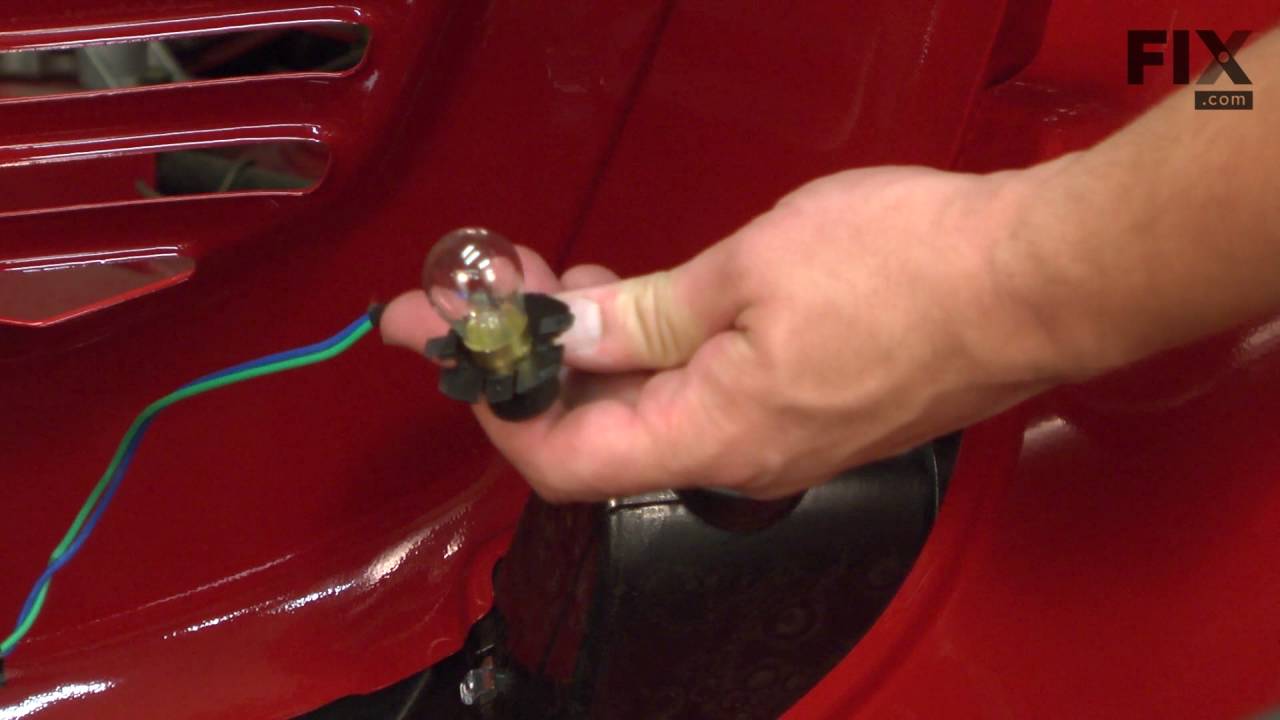
See how others fixed this model. Time, tools, difficulty, and steps that lead to victory!
View More