


 My Orders




Flat Style Igniter 4391996
Official part for Maytag, Jenn-Air, International




Fits your LDG7600AGW!
About This Part
What it does. Why it matters. Everything you need to know for an easy fix.
Flat Style Igniter Specifications
This flat style igniter comes with a wire harness connector. This part ignites the gas within the dryer. Bracket is NOT included.
Part #4391996
Manufactured by
Whirlpool
for Maytag, Jenn-Air, International

You May Also Need
Because heroes deserve fewer surprise re-installs.

$28.42
In Stock

$20.36
Special Order

Affresh Dishwasher Cleaner Tablets - 6
Part #W10549851
$22.52
In Stock

Affresh Washing Machine Cleaner Tablets – 6 Count
Part #W10501250
$28.42
In Stock

$18.22
On Order

$27.36
In Stock

Refrigerator Deodorizer
Part #MCS62101805
$31.58
In Stock
Genuine OEM: Original Parts. Lasting Repairs.
Because quality isn't optional.
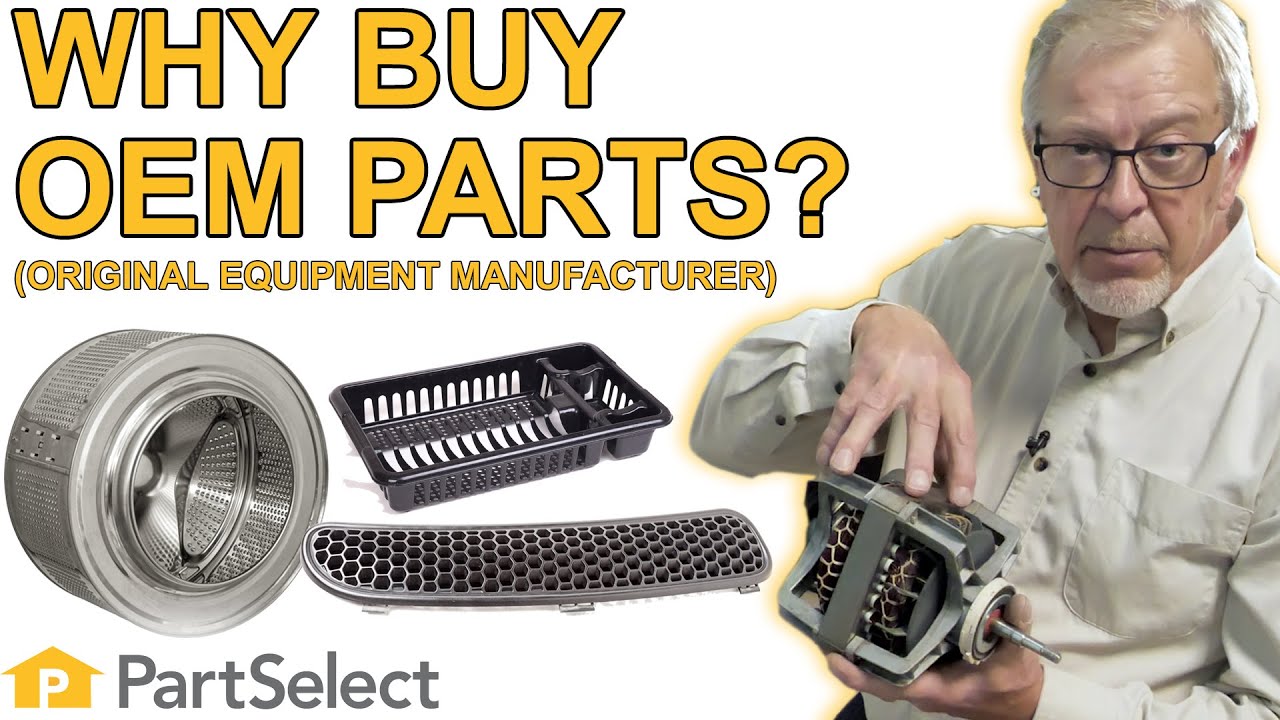
OEM stands for Original Equipment Manufacturer. This means that the company who made your appliance is also supplying the replacement part.
| Features | OEM | Generic |
|---|---|---|
| Genuine brand name | ||
| Guaranteed to fit | ||
| Superior Quality | ||
| Long term value |
Part Videos
Watch our pros, then fix it yourself.
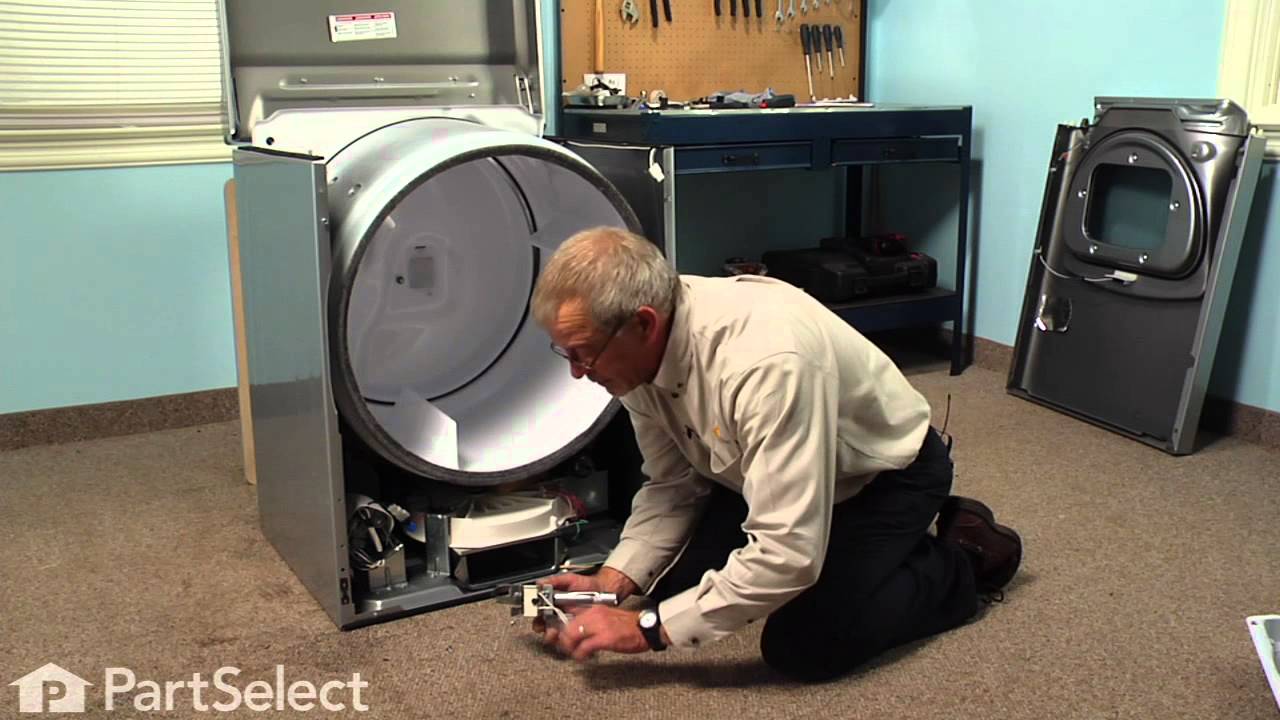
Replacing your Maytag Dryer Flat Style Igniter
Repair Tips
See how others fixed this model. Time, tools, difficulty, and steps that lead to victory!
Sort by:
- Prev
- 1
- 2
- 3
- Next
Search repair tips from other customers using simple keywords like "replace", "fit", "remove", "inspect". DIY doesn't mean you have to do it alone!
Search filter:
Clear Filter
Your search term must have 3 or more characters.
Sorry, we couldn't find any existing installation instruction that matched.
Dryer heat was low and intermittent
2 of 2 people
found this instruction helpful.
Unplug dryer. Removed the screws on the right hand hinge, lift and remove the door, remove the screws in the left-hand side, slide top of front cover out and lift off of metal tabs and set aside. Used a small Shop-Vac to clear any dust or lint from the appliance housing. Un-clipped quick disconnect connectors from the igniter, flame senso
... Read more
r and coils. Loosened but did not remove screw holding igniter slid igniter coil off following slot in igniter coil. Unscrewed top bracket screw to flame sensor, slid other end out of tab in slot, bracket must be slightly bent to remove old and insert new. Unscrewed top brackets to coil. Warning assembly screws were installed extremely tight had to break them free using small vice grips so phillips heads would not strip, enough clearance to gain purchase on the sides of the screws head with small vice grips. Place new coils into slots and screwed brace back into place. slid new igniter coil onto the existing screw, inserted metal tab into assembly for heat sensor, new part came with replacement bracket. tightened all screws. reconnected quick connectors to all 3 parts. reversed process of cover disassembly to reassemble and reinstall door. plugged dryer back in. fix successful consistent heat restored.
Read less
Other Parts Used:

Was this helpful?
Thank you for voting!
Dryer not heating after 5-10 minutes
1 person
found this instruction helpful.
Remove the dryer door hinges from whichever side they are attached to.Remove the two plastic tabs on the opposite side from hinges. Tilt the front panel forward and lift to remove. All the parts are located in the bottom front side of dryer. Two screws remove coil valve cover, the coils slide upward for removal. One coil has two prongs, o
... Read more
ne has three, replace them in correct positions and reattach cover. One screw holds igniter in place, remove and unplug old one, carefully install new one so not to damage it. Thermostat has one screw holding it in, remove and unplug four wires, remember to plug each wire into new thermostat before removing the next one so you don't wire it incorrectly. Reinstall front panel of dryer and you're done.
Read less
Other Parts Used:

Was this helpful?
Thank you for voting!
Dryer (gas model) stopped heating, still turned drum
2 of 2 people
found this instruction helpful.
Accessed the front of the dryer cab by removing 4 screws (2 cover, 2 hinge) which also allowed the door to be removed. The front panel pivots at the bottom, towards the front. Changed the igniter first (loosen 1 screw, slide old unit out, slide new unit in, retighten screw, transfer electrical connector) though the unit looked OK, then
... Read more
changed the gas valve solenoid coil packs (disconnect electrical plugs, remove coil bracket (2 screws), swap new coils for old, and reassemble). Vacuumed up loose dirt and reinstalled front panel and door. Also removed, cleaned, shortened, and reinstalled the dryer flex duct as a maintenance item. Dryer works perfectly again!
Read less
Other Parts Used:
Was this helpful?
Thank you for voting!
NO HEAT
2 of 2 people
found this instruction helpful.
I watched your YouTube video. Access to the interior of the dryer and replacing parts was EASY. Unlike the machines in the videos ACCESS is VERY EASY as only one panel needs to be removed. Access is from the FRONT PANEL and secured by two top clips and two front bottom screws. Just unscrew and swing the bottom up at about a 45 degree a
... Read more
ngle; the panel comes off and can be placed to the side. I first replaced a thermostat and a coil kit but still no heat. I then ordered a new FLAT STYLE IGNITER ( which I discovered was broken off ) and a RADIANT FLAME SENSOR and these parts FIXED THE PROBLEM. Parts cost about $90 (Dec. 2016) including shipping.
Read less
Other Parts Used:
Was this helpful?
Thank you for voting!
no heat in commercial Maytag gas dryer
1 person
found this instruction helpful.
i replaced the two coils and the flay style igniter ( broke the igniter during install, its VERY brittle) so i have to get another one. Otherwise easy fixing
Other Parts Used:
Was this helpful?
Thank you for voting!
- Prev
- 1
- 2
- 3
- Next
DIY Questions and Expert Answers
7 questions answered by our Repair Experts.
Ask our experts a question about this part and we'll get back to you as soon as possible!
We may have answered a similar question already! Search questions and answers left by others using simple keywords like "fit", "broken", "easy", or "quality" to find questions that match.
Search filter:
Clear Filter
Your search term must have 3 or more characters.
Sort by:
- Prev
- 1
- Next
Sorry, we couldn't find any existing answers that matched.Try using some different or simpler keywords, or submit your new question by using the "Ask a Question" button above!
Greg
- For model number LDG8406AAE
December 12, 2017
Dryer does not heat. Igniter does not glow. Igniter resistance measures 84 ohms. Input voltage to igniter measures 27v. Don't see any detailed instructions for further diagnosis.

Hi Greg, Thank you for the question. I suggest testing the 'M' Series Coils, PartSelect Number PS334310.The 2-prong coil read 1,000-1,300 ohms. The 3-prong coil will read 1,300-1,400 ohms across prongs 1 and 2, and 500-600 ohms across prongs 1 and 3. Hope this helps!
$28.42
In Stock
8 people
found this instruction helpful.
Was this helpful?
Thank you for voting!
Lisa
- For model number MDG7657AWW
December 18, 2017
My dryer won't ignite when the dryer door is closed, but it will if the door is open- what's up? Thanks
Hello Lisa, Thank you for your inquiry. We would recommend checking the following parts to fix your issue: M series new style coil kit, cycling or internal bias thermostat, high limit thermostat, flame sensor, and thermal fuse. You can test the parts with a multimeter. If you are unfamiliar with how a multimeter functions, there are YouTube videos available to assist you. Good Luck with your repair!
1 person
found this instruction helpful.
Was this helpful?
Thank you for voting!
Gwen
- For model number LDG8304AAE
November 9, 2017
Good morning. The directions on the previous page i was on said for me to, using a Philips screwdriver, take the two bottom Philips' screws off the front panel and check the igniter. Where on earth are the two bottom screws located on the front panel so i can check the igniter? Thanks.
Hi Gwen, Thank you for the question. The screws are on the bottom lip of the front panel. Here is the part number for the screws and clips, you will be able to see the diagram for the location when you search up this number. PartSelect Number PS2017075. Hope this helps!
1 person
found this instruction helpful.
Was this helpful?
Thank you for voting!
Jim
- For model number DG7500
February 17, 2018
My gas dryer will not dry. The timer does not advance but will occasionally work correctly. Today, I can smell gas coming out of the exhaust vent outside. Currently, the ignitor glows but does not produce a flame. I have replaced the "M" series coils, and the multitemp gas thermostat, but the dryer still does not work properly. Please help me figure this out and make a suggestion to what I should try next?
Dear Jim,
Thanks for your question. This could be due to the gas valve or the igniter. You will want a multimeter to test the parts, and replace any that do not show electrical continuity.
I hope this helps.

$235.15
In Stock
Was this helpful?
Thank you for voting!
Rick
- For model number 110706200
January 11, 2019
Dryer ingniter will not come on
Hi Rick,
Thank you for your question. If the dryer is not igniting, there are some parts that you will need to check to see which ones are causing the issue. You will need to check the coils, the igniter kit, the radiant flame sensor, the the internal bias thermostat, the thermal cut-off fuse kit and the disposable thermal fuse. I hope this helps. Thank you and have a great day!
Was this helpful?
Thank you for voting!
William
- For model number LDG9304AAE
April 3, 2019
Igniter glows, gas valve opens Flame is established, Flame goes out after 5 or 10 seconds?
Hello William, thank you for your question. We would recommend testing the Thermostat, Internal-Bias
Part Number: WP3387134 and 'M' Series New Style Coil Kit Part Number: 279834. To test the coils the coils can be tested using a multi-meter tool. The 2-prong coil read 1,000-1,300 ohms. The 3-prong coil will read 1,300-1,400 ohms across prongs 1 and 2, and 500-600 ohms across prongs 1 and 3. To test the thermostat with a multimeter you can test the two large terminals on the thermostat, they should read closed for continuity and the two small ones should show an ohms resistance value. We hope this helps and good luck with the repair!
Was this helpful?
Thank you for voting!
Joseph
- For model number MDG550AWW
October 11, 2023
Everything works but no heat on my gas manage and the vent is fine.
Hello Joseph, thank you for the question. You may need to check the igniter if it is not faulty, then you may need to replace the coil kit, part number PS334310, to fix the issue. Glad to be of assistance!
$28.42
In Stock
Was this helpful?
Thank you for voting!
- Prev
- 1
- Next
✖
Ask a Question
Ask our experts a question on this part and we'll respond as soon as we can.
Sorry, we couldn't find a match for "".
Here's a guide for finding your model number.
Something went wrong. Please try again later.
Your Question Has Been Submitted!
Our experts will send you an email as soon as your question has been answered.