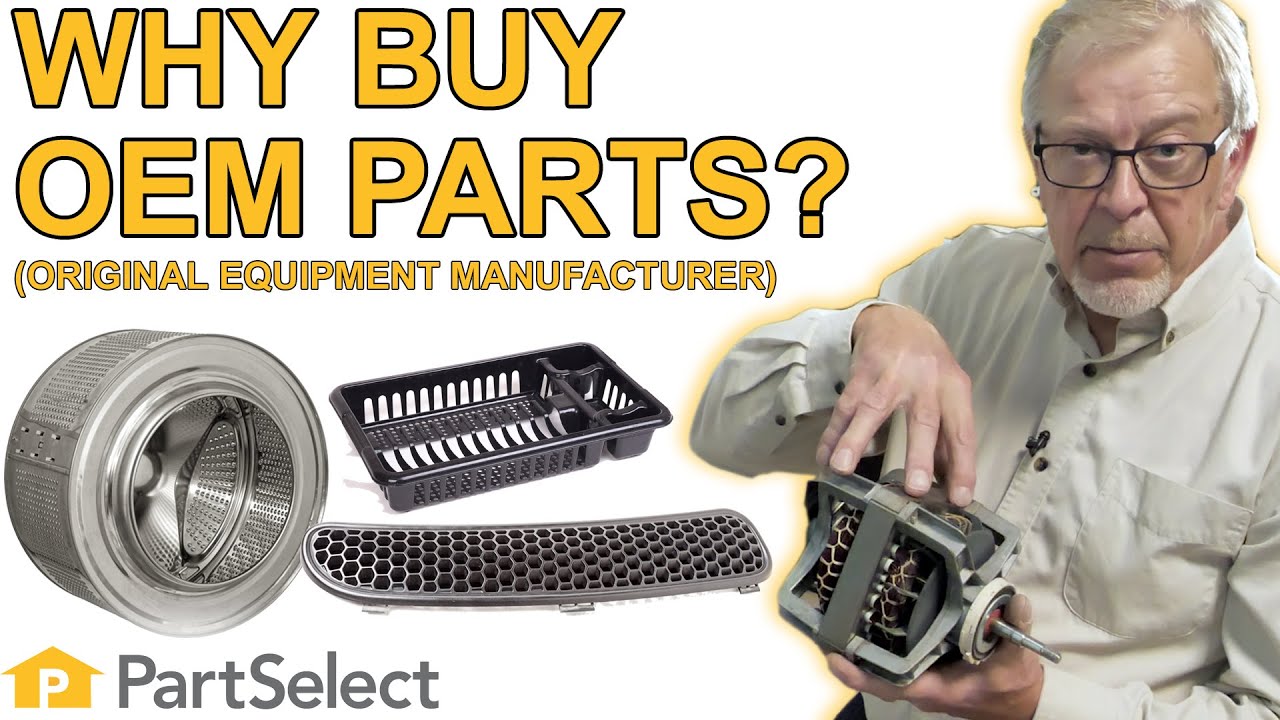
OEM stands for Original Equipment Manufacturer. This means that the company who made your appliance is also supplying the replacement part.
Features
OEM
Generic
Genuine brand name
Guaranteed to fit
Superior Quality
Long term value
About this fix
Common problems and models this part fixes.
A Bit Difficult
1- 2 hours
Rated by verified customers
What this part fixes:
Fridge too warm
Works with the following products:
Refrigerator
Part# WR02X10668 replaces these:
AP3423161, 912810, WR2X10668
Repair Tips
See how others fixed this model. Time, tools, difficulty, and steps that lead to victory!
A Bit Difficult
1- 2 hours
Average repair rating from 4 real customers like you
Sort by:
Prev
1
Next
Search repair tips from other customers using simple keywords like "replace", "fit", "remove", "inspect". DIY doesn't mean you have to do it alone!
Search filter:
Clear Filter
Your search term must have 3 or more characters.
Sorry, we couldn't find any existing installation instruction that matched.
Refrigerator side freezing food
7 of 8 peoplefound this instruction helpful.
M &M Aviation from ESCANABA, MI
Easy
15 - 30 mins
Screw drivers
Replaced both temp sensors worked good for 2 days then began freezing food. Looked into it further on line. Found small motorized door broken that controls the cold air from the freezer
For several years, had problem with water accumulating in the bottom of the refrigerator...took out the "custom cool" drawer and assigned my kids the responsibility to dry it out daily after supper (about a fourth of cup of water daily)...the water was condensing and dripping down the left side of the refrigerator... NOT coming from the r
... Read moreefregerator evaporator drip pan area. Then the refrigerator and freeezer had erratic cooling...paid 4 grand for this GE stainless steel on the front/sides frig about 5 years ago... then my wife said she wanted a new refrigerator...what the heck...went on to numerous websites and finally decided to do my own "overall"...had nothing to lose except the price of the parts. A helpful web site is the GE technician site at...www.manualinstruction.com/wp-content/uploads/2011/10/ge-sidebyside.pdf. I ordered the four thermisters, a new freezer defroster (the old one was probably OK...the freezer coils were not "iced Up"), and a new defroster thermonmeter. While I was at it, I ordered a new refrigerator evaporator drip pan that was rusting a bit. As per other instructions in this website, just spliced in the new thermisters,used wire twist caps and eletrical tape to seal them. The GE site is a bit more elaborate on the "correct" way to do this. The refrigerator evaporator coil is a bit tricky...see the above ge site...but I just cut the rubber thermister holder down the middle and then tracked the thermister through the holder and stuck it in the block and taped the holder back together...(removed the block first ) and then zip-lined the block back to the coil like it was originally. It was about 3 hours to do everything...and guess what...temp in the freezer is -5...temp in the frig is 36...and NO MORE WATER IN THE BOTTOM OF THE REFRIGERATOR, NO MORE WATER DRIPPING DOWN THE LEFT SIDE OF THE REFRIGERATOR...what will my kids do...I feel like the refrigerator guru now. Wish I had done this several years ago. The parts I ordered came in 3 days. I'm lovin my refrigerator now and my wife is lovin me. It's really easier than I thought it would be...the GE tech website has some "diagnostic" info to isolate different problems... but I just decided to replace "everything" since the parts were not that expensive and it was going to be a "do or die" on getting a new refrigerator.
refridgerator was not defrosting & so was getting warm
15 of 24 peoplefound this instruction helpful.
Theodore from San Gabriel, CA
Easy
30 - 60 mins
Nutdriver, Screw drivers
On the PartSelect website, I chose the 'refridgerator is too warm' problem choice. The site sugested replacing the sensors so I purchased them. The drain trough on the refrigerator side was leaking and it and the defrost thermostat were not too expensive so I bought them too. Once the parts arrived I installed them. I had alread
... Read morey disassembled the inside of the freezer. The sensors and thermostat had to be connected electrically. So I cut off the old parts and stripped their wires. (the new parts' wires were already stripped.) I then used wire nuts to connect the new wires to the old and stuffed the wire back into its compartment and installed its cover. The defrost Thermostat has to be clipped to the refrigeration line. So after attaching its wires I had to work it into its place. I then reassembled the inside of the freezer and let it sit for an hour before turning it back on. Once it was turned on it seemed to work well, but after only 3 or 4 days the coils began freezing over again.
After having replaced the main control board and three thermistors, the fridge was still having difficulting getting cold enough - it wouldn't get colder than 15F / 42 F. Uniform frost on the evaporator coil ruled out a sealed system leak, so the remaining culprits were the either the evaporator fan motor or the compressor.
I
... Read moreread that a failed control board is almost always the fault of a bad evaporator fan motor, so this item was the most likely suspect.
To get to the evaporator fan motor, I had to remove, in this order:
1) Icemaker 2) Auger motor and brackets 3) Icemaker bracket 4) Freezer lights and bulb sockets 5) Evaporator panel 6) Evaporator plenum cover 7) Evaporator fan motor bracket
The greatest difficulty lay in swapping the new fan motor harness. Two pins in the harness connector were used for the evaporator thermistor.
I had to carefully cut through the old connector (using a Dremel) to extract the crimped-on pins for the thermistor, then reuse them on the new connector.
The fridge is now maintaining -5 F / 35 F in the freezer / fresh food sections.
Ask our experts a question about this part and we'll get back to you as soon as possible!
We may have answered a similar question already! Search questions and answers left by others using simple keywords like "fit", "broken", "easy", or "quality" to find questions that match.
Search filter:
Clear Filter
Your search term must have 3 or more characters.
Sort by:
Prev
1
Next
Sorry, we couldn't find any existing answers that matched.Try using some different or simpler keywords, or submit your new question by using the "Ask a Question" button above!
Doug
December 1, 2017
What does the shunt sensor do? If it is defective in the freezer sensor would that explain my freezer compartment getting too cold down to -9?
Hi Doug,
Thank you for your question. A shunt sensor is a sensor cover. I hope this helps. Thank you and have a great day!
1 personfound this instruction helpful.
Was this helpful?
Thank you for voting!
KEN - For model number GSE25HMHEHES
June 16, 2025
Freezer side doesn't get to set temp and very seldom turns off. Sometime I hear a buzzing sound when it turns off. I replaced the defrost thermostat and the temperature sensor in freezer and still have the same problem. Temperature on the refrigerator side is constant. I also noticed the the face on the wall that the door closes aginst is very warm. The one between the refrg. and freezer.
Hello Ken, thank you for getting in touch. Despite replacing the defrost thermostat and temperature sensor, the buzzing sound when the freezer shuts off suggests a fan issue and the lack of temperature control in the freezer indicates a potential problem with how the fan is distributing cold air. We would recommend checking the evaporator fan motor, part number PS2364950, to solve the problem. We hope this helps!
Item is in stock and is estimated to be delivered in 2-3 business days via Standard Shipping.
On Order
Item is not in stock and usually ships 3-5 business days from the time you place your order.
Special Order
Item is not in stock and usually ships 10-15 business days from the time you place your order.
NLA - No Longer Available
This item is no longer being made by the manufacturer, and cannot be added to your shopping cart.
[{"position":0,"name":"Home","title":"Home","url":"/"},{"position":1,"name":"Refrigerator","title":"Refrigerator","url":"/Refrigerator-Parts.htm"},{"position":2,"name":"Cap or Lid","title":"Cap or Lid","url":"/Refrigerator-Caps-and-Lids.htm"},{"position":3,"name":"WR02X10668","title":"WR02X10668","url":""}]




 My Orders