


 My Orders




ZWE23PSHPSS General Electric Refrigerator - Overview
Diagrams for ZWE23PSHPSS
See every part. Know exactly what you need.

Enter a part description. DIY Heroes keep it simple, eg. "belt" or "pump".
Search filter:
Clear Filter
Your search term must have 3 or more characters.

$30.53
In Stock
Temperature Sensor
Part #WR55X10025
This temperature sensor, also called a thermistor, measures temperature inside the refrigerator or freezer and sends readings to the main control board. The board uses this information to control cooling, including compressor and fan operation. Incorrect readings may cause the compartment to become too warm or too cold, or make cooling ru...Read moren longer than needed. The replacement includes the sensor body and wire leads. Its location varies by appliance. This is an OEM part sourced directly from the manufacturer.
Read less

$61.39
In Stock
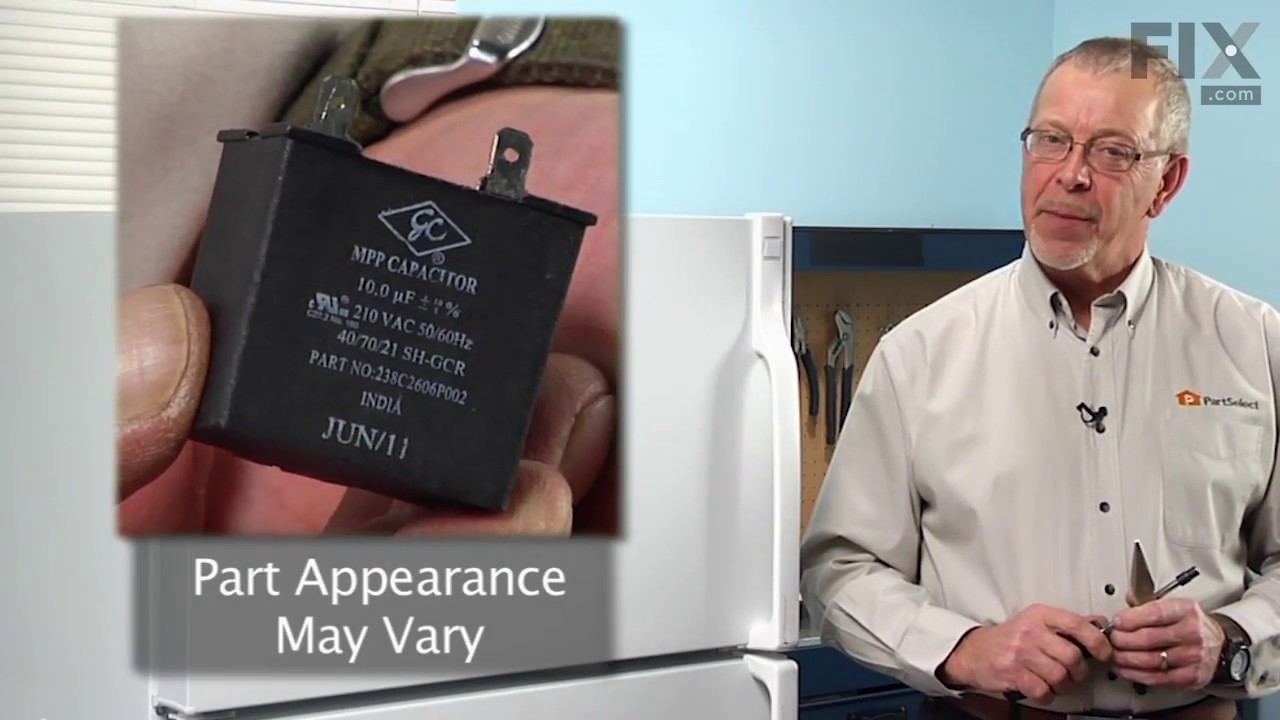
Run Capacitor
Part #WR55X24064
Support steady compressor operation with this refrigerator run capacitor. It provides the electrical phase shift needed for the compressor motor to run properly as the cooling system operates. A failing capacitor may contribute to humming, difficulty starting, interrupted compressor operation, or rising compartment temperatures. Visible s...Read morewelling, leaking, or burned terminals may also indicate damage. Unplug the refrigerator before accessing the component. Capacitors can retain an electrical charge after power is disconnected, so follow approved discharge procedures and avoid touching or shorting the terminals. Record the wire positions before replacement. This is an OEM part sourced directly from the manufacturer.
Read less

$69.23
In Stock
Refrigerator Door Shelf Bin - Clear
Part #WR71X11044
This gallon-sized refrigerator door shelf bin is a genuine OEM replacement designed for select General Electric (GE) models, including compatible units from Hotpoint and Café. Constructed from durable, food-grade clear plastic with a white band along the top, it offers a transparent view of stored items and supports efficient organization...Read more of beverages, condiments, and jars. Designed for installation on the right-side door, this bin replaces several previous part numbers and is intended for tool-free installation. Some versions may include a bonus soda can organizer. Always verify your refrigerator’s model number to ensure compatibility before purchase.
Read less

$77.75
In Stock
Refrigerator Fresh Food Evaporator Fan Motor (DC)
Part #WR60X26866
Air moving over the refrigerator coils helps maintain refrigerator and freezer temperatures. This black OEM evaporator fan motor is for the fresh food section. Confirm compatibility with your refrigerators model number.

$64.76
In Stock
Freezer Door Gasket (Dorian Gray)
Part #WR14X36194
Frost buildup can mean the freezer door gasket needs replacement. It seals the door opening to help keep cooled air inside. This OEM gasket is listed for select refrigerators; check your appliance model number to confirm compatibility.

$240.62
In Stock
MAIN CONTROL BOARD
Part #WR55X46805
A refrigerator control-board fault may be associated with temperature fluctuations, ice dispensing problems, or an unresponsive display. This OEM main control board regulates temperature, ice production, defrost cycles, and fan operation. Check your refrigerators model number to confirm compatibility.

$67.35
In Stock
FRESH FOOD DOOR GASKET DORIAN GRAY
Part #WR14X29300
To help keep warm air from entering the refrigerator, this gasket seals the fresh food compartment door. It is Dorian Gray. Check your refrigerators model number to confirm fit.

$38.45
In Stock
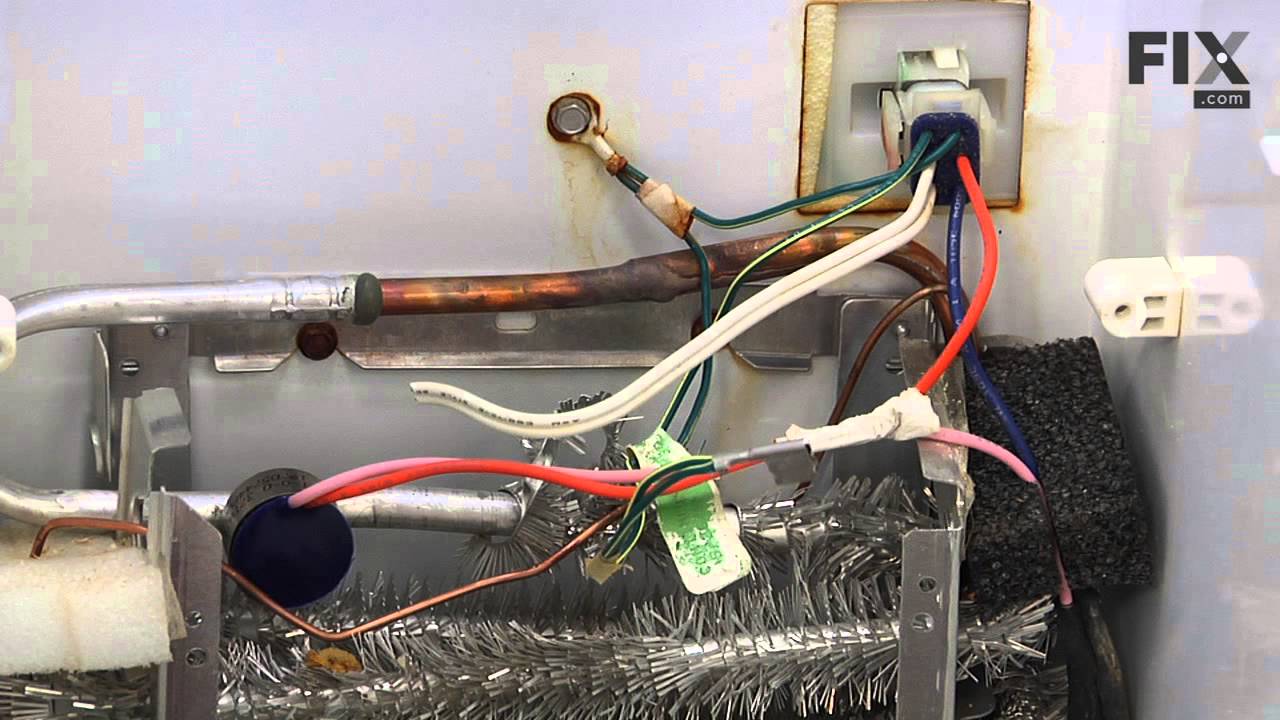
FREEZER DEFROST THERMOSTAT
Part #WR50X10108
Help protect the freezer during defrost cycles with this refrigerator defrost thermostat. It responds to the temperature of the cooling coils and cuts power to the defrost heater when they become too warm. A failed thermostat may prevent the heater from turning on, allowing frost to build up and block airflow. This can lead to uneven cool...Read moreing or warmer temperatures inside the appliance. Replacing a faulty thermostat helps restore proper heater control. Unplug the refrigerator before working on the defrost system. This is an OEM part sourced directly from the manufacturer.
Read less

$82.62
In Stock
Refrigerator Dairy Bin, Right
Part #WR71X11063
The dairy bin attaches to the refrigerator door and is typically used to hold butter and cheese.

$16.05
In Stock
Spring Hinge Mullion
Part #WR01X11052
This spring hinge mullion is a genuine OEM replacement designed to provide tension for the flipper seal on French-door refrigerators, ensuring the door closes properly to maintain temperature and prevent air leaks. Made from durable steel, it attaches to the mullion and helps seal the gap between doors for efficient cooling. Over time, th...Read moree original spring may break or lose tension, leading to frost buildup, warm air entering the freezer, or doors that do not close fully. Installation is straightforward and typically requires basic tools such as a screwdriver. In some cases, minor adjustments may be needed for a perfect fit. Replacing this component restores smooth door operation and consistent internal temperature.
Read less

$16.05
In Stock

$13.92
Special Order
Screw - 8-10 PL PNP 1/2 S
Part #WR01X10649
Common Symptoms of the ZWE23PSHPSS
How this model fails, and the parts that fix it.
Fridge too warm
Fixed by
these parts
these parts


Show All
Freezer section too warm
Fixed by
these parts
these parts

Show All
Fridge too cold
Fixed by
these parts
these parts
Show All
Freezer not defrosting
Fixed by
these parts
these parts

Show All
Will Not Start
Fixed by
these parts
these parts

Show All
Fridge and Freezer are too warm
Fixed by
these parts
these parts
Show All
Frost buildup
Fixed by
these parts
these parts
Show All
Too warm
Fixed by
these parts
these parts
Show All
Fridge runs too long
Fixed by
these parts
these parts
Show All
Freezer too cold
Fixed by
these parts
these parts
Show All
Door won’t open or close
Fixed by
these parts
these parts


Show All
Noisy
Fixed by
these parts
these parts
Show All
Ice maker not making ice
Fixed by
these parts
these parts

Show All
Door Sweating
Fixed by
these parts
these parts

Show All
Clicking sound
Fixed by
these parts
these parts
Show All
Leaking
Fixed by
these parts
these parts
Show All
Light not working
Fixed by
these parts
these parts
Show All
Doesn’t stop running
Fixed by
these parts
these parts
Show All
Too cold
Fixed by
these parts
these parts
Show All
Not dispensing water
Fixed by
these parts
these parts

Show All
Watch our pros, then fix it yourself.
See how others fixed this model. Time, tools, difficulty, and steps that lead to victory!
View More