


 My Orders




ZIRS36NMFRH General Electric Refrigerator - Overview
Diagrams for ZIRS36NMFRH
See every part. Know exactly what you need.


Enter a part description. DIY Heroes keep it simple, eg. "belt" or "pump".
Search filter:
Clear Filter
Your search term must have 3 or more characters.

$21.95
In Stock
Light Bulb - 40W
Part #40A15
This 40-Watt light bulb is sold individually.
It is specially designed to withstand extreme temperatures, so this bulb is compatible with a variety of appliance types including refrigerators, ranges, microwaves, and dryers. It features a frosted glass bulb with a standard metal socket base, which allows you to easily unscrew the burnt-out light and twist the new bulb into place.

$38.32
In Stock
LIGHT SWITCH
Part #WR23X37285
The interior light of your refrigerator is controlled by a switch that is activated when the door is opened and closed. If your refrigerator light will not turn on, there could be an issue with the switch. The switch is spring loaded and is a generally closed type of switch meaning there should be no continuity when the button is depresse...Read mored, and continuity through the switch when the button is not depressed. This plastic, white, OEM switch is sourced directly from the manufacturer, is sold individually and is easy to replace. The repair usually takes less than 15 minutes and requires a flat blade screwdriver and needle nose pliers.
Read less

$61.39
In Stock
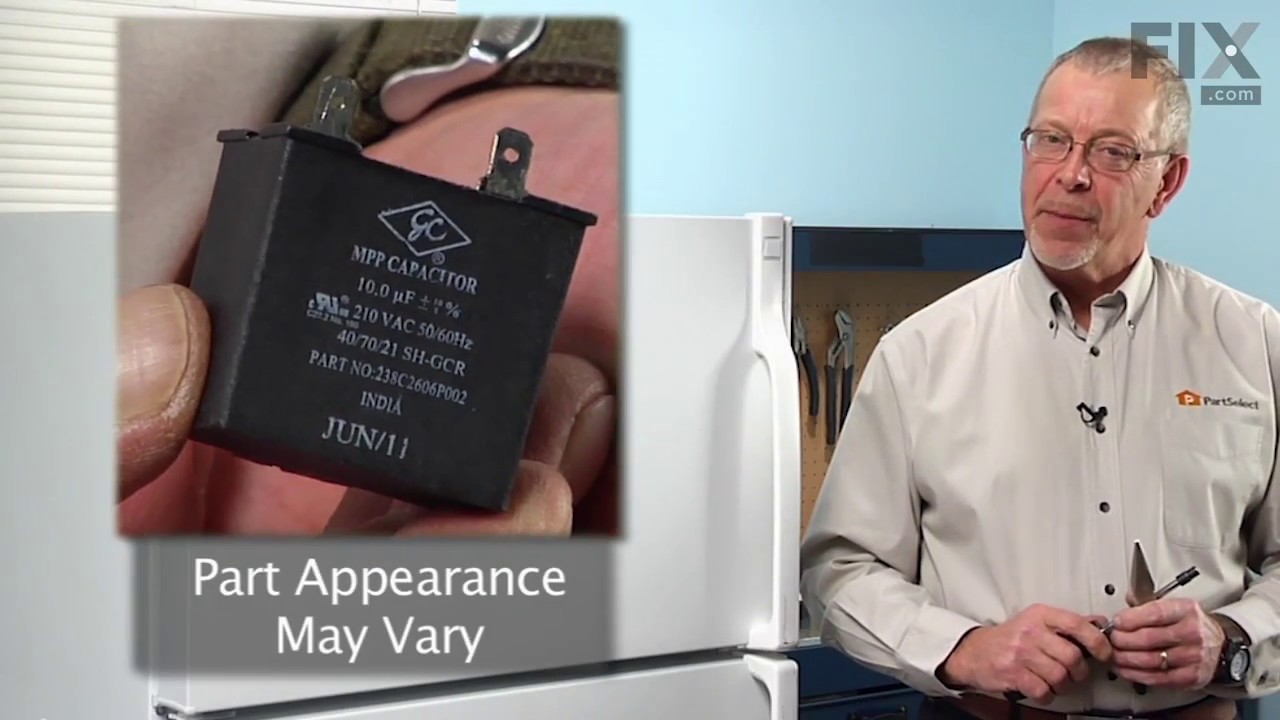
Run Capacitor
Part #WR55X24064
This part helps the compressor kick on and off while maintaining a constant temperature to keep things frozen in your freezer. This part has been updated by the manufacturer and may appear different than the original, but should function the same.

$28.72
In Stock
Evaporator Fan Blade
Part #WR60X10205

$140.92
In Stock
Vegetable Pan Lid - White/Clear
Part #WR32X10119
This is the replacement vegetable pan lid for your refrigerator. It is made of clear and white plastic and measures approximately 15 inches by 7 inches. The vegetable pan lid is found at the top of the vegetable pan and protects the contents of the pan. The clear portion in the middle of the lid allows you to see the inside of the pan and...Read more its contents. This part is sold individually and is an OEM part sourced directly from the manufacturer.
Read less

$16.05
In Stock

$138.32
In Stock
Door Bin
Part #WR71X10138
This plastic door bin is designed to attach securely to the inside of your refrigerator door, providing convenient storage for bottles, jars, and other small items. Its adjustable placement allows you to customize your storage space as needed. The bin features a white base with a clear exterior and measures approximately 16 inches wide, 5...Read more inches high, and 5.5 inches deep. If the bin is cracked or the mounting tabs are broken, replacing it will restore proper function. This part is sold individually.
Read less

$90.64
In Stock
Condensor Fan Motor AC/DC
Part #WR60X10348
This fan motor circulates the air through the refrigerator grille and cools the compressor and condenser coils. It also helps to evaporate extra water in the drain pan.

$43.37
In Stock

$174.08
In Stock
Fresh Food Deep Door Bin - Right Side
Part #WR71X10139
Bottles that lean or a shelf that rattles may indicate a damaged right-hand door bin. The deep bin adds storage inside the refrigerator door for jars, drinks, and other upright containers. Check whether the bin itself is cracked or whether the mounting slots in the door liner are broken. Verify fit with the full appliance model before ord...Read moreering, since left- and right-side bins are not always interchangeable. Remove all stored items before lifting the old bin free. Clean the mounting area with mild soap and dry it fully. Set the replacement tabs into their matching slots, lower the bin evenly, and give it a gentle pull to confirm that it is secure before loading it.
Read less

$168.95
In Stock
Refrigerator Door Bin - Left Side
Part #WR71X10140
A door bin that sags, rattles, or falls from the refrigerator door may have broken tabs. This clear, deep bin holds bottles, jars, and small food containers inside the fresh food section. First check whether the damage is on the bin or on the door itself. A new bin will not stay in place if the door slots are cracked. Use the full applian...Read morece model number to check the size and mounting shape. Remove all food before taking out the old bin. Clean the mounting area, place the new bin over the supports, and press it down gently. Test the fit before loading it, and keep very heavy items on a shelf.
Read less

$15.00
In Stock
Common Symptoms of the ZIRS36NMFRH
How this model fails, and the parts that fix it.
Light not working
Fixed by
these parts
these parts

Show All
Will Not Start
Fixed by
these parts
these parts

Show All
Noisy
Fixed by
these parts
these parts


Show All
Fridge too warm
Fixed by
these parts
these parts
Show All
Freezer section too warm
Fixed by
these parts
these parts
Show All
Fridge and Freezer are too warm
Fixed by
these parts
these parts
Show All
Clicking sound
Fixed by
these parts
these parts
Show All
Fridge runs too long
Fixed by
these parts
these parts
Show All
Too warm
Fixed by
these parts
these parts
Show All
Won’t start
Fixed by
these parts
these parts
Show All
Watch our pros, then fix it yourself.

See how others fixed this model. Time, tools, difficulty, and steps that lead to victory!
View More