



 My Orders




ZIF361NPRCII General Electric Refrigerator - Overview
Diagrams for ZIF361NPRCII
See every part. Know exactly what you need.


Enter a part description. DIY Heroes keep it simple, eg. "belt" or "pump".
Search filter:
Clear Filter
Your search term must have 3 or more characters.

$16.05
In Stock
Compression Ring
Part #WR02X12149
This compression ring is meant to hold the evaporator fan motor in place in the freezer compartment of your refrigerator. This is is a genuine OEM part. The tools needed to complete this repair are a Phillips screw driver and small flat blade screw driver. Be sure to turn off your refrigerator before removing the evaporator fan cover so t...Read morehe fan does not turn on during repair. It is recommended to check the grommets, evaporator fan, and fan blades during repair in case they also need replacning. The compression ring may need replacing if the fan is noisy, or the refrigerator compartments are too warm. This part is sold individually.
Read less

$16.05
In Stock
Lid Bumper
Part #WR02X10540
The lid bumper or evaporator fan motor bumper in your refrigerator prevents the fan motor from scraping against the side bracket. If your refrigerator/freezer is noisy, the bumper could be worn down or missing, and the sound could be a result of the motor scraping the side bracket. You will find it between the fan motor and the side brack...Read moreet on the evaporator fan motor assembly. To access the bumper, you will need to remove the evaporator fan motor assembly from the freezer. This part is made of orange rubber and is less than half an inch in diameter. It has a rounded top and a slightly pointed bottom, and is sold individually.
Read less

$78.38
In Stock
EVAPORATOR FAN BLADE
Part #WR60X30922
This evaporator fan blade is for your refrigerator, and it circulates air so that the temperature of the fridge is regulated. This model has 3 blades, and is a little more than 4 inches in diameter. It is made of white plastic and is sold individually. If your refrigerator is noisy and you hear a clicking sound, it is a good indication th...Read moreat the evaporator fan blade is warped or damaged. If the fridge or freezer sections become too warm, the fan could be to blame as well.
Read less

$16.23
In Stock
Evaporator Fan Grommet - Grey
Part #WR02X11331
This is a replacement evaporator fan grommet for your refrigerator. The fan grommet absorbs the vibration from the evaporator fan motor for quiet operation while it runs. If your evaporator fan is unusually noisy, it could be because the grommet is damaged. This grommet is made of grey plastic and is approximately one inch in diameter. To...Read more access the fan grommet and complete this repair, you will need to remove the evaporator fan motor assembly. This part is sold individually.
Read less

$30.38
In Stock
Dust Cap
Part #WR02X10322

$15.00
In Stock

$46.34
In Stock
BYPASS FILTER PLUG
Part #WR17X33825
This bypass filter plug is an authentic OEM replacement part designed for your refrigerator. It is small component that is used in the water filtration system. It creates a direct path for water to flow without going through the filter, ensuring that the water dispenser and ice maker continue to function even when the filter is not in use...Read more. If the filter is old or clogged and needs replacement, or if you prefer not to use a filter for any reason, you can insert the bypass filter plug into the filter housing to continue using your fridge.
Read less

$13.92
Special Order
Screw - 8-10 PL PNP 1/2 S
Part #WR01X10649

$16.05
In Stock
GROMMET
Part #WR02X10678

$16.05
Special Order

$59.15
In Stock
Water Valve And Tube Assembly
Part #WR57X39965
A leaking water line or empty ice bin may point to a faulty refrigerator inlet valve. This replacement assembly includes the valve and connected tubing used to direct water toward the dispenser and ice-making system. Before replacing it, inspect the water filter, supply line, fill tube, connectors, and household water pressure. Turn off t...Read morehe refrigerators power and water supply before opening the rear service area. Some refrigerators use flammable refrigerant, so do not pierce, heat, or damage any nearby sealed-system tubing. Install each water line in the correct port, secure the electrical plug, and watch the connections for leaks when service is restored.
Read less

$21.78
In Stock
Coupler
Part #WR02X13738
Common Symptoms of the ZIF361NPRCII
How this model fails, and the parts that fix it.
Noisy
Fixed by
these parts
these parts


Show All
Fridge too warm
Fixed by
these parts
these parts
Show All
Freezer section too warm
Fixed by
these parts
these parts
Show All
Clicking sound
Fixed by
these parts
these parts
Show All
Not dispensing water
Fixed by
these parts
these parts

Show All
Fridge and Freezer are too warm
Fixed by
these parts
these parts
Show All
Watch our pros, then fix it yourself.

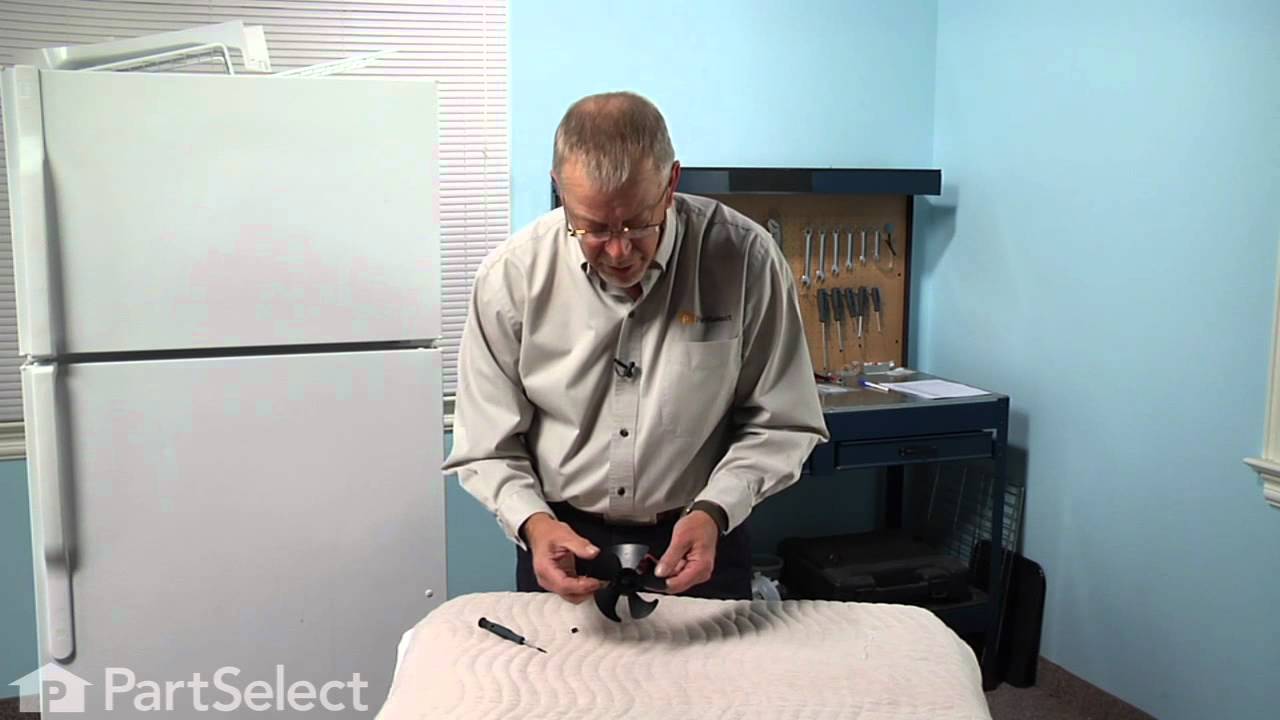
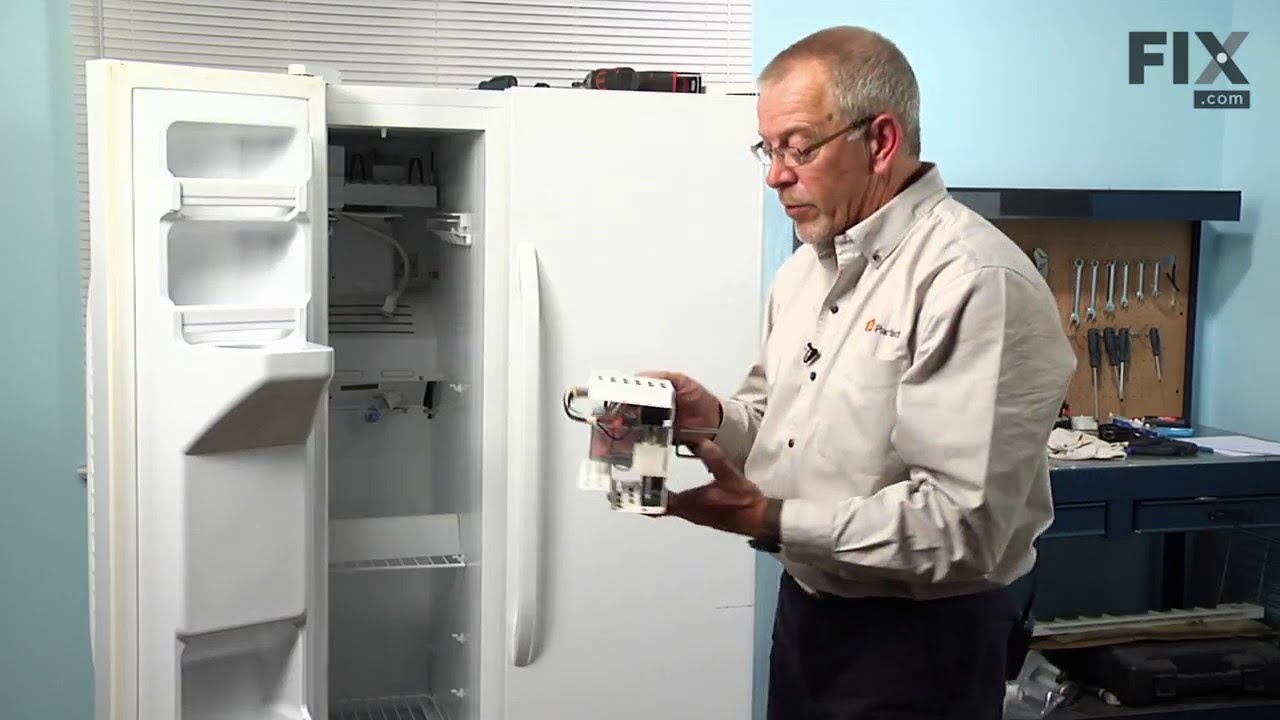
See how others fixed this model. Time, tools, difficulty, and steps that lead to victory!
View More
Search repair tips from other customers using simple keywords like "replace", "fit", "remove", "inspect". DIY doesn't mean you have to do it alone!
Search filter:
Clear Filter
Your search term must have 3 or more characters.
High pitch noise
15 of 24 people
found this instruction helpful.
My GE refrigerator emitted high pitch noise a short while ago. I tried different dampening methods that helped but not eliminating the problem. I finally replaced the fan, motor, and associated parts and solved the problem. The total cost was about $50.
Other Parts Used:


Was this helpful?
Thank you for voting!