


 My Orders




ZICP360NXBLH General Electric Refrigerator - Overview
Diagrams for ZICP360NXBLH
See every part. Know exactly what you need.


Enter a part description. DIY Heroes keep it simple, eg. "belt" or "pump".
Search filter:
Clear Filter
Your search term must have 3 or more characters.

$30.53
In Stock
Temperature Sensor
Part #WR55X10025
This sensor (Temperature Sensor, Thermistor, Refrigerator Temperature Sensor) sends the temperature reading of the compartment to the control board. If you notice your refrigerator is too warm, too cold, or not defrosting properly, then there may be a problem with your sensor. The temperature sensor can break from material fatigue or thro...Read moreugh normal use, and should be replaced. It is attached to the evaporator and control housing in your appliance. It measures approximately 1.25 inches long with 18 inch wire leads, and is constructed out of plastic. This part comes in white, beige. It includes the sensor, with wire leads.
Read less

$207.55
In Stock
Ice Maker
Part #WR30X10093
This 10 by 5 inch ice maker (Electromechanical Icemaker Kit, Ice Maker Assembly) produces ice. This particular model will produce seven crescent shaped cubes every cycle. It is constructed of plastic and metal, and comes in black/white. This kit includes a set of installation instructions, a 4-pin round plug-in connector, 6 post plug-in c...Read moreonnectors, tube and fill cup. The ideal temperature of a freezer is zero degrees Fahrenheit. If the temperature in your freezer is at an appropriate level yet ice is still not being made, it could be an issue with the water inlet valve or your ice maker assembly. If you determine it is the ice maker, this is the replacement you need. The ice maker can break from normal wear and accidental damage. Ice makers will need to be replaced every 3-10 years depending on the frequency of usage and water quality. This model is mounted on the freezer wall.
Read less

$13.92
In Stock
Evaporator Fan Grommet - Red
Part #WR02X12008
If you notice that your refrigerator or freezer is noisy or too warm, you may need to replace the evaporator fan grommet. This part is red in color, and is about 1 inch in diameter. The evaporator fan grommet is located behind the evaporator fan cover in the back of the freezer. You will need to remove the evaporator fan cover to access t...Read morehe evaporator fan and complete this repair. Before you begin this repair, ensure the power to the refrigerator is disconnected. You will need a pair of needle nose pliers, a small flat blade screw driver and both a 1/4 and 5/16-inch nut driver to complete this repair.
Read less

$21.95
In Stock
Light Bulb - 40W
Part #40A15
This 40-Watt light bulb is sold individually.
It is specially designed to withstand extreme temperatures, so this bulb is compatible with a variety of appliance types including refrigerators, ranges, microwaves, and dryers. It features a frosted glass bulb with a standard metal socket base, which allows you to easily unscrew the burnt-out light and twist the new bulb into place.

$56.34
In Stock
Refrigerator Outlet Valve Kit
Part #WR57X10033
The water inlet valve on your refrigerator allows water to enter the ice maker and water dispenser. If your ice maker or water dispenser is not functioning properly, or you notice a leak, you may need to replace the single outlet valve. This single outlet valve has 1/4-inch compressions fittings and is intended for use with refrigerators ...Read morethat make crescent-shaped ice cubes. As per the manufacturer, this valve has a new quick connection. You must cut the retaining nut off your current plastic water line, and gently push it into the new valve. Be sure to disconnect the water and power sources from the refrigerator before you begin this repair.
Read less

$83.64
In Stock
Evaporator Fan Motor
Part #WR60X10185
This evaporator fan motor circulates air to the fresh food compartments for efficient cooling. It powers the evaporator fan that draws air from the refrigerator and circulates it over the evaporator coils. Your fan motor has a long life cycle, but can burn out quickly if there is an obstruction preventing the fan from rotating. If the fa...Read moren does not operate, the freezer will not cool properly. This will affect the performance of the compressor. This evaporator fan motor is located in the back of the freezer section of your refrigerator, behind the auger motor assembly. It is attached to the back wall. If you notice problems with your freezer then check to see if there is anything blocking a fan blade. If there is no obstruction, test the evaporator fan motor using a multimeter. Test the 2 wires that travel from the coil on the motor for resistance. If these tests indicate that the evaporator fan motor is at fault, it must be replaced. This part features 1 evaporator fan motor, which is metal and plastic, and comes in white/silver
Read less

$16.05
In Stock
Compression Ring
Part #WR02X12149
This compression ring is meant to hold the evaporator fan motor in place in the freezer compartment of your refrigerator. This is is a genuine OEM part. The tools needed to complete this repair are a Phillips screw driver and small flat blade screw driver. Be sure to turn off your refrigerator before removing the evaporator fan cover so t...Read morehe fan does not turn on during repair. It is recommended to check the grommets, evaporator fan, and fan blades during repair in case they also need replacning. The compression ring may need replacing if the fan is noisy, or the refrigerator compartments are too warm. This part is sold individually.
Read less

$16.05
In Stock
Lid Bumper
Part #WR02X10540
The lid bumper or evaporator fan motor bumper in your refrigerator prevents the fan motor from scraping against the side bracket. If your refrigerator/freezer is noisy, the bumper could be worn down or missing, and the sound could be a result of the motor scraping the side bracket. You will find it between the fan motor and the side brack...Read moreet on the evaporator fan motor assembly. To access the bumper, you will need to remove the evaporator fan motor assembly from the freezer. This part is made of orange rubber and is less than half an inch in diameter. It has a rounded top and a slightly pointed bottom, and is sold individually.
Read less

$78.26
In Stock
Condenser Fan Motor - 12V
Part #WR60X10209
This DC fan motor moves air across the condenser coils and compressor to help remove heat. A failed motor may cause poor cooling, a hot compressor, or humming and squealing sounds. Before replacing it, clean the coils and check the fan blade, wiring, and air path for dirt or damage. Confirm fit with the full appliance model, 4-pin plug, a...Read morend 11.3- to 12-volt rating. Unplug the refrigerator before removing the rear panel. Keep hands away from the blade, protect the cooling lines, and reinstall the panel before testing the unit.
Read less

$140.92
In Stock
Vegetable Pan Lid - White/Clear
Part #WR32X10119
This is the replacement vegetable pan lid for your refrigerator. It is made of clear and white plastic and measures approximately 15 inches by 7 inches. The vegetable pan lid is found at the top of the vegetable pan and protects the contents of the pan. The clear portion in the middle of the lid allows you to see the inside of the pan and...Read more its contents. This part is sold individually and is an OEM part sourced directly from the manufacturer.
Read less

$16.05
In Stock

$138.32
In Stock
Door Bin
Part #WR71X10138
This plastic door bin is designed to attach securely to the inside of your refrigerator door, providing convenient storage for bottles, jars, and other small items. Its adjustable placement allows you to customize your storage space as needed. The bin features a white base with a clear exterior and measures approximately 16 inches wide, 5...Read more inches high, and 5.5 inches deep. If the bin is cracked or the mounting tabs are broken, replacing it will restore proper function. This part is sold individually.
Read less
Common Symptoms of the ZICP360NXBLH
How this model fails, and the parts that fix it.
Fridge too warm
Fixed by
these parts
these parts


Show All
Noisy
Fixed by
these parts
these parts


Show All
Ice maker not making ice
Fixed by
these parts
these parts


Show All
Freezer section too warm
Fixed by
these parts
these parts
Show All
Fridge too cold
Fixed by
these parts
these parts
Show All
Freezer not defrosting
Fixed by
these parts
these parts
Show All
Leaking
Fixed by
these parts
these parts

Show All
Fridge and Freezer are too warm
Fixed by
these parts
these parts

Show All
Too warm
Fixed by
these parts
these parts
Show All
Ice maker won’t dispense ice
Fixed by
these parts
these parts
Show All
Frost buildup
Fixed by
these parts
these parts

Show All
Fridge runs too long
Fixed by
these parts
these parts
Show All
Freezer too cold
Fixed by
these parts
these parts
Show All
Will Not Start
Fixed by
these parts
these parts
Show All
Clicking sound
Fixed by
these parts
these parts
Show All
Door won’t open or close
Fixed by
these parts
these parts

Show All
Won’t start
Fixed by
these parts
these parts
Show All
Ice maker dispenses too little ice
Fixed by
these parts
these parts
Show All
Ice maker dispenses too much ice
Fixed by
these parts
these parts
Show All
Doesn’t stop running
Fixed by
these parts
these parts
Show All
Too cold
Fixed by
these parts
these parts
Show All
Not dispensing water
Fixed by
these parts
these parts
Show All
Watch our pros, then fix it yourself.
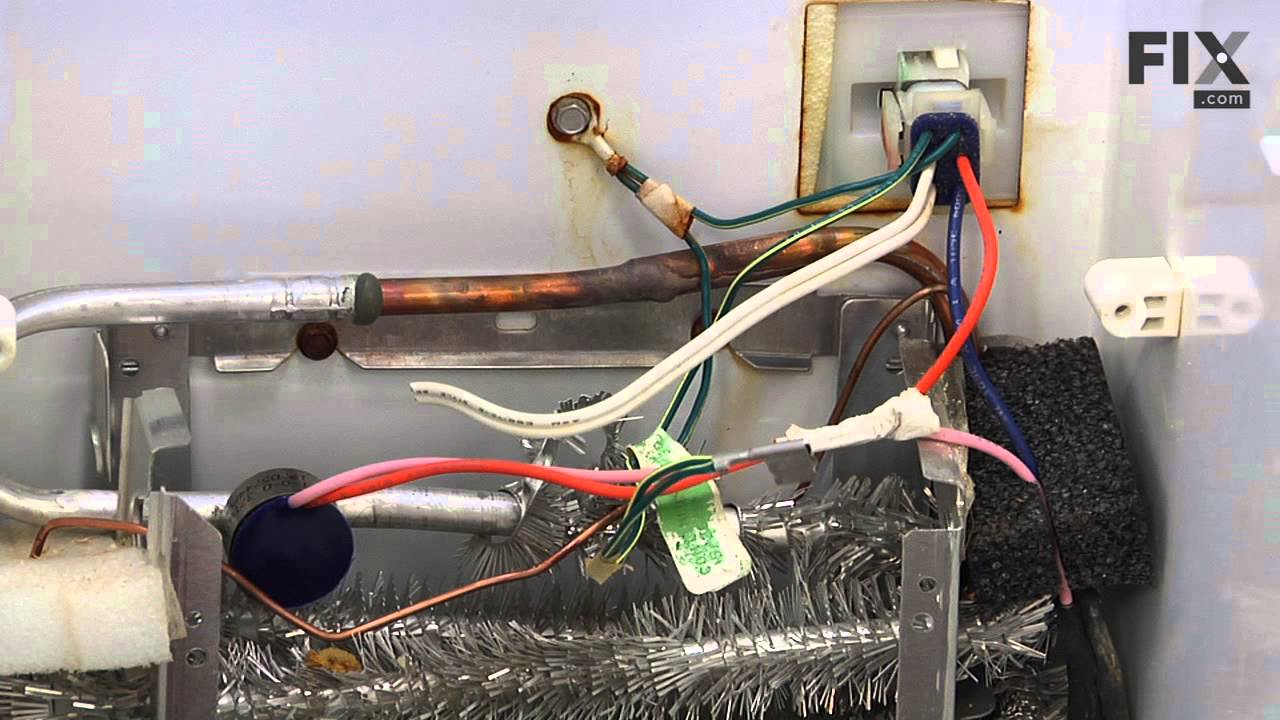

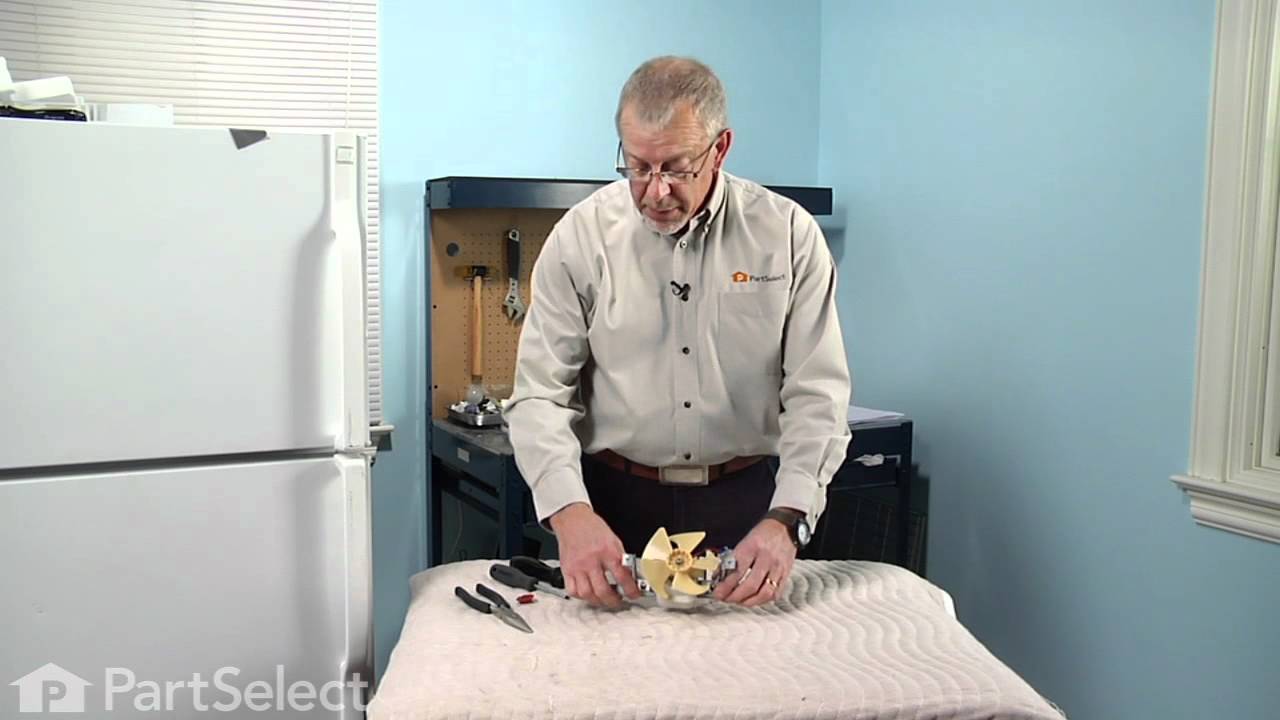
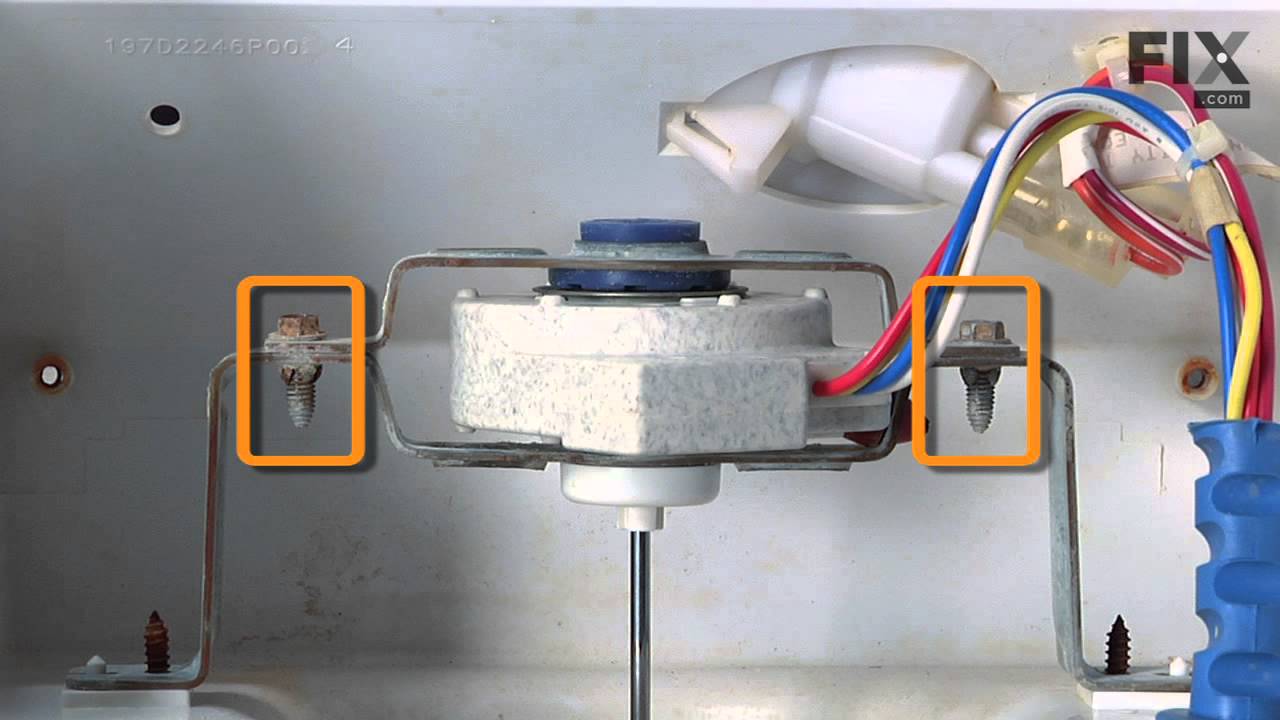


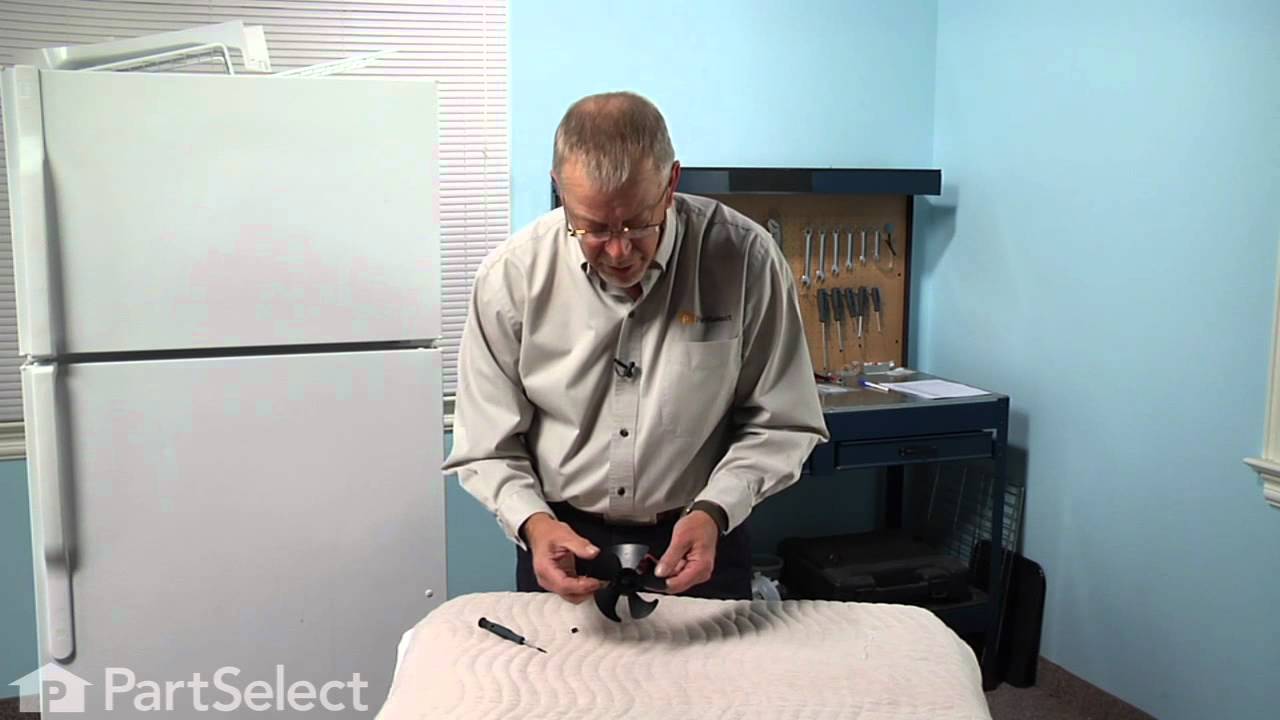
See how others fixed this model. Time, tools, difficulty, and steps that lead to victory!
View More
Search repair tips from other customers using simple keywords like "replace", "fit", "remove", "inspect". DIY doesn't mean you have to do it alone!
Search filter:
Clear Filter
Your search term must have 3 or more characters.
Fridge too warm, evaporator icing up
606 of 738 people
found this instruction helpful.
After replacing the defrost heater, main board and thermistor I still had the same problem. Called a repair guy and he (with the help of GE on the phone) diagnosed that the temperature sensor was bad. So I ordered from partselect and installed it and it fixed the problem. Been good for a couple months (knocking on wood). To install I
... Read more
had to cut the 2 wires to the old sensor, crimp the 2 new wires on and snap the new sensor to the clip on the evaporator. Very easy. Make sure you seal the ends of the wire crimps so moisture doesn't get in and corrode the connection.
Read less
Other Parts Used:


Was this helpful?
Thank you for voting!