EasyApplianceParts is now PartSelect! We've merged our sites to provide a better shopping experience for you.   Full Details
✖

Find Parts

Parts Departments

Top Model Types

Top Brands

Repair Help

Expert Repair Videos

Keep typing for more specific results...

Parts That Fix General Electric Refrigerator ZFSB25DXCSS Leaking

Leaking is a commonly reported symptom for the ZFSB25DXCSS General Electric Refrigerator, and we have put together a full guide on how to fix this. This advice is based on feedback from people who own this exact appliance. We have listed the most common parts for your ZFSB25DXCSS General Electric Refrigerator that will fix Leaking. We have included repair instructions, and helpful step-by-step video tutorials. If you are experiencing this issue, not to worry, DIYers just like you have fixed this, and shared their experience to help you!

Fixes Symptom 47% of time

This water inlet valve (Refrigerator Water Inlet Valve Assembly) supplies water to the ice maker and the water dispenser in your refrigerator. It is located at the back of the fridge, beneath the bottom panel. It is connected directly to 2 water supplies, a wiring harness, and your inlet water tube. This part is located at the back of the fridge, beneath the bottom panel. It is connected directly to 2 water supplies, a wiring harness, and your inlet water tube. Minerals and sediments can build up over time and cause a blockage in your inlet valve. They can also cause the valve to stick open, leading to an overflow of water. If this part is malfunctioning, water flow to your appliance could be compromised. Check for small ice cubes or a lack of ice cubes/water, as this is an obvious sign the part is damaged. The water inlet valve must be replaced if the solenoids no longer have continuity or the valve has internal blockage. Test your water inlet valve with a multimeter. You can test both the water dispenser side and the ice maker side. The part measures approximately 3 inches long and 2.75 inches wide and is constructed of plastic and metal. This replacement part features 1 dual inlet water valve with quick connections. It also has 1/4 and 5/16 John Guest fittings for the outlet lines and a 1/4 compression fitting for the inlet line.

$ 84.51
In Stock
Part #WR57X33326

Replacing your General Electric Refrigerator WATER VALVE WITH GUARD
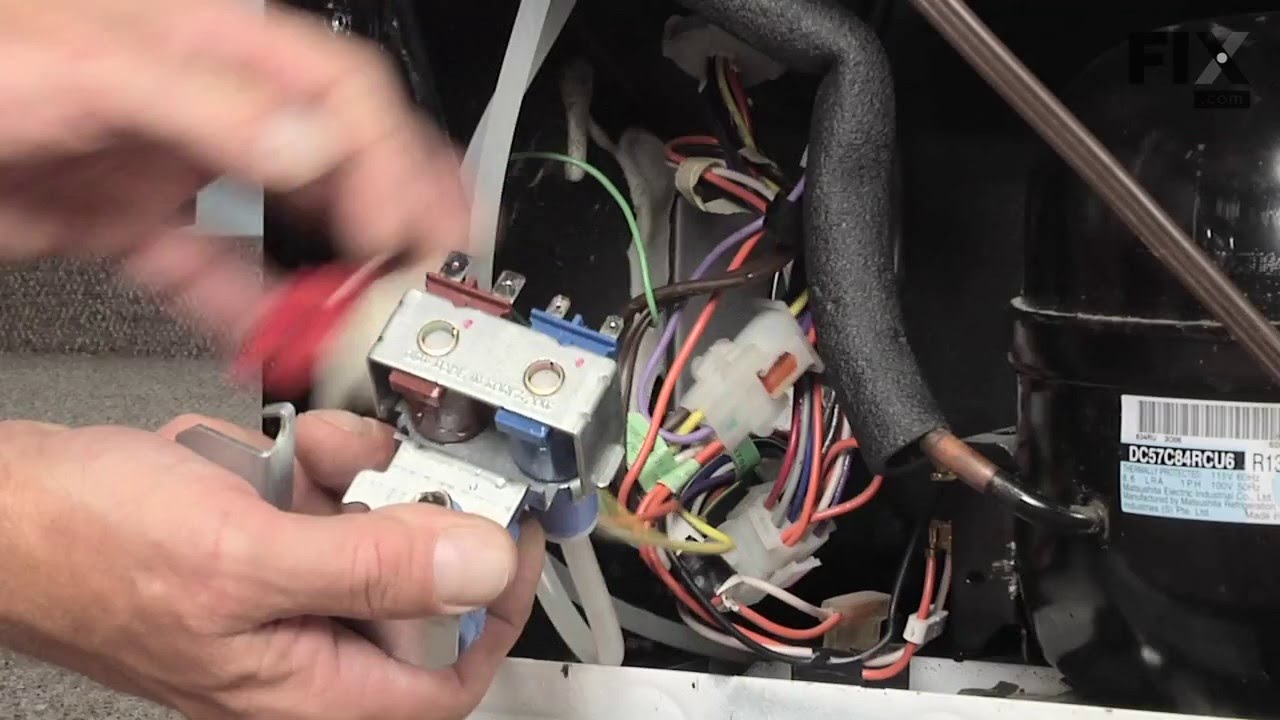
Replacing your WATER VALVE WITH GUARD

Customer Repair Stories

Water dispenser not operating
196 of 235 people found this instruction helpful.
  • michael from pennsburg, PA
  • Easy
  • 30 - 60 mins
  • Wrench set
Model includes filtered ice maker and water dispenser from front of unit. Water maker just suddenly stopped working but ice maker continued to work fine. After some phone calls to trouble shoot at a high level, I figured it was worth a try to buy the replacement part of the most likely culprit and see if it did the trick. Would have cos t maybe $150 or more for service tech to make house call, provide the part and do the switch. Buying the part was only $40 and replacement was easy. Remove access panel from behind fridge and identify valve. It has intake water from the filter then has two outbound lines. One to ice maker, one to water dispenser. All function is in one part, but each outbound line has its own functioning valve. Unplug fridge, turn off water supply, disconnect all connections from old valve and reattach to new valve. When re-hooked, be patient in allowing water to re-fill line before coming out of dispenser in front. Likely to doubt it works, but surprised how long it took for water to fill line resevoir.
Was this helpful?
Thank you for voting!
Refrigertor water dispenser not working BUT ice machine is working
1038 of 1163 people found this instruction helpful.
  • ralph from bristow, VA
  • Really Easy
  • Less than 15 mins
  • Nutdriver, Screw drivers, Socket set
The very first symptom here is important! The door water dispenser is not working but the ice macine is working. You may only have a frozen water tube in the door so do the following before diagnosing that your solenoid valve is bad: 1) the tube usually runs under the front of the refrigerator and usually has a quick disconnect. Undo t he connection and press the dispenser. If water comes out of the tube you have a frozen or blocked tube in the door. 2) Immediately adjust the temperature in the freezer and warm the freezer compartment as much as you can without destroying the freezer contents. Wait 24 hours. This will usually unfreeze the line. Do not waste your time with a hair dryer. NOW, if this doesn't work and you are convinced you need to order and replace the solenoid, follow these steps. Assemble your tools first. I needed a good ratchet set and a screwdriver. A shop towel is helpful for spilled water. A light is handy. Pull out the refreigerator to gain access to the rear of the unit. Unplug the power and close the water valve (older homes, you may need to actually shut the house water supply). Remove the screws which hold the cover over the lower half of the refrigerator. On the left you will see the solenoid. It's always good to see that your new part matches the one you feel needs replaced. They may not match perfectly due to changing design but they should be very similar. One screw holds this part in place and access is very simple. Now simply unplug the electrical connections. In my case, one blue "blade" type connection (powering the water) and one red "blade" type connection powering the ice maker. They are not the same size and this coupled with the coloring means you will not accidently switch them. pull the tubes clear of the solenoid. This is simple and needs no explantion. Grab your new solenoid and reattach both the electrical and water lines (two, remember, ice maker and drink dispencer). Replace the single screw. Re-attach the rear, lower refrigerator cover and go to the front of the unit to check the water. You can listen carefully and hear the power engage from the new part bringing you water. Clean up, replace the refrigerator back to its place and look really tired when your wife sees that you worked "so hard"! You probably saved at least $50-$80 from a service call which can now be used to take the family to dinner after your "exhausting" 15 minute workout of removing about 10 screws and wheeling the unit in and out of place. Writing this article took longer! My 4 year old worked harder holding the flash light!
Was this helpful?
Thank you for voting!

Fixes Symptom 26% of time

Quick connector for plastic water line - 5/16" to 5/16"

$ 15.00
In Stock
Part #WR02X11330

Replacing your General Electric Refrigerator Union Connector - 5/16 Inch to 5/16 Inch
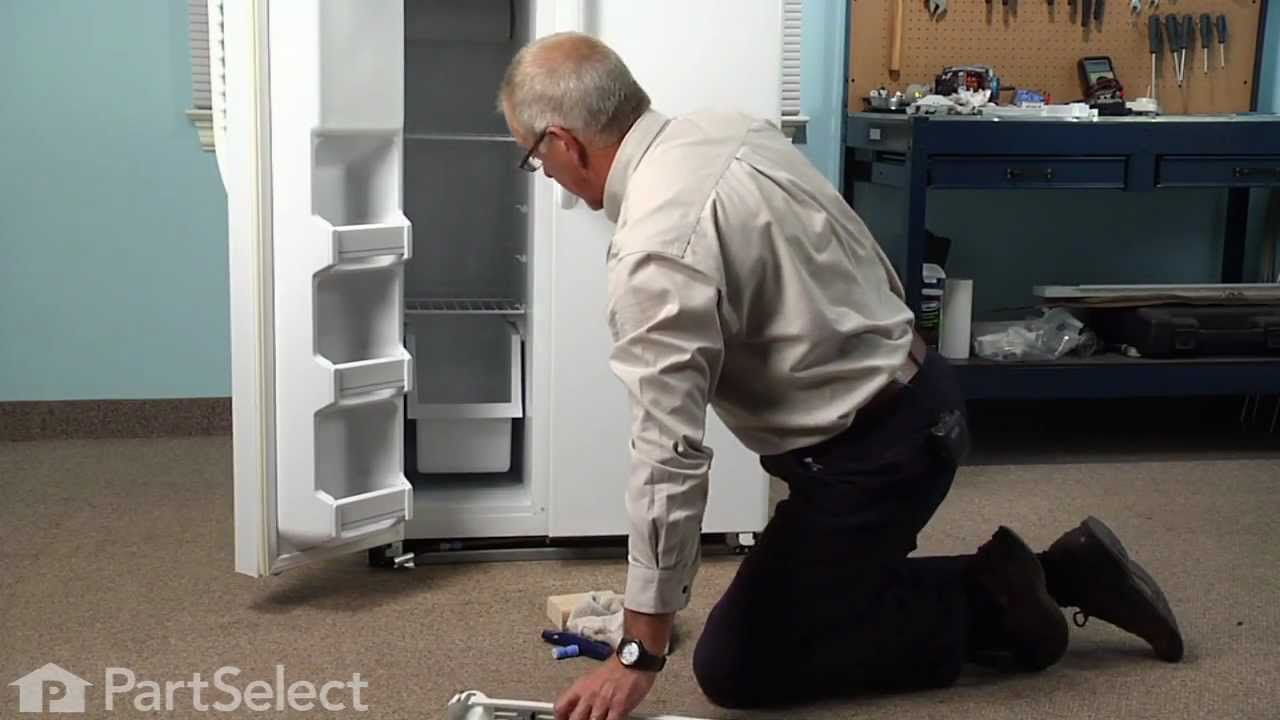
Replacing your Union Connector - 5/16 Inch to 5/16 Inch

Customer Repair Stories

Moving the refrigerator into my new (very old) house we had to remove the doors which resulted in a crimped hose and union
16 of 28 people found this instruction helpful.
  • Laura from Manchester, NH
  • Really Easy
  • 15 - 30 mins
  • Screw drivers
Remove lower front panel, disconnect damaged union from water hose under freezer door, replace with new union, tighten and reattach front panel. No more water coming from under the unit. Ice maker and dispenser features returned to working order!
Was this helpful?
Thank you for voting!
My 13 yr grandson assisted me on this
15 of 18 people found this instruction helpful.
  • Sherry from Auburn Hills, MI
  • Really Easy
  • Less than 15 mins
We couldn't get the other connector loose from one end of the tubing so he said just cut it and so we did and attached the connector. I now have water again in my fridge and took the sticky note down "don't use the water" as it had leaked for a year...... Thanks!
Was this helpful?
Thank you for voting!

Fixes Symptom 5% of time

This is a replacement fill tube and grommet assembly for your refrigerator. This part acts your water line to your ice maker. If you’re noticing water in the back of the refrigerator or any kind of leak, or if your ice bucket isn’t filling up with as much ice, you may need to change out the fill tube and grommet assembly. When you purchase this part, you get the water line, as well as the fill tube and grommet. This is an OEM part sourced directly from the manufacturer.

$ 40.55
In Stock
Part #WR17X11168

Customer Repair Stories

water leaking from grommet tube assembly at back of fridge
22 of 30 people found this instruction helpful.
  • Carlos from Whittier, CA
  • Really Easy
  • Less than 15 mins
  • Nutdriver
After thawing out freezer pushed water supply tube out from inside freezer diconneted the supply line from the valve assembly by pushing in the bushing with my finger and inserting the new line. Sadly that wasn't the problem!For anyone with the same symptoms of ice building up on your ice maker, to the point where it clogged the water sup ply line and started leaking from the grommet assembly. The problem is the valve not closing when the ice maker does not need any water. so I ordered a new valve and hopefully that will fix my problem.
Was this helpful?
Thank you for voting!
Tube feeding ice maker leaking.
23 of 31 people found this instruction helpful.
  • Richard from The Villages, FL
  • Easy
  • 30 - 60 mins
  • Screw drivers, Socket set
Moved refrigerator out from wall. On the back of the refrigerator at the bottom there is a metal plate. Removed this plate with a socket wrench to expose where the end of the tube pluged in. The grommet securing the tube, white on my unit, had to be pushed up to release the old tube. I pushed the new tube into where the old one was and it self secured the tube. The other end of the grommet I pushed through the hole feeding the ice maker,first pushing out the broked part with a screwdriver,and securing that end with the attached sticky tape already attached to the grommet. I cleaned the area around the hole with alcohol before attaching the grommet.Replaced metal plate and done. No leaks.
Was this helpful?
Thank you for voting!

Fixes Symptom 4% of time

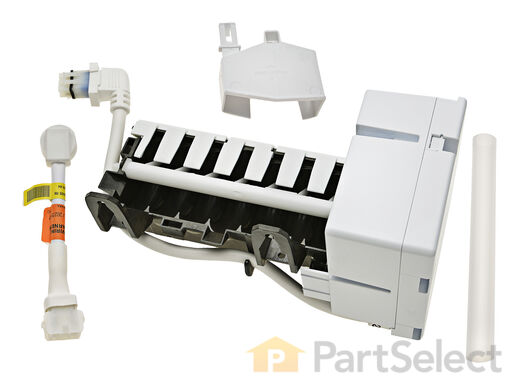
This 10 by 5 inch ice maker (Electromechanical Icemaker Kit, Ice Maker Assembly) produces ice. This particular model will produce seven crescent shaped cubes every cycle. It is constructed of plastic and metal, and comes in black/white. This kit includes a set of installation instructions, a 4-pin round plug-in connector, 6 post plug-in connectors, tube and fill cup. The ideal temperature of a freezer is zero degrees Fahrenheit. If the temperature in your freezer is at an appropriate level yet ice is still not being made, it could be an issue with the water inlet valve or your ice maker assembly. If you determine it is the ice maker, this is the replacement you need. The ice maker can break from normal wear and accidental damage. Ice makers will need to be replaced every 3-10 years depending on the frequency of usage and water quality. This model is mounted on the freezer wall.

$ 207.55
In Stock
Part #WR30X10093

Replacing your General Electric Refrigerator Ice Maker

Replacing your Ice Maker

Customer Repair Stories

Ice maker stopped working
84 of 117 people found this instruction helpful.
  • Dan from West Bloomfield, MI
  • Really Easy
  • Less than 15 mins
  • Nutdriver
I unplugged the electrical connection. Then I removed the 2 screws holding the icemaker in place. I lifted out the old icemaker unit and put the new one in place. Then put the 2 screws back in and plugged in the new unit.

The icemaker started making ice very soon after turning the unit on.
Was this helpful?
Thank you for voting!
ice stalactites were drooling out of the icemaker and gumming up the cubes in the receiving tray.
91 of 132 people found this instruction helpful.
  • Gerald from Benicia, CA
  • Easy
  • 15 - 30 mins
  • Nutdriver, Screw drivers
I first shut off water flow to the fridge. Examination of the package (which was not exact in appearance to the original) demonstrated that the electrical connectors were well-insulated so I arrogantly and successfully proceded without disconnecting the power. My fridge is old enough that the model doesn't appear exactly on anyone's list so I wasn't alarmed that it took an extra 10 minutes or so to noodle out how to adapt the slightly different inlet cowling and electrical cord with extension, but the device is pretty simple.
Soon I loosened the two mounting screws with a nut driver, used a screwdriver to pry away the plastic snap-in housing over the electrical socket on the fridge inner wall and pulled away the electrical plug. The original water fill tube remained in its cavity, ready for re-use.
The new unit's mounting points matched the original screw locations perfectly, as did the fill cowling - which on the replacement icemaker has two possible attachment points. The new unit's electrical connector required an extension pigtail to adapt to my socket, but it was included in the package. The extra cable posed a minor cosmetic issue because it hangs in the collection basket a bit, but that will soon be remedied with a tie wrap.
After the water was restored and an anxious wait of a few hours, we had well-formed ice cubes that weren't all stuck together and the stalactites haven't reappeared.
Was this helpful?
Thank you for voting!

Fixes Symptom 4% of time

This “Dispenser Door Assembly” (Door Recess Assembly, Ice Door Assembly, Dispenser Door, Refrigerator Dispenser Ice Chute Door Kit, Dispenser Door Flap, Ice Chute Door, Flapper) keeps the room air from infiltrating the freezer. Once the lever is pressed, the door flap opens and allows the ice to dispense into your container. If your door flapper is broken, it could allow outside air to enter the freezer and alter the inside temperature. You may notice frost buildup surrounding the dispenser area. The door flap can disconnect from the dispenser lever, or the tabs that hold it in place may break. Frequent use may distort the sealing face and cause air leaks and frost buildup. This part mounts in the ice dispenser, and measures approximately 3.25 inches in diameter. It is constructed of plastic and rubber, and comes in white/black. This part is sold individually.

$ 33.60
In Stock
Part #WR17X11653

Replacing your General Electric Refrigerator Dispenser Door Assembly or Flapper
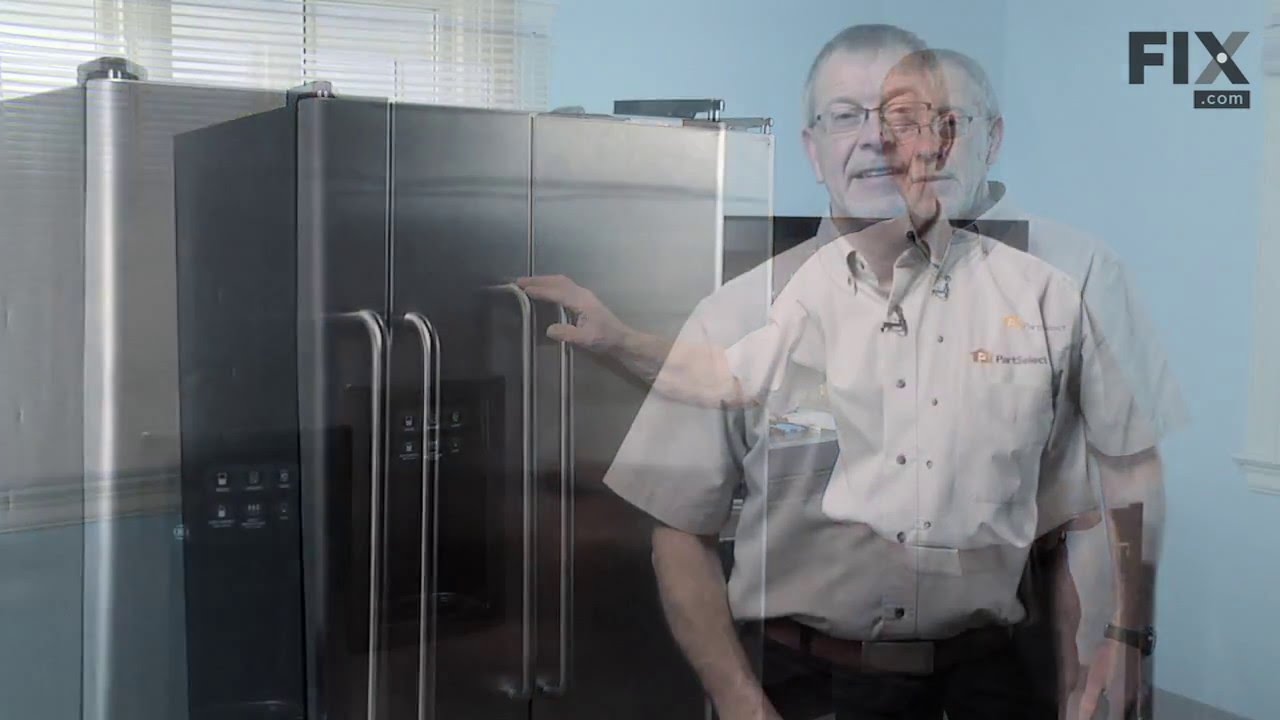
Replacing your Dispenser Door Assembly or Flapper

Customer Repair Stories

Flapper not sealing. Frost buildup on inside of freezer door
15 of 17 people found this instruction helpful.
  • D from ZELLWOOD, FL
  • Easy
  • 15 - 30 mins
  • Screw drivers
Followed previous instructions from a previous post. Inserted small screwdriver in the 2 outer holes up under the face plate to remove it then removed 4 screws holding the inner assembly which allowed access to the flapper assembly. Replaced it and reassembled everything. Problem solved
Was this helpful?
Thank you for voting!
This seems to be a design problem because I have to replace this part about every other year since we bought it. I tried to talk to GE but all they want to do is send a service man out to replace the part for about 100.00, But I do it for around 15.00. I just think they should find out why the rubbe
26 of 35 people found this instruction helpful.
  • Jeff from Columbia City, IN
  • Really Easy
  • Less than 15 mins
  • Screw drivers
The repair is easy, just pop the grill off around the ice and water door, then there are 4 screwws to take out so the touch pad can be moved out of the way to unsnap the old door assm. and snap in the new one and wait about a year and a hald to order another one!!!!!
Was this helpful?
Thank you for voting!

Fixes Symptom 3% of time

This is the replacement evaporator drip pan, also known as the drain trough, for your refrigerator. You will find the drip pan in the fresh food section of the refrigerator. It collects any water that may drip off the evaporator. If your drip pan is rusted, or is leaking into the refrigerator, you may need to replace it. Before you install the new drip pan, you will want to thoroughly clean the areas around the evaporator to ensure there is no more remaining rust or debris. This part is sold individually and is an OEM part sourced directly from the manufacturer.

$ 57.09
In Stock
Part #WR17X11843

Customer Repair Stories

Rusty water on refrigerator floor
7 of 7 people found this instruction helpful.
  • Leslie from BEND, OR
  • Really Easy
  • 30 - 60 mins
  • Screw drivers
turned out to be a rusty drain pan in the refrigerator section behind the fan fixture attached to the wall.I followed the instructions of a prior customer on the website and it worked like a charm. Super happy to have done it myself!! Can't believe they don't use plastic for this part as it would rust again if I didn't coat it with the rustproofing spray.
Was this helpful?
Thank you for voting!
Trough Drain pan was rusted
103 of 106 people found this instruction helpful.
  • Gregory from El Dorado, AR
  • Easy
  • 30 - 60 mins
  • Screw drivers
First I removed the shelving from the refrigerator side I then removed the cover to the refrigerator condenser which consisted of a plastic cover and a styrofoam inner chamber cover. The Condenser is held in place with two stainless phillips head screws. I removed the screws and gently pulled the condenser forward so that the Drain pan co uld be easily removed. The drain pan is made out of thin sheet metal with a galvanized coating that will not hold up it will start rusting in a short time. I inspected the drain pan cleaned it up with a little Muretic acid and it had too many rust holes so I couldn't repair it. I ordered a new Drain pan on Part Select and when it came in I washed it and dried it completely then I sprayed it with Cold Galvanizing compound with zinc particles. You can get this from Home Depot on the spray paint isle. Hopefully the spray Galvanizing will keep it from rusting in the future and leaking inside the refrigerator. The Trough Drain Pan should have been made of Stainless sheet metal or plastic I don't really know why they used the galvanized coated pan. Everything went back together in reverse with no problems. Hopefully this drain pan will last longer than the first drain pan because it was only 4 years old. I remember when the older refrigerators would run for decades.
Was this helpful?
Thank you for voting!

Fixes Symptom 2% of time

This ice and water filter helps reduce impurities in select side by side and bottom freezer refrigerators. Replace it about every six months, or when water flow slows, ice production drops, or the filter light turns red. Some older filter setups may need an adapter. Place a cloth under the filter before removal. Check the exact refrigerator model before ordering.

$ 74.23
In Stock
Part #MWFP

Replacing your General Electric Refrigerator Ice and Water Filter
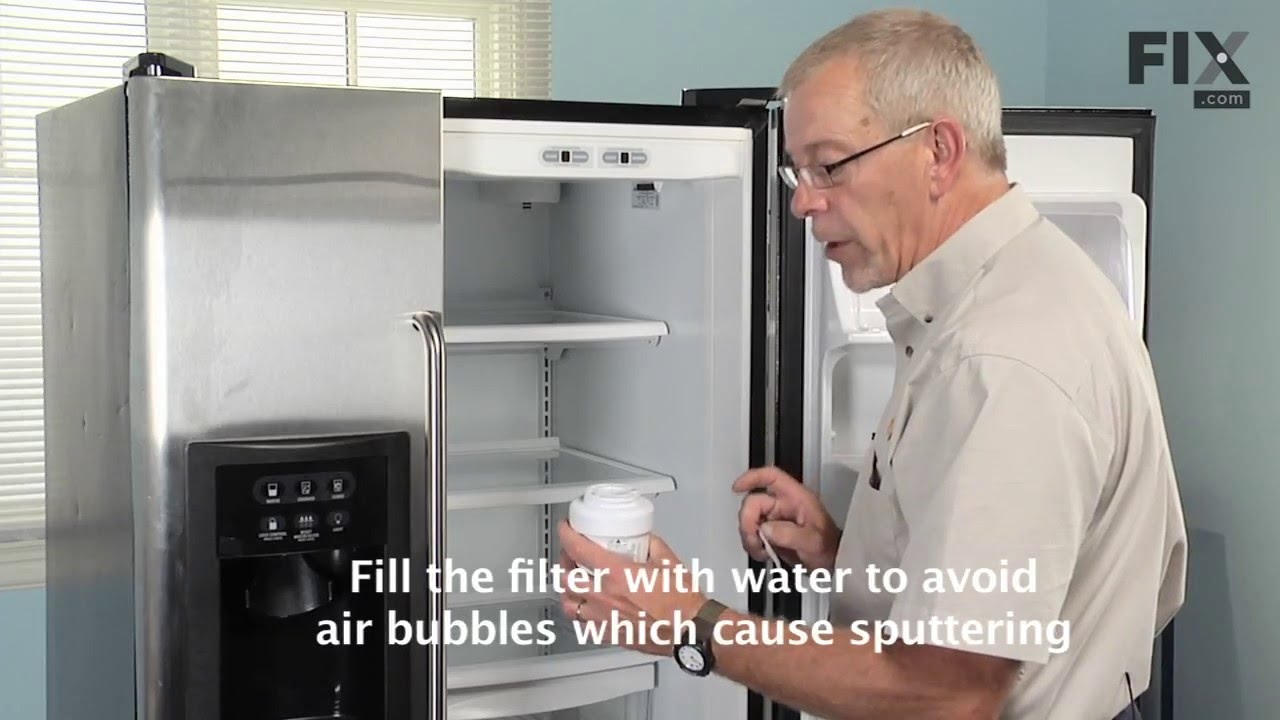
Replacing your Refrigerator Ice and Water Filter

Customer Repair Stories

water running slow
36 of 59 people found this instruction helpful.
  • David from Tacoma, WA
  • Really Easy
  • Less than 15 mins
unscrewed old filter by hand, installed new filter.
Was this helpful?
Thank you for voting!
Replace water filter
226 of 350 people found this instruction helpful.
  • Alfred from Novato, CA
  • Really Easy
  • Less than 15 mins
Unscrew old filter and remove(counterclockwise). Line up arrow on new filter with arrow on connection housing. Turn clockwise till resistance met. Do not overtighten. Follow directions. Simple.
Was this helpful?
Thank you for voting!

Fixes Symptom 2% of time

This genuine OEM solenoid is designed for use with GE refrigerators and controls the opening and closing of the ice chute door. It serves as a direct replacement for a worn or faulty solenoid, helping to restore proper ice dispenser function. Constructed from durable metal, this part includes all necessary wiring for installation and is sold individually. Installation requires a Phillips screwdriver. Always refer to your appliance’s manual or diagram to ensure proper placement and compatibility before beginning the repair.

$ 56.33
In Stock
Part #WR62X10055

Replacing your General Electric Refrigerator Dispenser Door Solenoid Assembly
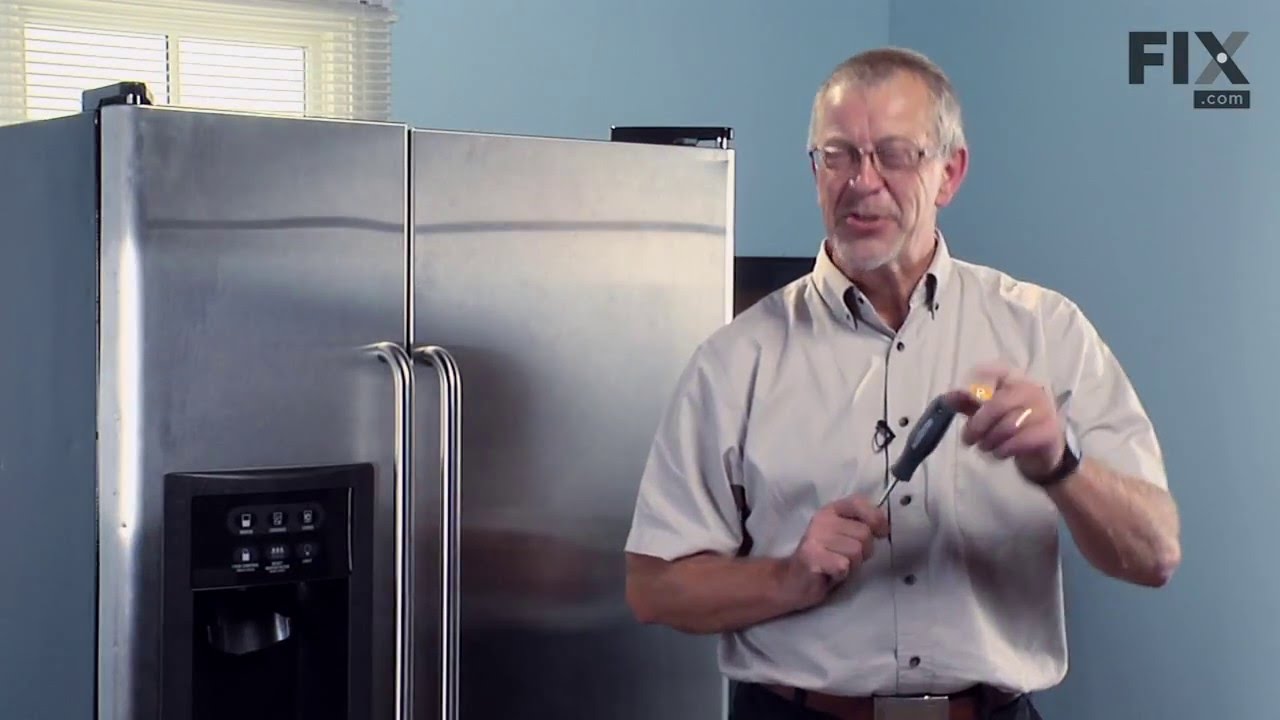
Replacing your Dispenser Door Solenoid Assembly

Customer Repair Stories

Ice maker door not opening
8 of 10 people found this instruction helpful.
  • scott from lake orion, MI
  • Really Easy
  • Less than 15 mins
  • Nutdriver, Screw drivers
Removed panel from front of freezer door by pushing up on three spring loaded screws located in the opening where the ice door opens and closes. they are about 1 inch apart on the bottom of the opening. Push up to free ice maker panel. Remove three screws from solenoid, located at the top right. Remove wire, replace with new and that is it. Fixed the problem!! Our ice maker hadn't worked for months. Be careful if you remove the round ice maker door to clean. There is a spring that located on the left side of sprocket. The spring fell off and took me a while to figure where it came from. Recieved package in three days and the job took minutes. Works great! Very easy to complete.
Was this helpful?
Thank you for voting!
Icemaker flap not closing, frosting up
9 of 11 people found this instruction helpful.
  • Graeme from Sarasota, FL
  • Easy
  • 15 - 30 mins
  • Screw drivers
Watched video, however could not get outer casing off. Under the panel are three small holes, pushed up with an Allen key, used a small screwdriver to wedge out, came out easily, followed instructions from video on removing and replacing solenoid
Was this helpful?
Thank you for voting!

Fixes Symptom 2% of time

$ 40.88
In Stock
Part #WR17X11625

Fixes Symptom 1% of time

This door recess spring or dispenser lever spring in your refrigerator is used to return the ice door to the closed position or the dispenser lever to the home position once released. You will find the spring in the water dispenser assembly, behind the main control panel. If the dispenser lever is malfunctioning or the dispenser ice door is not closing, you may need to replace this door recess spring.

$ 16.10
In Stock
Part #WR02X10585

Replacing your General Electric Refrigerator Recess Door Spring
Replacing your Recess Door Spring

Customer Repair Stories

The ice cube door located on the front of the freezer (side by side freezer/refridgerator) stopped closing.
0 of 1 people found this instruction helpful.
  • Todd from Milton, WI
  • Easy
  • 15 - 30 mins
  • Screw drivers
I removed the face plate (ice/water, selection panel) from the freezer door to access and remove the solenoid which was badly rusted and replaced with a new one, and a new spring too. Very simple repair for a chronic pain.
Was this helpful?
Thank you for voting!
frost build up
1 person found this instruction helpful.
  • JOHNNY from FORT WORTH, TX
  • Really Easy
  • 15 - 30 mins
  • Pliers, Screw drivers
flapper then bought the spring
Was this helpful?
Thank you for voting!

Fixes Symptom 1% of time

$ 27.76
In Stock
Part #WR02X11426

Fixes Symptom 1% of time

This water tubing clip, also known as a P-clamp, is usually used within refrigerators and freezers to organize the water line and tubing, but due to its versatility, this clip may also be used in other applications, like securing other cables. Made of metal and measuring approximately 1-inch in length, this clip features a hole on each side to allow you to screw it into the side of your appliance and secure the appropriate valve, tube, or cable. This clip is a genuine OEM part that is sold individually.

$ 15.00
Special Order
Part #WR1X5278

Fixes Symptom 1% of time

This is the replacement micro switch, or dispenser switch for your refrigerator. It is gray in color and measures approximately 1 inch by half an inch. The dispenser switch is what tells your refrigerator that it is ok to dispense ice or water. If your refrigerator is not dispensing ice or water, you may have a faulty or damaged switch. Be sure to disconnect the power to your refrigerator before you begin this repair. This switch is sold individually and is a genuine OEM replacement part sourced directly from the manufacturer.

$ 61.82
In Stock
Part #WR23X10783

Replacing your General Electric Refrigerator Micro Switch
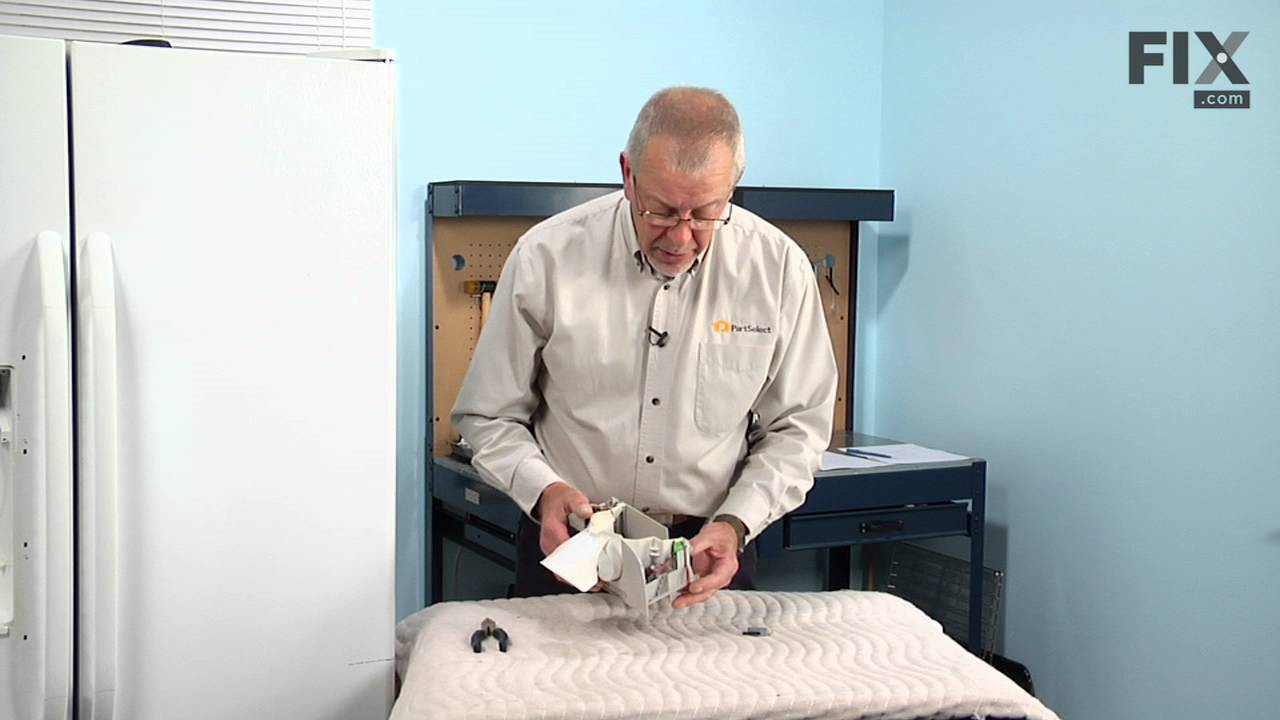
Replacing your Micro Switch

Customer Repair Stories

Water dispenser won't always dispense water
27 of 45 people found this instruction helpful.
  • Curtis from Corona, CA
  • Easy
  • 15 - 30 mins
  • Pliers, Screw drivers
I followed the instructions found on this website. I removed the control panel by inserting a small Phillips screwdriver in the three holes at its bottom. I used the same screwdriver to pull the dispenser assembly down but could have used a larger one. The microswitch could be seen in the assembly at that point and was easily removed b y opening the "fingers" that held it in place. I attempted to pull one of the terminals off without using a pair of needle-nosed pliers and ripped the wires right out of the terminal(I was able to find a replacement at Radio Shack). Low and behold after reinstalling the new part, it did not take care of the problem.

My problem is the water dispenser does work intermittently. When we place the glass in position and hit the lever, the lights in the control panel go off and no water is dispensed. My next guess may be the water valve or the control panel. The icemaker makes ice but I have had problems with it dispensing for nearly a year now.
Was this helpful?
Thank you for voting!
Water dispensor would not shut off
34 of 48 people found this instruction helpful.
  • John from Mason, OH
  • Easy
  • 15 - 30 mins
  • Nutdriver, Pliers, Screw drivers, Wrench (Adjustable)
Actually this was a two part repair of which I purchased both parts. The micro switch Pt # PS296176 and also a double outlet water valve Pt # PS304374 from Parts Select as well.

The difficult part was accessing the area to get to the micro switch.

The trim had to be removed, then the cover.

Then one unplug s the board and removed the face plate which also contains the micro switch.

Once removed the two electrical terminals had to be disconnected, the micro switch installed and terminal reconnected.

Then reverse the removal procedure.

Then on to the double outlet replacement.

Suggest watching the installation video for the replacement although it was really a straight forward repair.

Two things to remember.

1. Unplug the fridge

2. Shut off the water to the dispenser

Overall it was not bad at all.

This was my first attempt at refrigerator repair and it went well.

Good luck on yours.

John
Was this helpful?
Thank you for voting!

Fixes Symptom 1% of time

This crank door recess is supplied directly from the original equipment manufacturer. The plastic part is fastened behind the interface dispenser assembly in the freezer door. Activated by the dispenser solenoid, this part regulates the opening and closing of the ice chute door. A screwdriver is needed for the repair. The crank door recess is sold individually.

$ 16.05
In Stock
Part #WR17X10706

Replacing your General Electric Refrigerator Dispenser Door Recess Crank
Replacing your Dispenser Door Recess Crank

Fixes Symptom 1% of time

This part is a replacement filter bypass cap for your refrigerator. If you intend to use an external water filtration system for your refrigerator, the bypass cap will allow you to do so. To use a filter bypass cap, simply screw it in where you would normally screw in the regular water filter. If you have a bypass system installed and your ice maker doesn’t make ice, your water dispenser doesn’t make water, or if there is water dripping inside your refrigerator, you may need to replace the bypass filter cap. This part is made of white plastic and is sold individually.

$ 15.28
In Stock
Part #WR17X22070

Customer Repair Stories

GE Profile Refrigerator Plug for Water Filter
33 of 53 people found this instruction helpful.
  • Linda from Liberty, NC
  • Really Easy
  • Less than 15 mins
Called partselect and gave my model number for the frig. I wanted a filter plug because we did not need a frig filter. We have a whole house filter. They looked up the part, took my info, and sent it to me by UPS. It arrived fairly quickly and fit the frig perfectly. I screwed it into place immediately. It was the simplest order I hav e ever placed and the salesman was very pleasant and proficient. If I have more issues with my frig, I will call partselect again. Just remember to turn off the water before you start.
Was this helpful?
Thank you for voting!
Water if refigerator door is really slow. Ice making is really slow.
41 of 60 people found this instruction helpful.
  • Fred from Edgartown, MA
  • Really Easy
  • Less than 15 mins
Used by pass filter and problem disappeared. Of course wayer is now unfiltered. This is a GE design flaw. Also replacement filters are outrageously expensive and do not last long. We have good water here and I'll stick with the bypass.
Was this helpful?
Thank you for voting!