



EasyApplianceParts is now PartSelect! We've merged our sites to provide a better shopping experience for you.   Full Details

Find Parts

Parts Departments

Top Model Types

Top Brands

Repair Help

Expert Repair Videos

Keep typing for more specific results...

ZET3038SH3SS General Electric Wall Oven - Overview

Diagrams for ZET3038SH3SS

See every part. Know exactly what you need.

Enter a part description. DIY Heroes keep it simple, eg. "belt" or "pump".

Search filter:
Clear Filter
Your search term must have 3 or more characters.
Screw – Part Number: WH2X930
$16.05
In Stock
Screw
★★★★★
★★★★★
(1)
Part #WH2X930
This screw is sold individually.
Diode – Part Number: WB27X10597
$59.47
In Stock
Diode
★★★★★
★★★★★
(10)
Part #WB27X10597
This part allows power to go one way only.
Halogen Bulb Kit – Part Number: WB49X29679
$61.40
In Stock
Halogen Bulb Kit
★★★★★
★★★★★
(8)
Part #WB49X29679
This light bulb is used in the interior oven. NOTE: This bulb has looped pins, not the straight pins.
Broiler Pan - Large – Part Number: WB48X10056
$43.18
In Stock
Broiler Pan - Large
★★★★★
★★★★★
(10)
Part #WB48X10056
This large broiler pan is found in the bottom of your oven and is used to catch drippings from broiling foods. This part includes the grate and bottom pan and is made of porcelain. The grate measures 15-1/2 inches wide by 13 inches deep and the pan is about 17 inches wide by 13 inches deep. No tools are required to replace this item, simply pull out the lower drawer of your range, pull down the front of the drawer, slide the pan out and slide the new one into place. This is a genuine part sourced right from the manufacturer.
Window Pack Assembly – Part Number: WB56T10105
$149.06
In Stock
Window Pack Assembly
★★★★★
★★★★★
(15)
Part #WB56T10105
The GE Oven Door Window Pack Assembly is a genuine OEM part that fits select GE ranges and ovens. It includes a heat-resistant inner glass panel, frame, and seals, providing insulation and clear visibility into the oven cavity. Common issues like cracked glass or heat loss can indicate the need for a replacement. Ensure the oven is cool to the touch and wear gloves for safe installation.
Range Screw – Part Number: WB01T10008
$16.05
In Stock
Range Screw
★★★★★
★★★★★
(2)
Part #WB01T10008
This part is a replacement screw for your oven. It is made of black metal and is sold individually. This screw is approximately 1/4 inch in diameter and about 1/2 inch in length. It is designed to connect the different parts of your oven door. This part is an authentic OEM part sourced directly from the manufacturer.
LENS OVEN LAMP – Part Number: WB25T10027
$25.28
Special Order
NUT – Part Number: WB02T10017
$18.59
Special Order
NUT
Part #WB02T10017
HUB BLADE Assembly – Part Number: WB02T10289
$39.43
Special Order
MAGNETRON Assembly – Part Number: WB27X11079
$123.59
In Stock
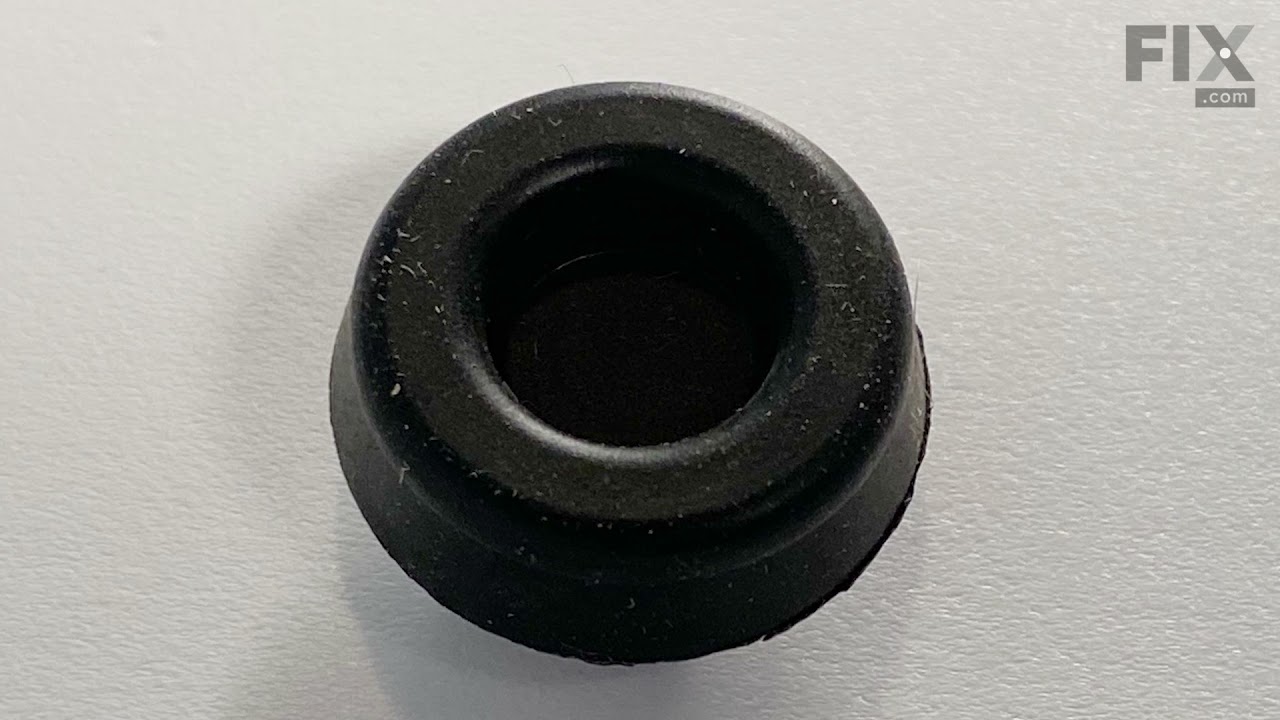
DOOR BUMPER – Part Number: WB01T10022
$16.05
On Order
DOOR BUMPER
Part #WB01T10022
Fuse – Part Number: WB27X10454
$27.36
In Stock
Fuse
Part #WB27X10454

Common Symptoms of the ZET3038SH3SS

How this model fails, and the parts that fix it.

Watch our pros, then fix it yourself.
See how others fixed this model. Time, tools, difficulty, and steps that lead to victory! View More

Search repair tips from other customers using simple keywords like "replace", "fit", "remove", "inspect". DIY doesn't mean you have to do it alone!

Search filter:
Clear Filter
Your search term must have 3 or more characters.
Not working as far as heating or cooking
151 of 361 people found this instruction helpful.
  • Theodore from Medical Lake, WA
  • Really Easy
  • Less than 15 mins
  • Screw drivers
Replaced High Voltage Diode. Very carfully due to the extream danger of a electrical shock.
Was this helpful?
Thank you for voting!
Microwave would run but not heat.
15 of 17 people found this instruction helpful.
  • Devin from HERRIMAN, UT
  • A Bit Difficult
  • More than 2 hours
  • Pliers, Screw drivers
It wasn’t the magnetron.
It wasn’t the diode.
It wasn’t just the fuse.
It was the High Voltage Capacitor (HVC). You know, the very thing they warn you about when opening the microwave. Just remember to discharge it using needle-nose pliers before probing around to find the problem. I also suggest you invest in a multimeter so as not to waste hundreds of dollars like I did; that way you can go straight to the real problem instead of replacing symptoms. If you replace the HVC, you will also want to replace the two fuses right in front of it. Also, there is a wiring diagram and a troubleshooting flowchart tucked behind the front console near the top. It is extremely useful!
Was this helpful?
Thank you for voting!
Inner oven door glass broke
10 of 12 people found this instruction helpful.
  • Micheal from SHEPHERDSVLLE, KY
  • Really Easy
  • 15 - 30 mins
  • Nutdriver, Screw drivers
Pull the old one put in the new one ... took about 20 minutes
Was this helpful?
Thank you for voting!