



 My Orders




ZET2BL1BB General Electric Range - Overview

Enter a part description. DIY Heroes keep it simple, eg. "belt" or "pump".
Search filter:
Clear Filter
Your search term must have 3 or more characters.

$30.53
In Stock
Temperature Sensor
Part #WB21X22134
The temperature sensor, also known as the oven temperature sensor assembly is usually found in the back of the oven. The function of the oven temperature sensor assembly is to measure the temperature inside your oven while it is on and send the temperature back up to the electronic control, which adjusts as necessary. If your oven is havi...Read moreng difficulty achieving warmer temperatures and/or keeping warmer temperatures up, you may want to test your temperature sensor. Before you make this repair remember to unplug your range from the power source, and turn off the gas shut off valve.
Read less

$16.05
In Stock

$311.77
In Stock
Window Pack Assembly
Part #WB56X22160
This window pack assembly, also known as inner door glass, is supplied directly by the manufacturer for use in range ovens. It has measurements of approximately 22 inches by 14 inches. The inner door glass is situated between the outer door panel and the oven cavity. It acts as a barrier between the heat generated by the oven and the exte...Read morernal environment. This provides insulation and protection while allowing users to easily view the oven cavity. It is made of tempered glass and is resistant to high temperatures and thermal shock. If the inner door glass becomes damaged or cracked, heat will escape from the oven, you may be unable to see the contents of the oven and the risk of injury will be increased.
Read less

$63.63
In Stock
Door Gasket
Part #WB04T10050
This oven door gasket is a high-performance seal made from heat-resistant rubber and fiberglass, designed to create an airtight barrier between the oven door and cavity. Measuring approximately 89.76 inches in length, its flexible construction allows for a precise fit across a range of oven models. The gasket plays a critical role in main...Read moretaining consistent internal temperatures by preventing heat from escaping, which supports even cooking and improved energy efficiency. Installation is beginner-friendly and typically takes under 30 minutes using pliers. Some versions include up to 25 mounting clips for secure attachment. Signs of wear—such as visible cracks, tears, or heat leakage—indicate the need for replacement to restore optimal oven performance.
Read less

$16.05
In Stock
Range Screw
Part #WB01T10008
This part is a replacement screw for your oven. It is made of black metal and is sold individually. This screw is approximately 1/4 inch in diameter and about 1/2 inch in length. It is designed to connect the different parts of your oven door. This part is an authentic OEM part sourced directly from the manufacturer.

$27.36
In Stock
Halogen Lamp
Part #WB25T10064

$18.59
Special Order
NUT
Part #WB02T10017

$39.43
Special Order

$25.87
In Stock
Range Upper Limit Switch Lock
Part #WB24T10060

$42.82
Special Order
Philips Head Screw - Package of 12
Part #WZ4X245D

$15.00
Special Order
TAPE FOAM
Part #WB01T10052

$16.05
On Order
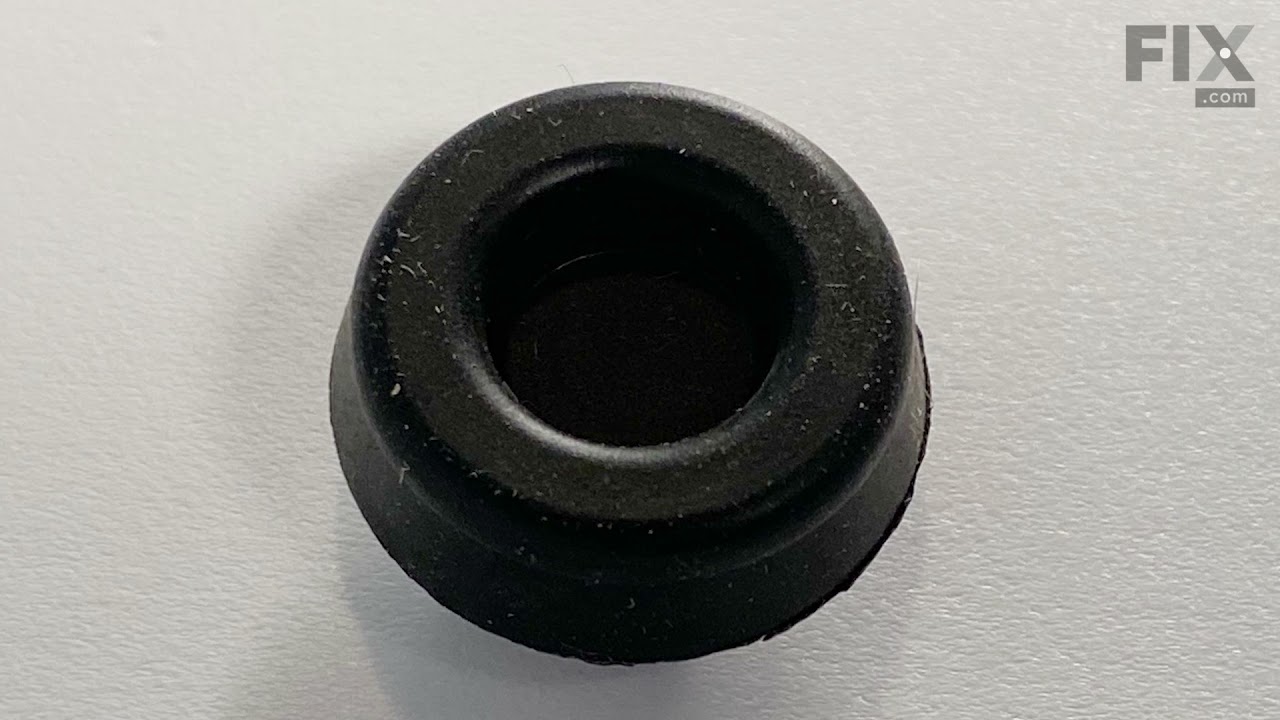
DOOR BUMPER
Part #WB01T10022
Common Symptoms of the ZET2BL1BB
How this model fails, and the parts that fix it.
Little to no heat when baking
Fixed by
these parts
these parts

Show All
Oven not heating evenly
Fixed by
these parts
these parts

Show All
Oven is too hot
Fixed by
these parts
these parts
Show All
Element will not heat
Fixed by
these parts
these parts
Show All
Will Not Start
Fixed by
these parts
these parts
Show All
Little to no heat when broiling
Fixed by
these parts
these parts
Show All
Watch our pros, then fix it yourself.

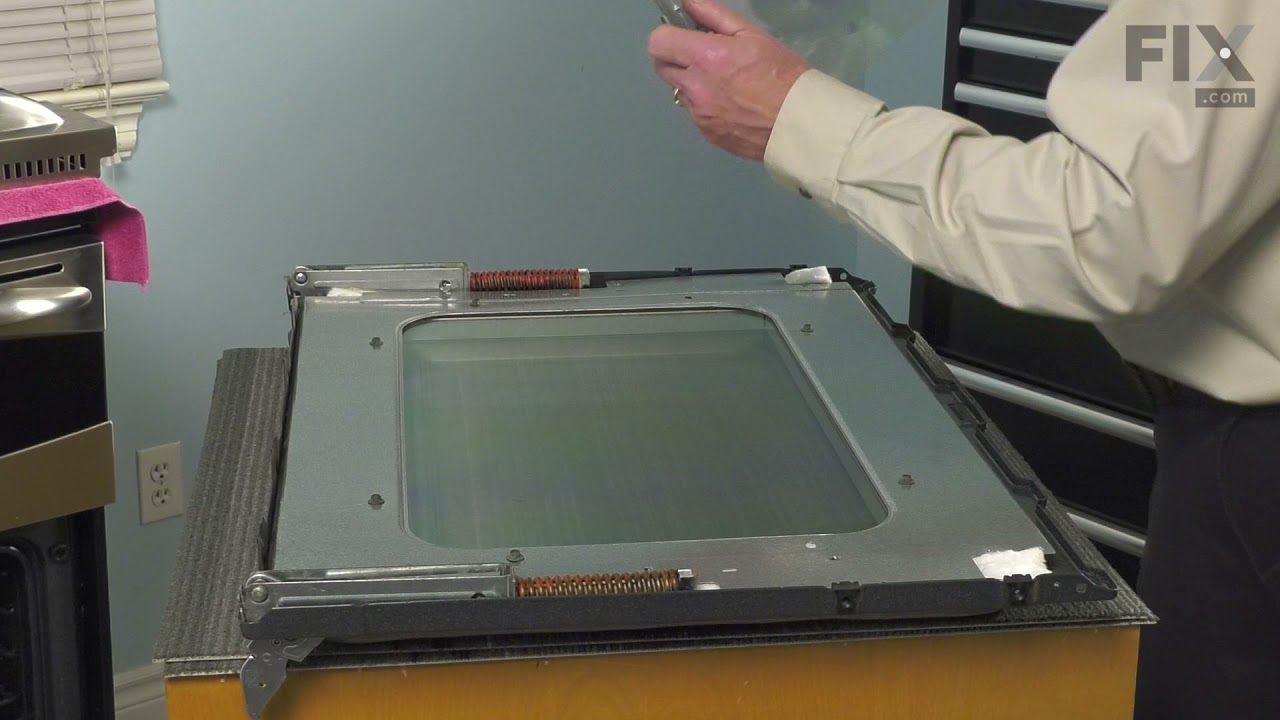
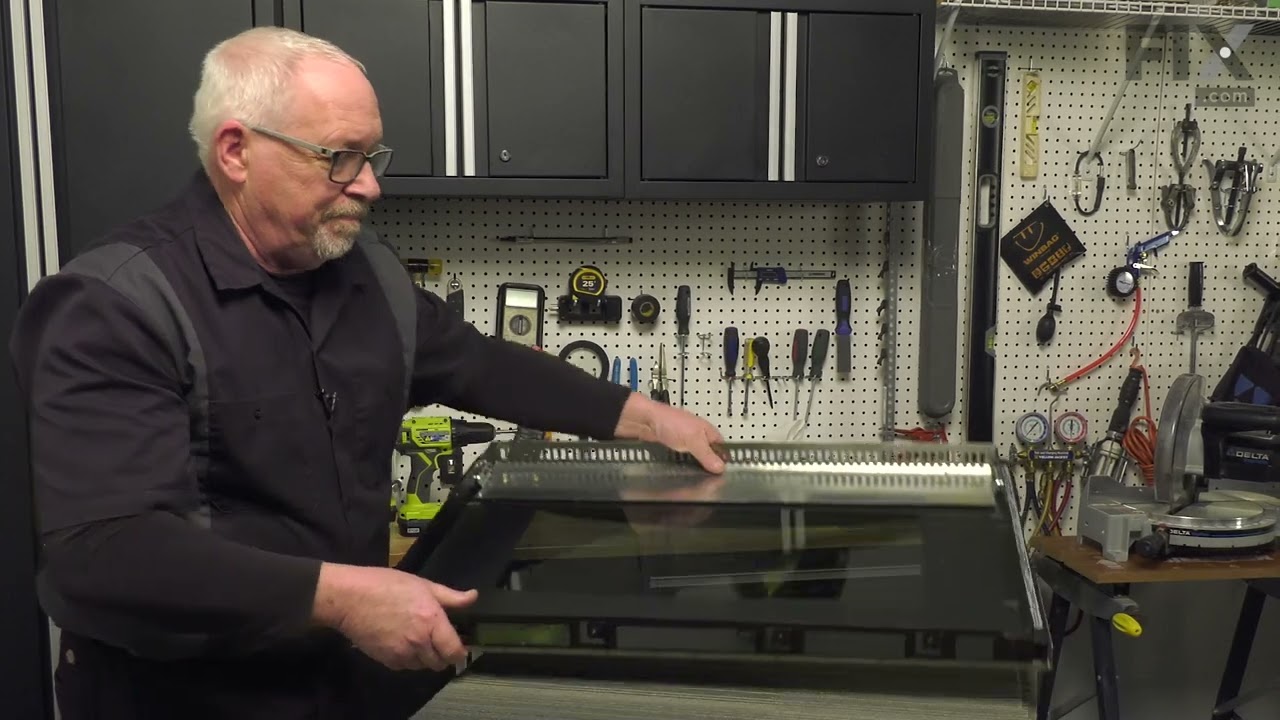
See how others fixed this model. Time, tools, difficulty, and steps that lead to victory!
View More