


 My Orders




YWSES7530RV0 Whirlpool Wall Oven - Overview
Diagrams for YWSES7530RV0
See every part. Know exactly what you need.


Enter a part description. DIY Heroes keep it simple, eg. "belt" or "pump".
Search filter:
Clear Filter
Your search term must have 3 or more characters.

$21.45
In Stock
Screw
Part #W11233072
This is a multi-use and multi-appliance screw. It can be used on a microwave, refrigerator, range/oven, air conditioner, dehumidifier, washer, or dryer. The measurements of this screw are 8 x 1/2 inch. It has 6 threads. Refer to the manual provided by the manufacturer for further information on repair and accurate guidance. Remember to wear work gloves as a safety precaution.

$51.95
In Stock
Rack
Part #W11520287
This chrome-colored oven rack is designed to provide a stable and heat-resistant surface for cooking, baking, and broiling inside compatible range ovens. Engineered for durability, it fits a variety of models and withstands high temperatures and heavy use. Whether you're replacing a damaged rack or adding an extra one for increased cookin...Read moreg flexibility, this component helps maintain optimal oven performance. Sold individually.
Read less

$134.64
In Stock
Broil Element
Part #W10856603
This broil element supplies heat for cooking purposes and is located in the roof of an oven. If you find there is little to no heat when cooking, a burned-out element, or food is taking too long to cook, these symptoms could be solved by replacing this part. Before starting this replacement, make sure you unplug the range from the power s...Read moreource or shut off from the house circuit breaker. All you need to complete this repair is a Phillips screwdriver. For safety reasons, make sure to wear gloves. Refer to the manual provided by the manufacturer for more instruction.
Read less

$34.74
In Stock
Range Safety Thermostat
Part #WP3196548
This part is used as a safety feature. If your range overheats this part will shut the range down.

$104.33
In Stock
Range Inner Oven Door Glass
Part #WP8053948
This pane of glass is the innermost piece of glass on your oven door. If you notice that the inner door glass on your oven is damaged, you will need to replace it. This part is made entirely of glass. It is approximately 18.5 inches in length and 12.5 inches in width. To complete this repair, it is easiest to remove the entire door from t...Read morehe oven and set it on a more suitable work surface. You will require a small flat blade screwdriver and either a #3 Phillips screwdriver or a #2 square head screwdriver to complete this repair. This is an OEM part sourced directly from the manufacturer. This part is sold individually.
Read less

$47.40
In Stock
Door Trim - Right Side - Black
Part #W10761014
NOTE: The trim has been re-designed and no longer requires the screws. The dimples on the bottom hold them in place instead.

$9.62
In Stock

$47.40
In Stock
Door Trim - Left Side - Black
Part #W10761018
NOTE: The trim has been re-designed and no longer requires the screws. The dimples on the bottom hold them in place instead.

$41.07
In Stock
Door Gasket
Part #W11542153
This oven door gasket or door seal is used for ranges and ovens. This part works as a protective seal between the oven door and the opening of the oven. The seal traps heat and prevents it from escaping when the oven door is closed, for best results when cooking or baking. If your oven door gasket is ripped, damaged, or you find heat esca...Read morepes your oven door, then it is best to replace the gasket to solve the problem. Remember to unplug your appliance from the power source before installing. For installation instructions, refer to the manual provided by the manufacturer.
Read less

$7.47
In Stock
Range Screw
Part #WPW10200660
Discover the unmatched excellence of the Whirlpool Screw for stoves, ovens, and ranges. This impressive Screw, 10-16 x 3/4 size, is a genuine OEM part compatible with various models from Whirlpool, KitchenAid, Maytag, Jenn-Air, Amana, Inglis, and Magic Chef. While distinct in size and shape, rest assured this part fits seamlessly into you...Read morer appliance. Thriving on quality and optimum performance, it is always recommended to confirm the adequacy of the part number for your model before ordering. The installation of this screw should always be carried out following the right safety practices. Get your appliance up and running with the proven reliability of Whirlpool parts.
Read less

$7.47
In Stock

$20.37
In Stock
Common Symptoms of the YWSES7530RV0
How this model fails, and the parts that fix it.
Element will not heat
Fixed by
these parts
these parts


Show All
Little to no heat when baking
Fixed by
these parts
these parts
Show All
Little to no heat when broiling
Fixed by
these parts
these parts
Show All
Door won’t close
Fixed by
these parts
these parts


Show All
Oven is too hot
Fixed by
these parts
these parts
Show All
Oven not heating evenly
Fixed by
these parts
these parts
Show All
Will Not Start
Fixed by
these parts
these parts
Show All
Watch our pros, then fix it yourself.
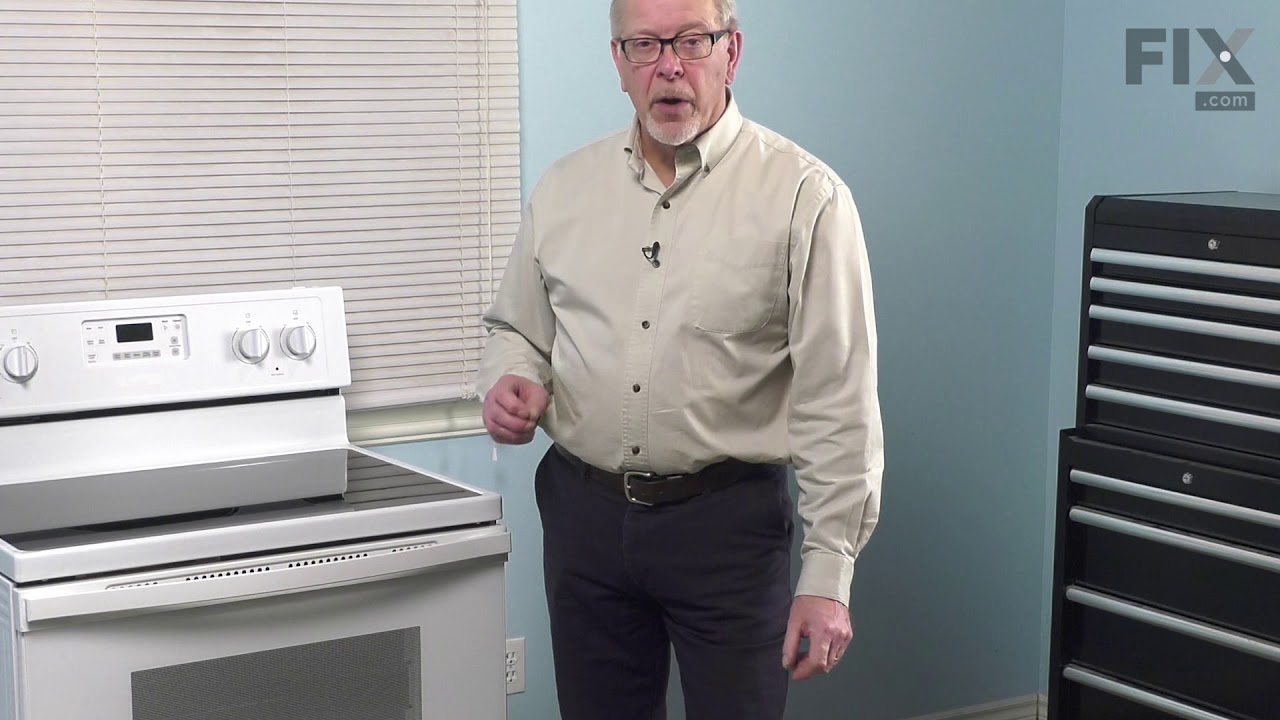
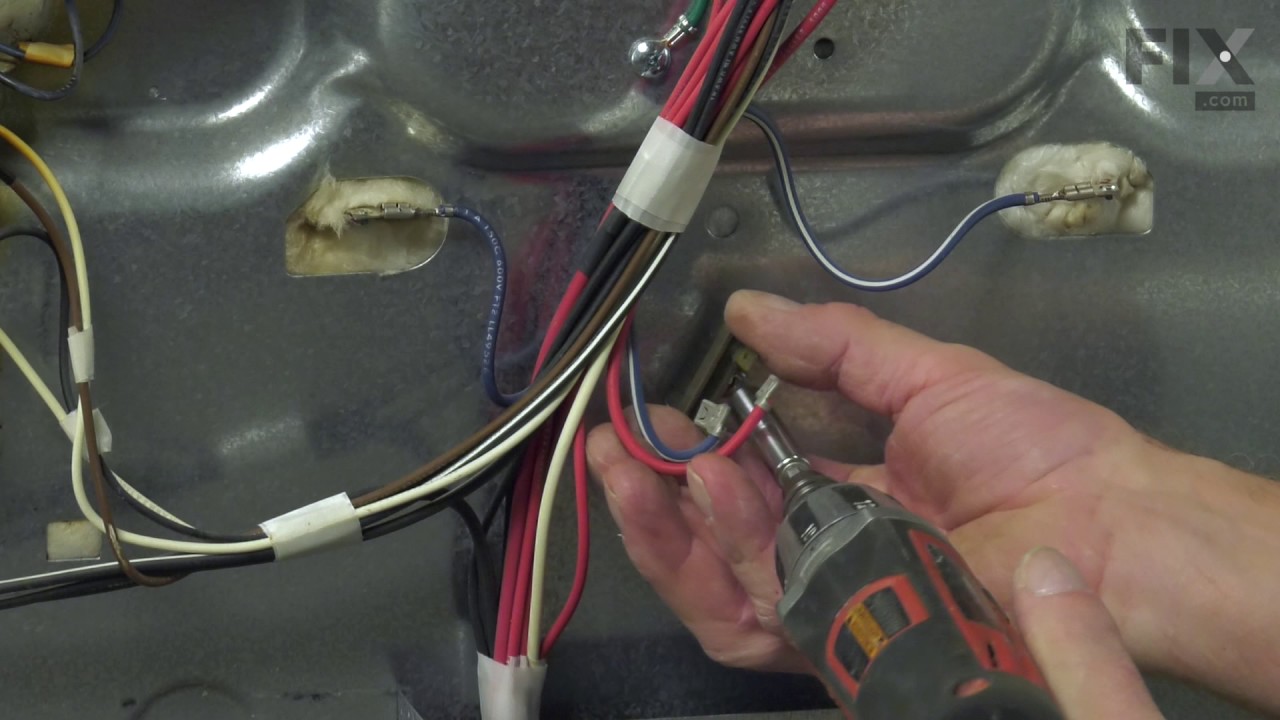
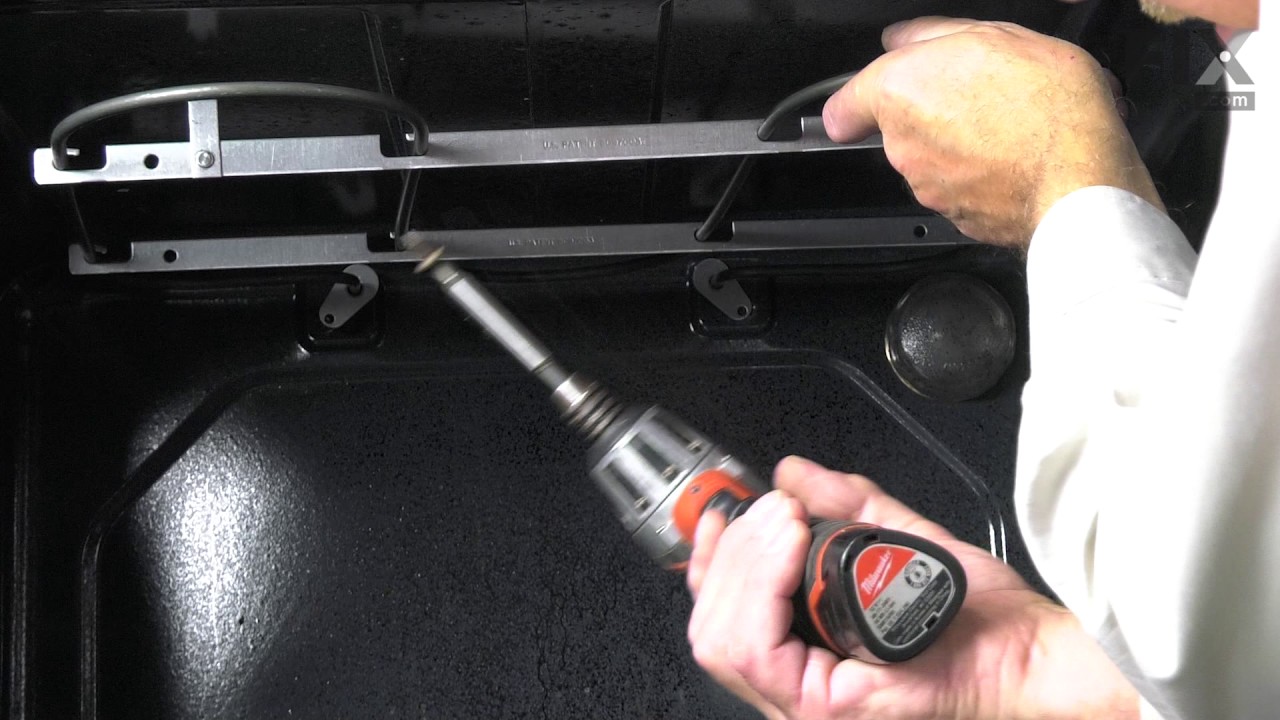

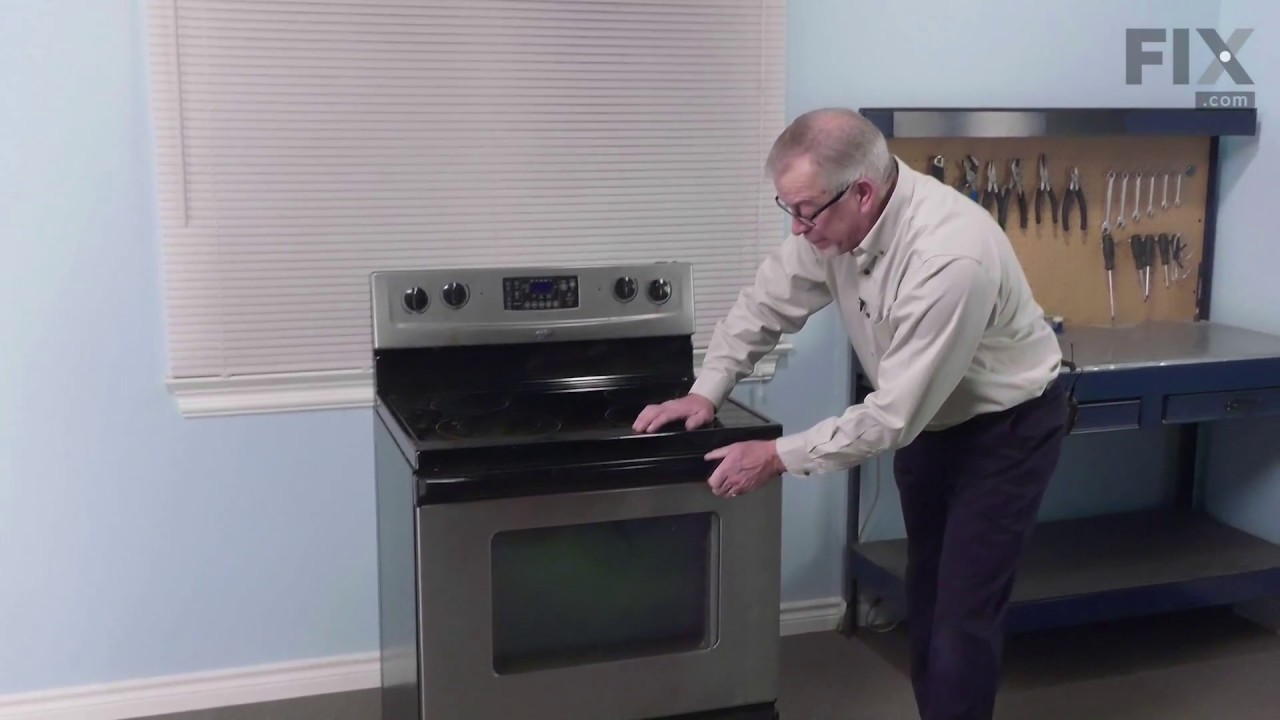
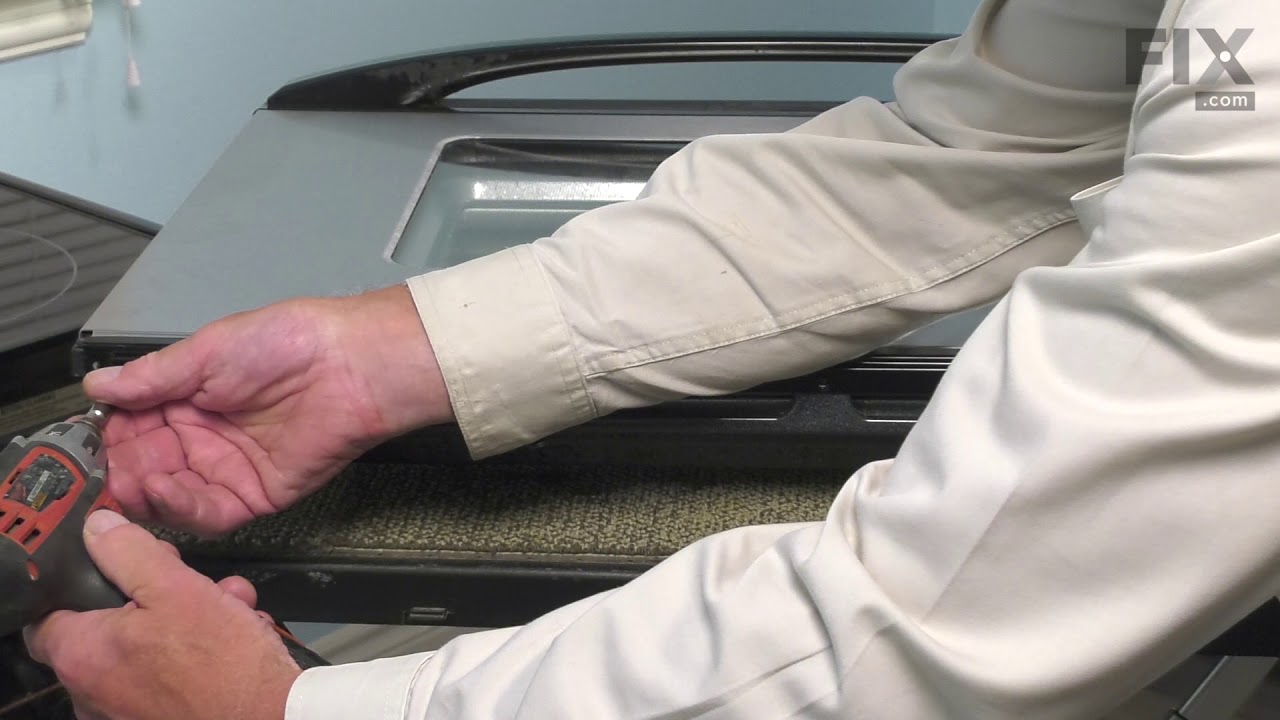
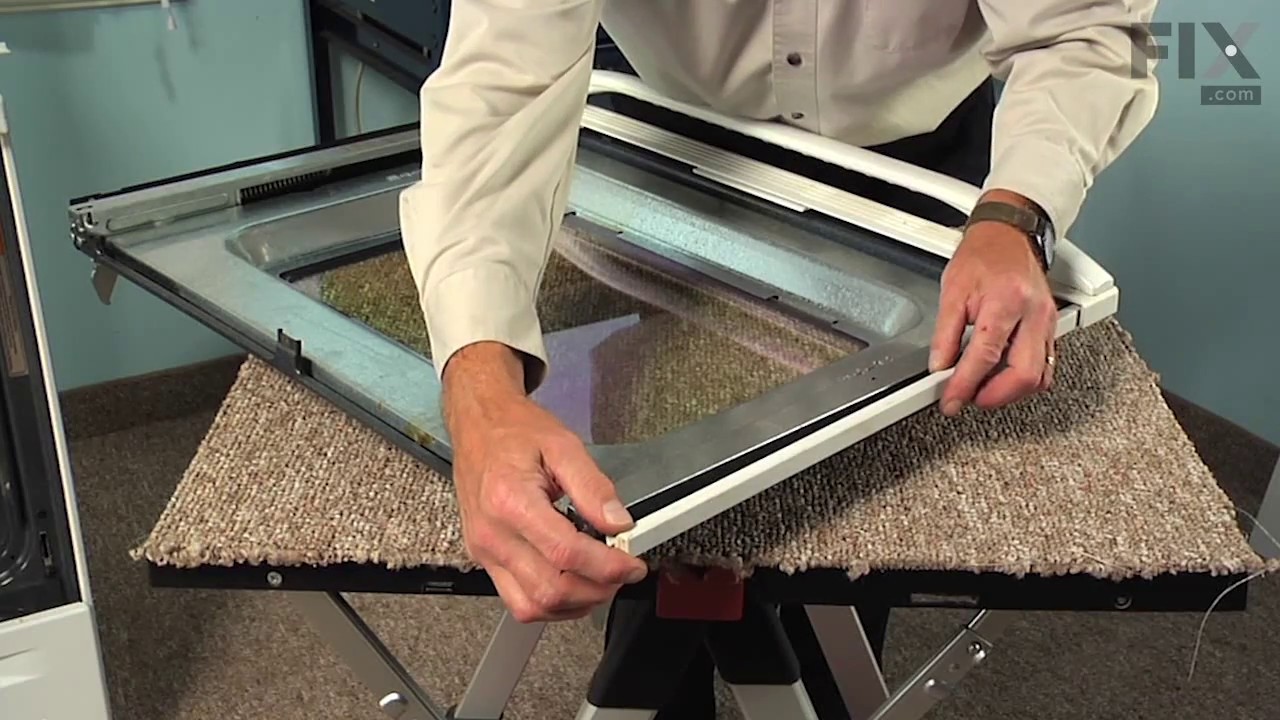

See how others fixed this model. Time, tools, difficulty, and steps that lead to victory!
View More