


 My Orders




YWGE745C0FS5 Whirlpool Range - Overview

Enter a part description. DIY Heroes keep it simple, eg. "belt" or "pump".
Search filter:
Clear Filter
Your search term must have 3 or more characters.

$232.24
In Stock
Cartridge 4 Spades - Stainless Steel
Part #JEA7000ADSA
Upgrade your cooktop with this easy-to-install electric coil cartridge, perfect for replacing worn-out burners and restoring consistent heat. The sleek stainless steel housing holds two coil burners—one large (2100W) and one small (1250W)—giving you the flexibility to cook everything from quick breakfasts to hearty dinners. Compatible wit...Read moreh a variety of ranges, this module is a simple way to refresh your kitchen setup. Sold as a single unit.
Read less

No Longer Available
Touch-Up Paint - White
Part #72017
This touch-up paint can be used on a wide variety of household appliances. It is most often used on washers, dryer, refrigerators, dishwashers, ranges, freezers, trash compactors, or microwaves. It is an 18 ml, or.6 fluid ounces, bottle of touch-up paint. It also features a brush for easy application. This quick-drying, long-lasting paint...Read more is perfect for fixing any nicks, scratches, or chips on the exterior of your appliance. This paint is white in color, and provides a durable finish.
Read less

No Longer Available

$49.50
In Stock
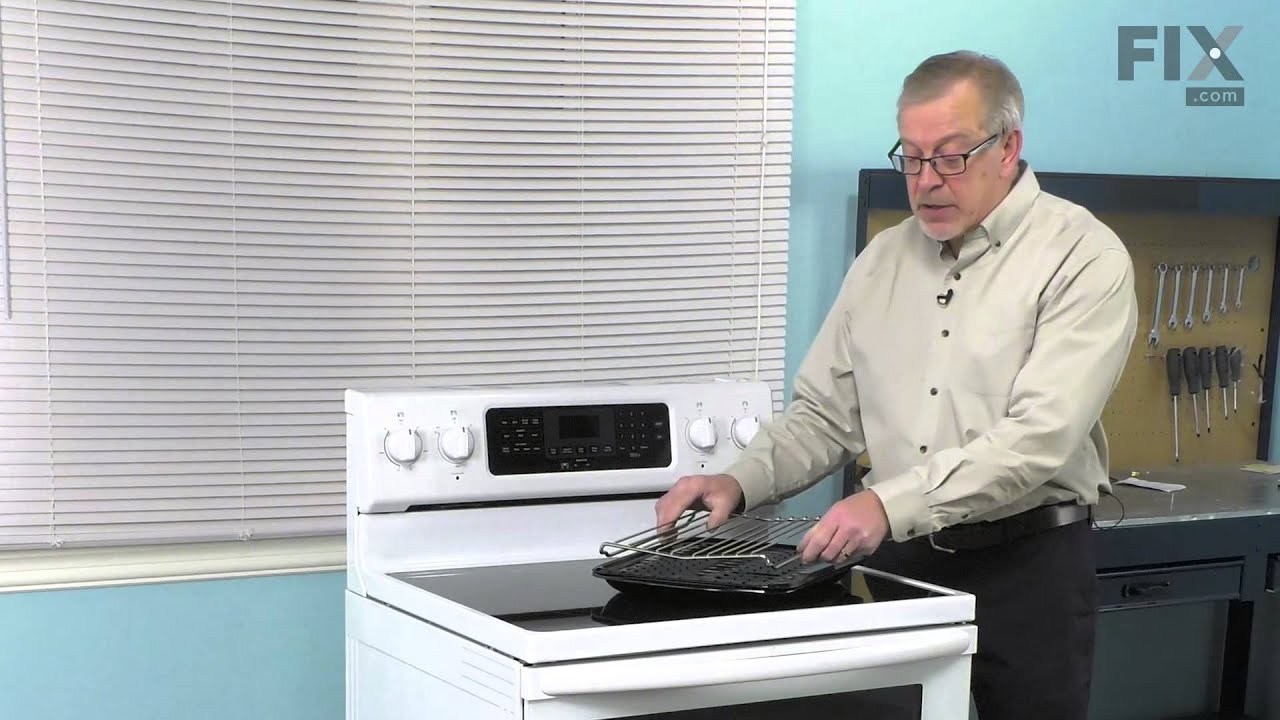
2 Piece Broiler Pan
Part #4396923
This broiler pan and roasting rack set is designed to help reduce mess while cooking by allowing grease to drain away from food. Its durable porcelain-coated construction stands up to high temperatures and makes cleanup simple. With approximate dimensions of 16 3/4 inches long, 12 3/4 inches wide, and 1 3/4 inches high, it offers a convenient size for everyday broiling and roasting.

No Longer Available
Cooktop Cleaner
Part #W10355051
This bottle of non-abrasive cooktop cleaner breaks down and gets rid of the hardest baked-on stains and residue without causing any harm to your appliance. The bottle is 10 oz and does not require a large amount of product to do the job. This cleaner is perfectly safe to use on any glass, ceramic, stainless steel, chrome, or porcelain coo...Read morektop surface. The cleaner is creamy in texture and provides a protective coat of silicone on smooth surfaces. To apply, use a gentle scrub, sponge, or rag and gently press in a circular motion until the stains are removed.
Read less

$131.91
In Stock

$46.34
In Stock
Infinite Switch - 6 Inch
Part #WP7403P238-60
Does your appliance need a quick fix? Our GE Controller Assembly is here to help. This genuine GE part is the heartbeat of your appliance, keeping everything running smoothly and efficiently. It's specifically designed to fit your GE appliances perfectly, meaning you won't have to worry about any compatibility issues. This precision-craft...Read moreed part doesn?t just improve appliance performance - it enhances its life and reliability too. The GE Controller Assembly is made with sustainability in mind, promising durability that makes for a lasting solution to your appliance woes. When you choose to repair your appliance with this GE part, you're choosing superior results and reliability. It's a simple, effective way to restore your appliance to its former glory. So why wait? Lay your worries to rest and boost your appliance's efficacy with the GE Controller Assembly.
Read less

$85.03
In Stock
Dual Surface Element - Front-Right
Part #W11517959
This is a dual surface element for compatible ranges. If the surface heating element for your range is currently not turning on or has issues heating up or maintaining a heat level, it will need to be replaced. This surface heating element features two burners, one smaller involving an inner 1400W element, and one larger burner involving ...Read moreboth the inner and outer ones (3000W). Replacing this dual surface element will require a screwdriver or drill, as well as wire cutters and needle-nose pliers. This surface element is sold as an individual OEM part, so you may need to consider how many heating elements you need before ordering.
Read less

$162.43
In Stock
Non-Stick Griddle for Electric Grill
Part #JEA8200ADX
Griddle for Jenn-Air Designer Line cooktops. Fits over electric grill elements to provide a quality, non-stick surface for pancakes, eggs, bacon and sausages. Heats food evenly, with holes for draining and capturing grease. May not be exactly as shown.

No Longer Available
Spray Paint - 12 oz. - White
Part #350930
Appliance spray paint is a great way to cover up any chips and scratches that have appeared on your appliances. Instead of replacing the part entirely, this is an easy fix. This is also a great way to give a fresh new look to any handles or areas that have discoloring due to wear. Make sure to clean the area before you begin and wear a pr...Read moreotective mask for safety. Give the can a good shake and spray a few inches away from the surface. Apply the paint until the area is fully covered as desired. Wait until the paint has dried before using the appliance.
Read less

$50.56
In Stock
Range Insulation
Part #WPW10208653
This insulation is also known as oven wrap insulation, and is used in conjunction with your range. Its purpose is to be installed in between the oven and the cabinets that surround it. This will help prevent the heat from escaping while cooking and essentially keep it locked inside the oven. The most common reason for needing to replace t...Read morehe insulation in your oven is that it becomes a comfy place for vermin to nest. Before making this installation, it would be best to disconnect the electrical power to your appliance, and to make sure that your range is cool to the touch.
Read less

$11.77
In Stock
Appliance Scraper
Part #WA906B
Use this scraper for your ceramic/glass cooktop. It has a retractable blade and is an all-purpose tool for cooktops, mirrors, windows and tile. Use it to also remove paint, paper, dirt, stickers and more.
Common Symptoms of the YWGE745C0FS5
How this model fails, and the parts that fix it.
Element will not heat
Fixed by
these parts
these parts


Show All
Little to no heat when baking
Fixed by
these parts
these parts


Show All
Watch our pros, then fix it yourself.
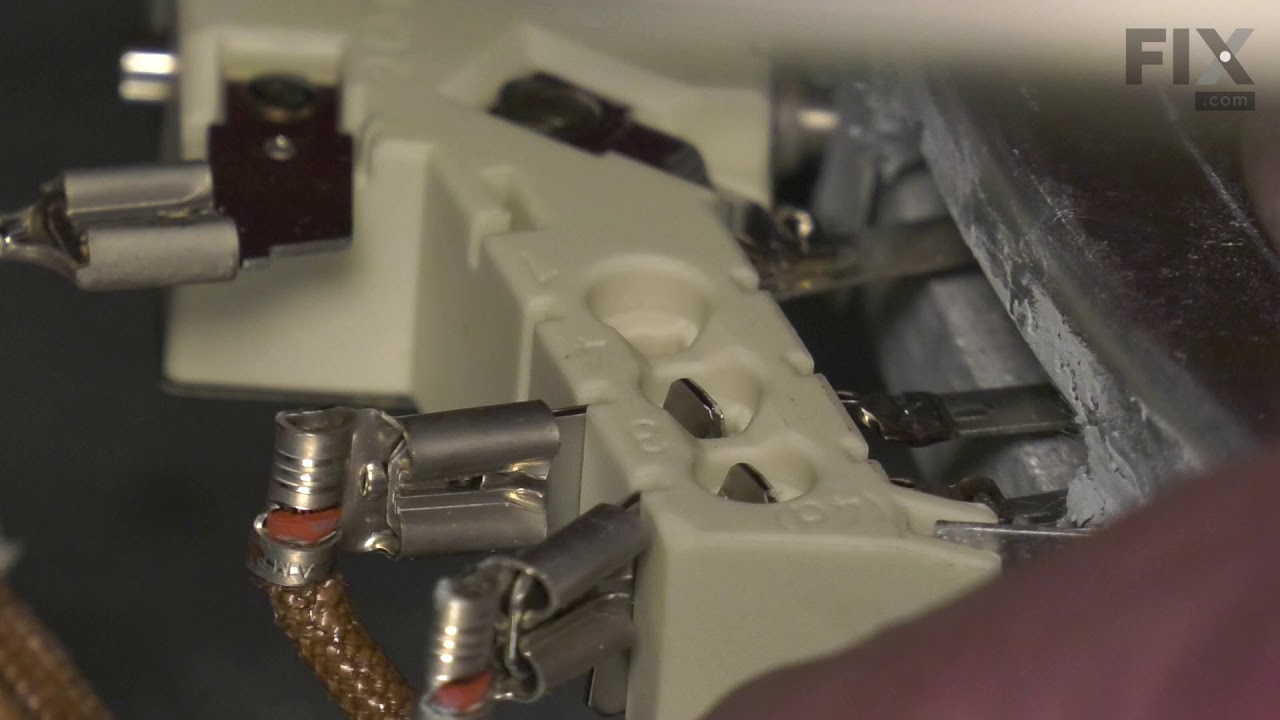

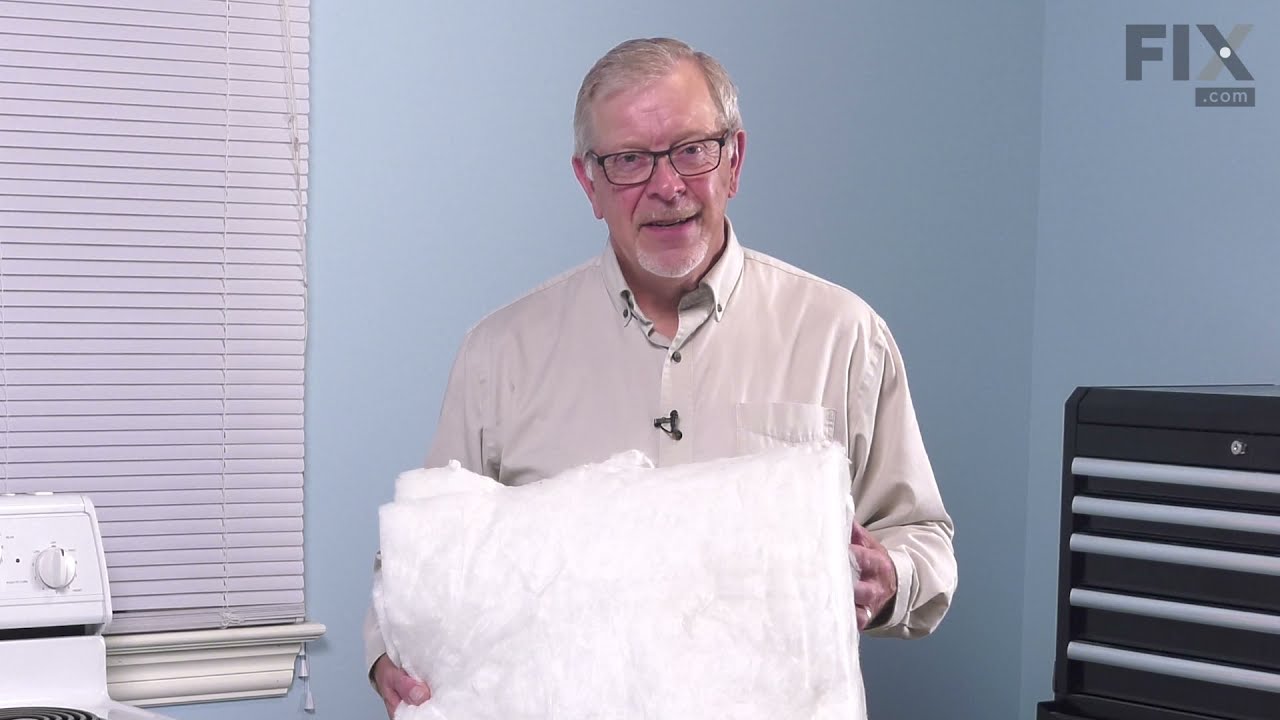
See how others fixed this model. Time, tools, difficulty, and steps that lead to victory!
View More