



 My Orders




YWFE550S0LB2 Whirlpool Range - Overview

Enter a part description. DIY Heroes keep it simple, eg. "belt" or "pump".
Search filter:
Clear Filter
Your search term must have 3 or more characters.

$134.64
In Stock
Broil Element
Part #W10856603
This broil element supplies heat for cooking purposes and is located in the roof of an oven. If you find there is little to no heat when cooking, a burned-out element, or food is taking too long to cook, these symptoms could be solved by replacing this part. Before starting this replacement, make sure you unplug the range from the power s...Read moreource or shut off from the house circuit breaker. All you need to complete this repair is a Phillips screwdriver. For safety reasons, make sure to wear gloves. Refer to the manual provided by the manufacturer for more instruction.
Read less

$131.91
In Stock

$50.56
In Stock
Door Hinge
Part #WPW10299227
This passive oven door hinge is designed for use on either the left or right side of select ranges, ensuring smooth and controlled door movement. As a genuine OEM component, it helps restore proper door function by allowing the oven door to open and remain at a stable angle. The passive designation indicates that the spring mechanism is s...Read moreold separately. Constructed for durability and precision, this hinge is compatible with a wide range of models across Whirlpool and affiliated brands. Replacement is recommended when the door no longer opens or closes smoothly. Before installation, consult your appliance’s service manual to confirm compatibility and follow safety procedures.
Read less

$9.62
In Stock
Plate Nut
Part #WP3400029
This size 10 plate nut with 32 threads per inch is located in your household appliances. It securely fastens various parts together, such as panels, brackets, and accessories, to the frame. It features a built-in washer and is also known as a captured nut or a caged nut. If the secured components feel loose, wobbly, or are coming apart, i...Read moret may indicate that the nut has lost its grip or become stripped. To maintain stability and safety, it is crucial to replace a broken or faulty plate nut. Refer to your user guide to access the plate nut on your specific appliance model, which could be near the console, along the door, or on the tub support. Once located, loosen it using a wrench or pliers. Keep in mind that this OEM fastener is sold individually, so make sure to determine the quantity needed before making a purchase. It is also advisable to keep spare plate nuts on hand for future repairs.
Read less

$56.33
In Stock
KNOB
Part #W11158169

$7.47
In Stock
Screw
Part #WP3400016

$67.82
In Stock
Terminal Block Cover Box
Part #WPW10326122

$10.70
In Stock
Rivet, Push (Black)
Part #WP3196813

$59.47
In Stock
Insulation
Part #WPW10278991
Note: You must order four pieces to create one large piece to cover the door.

$9.43
In Stock

$79.80
In Stock

$21.45
In Stock
SCREW
Part #3196172
Common Symptoms of the YWFE550S0LB2
How this model fails, and the parts that fix it.
Element will not heat
Fixed by
these parts
these parts


Show All
Little to no heat when broiling
Fixed by
these parts
these parts
Show All
Door won’t close
Fixed by
these parts
these parts

Show All
Little to no heat when baking
Fixed by
these parts
these parts
Show All
Oven not heating evenly
Fixed by
these parts
these parts
Show All
Watch our pros, then fix it yourself.
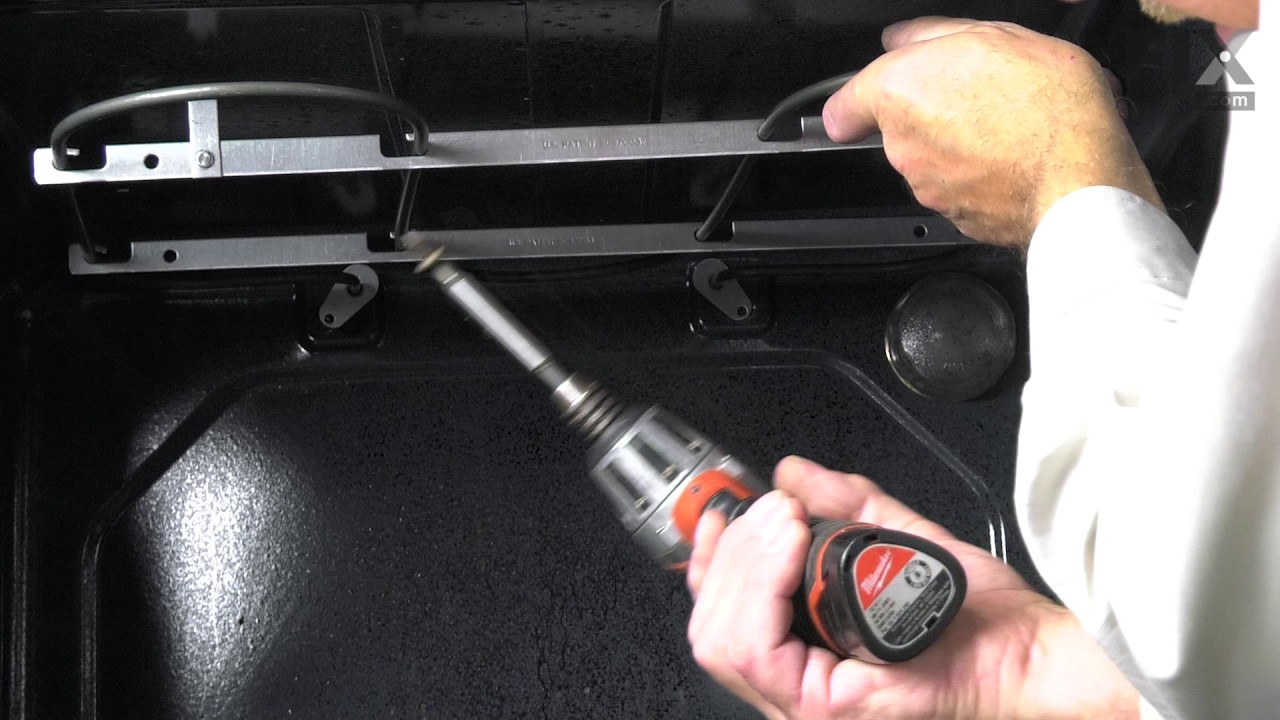

See how others fixed this model. Time, tools, difficulty, and steps that lead to victory!
View More