



 My Orders




YRMF3130ZWH-1 General Electric Range - Overview
Diagrams for YRMF3130ZWH-1
See every part. Know exactly what you need.


Enter a part description. DIY Heroes keep it simple, eg. "belt" or "pump".
Search filter:
Clear Filter
Your search term must have 3 or more characters.

$22.52
In Stock
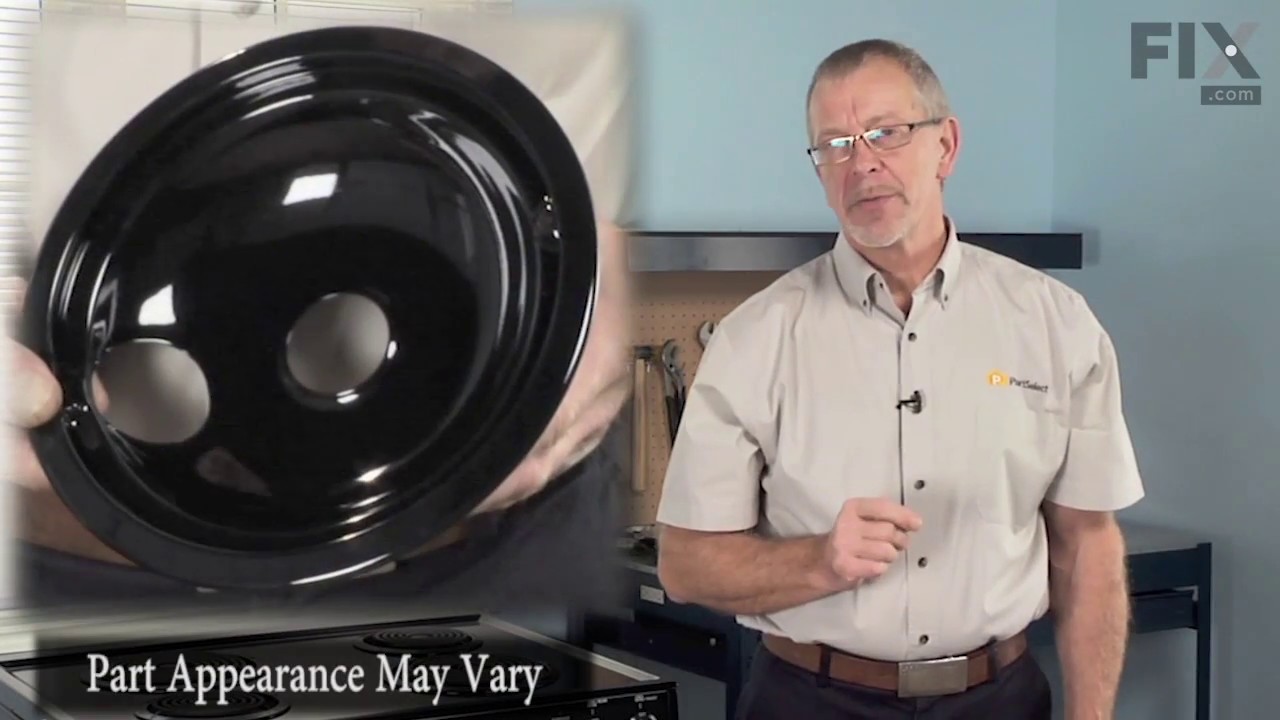
Burner Bowl - 8 Inch
Part #WB31T10015
This part is located beneath the element and catches any spills.

$18.22
In Stock
Burner Bowl - 6 Inch
Part #WB31T10014
This burner bowl is also known as a burner drip bowl or burner drip pan, and is designed for use with your cooktop or range. It is black in color and is approximately 6 inches in diameter. It can be found beneath the element and catches spills. If your old burner bowl is damaged or missing, you may need to replace it with this part.

$21.95
In Stock
Light Bulb - 40W
Part #40A15
This 40-Watt light bulb is sold individually.
It is specially designed to withstand extreme temperatures, so this bulb is compatible with a variety of appliance types including refrigerators, ranges, microwaves, and dryers. It features a frosted glass bulb with a standard metal socket base, which allows you to easily unscrew the burnt-out light and twist the new bulb into place.

$46.21
In Stock
Oven Handle End Cap - Left or Right Side
Part #WB07X10034
This oven handle end cap connects to your oven door handle, and acts as the joint that connects it to the oven door. This part is made of black plastic and can be used as the left or right-side end cap. If your oven door handle is loose or disconnected, this part may fix the problem. The end cap will need to be screwed into the oven door itself, but simply snaps in to the door handle. This part is sold individually.

$77.22
On Order
Door Handle
Part #WB15X10003
This oven door handle is a genuine OEM replacement designed for select GE, Hotpoint, and Kenmore ranges. Made from heavy-duty materials and typically finished in black, it provides a secure grip for opening and closing the oven door. Engineered for durability and a precise fit, it restores proper function and appearance when the original ...Read morehandle is broken, loose, or missing. Installation is straightforward and typically requires basic hand tools; wearing work gloves is recommended for safety. Always verify compatibility with your specific model before installation, as similar handles may differ in size and mounting configuration.
Read less

$24.09
Special Order
Washer - 12 Pack
Part #WB1X119D

No Longer Available
Leveling Leg
Part #WB2X8248

$111.62
Special Order
Gasket
Part #WB2X2058
This genuine OEM oven door gasket is designed to create a tight, heat-resistant seal between the oven door and the cooking cavity. By preventing heat from escaping, it helps maintain consistent cooking temperatures and supports efficient oven operation. Replacing a worn, torn, or damaged gasket can resolve issues such as heat loss, uneven...Read more cooking, or longer preheat times, restoring proper performance with a simple, direct-fit installation.
Read less

No Longer Available
OVEN SWITCH-UPPER
Part #WB22X5133
$38.96
Special Order
HANGER
Part #WB2X3165
No Longer Available
WHEEL DRAWER
Part #WB2M528
No Longer Available
LIGHT PILOT
Part #WB8M216
Common Symptoms of the YRMF3130ZWH-1
How this model fails, and the parts that fix it.
Watch our pros, then fix it yourself.
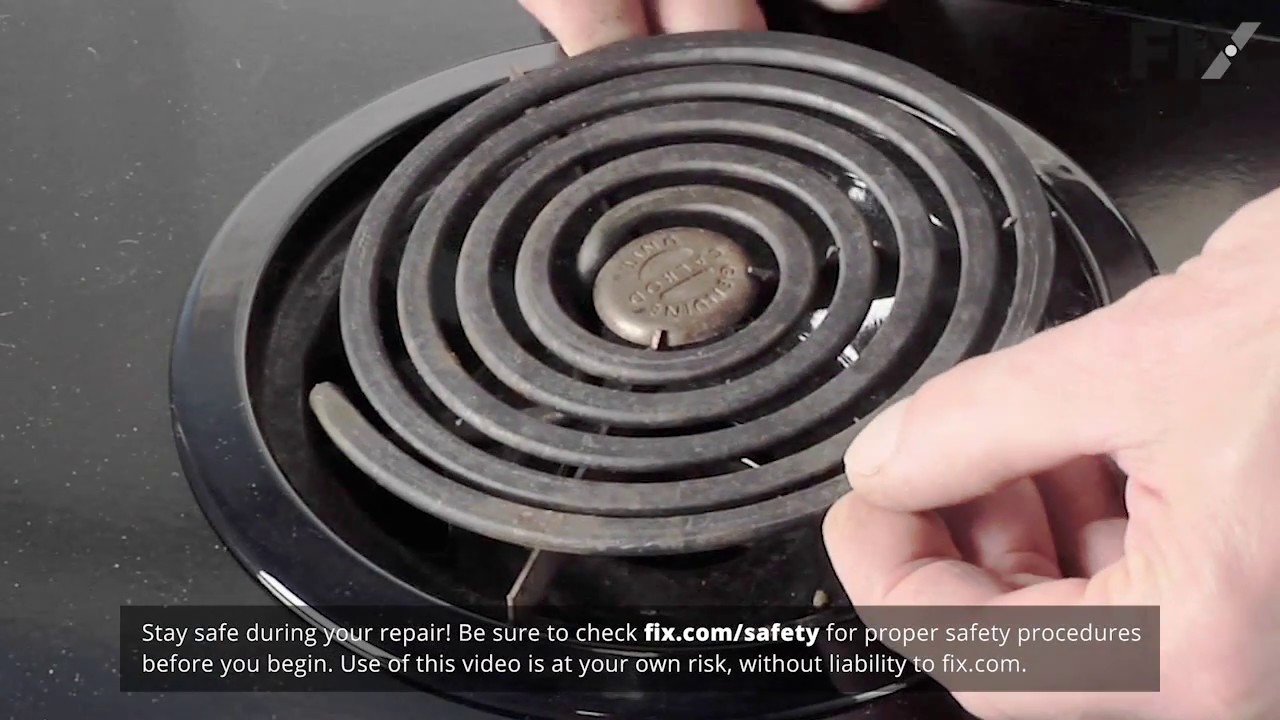
See how others fixed this model. Time, tools, difficulty, and steps that lead to victory!
View More