



 My Orders




YMFES6030RZ0 Whirlpool Range - Overview
Diagrams for YMFES6030RZ0
See every part. Know exactly what you need.


Enter a part description. DIY Heroes keep it simple, eg. "belt" or "pump".
Search filter:
Clear Filter
Your search term must have 3 or more characters.

$21.45
In Stock
Screw
Part #W11233072
This is a multi-use and multi-appliance screw. It can be used on a microwave, refrigerator, range/oven, air conditioner, dehumidifier, washer, or dryer. The measurements of this screw are 8 x 1/2 inch. It has 6 threads. Refer to the manual provided by the manufacturer for further information on repair and accurate guidance. Remember to wear work gloves as a safety precaution.

No Longer Available
Touch-Up Paint - White
Part #72017
This touch-up paint can be used on a wide variety of household appliances. It is most often used on washers, dryer, refrigerators, dishwashers, ranges, freezers, trash compactors, or microwaves. It is an 18 ml, or.6 fluid ounces, bottle of touch-up paint. It also features a brush for easy application. This quick-drying, long-lasting paint...Read more is perfect for fixing any nicks, scratches, or chips on the exterior of your appliance. This paint is white in color, and provides a durable finish.
Read less

$51.95
In Stock
Rack
Part #W11520287
This chrome-colored oven rack is designed to provide a stable and heat-resistant surface for cooking, baking, and broiling inside compatible range ovens. Engineered for durability, it fits a variety of models and withstands high temperatures and heavy use. Whether you're replacing a damaged rack or adding an extra one for increased cookin...Read moreg flexibility, this component helps maintain optimal oven performance. Sold individually.
Read less

$134.64
In Stock
Broil Element
Part #W10856603
This broil element supplies heat for cooking purposes and is located in the roof of an oven. If you find there is little to no heat when cooking, a burned-out element, or food is taking too long to cook, these symptoms could be solved by replacing this part. Before starting this replacement, make sure you unplug the range from the power s...Read moreource or shut off from the house circuit breaker. All you need to complete this repair is a Phillips screwdriver. For safety reasons, make sure to wear gloves. Refer to the manual provided by the manufacturer for more instruction.
Read less

$34.74
In Stock
Range Safety Thermostat
Part #WP3196548
This part is used as a safety feature. If your range overheats this part will shut the range down.

$131.91
In Stock

$104.33
In Stock
Range Inner Oven Door Glass
Part #WP8053948
This pane of glass is the innermost piece of glass on your oven door. If you notice that the inner door glass on your oven is damaged, you will need to replace it. This part is made entirely of glass. It is approximately 18.5 inches in length and 12.5 inches in width. To complete this repair, it is easiest to remove the entire door from t...Read morehe oven and set it on a more suitable work surface. You will require a small flat blade screwdriver and either a #3 Phillips screwdriver or a #2 square head screwdriver to complete this repair. This is an OEM part sourced directly from the manufacturer. This part is sold individually.
Read less

$9.62
In Stock

$85.03
In Stock
Dual Surface Element - Front-Right
Part #W11517959
This is a dual surface element for compatible ranges. If the surface heating element for your range is currently not turning on or has issues heating up or maintaining a heat level, it will need to be replaced. This surface heating element features two burners, one smaller involving an inner 1400W element, and one larger burner involving ...Read moreboth the inner and outer ones (3000W). Replacing this dual surface element will require a screwdriver or drill, as well as wire cutters and needle-nose pliers. This surface element is sold as an individual OEM part, so you may need to consider how many heating elements you need before ordering.
Read less

No Longer Available
Spray Paint - 12 oz. - White
Part #350930
Appliance spray paint is a great way to cover up any chips and scratches that have appeared on your appliances. Instead of replacing the part entirely, this is an easy fix. This is also a great way to give a fresh new look to any handles or areas that have discoloring due to wear. Make sure to clean the area before you begin and wear a pr...Read moreotective mask for safety. Give the can a good shake and spray a few inches away from the surface. Apply the paint until the area is fully covered as desired. Wait until the paint has dried before using the appliance.
Read less

$41.07
In Stock
Door Gasket
Part #W11542153
This oven door gasket or door seal is used for ranges and ovens. This part works as a protective seal between the oven door and the opening of the oven. The seal traps heat and prevents it from escaping when the oven door is closed, for best results when cooking or baking. If your oven door gasket is ripped, damaged, or you find heat esca...Read morepes your oven door, then it is best to replace the gasket to solve the problem. Remember to unplug your appliance from the power source before installing. For installation instructions, refer to the manual provided by the manufacturer.
Read less

$103.35
In Stock
Sensor
Part #W10833885
This is a manufacturer-made oven temperature sensor for various models of range. This sensor is designed to accurately detect the internal temperature of your oven and communicate with the control board to control the level of heat inside of it. Over time and through extended exposure to hot temperatures, this sensor can fail and cause yo...Read moreur oven to have issues heating or staying at a consistent heat level, at which point it needs to be replaced. This sensor features a wire harness to connect to the control board of the oven, as well as two mounting screws to install it. Replacing this sensor is easy and only requires a screwdriver to unthread it from the lower portion of your oven. This sensor is sold on its own, and does not come with any other necessary parts, like its securing screws.
Read less
Common Symptoms of the YMFES6030RZ0
How this model fails, and the parts that fix it.
Element will not heat
Fixed by
these parts
these parts


Show All
Little to no heat when baking
Fixed by
these parts
these parts


Show All
Little to no heat when broiling
Fixed by
these parts
these parts
Show All
Oven not heating evenly
Fixed by
these parts
these parts
Show All
Oven is too hot
Fixed by
these parts
these parts
Show All
Door won’t close
Fixed by
these parts
these parts


Show All
Will Not Start
Fixed by
these parts
these parts
Show All
Door won’t open after self cleaning cycle
Fixed by
these parts
these parts

Show All
Watch our pros, then fix it yourself.
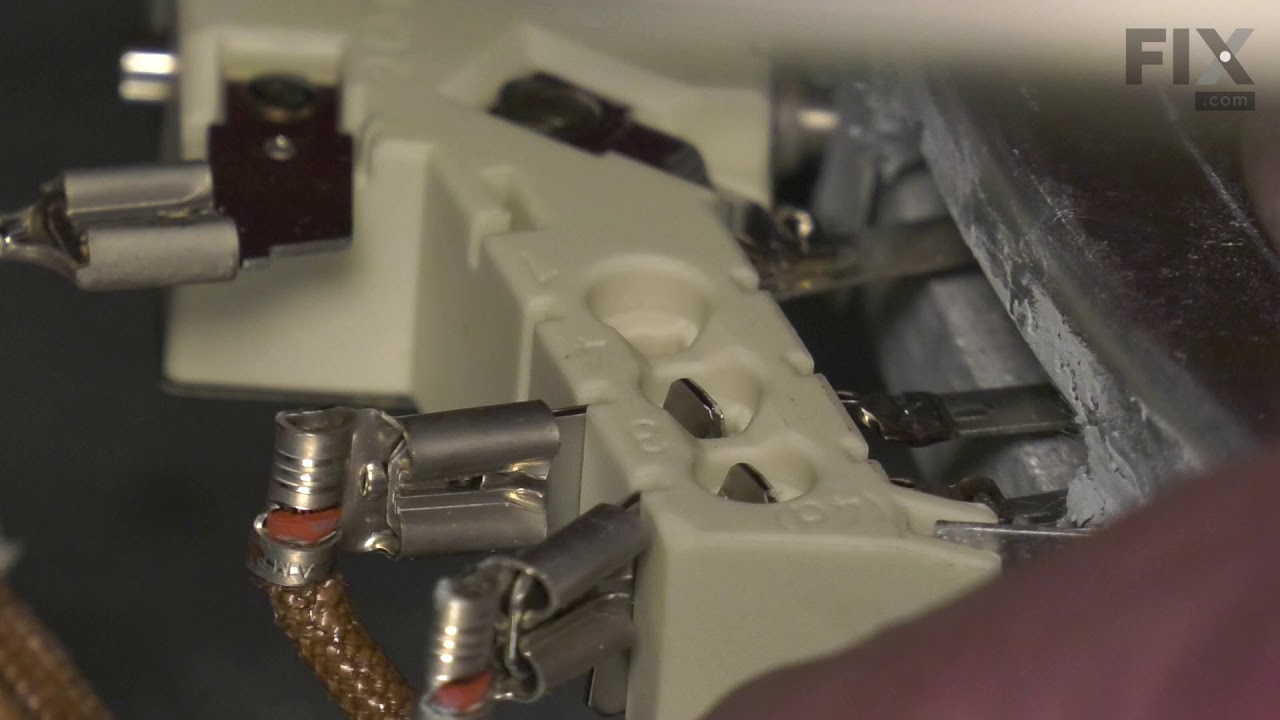
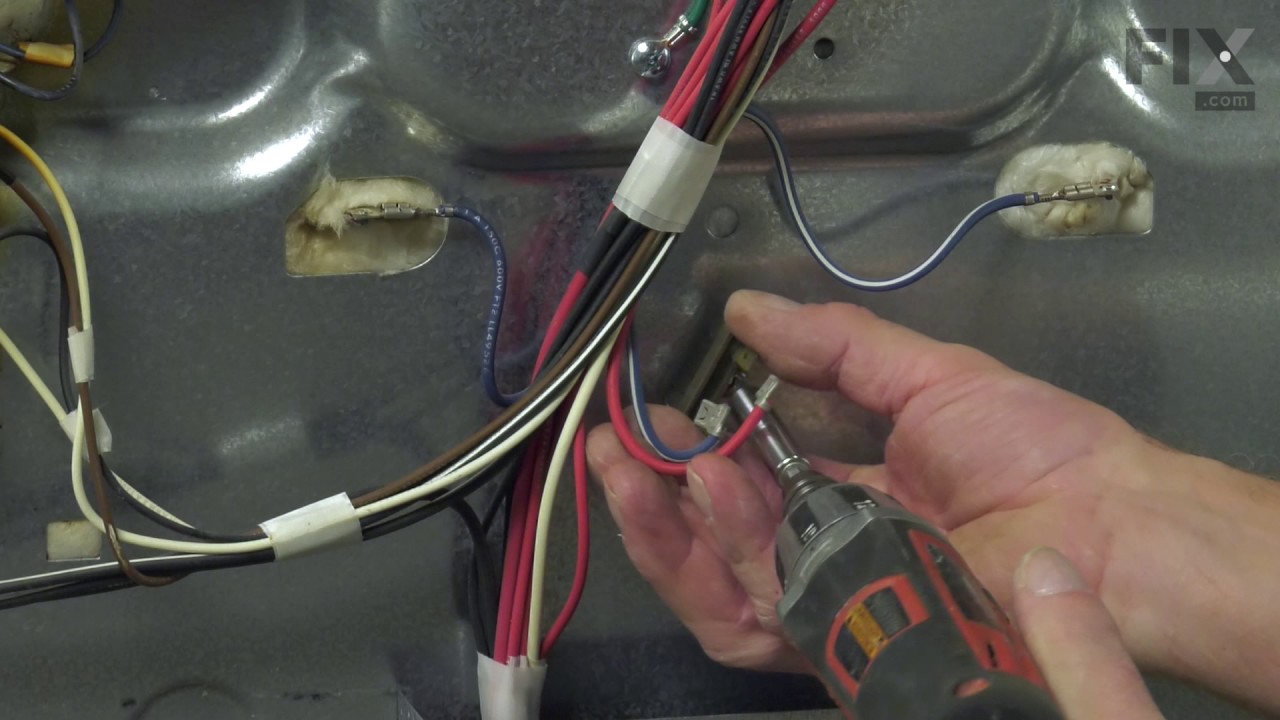
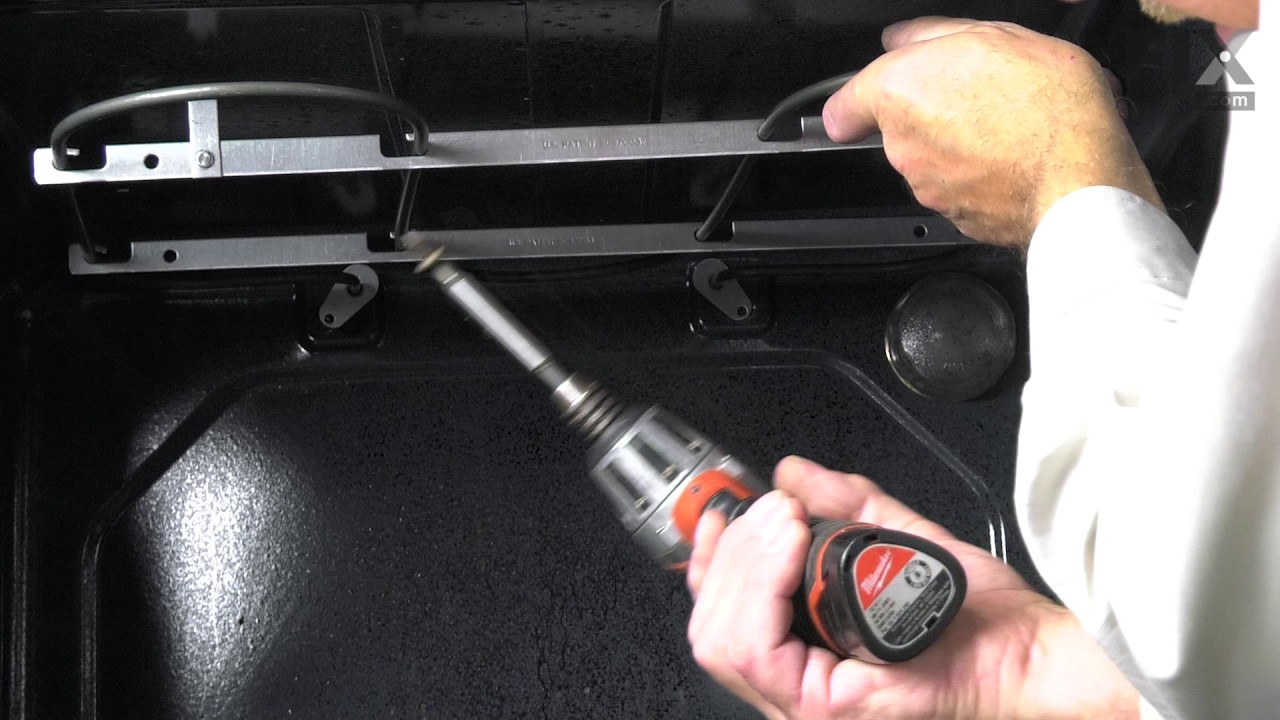


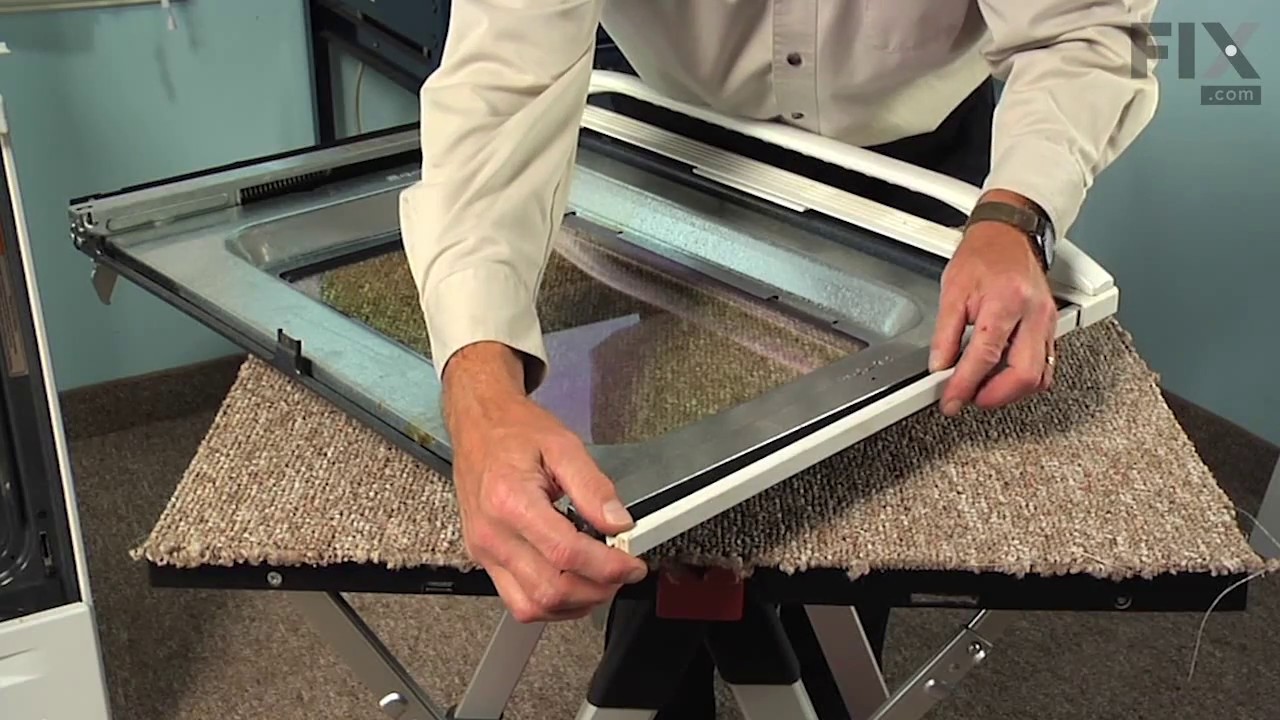
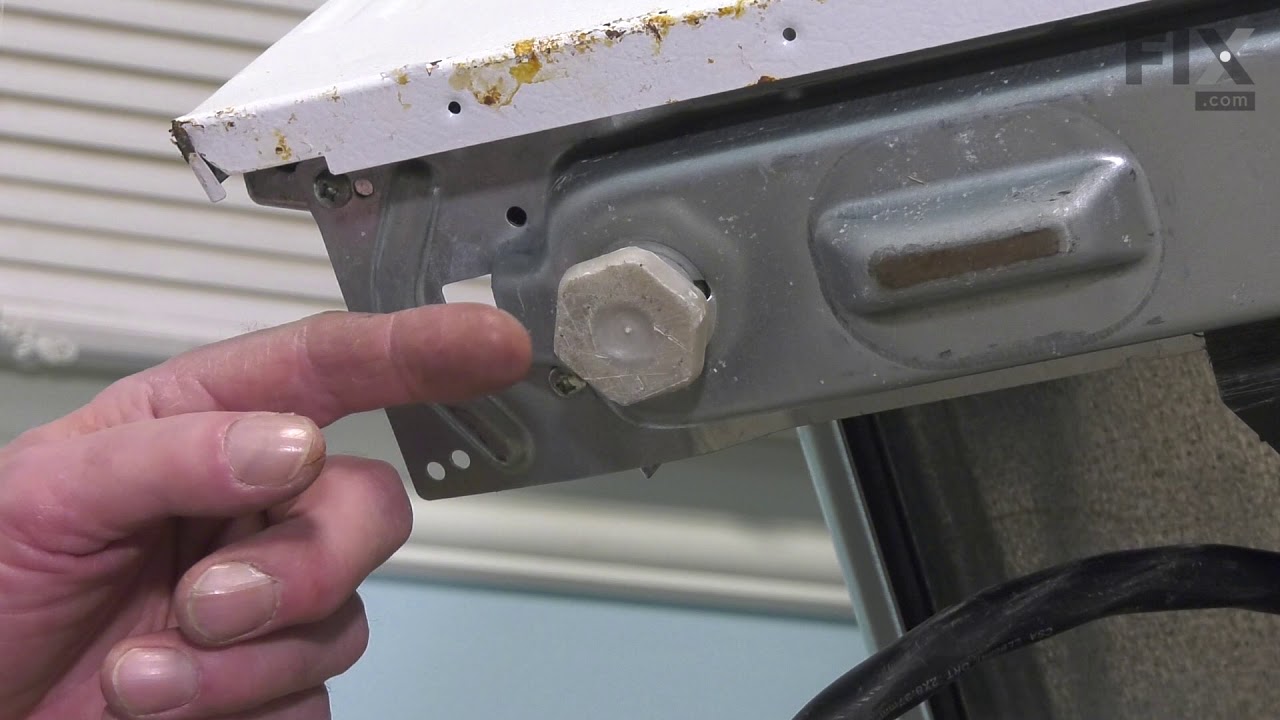
See how others fixed this model. Time, tools, difficulty, and steps that lead to victory!
View More