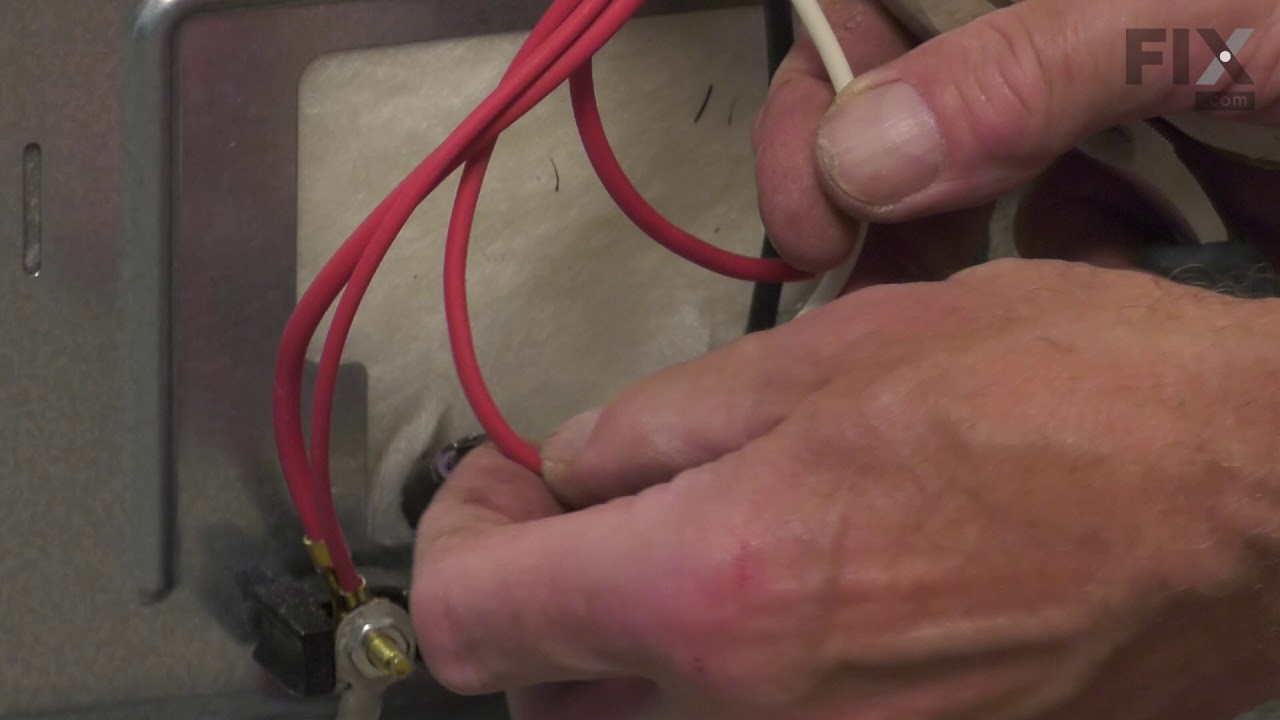
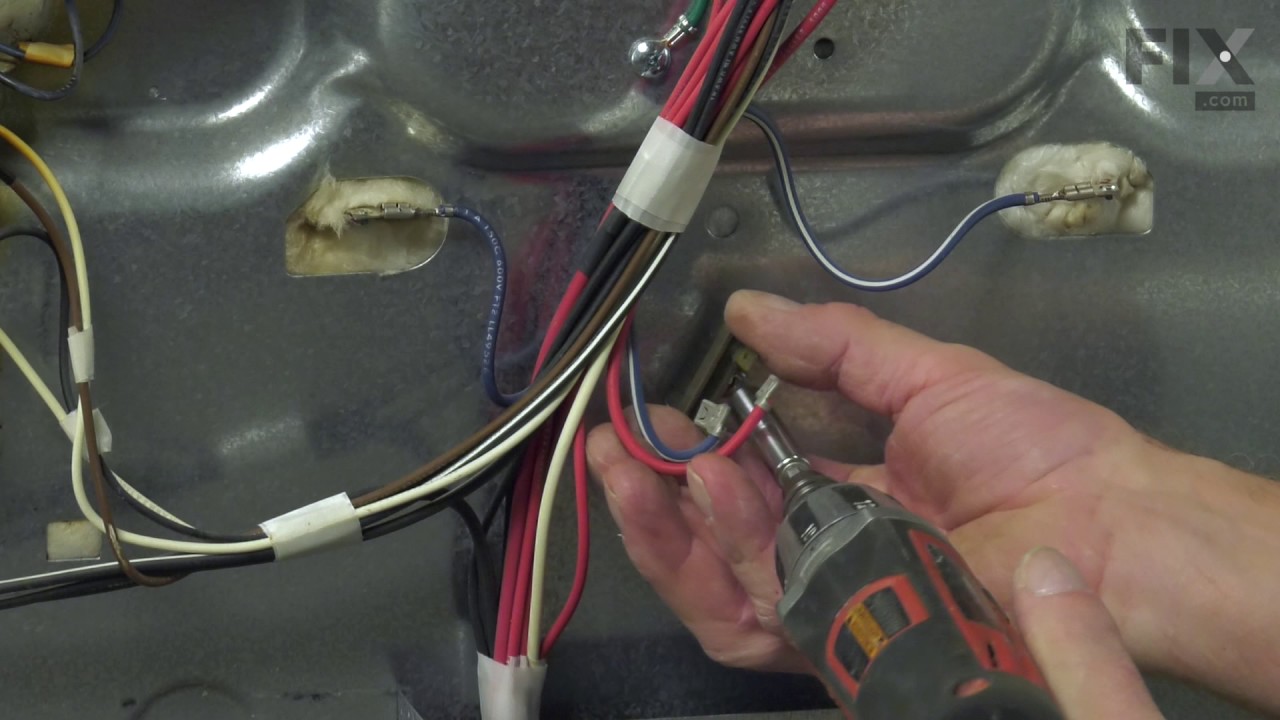
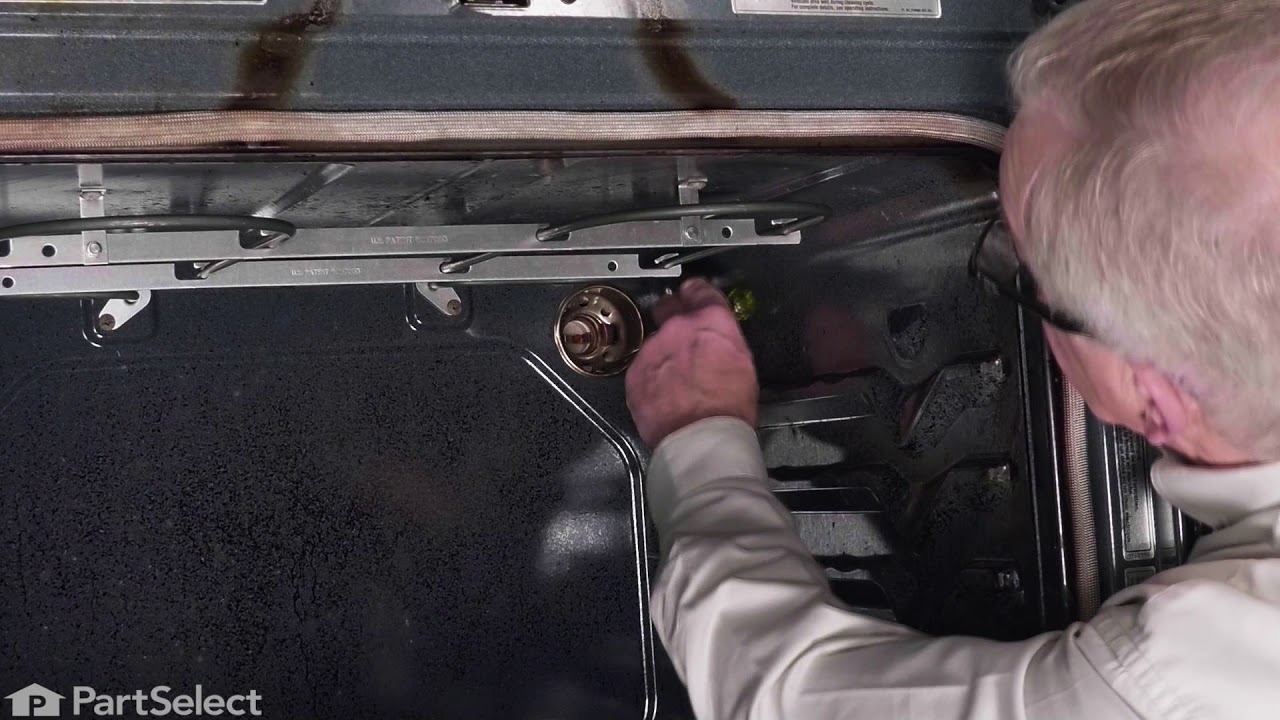
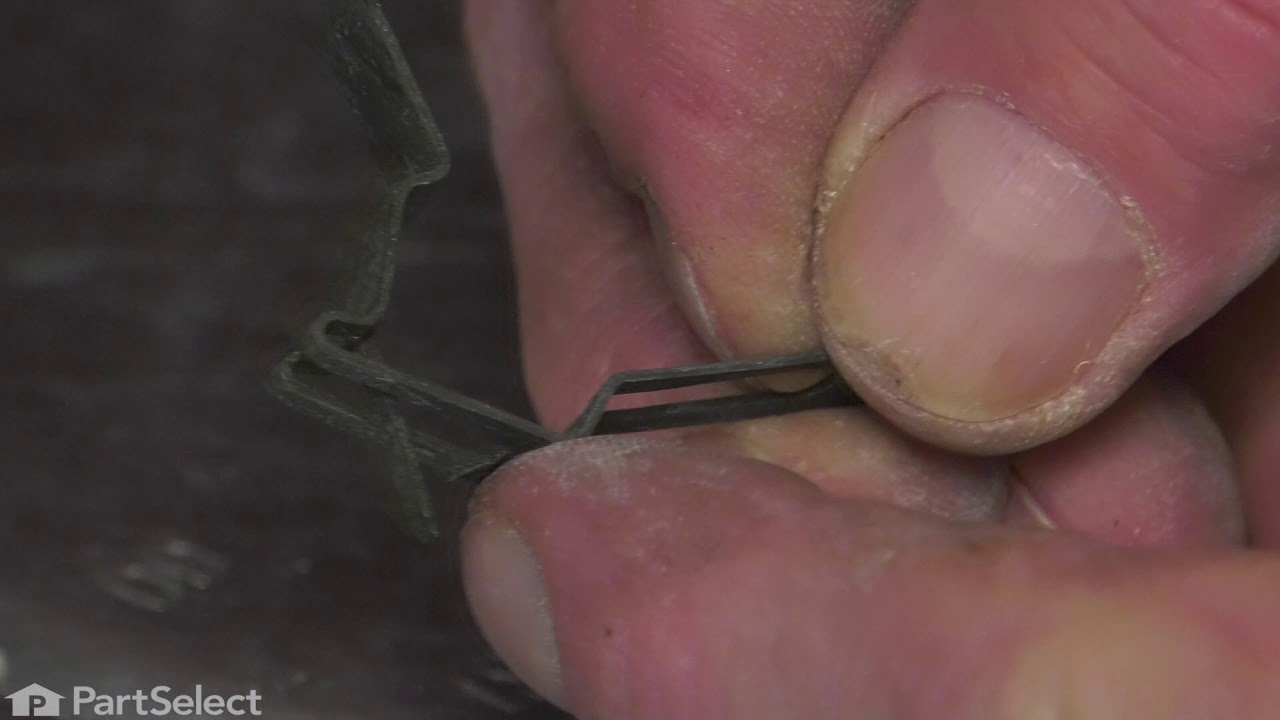
This is a heating element compatible with various makes of ranges and ovens and is sold as an individual part. Measuring 20.5-inches wide and 20.25-inches (with terminals) long, this heating element is a genuine OEM part. If your range is not heating during the bake setting, not heating evenly, or if the element is burnt out or damaged, t...Read morehe element will need to be replaced. This repair is simple and only requires that you disconnect your oven from the wall outlet and use an appropriate screwdriver to disassemble and replace the element with the additional support brackets to secure it.
This is a multi-use and multi-appliance screw. It can be used on a microwave, refrigerator, range/oven, air conditioner, dehumidifier, washer, or dryer. The measurements of this screw are 8 x 1/2 inch. It has 6 threads. Refer to the manual provided by the manufacturer for further information on repair and accurate guidance. Remember to wear work gloves as a safety precaution.
This touch-up paint can be used on a wide variety of household appliances. It is most often used on washers, dryer, refrigerators, dishwashers, ranges, freezers, trash compactors, or microwaves. It is an 18 ml, or.6 fluid ounces, bottle of touch-up paint. It also features a brush for easy application. This quick-drying, long-lasting paint...Read more is perfect for fixing any nicks, scratches, or chips on the exterior of your appliance. This paint is white in color, and provides a durable finish.
This broiler pan and roasting rack set is designed to help reduce mess while cooking by allowing grease to drain away from food. Its durable porcelain-coated construction stands up to high temperatures and makes cleanup simple. With approximate dimensions of 16 3/4 inches long, 12 3/4 inches wide, and 1 3/4 inches high, it offers a convenient size for everyday broiling and roasting.
This bottle of non-abrasive cooktop cleaner breaks down and gets rid of the hardest baked-on stains and residue without causing any harm to your appliance. The bottle is 10 oz and does not require a large amount of product to do the job. This cleaner is perfectly safe to use on any glass, ceramic, stainless steel, chrome, or porcelain coo...Read morektop surface. The cleaner is creamy in texture and provides a protective coat of silicone on smooth surfaces. To apply, use a gentle scrub, sponge, or rag and gently press in a circular motion until the stains are removed.
The light socket on your electric range connects the power source to the light bulb. If your oven light is malfunctioning, you may need to replace the light socket. The light socket is located in the back of your range, so in order to access it you will need to remove the back panel. Many of our customers have rated this repair as easy, a...Read morend it should take less than 15 minutes. Before you begin this repair, make sure to disconnect the power source from your range. This is an OEM part sourced directly from the manufacturer.
Appliance spray paint is a great way to cover up any chips and scratches that have appeared on your appliances. Instead of replacing the part entirely, this is an easy fix. This is also a great way to give a fresh new look to any handles or areas that have discoloring due to wear. Make sure to clean the area before you begin and wear a pr...Read moreotective mask for safety. Give the can a good shake and spray a few inches away from the surface. Apply the paint until the area is fully covered as desired. Wait until the paint has dried before using the appliance.
This is a manufacturer-made oven temperature sensor for various models of range. This sensor is designed to accurately detect the internal temperature of your oven and communicate with the control board to control the level of heat inside of it. Over time and through extended exposure to hot temperatures, this sensor can fail and cause yo...Read moreur oven to have issues heating or staying at a consistent heat level, at which point it needs to be replaced. This sensor features a wire harness to connect to the control board of the oven, as well as two mounting screws to install it. Replacing this sensor is easy and only requires a screwdriver to unthread it from the lower portion of your oven. This sensor is sold on its own, and does not come with any other necessary parts, like its securing screws.
Ask our experts a question about this model and we'll get back to you as soon as possible!
We may have answered a similar question already! Search questions and answers left by others using simple keywords like "fit", "broken", "easy", or "quality" to find questions that match.
Search filter:
Clear Filter
Your search term must have 3 or more characters.
Sort by:
Prev
1
2
Next
Sorry, we couldn't find any existing answers that matched.Try using some different or simpler keywords, or submit your new question by using the "Ask a Question" button above!
Lisa - For model number YMER8800FZ3
March 12, 2023
I'm looking to buy a whole new oven door replacement. Do you have those available?
Hi Lisa, Thank you for the question. Very sorry, Maytag does not sell the door as one piece, just the parts to the Door. Let us know if you have further questions!
Was this helpful?
Thank you for voting!
Hayden - For model number YMER8800FZ3
December 2, 2023
looking for knob to turn burner on
Hi Hayden, thank you for getting in touch. The part you are looking for is the knob, part number PS12070534. Glad to be of assistance!
broil oven works fine but bake not blush and never go over 141 degree
Hello Chihab, thank you for contacting us. The bake element is most likely causing this issue since the broil function works, but the oven only reaches about 141°F on bake. A failed bake element cannot provide the heat needed to raise the oven to the selected temperature, leaving the broil element to provide limited heat. You may need to replace the bake element, part number W10779716. We hope this solves your problem!
Regular bake works perfectly, convection bake do not get warm enough even though the fan spins. what can be the problem?
Hello Simon, thank you for the question. Your unit uses the standard bake and broil elements together with the fan to circulate heat during convection mode. Turn on a high-temperature convection bake cycle and watch inside the oven, both the top broil element and bottom bake element should glow red. If either one stays dark, that element or its circuit has failed and needs replacement. As the regular bake is working, we would suggest checking the broil element, part number W11321472. Test it with a multimeter. Disconnect power, remove the wire leads from each element, and measure resistance across the terminals. A healthy element reads 15 to 40 ohms, an open circuit reading (OL) confirms it's burnt out. We hope this is what you were looking for!
Oven temperature on bake will not get higher that 285 but can broil. What is the problem with the stove?
Hi Lisa, thank you for your inquiry. Based on the description of the issue, you will need to inspect the bake element, part number PS11703285. When you set your oven to "Bake," most modern ovens cycle both the top (broil) and bottom (bake) elements to reach the target temperature quickly. If your bottom bake element is broken or burnt out, only the top element is providing heat. The top element alone can't heat the entire oven cavity efficiently on a bake cycle, which is why the temperature stalls out at a lower number like 285°F. Check for any visible blisters, cracks, splits, or dark spots. If you see physical damage, the element is needs to be replaced. Glad to be of help!
See how others fixed this model. Time, tools, difficulty, and steps that lead to victory!View More
Search repair tips from other customers using simple keywords like "replace", "fit", "remove", "inspect". DIY doesn't mean you have to do it alone!
Search filter:
Clear Filter
Your search term must have 3 or more characters.
The oven would take an hour to preheat.
59 of 64 peoplefound this instruction helpful.
Helen from PURVIS, MS
Very Easy
Less than 15 mins
Screw drivers
First, we turned on broil and the upper element turned orange and obviously worked. We figured the bottom element went out. The diagram on this site showed a bottom heating element that looked nothing like ours, but after reading other reviews, and reading that part that goes through the back of the oven was in the middle, and not off to
... Read morethe side, we ordered this element. It was perfect. All you have to do is unplug the oven, take out the bottom pan covering the element by removing 2 screws in the back, remove the lower small cover on the back of the oven and then unplug the old element, unscrew the old element on the inside of the stove, then install the new element and put everything back like it was. Nothing to it. It worked like a charm and my oven now heats up fast again. Easiest appliance repair job ever!
Read less
Was this helpful?
Thank you for voting!
Surface Element Out
61 of 82 peoplefound this instruction helpful.
Terry from Rockwall, TX
Really Easy
Less than 15 mins
Screw drivers
Took 2 screws under front edge of smooth top. Unscrewed ground wire from back of smooth top unit. Unplugged 2 wire bundles, from back. Took bad element out , put in new one. Put back together. About 10 min's tops. Easy peasy.
Was this helpful?
Thank you for voting!
Socket Light had a bad thread
44 of 65 peoplefound this instruction helpful.
Edmund from Emporium, PA
Easy
15 - 30 mins
Pliers, Screw drivers
Socket Lite come with clips attached to the outside of the housing. After you unhook the 3 lead wires that are attached to the unit. All you have to do is push in on the clips and release the unit. Then you snap in the new unit. Attach the 3 wire leads, put a oven bulb in the socket end, and the install the light cove
... Read morer




 My Orders