


 My Orders




YMER7765WB3 Maytag Range - Overview
Diagrams for YMER7765WB3
See every part. Know exactly what you need.


Enter a part description. DIY Heroes keep it simple, eg. "belt" or "pump".
Search filter:
Clear Filter
Your search term must have 3 or more characters.

$19.54
In Stock
Light Bulb - 40W
Part #8009
This an authentic OEM 40-Watt replacement light bulb, used in a number of household appliances. It is specially designed to withstand extreme temperatures, which is why these replacement bulbs are most often used to light the inside of refrigerators and ranges. It features a standard socket base, which means you simply unscrew the burnt-o...Read moreut bulb and screw in the replacement. Depending on the appliance you may require a screwdriver or nut driver to access the light bulb. We recommend you wear work gloves while handling this replacement part. It is constructed of glass and metal and is sold individually. Depending on the appliance and location of the bulb within it, you may want to consider disconnecting power and using a flashlight for easier access to unscrewing and re-screwing in your bulb during this repair.
Read less

$75.13
In Stock
Oven Sensor
Part #WPW10181986
This oven temperature sensor, for ranges, works together with the oven control board to measure and regulate the oven temperature. The sensor detects the temperature in the oven cavity. If the following symptoms occur, replacing the temperature sensor could be the solution: Little or no heat when baking, oven not heating evenly, oven will...Read more not start, and/or oven is overheating. Often, if the sensor is defective, the oven temperature will fluctuate and be inaccurate by more than 50 degrees. The tool needed for this replacement is a #2 square head screwdriver or a #2 Philips screwdriver. Remember to unplug the range before installing the part.
Read less

$21.45
In Stock
Screw
Part #W11233072
This is a multi-use and multi-appliance screw. It can be used on a microwave, refrigerator, range/oven, air conditioner, dehumidifier, washer, or dryer. The measurements of this screw are 8 x 1/2 inch. It has 6 threads. Refer to the manual provided by the manufacturer for further information on repair and accurate guidance. Remember to wear work gloves as a safety precaution.

$142.40
In Stock
Element with Limiter 6 Inch - 1200W
Part #W10823711
This is a radiant surface element with limiter, and it works in conjunction with your range. The function of this part is to give heat to the surface directly above it, on cooking area stove top.This model is sold individually and is 1200 watts. The main reason for needing to replace this part is if your element will not heat. Before orde...Read morering, make sure to test your stove top radiant element for continuity to make sure it is the problem. To make this installation you will need a Phillips screwdriver, and a 14-inch nut driver.
Read less

$56.33
In Stock
Door Hinge - Active With Spring
Part #WPW10299224
This is a door hinge active with spring, for your range. The hinge controls the opening and closing of the oven door. If your oven door seems to be sticking, you may want to consider replacing this part. We recommend replacing both hinges at the same time. This model is roughly 9.5 inches long, f4 inches wide, and almost 1inch thick.

$52.67
In Stock
Infinite Control Switch, 6"
Part #WP3149404
This surface element control switch, also known as an infinite switch, is a genuine OEM replacement designed for 6-inch electric burners on select ranges. It regulates the power supplied to the surface element, allowing precise control over heat levels from low to high. Compatible with models from Whirlpool, KitchenAid, Maytag, Jenn-Air, ...Read moreAmana, and other associated brands, this dual-coil switch is a common solution for issues such as burners that fail to heat, remain stuck on high, or cannot adjust temperature properly. If the burner heats intermittently or not at all, replacing the switch may restore proper function. Always disconnect power or turn off the circuit breaker before installation. Sold individually.
Read less

$7.47
In Stock

$51.95
In Stock
Rack
Part #W11520287
This chrome-colored oven rack is designed to provide a stable and heat-resistant surface for cooking, baking, and broiling inside compatible range ovens. Engineered for durability, it fits a variety of models and withstands high temperatures and heavy use. Whether you're replacing a damaged rack or adding an extra one for increased cookin...Read moreg flexibility, this component helps maintain optimal oven performance. Sold individually.
Read less

$79.17
In Stock
Dual Element Control Switch
Part #WPW10434452
This dual element control switch is designed to regulate heat for dual surface burners on select electric ranges. It provides precise temperature control and helps restore functionality when a burner fails to heat, won’t start, or operates inconsistently. Compatible with various models from Whirlpool, Maytag, KitchenAid, and Amana, this g...Read moreenuine replacement part is not universal. Always verify your appliance’s model number before purchasing to ensure proper fit and performance.
Read less

$66.77
In Stock
SOCKT-LITE
Part #W11594027
The light socket on your electric range connects the power source to the light bulb. If your oven light is malfunctioning, you may need to replace the light socket. The light socket is located in the back of your range, so in order to access it you will need to remove the back panel. Many of our customers have rated this repair as easy, a...Read morend it should take less than 15 minutes. Before you begin this repair, make sure to disconnect the power source from your range. This is an OEM part sourced directly from the manufacturer.
Read less

$34.74
In Stock
Range Safety Thermostat
Part #WP3196548
This part is used as a safety feature. If your range overheats this part will shut the range down.

$53.20
In Stock
Side Trim - Right Hand Side
Part #WP8523166
This white right-hand side oven door trim is a functional and aesthetic component designed to frame the outer edge of the oven door. Positioned along the door’s right side, it enhances insulation, helps retain heat, and protects the glass panel from damage. Its durable construction ensures long-term performance while contributing to a cle...Read morean, finished appearance. Replacing a cracked or damaged trim restores the door’s structural integrity and visual appeal. Installation requires partial disassembly of the oven door and may involve removing screws or panels to access the mounting points.
Read less
Common Symptoms of the YMER7765WB3
How this model fails, and the parts that fix it.
Element will not heat
Fixed by
these parts
these parts


Show All
Little to no heat when baking
Fixed by
these parts
these parts


Show All
Oven is too hot
Fixed by
these parts
these parts

Show All
Door won’t close
Fixed by
these parts
these parts


Show All
Oven not heating evenly
Fixed by
these parts
these parts
Show All
Will Not Start
Fixed by
these parts
these parts
Show All
Little to no heat when broiling
Fixed by
these parts
these parts

Show All
Watch our pros, then fix it yourself.
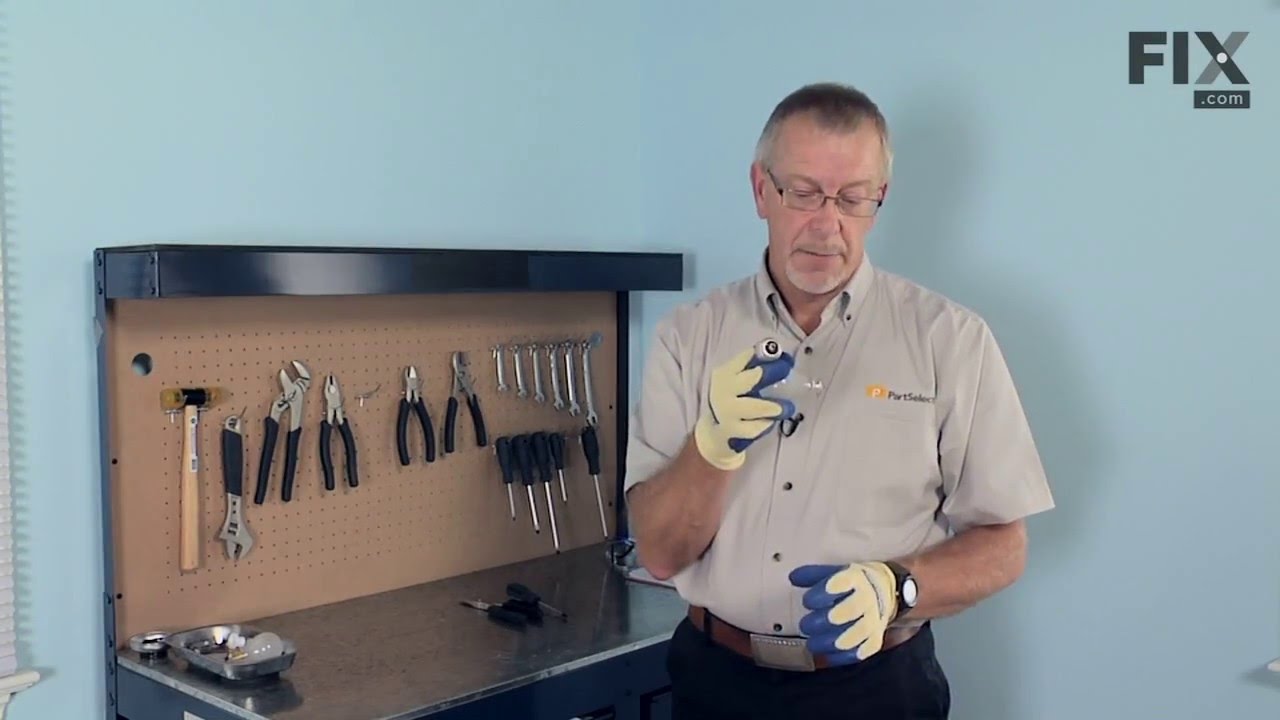
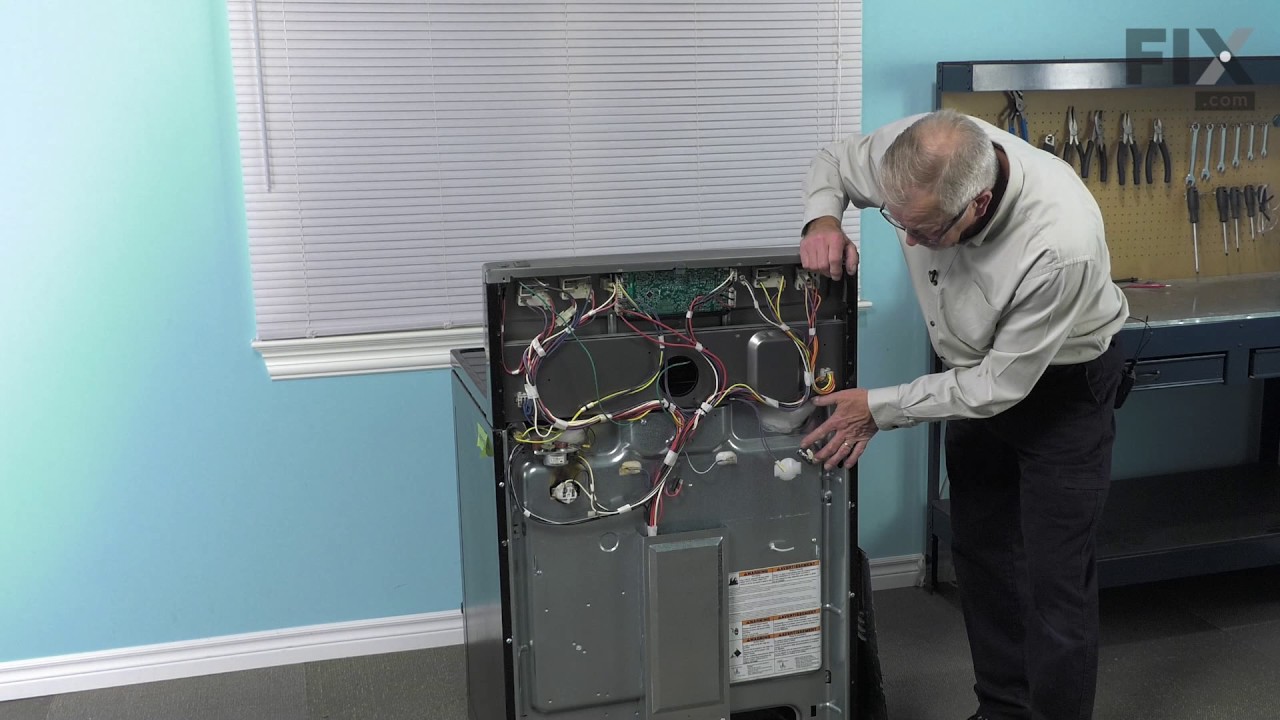
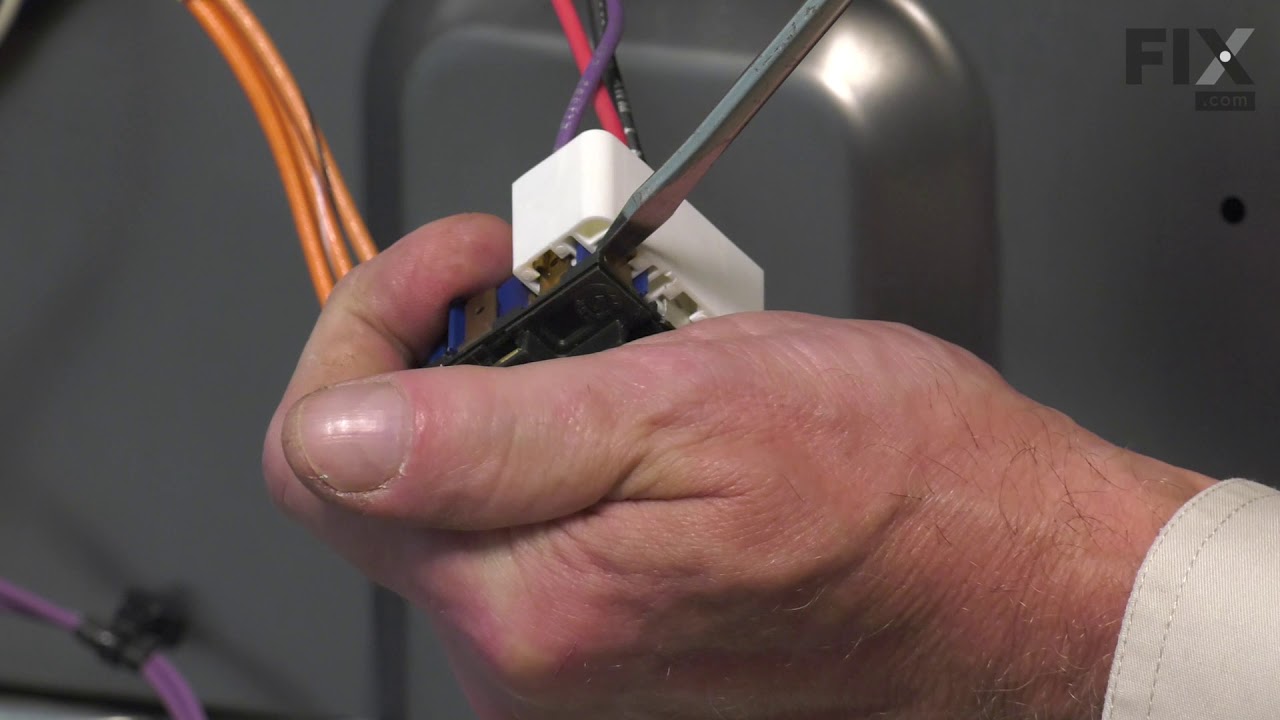
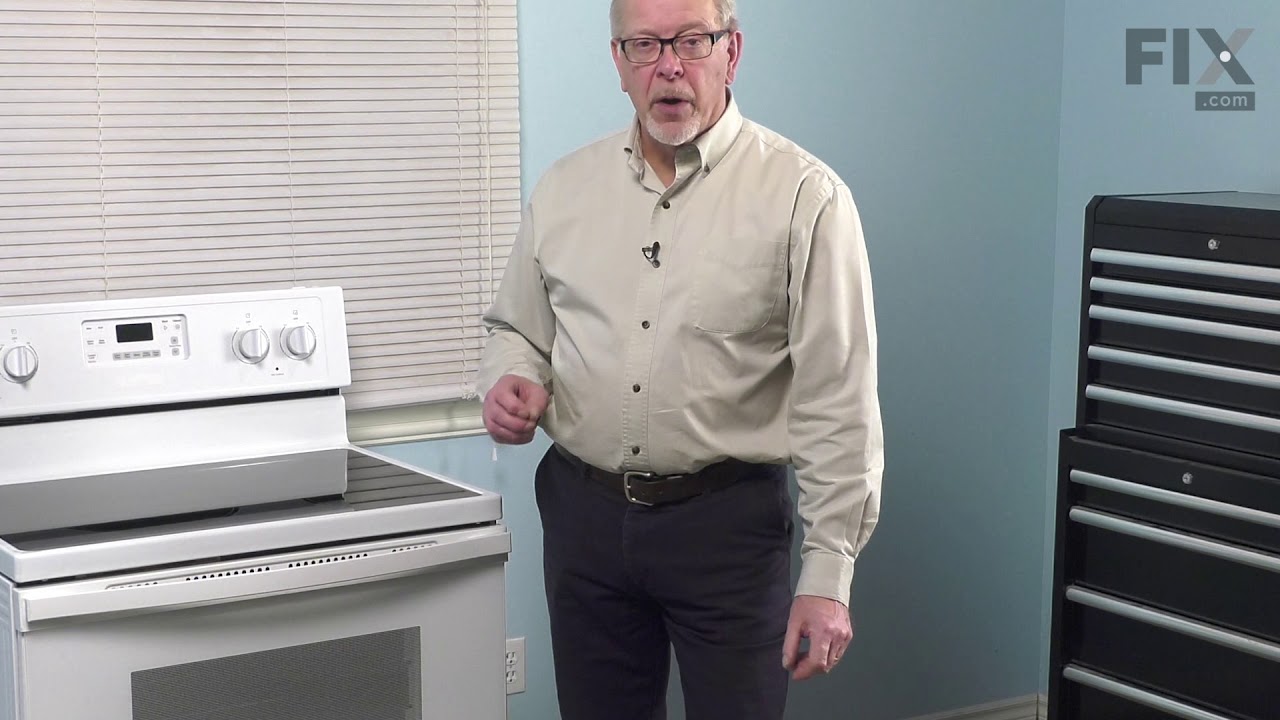
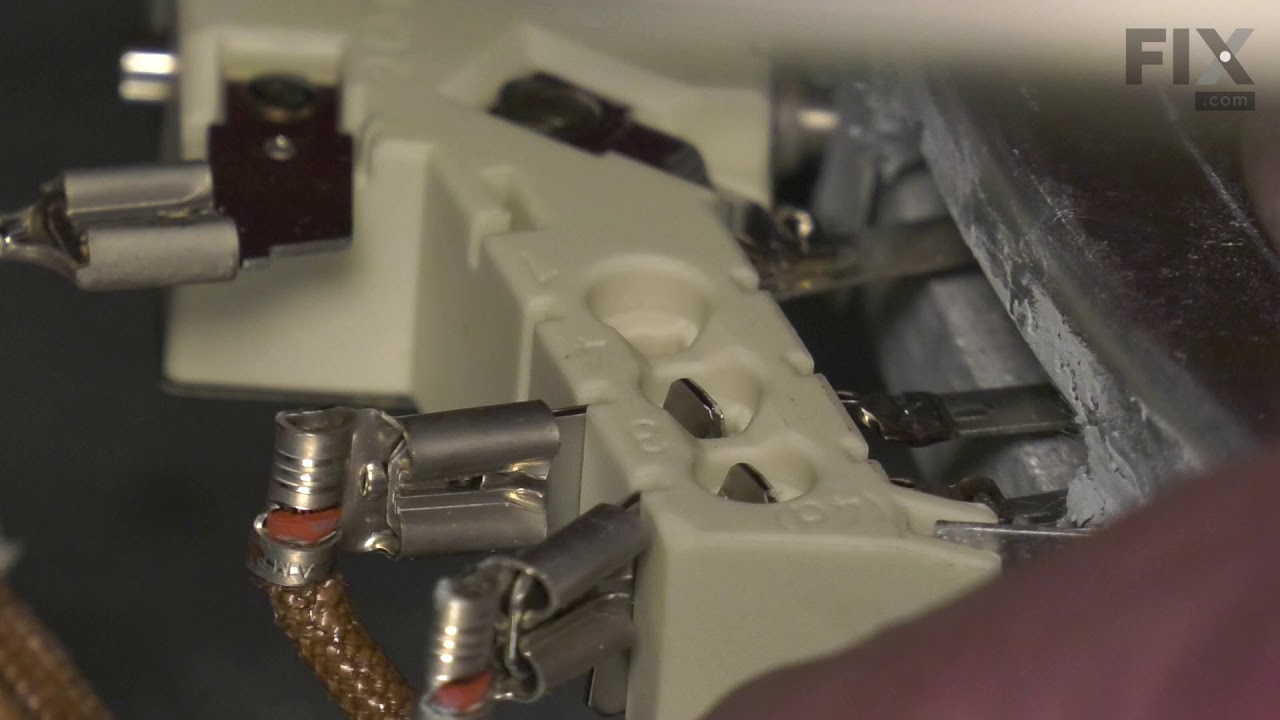

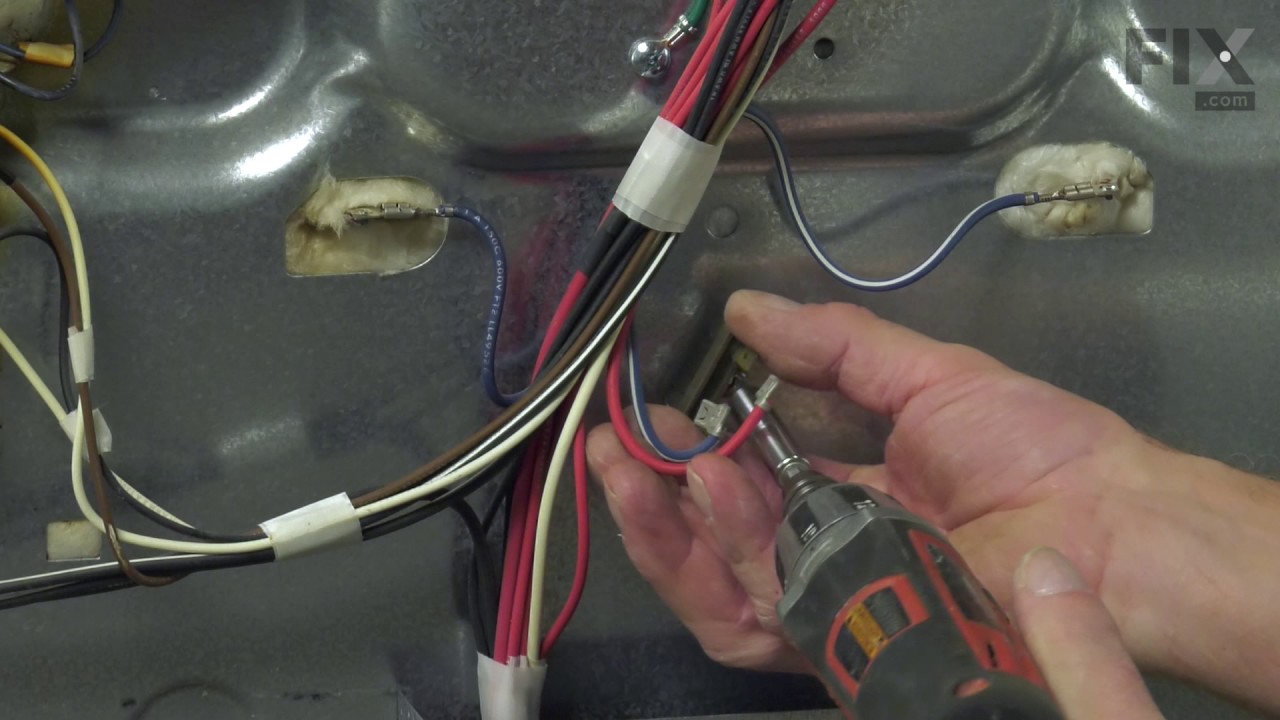

See how others fixed this model. Time, tools, difficulty, and steps that lead to victory!
View More