


 My Orders




YMED7000XG1 Maytag Dryer - Overview
Diagrams for YMED7000XG1
See every part. Know exactly what you need.


Enter a part description. DIY Heroes keep it simple, eg. "belt" or "pump".
Search filter:
Clear Filter
Your search term must have 3 or more characters.

$38.96
In Stock
Dryer Repair Kit
Part #4392067
This Whirlpool Dryer Repair Kit is a convenient solution for fixing noise and drum movement problems in 27-inch dryers. Compatible with models from Whirlpool, Kenmore, Maytag, and more, the kit includes a drive belt, drum support rollers, an idler pulley, mounting clips, and a washer. It’s designed for straightforward installation using s...Read moretandard tools, and should only be installed after disconnecting power. Ideal for restoring smooth, quiet dryer performance, this kit combines essential components in one package to save time and effort during repairs.
Installation requires disassembling the dryer to replace parts using standard tools. Ensure the dryer is unplugged before starting. This durable OEM kit provides reliable repairs for quieter, more efficient operation.
Read less

$19.30
In Stock
Dryer Drum Support Roller
Part #WPW10314173
This genuine OEM dryer drum support roller is designed to hold the drum in place while allowing it to rotate smoothly and quietly during operation. Built for durability and reliable performance, it helps reduce noise and ensures consistent tumbling. Ideal for replacing worn or damaged rollers, it resolves issues such as squeaking, rumblin...Read moreg, or poor drum movement, helping restore efficient and dependable dryer operation.
Read less

$32.63
In Stock
Dryer Thermostat Internal bias
Part #WP8577274
This dryer thermistor is a genuine replacement component designed to monitor and regulate internal temperature in Whirlpool dryers. Mounted on the blower housing, it plays a critical role in controlling the heating element by adjusting resistance as temperatures rise, signaling the control board to maintain safe and efficient drying condi...Read moretions. A malfunctioning thermistor can result in symptoms such as no heat, overheating, premature cycle termination, or failure to start. It may also trigger fault codes like F-22, F-23, E1, or E2. Replacing the thermistor restores proper temperature regulation, protects the appliance from damage, and improves drying performance. Installation should be performed with the dryer unplugged and may require basic tools.
Read less

$11.77
In Stock
Roller Support Tri-Ring
Part #WPW10512946
If you notice that your dryer is noisy or will not tumble, you may need to replace the tri ring. This part is triangular, and is less than an inch in size. Tri rings can be found both on the idler pulley shaft, or on the rear drum roller shaft. In either case, you will need to remove the front panel of the dryer and the drum to access the...Read more part for repair. Once you have accessed the damaged tri ring, you will simply need to slip it off and replace it with the new one. This part is sold individually. Be sure to disconnect the power source from the dryer before you begin this repair.
Read less

$6.40
In Stock
Leveling Foot
Part #49621
If your washer shakes or vibrates loudly when it reaches its max speed, check that the leveling legs are even. To ensure that the washer is firmly on the ground using all four legs, adjust the legs so that the machine is level, and tighten the locking nuts on the legs that are threaded. Keep the washer as close to the floor as possible. Y...Read moreour model might have rear legs that level themselves, or it might have threaded legs all around. Make sure the rubber feet have not worn out. Replace any missing or damaged legs and feet. This replacement part is sold individually.
Read less

$27.36
In Stock
Idler Pulley with Bracket
Part #W10837240
The idler pulley with bracket ensures proper tension on the dryer’s drive belt, allowing the drum to spin effectively. This assembly includes the pulley and arm, making it ideal for replacing a worn or damaged component. Designed for various Whirlpool, KitchenAid, Maytag, Jenn-Air, Amana, Inglis, and Magic Chef dryers, this genuine OEM pa...Read morert guarantees reliability and performance. If your dryer is noisy or the drum is not turning properly, this part may be the solution. Always disconnect power and wear gloves during installation.
Read less

$89.79
In Stock
Dryer Heater Element
Part #WP8544771
The 5400W, 240-volt heating element is supplied directly by the manufacturer for use in various models of dryers. It is responsible for generating the heat needed to dry your laundry effectively. It is found within the dryer housing, behind the drum. It consists of a coiled wire made of high-resistance material. The wire heats up when an ...Read moreelectrical current flows through it and then transfers that heat to the surrounding air. This hot air is then circulated through the drum during the drying cycle. If the heating element becomes faulty, it will be unable to carry out this function leading to poor heating, damp clothes, and high energy usage.
Read less

$9.62
In Stock
Moisture Sensor
Part #WP3387223
This is the moisture sensor for your dryer. It helps detect the amount of moisture in your clothes during the dryer cycle. If you notice your clothes are still wet after an automatic dryer cycle is done, you may need to replace the sensor. You will find the moisture sensor behind the lint screen. Be sure to disconnect the power source fro...Read morem the dryer before you begin this repair. Note: Some model's require two sensors, please order quantity needed. Sensor only, harness is not included. This part is sold individually.
Read less

$9.62
In Stock
Heating Element Connection Wire Kit
Part #279457
This kit is used for electric clothes dryers, and it comes with a yellow wire nut.

$7.47
In Stock

$45.29
In Stock
Dryer Drum Seal with Adhesive
Part #280114
This drum seal with a silicone rubber adhesive is used in dryers. This part seals the drum to make sure air does not escape from the dryer. If your dryer is making loud noises, is not producing enough heat, or no heat at all, or there are marks left on your clothes, replacing the seal on your dryer can solve the problem. The tools needed ...Read morefor this installation project are: 1/4 inch nut driver, Phillips screwdriver, small flat blade screwdriver, and putty knife. Remember to unplug your dryer from the power source before beginning this installation project. Refer to the manual provided by the manufacturer for installation instructions.
Read less

$7.47
In Stock
Common Symptoms of the YMED7000XG1
How this model fails, and the parts that fix it.
Noisy
Fixed by
these parts
these parts


Show All
Not Heating
Fixed by
these parts
these parts


Show All
Drum Not Spinning
Fixed by
these parts
these parts

Show All
Too hot
Fixed by
these parts
these parts


Show All
Door won’t close
Fixed by
these parts
these parts


Show All
Marks left on clothes
Fixed by
these parts
these parts

Show All
Won’t Start
Fixed by
these parts
these parts
Show All
Lid or door won’t close
Fixed by
these parts
these parts
Show All
Door Sags
Fixed by
these parts
these parts
Show All
Touchpad does not respond
Fixed by
these parts
these parts
Show All
Leaking
Fixed by
these parts
these parts

Show All
Locking Issues
Fixed by
these parts
these parts
Show All
Watch our pros, then fix it yourself.
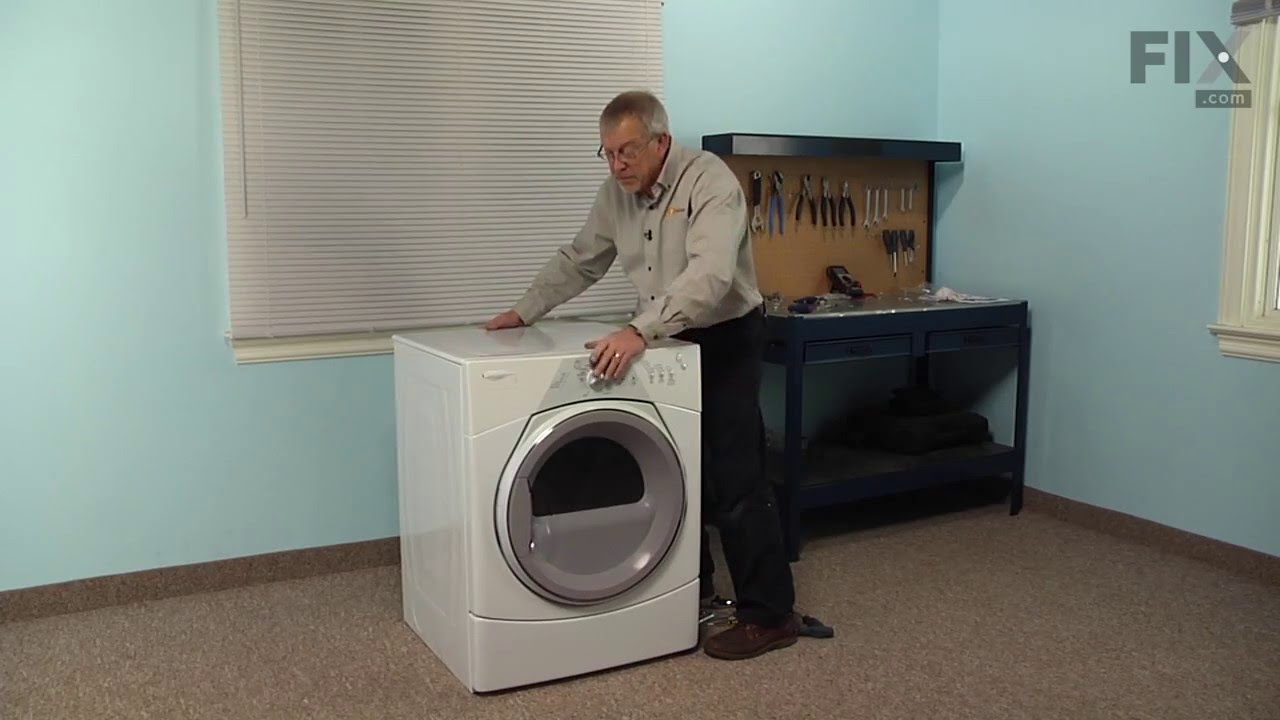
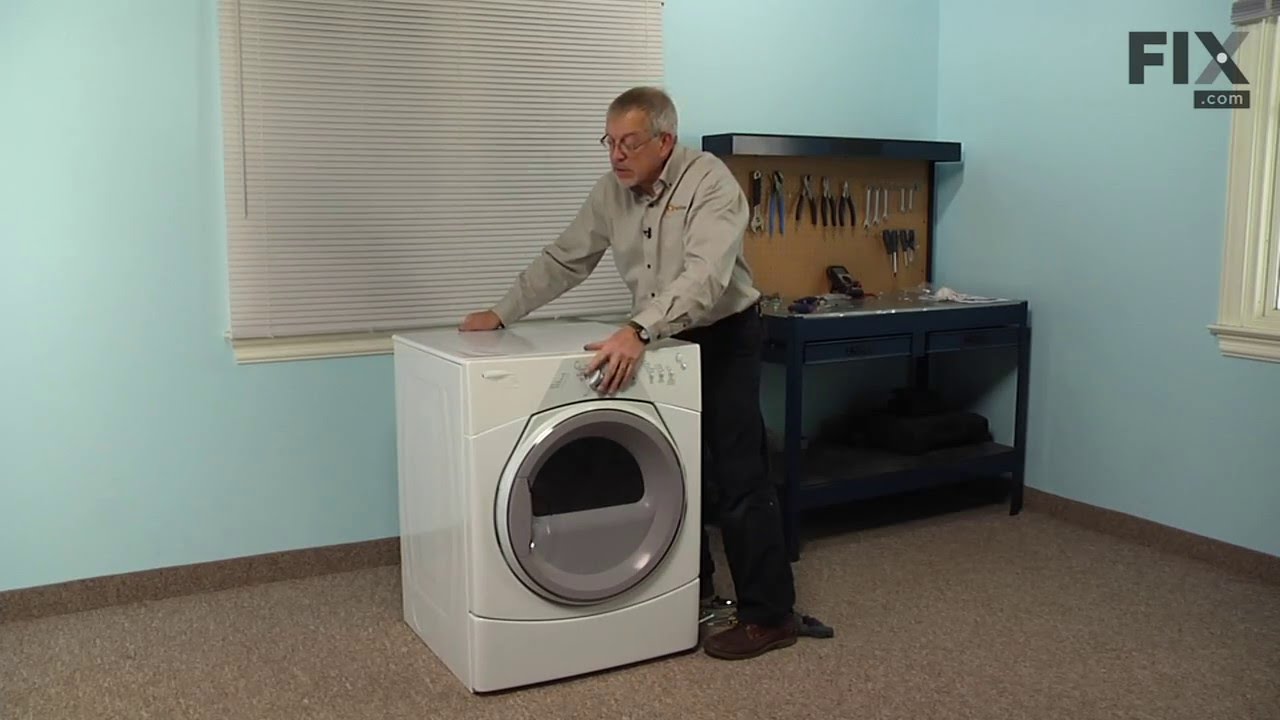
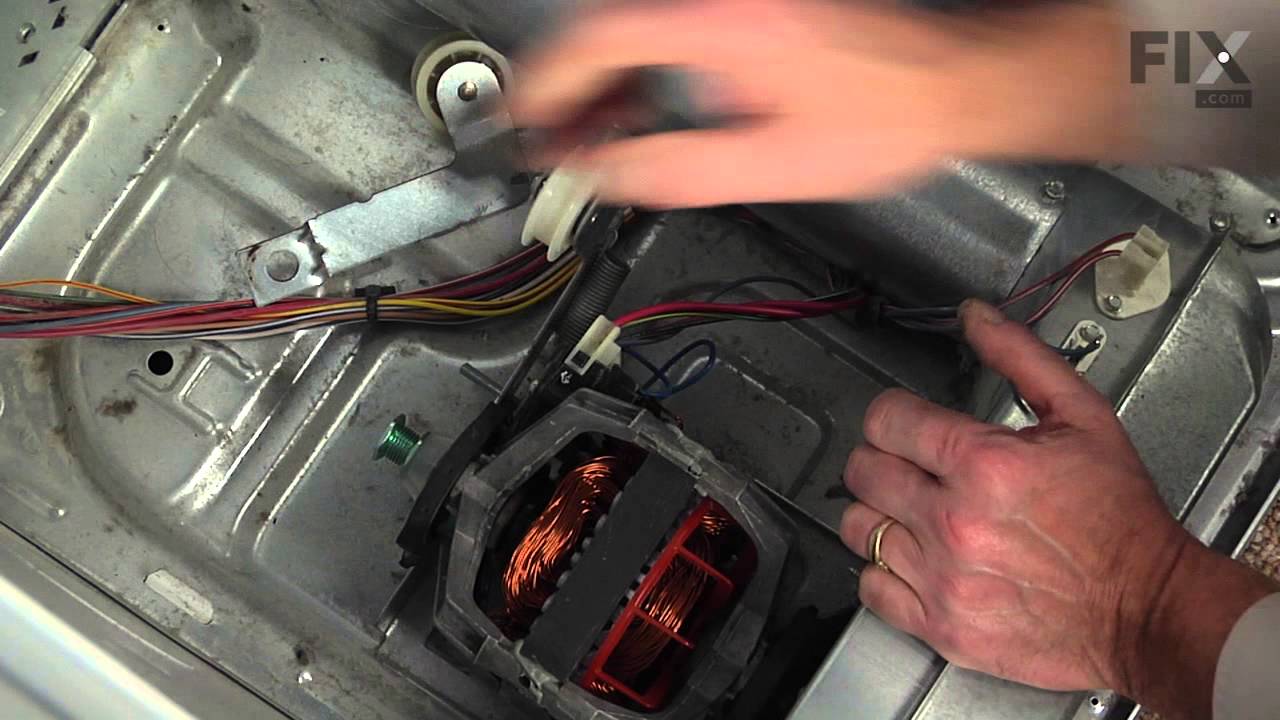
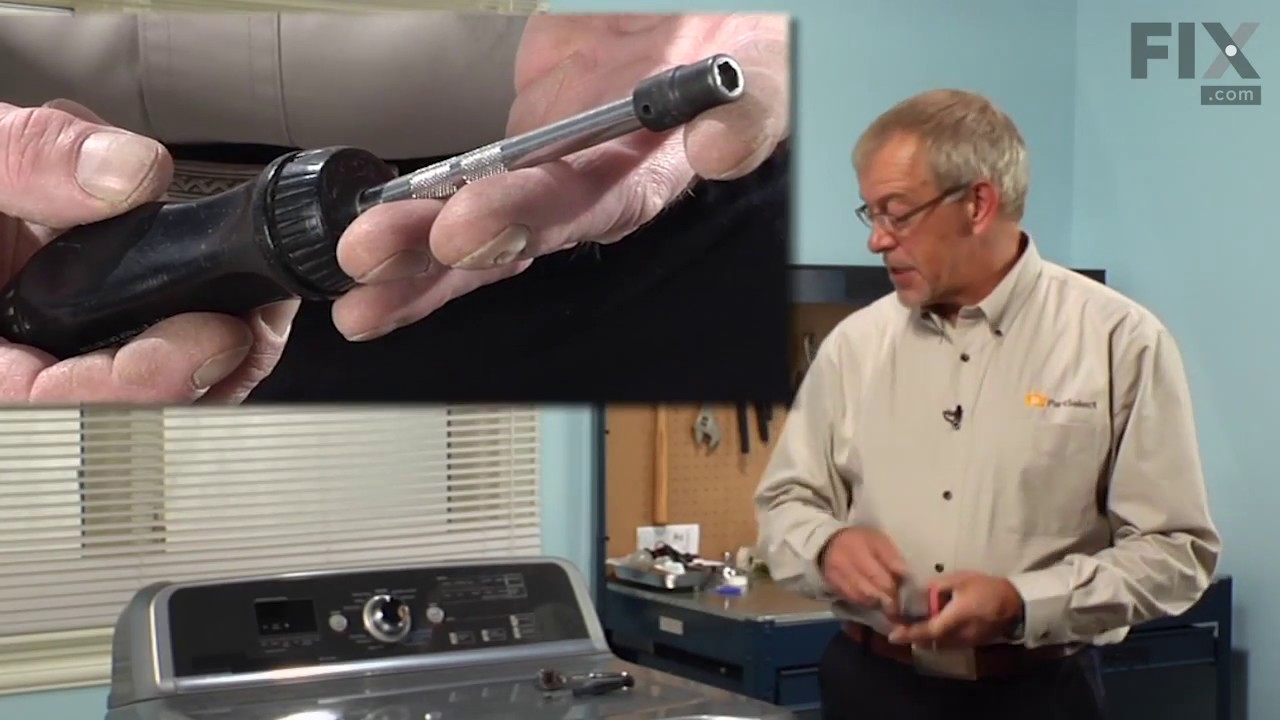
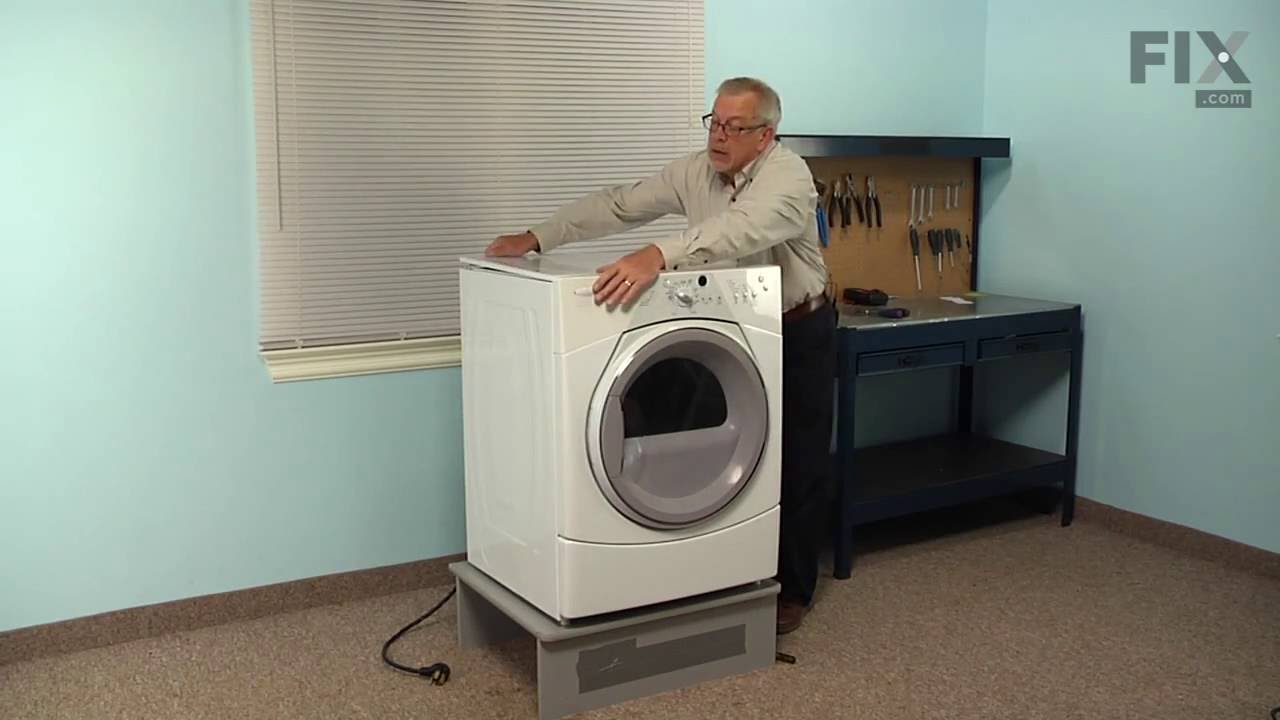
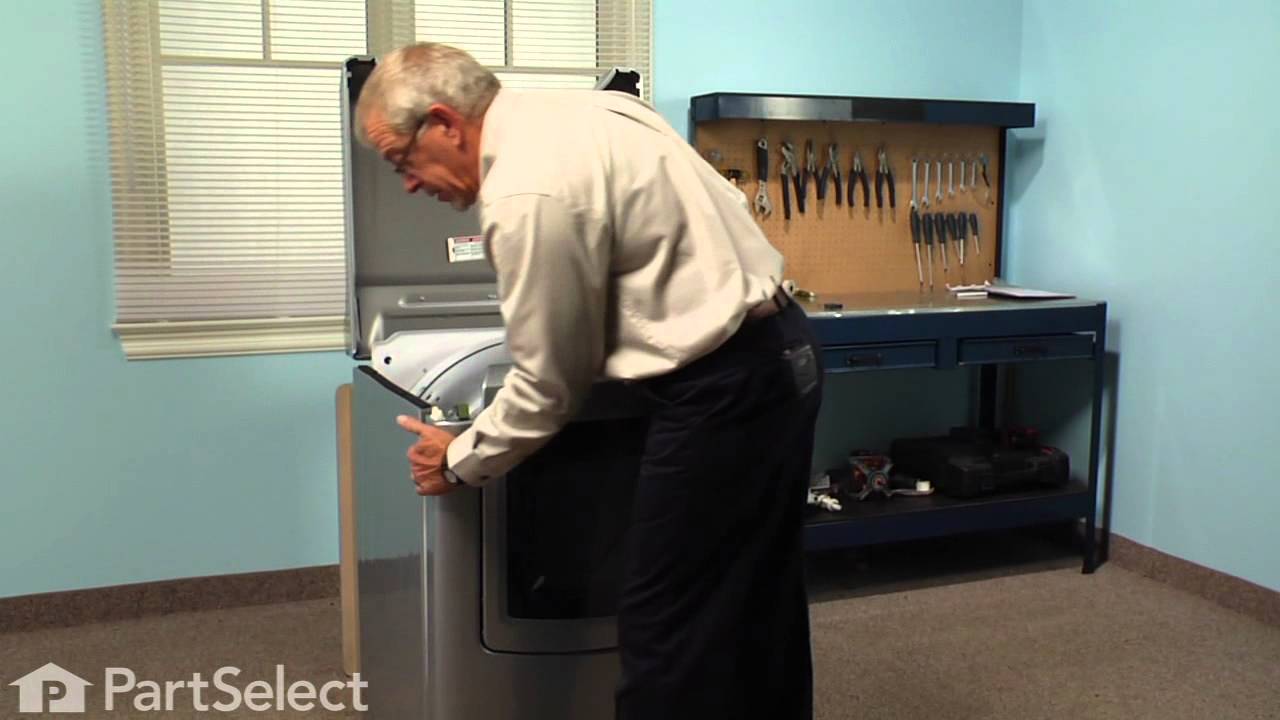
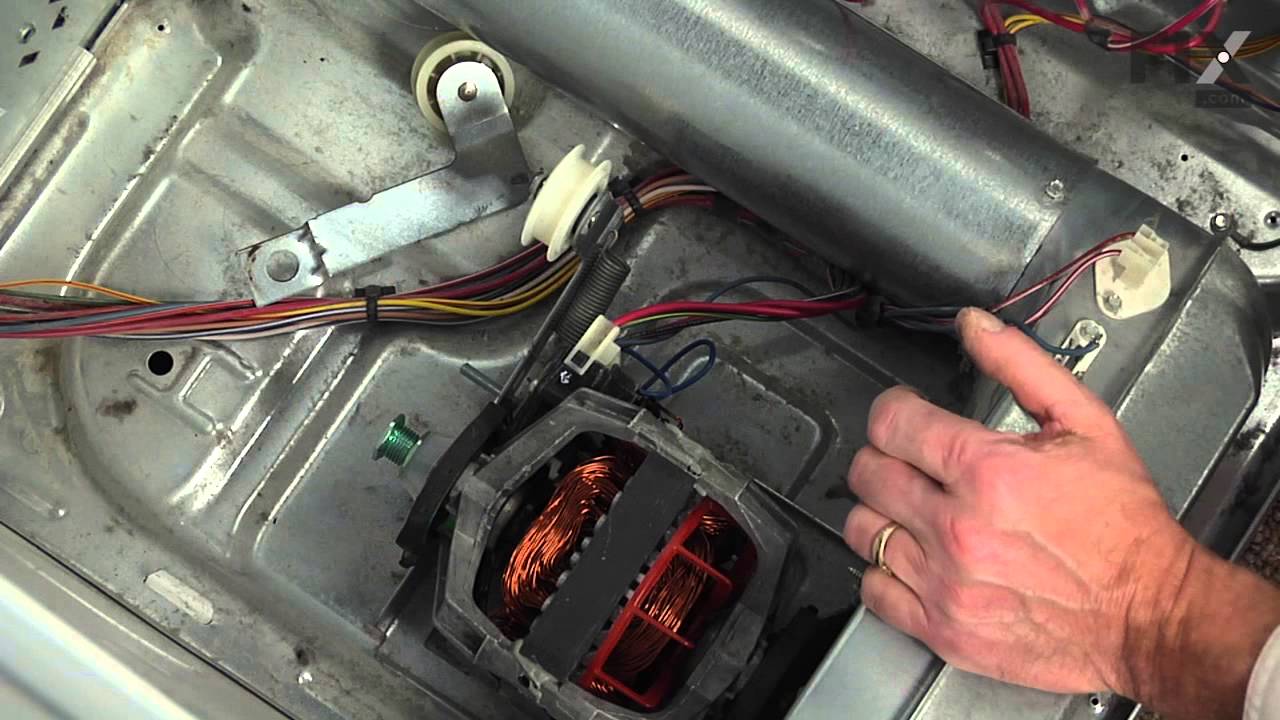
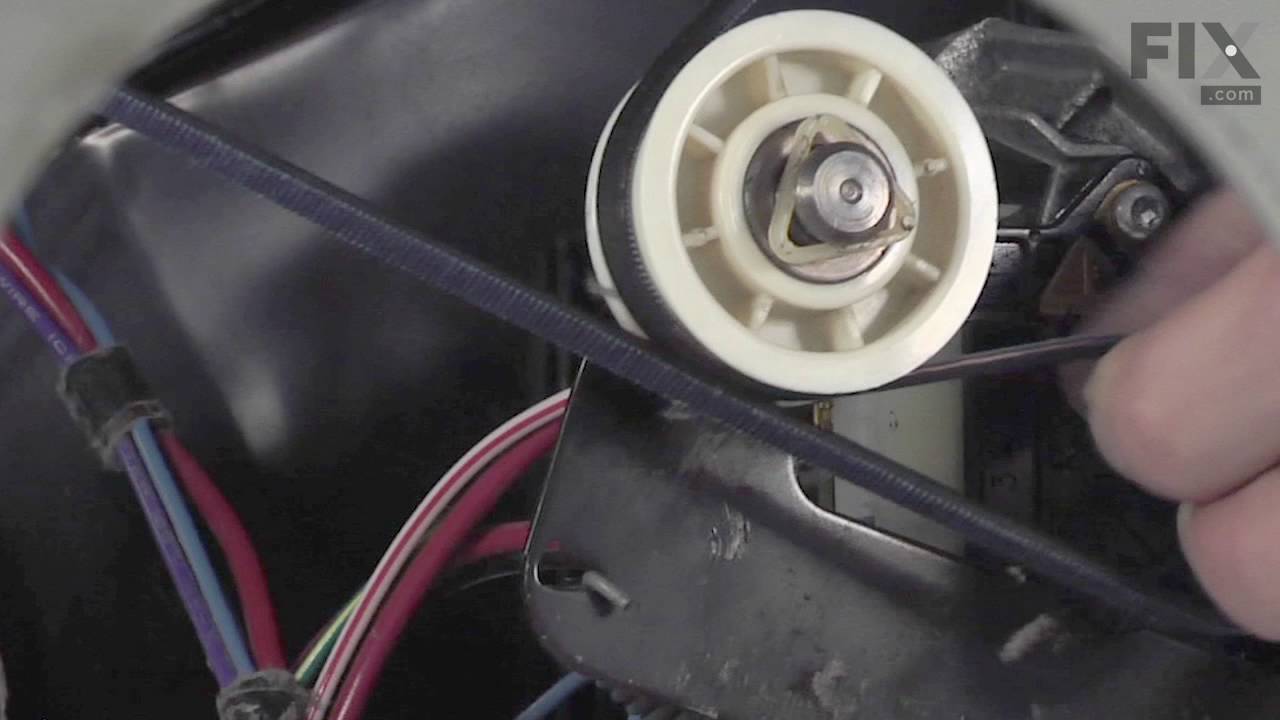
See how others fixed this model. Time, tools, difficulty, and steps that lead to victory!
View More