


 My Orders




YKMHS120EBS4 Whirlpool Microwave - Overview
Diagrams for YKMHS120EBS4
See every part. Know exactly what you need.


Enter a part description. DIY Heroes keep it simple, eg. "belt" or "pump".
Search filter:
Clear Filter
Your search term must have 3 or more characters.

$8.55
In Stock
Light Bulb - 40W
Part #8206232A
This 40w light bulb is a replacement bulb constructed of glass and metal. It is an easy-to-install electrical part which produces 40w of light. If the bulb won't light up then it may be broken and should be replaced. The bulb attaches directly to an appropriate light socket and has a small screw-in base. To access the exterior light bulb,...Read more you will need to remove the panel on the bottom of the microwave using a Phillips screwdriver. If your exterior light bulb has not been changed before, it is probably held in place with some silicone. You will need to cut away this silicone to remove the old bulb. If you cannot access the silicone with a utility knife, it can be removed using dental floss. Once the silicone is removed, simply unscrew the old bulb, and replace it with the new one. Be sure to disconnect the power to the microwave before you begin this repair. This light bulb measures about 1 1/8 inches. We do not recommend using a higher-wattage bulb for this appliance, and can only recommend this specific bulb. If fixing the bulb does not solve your microwave light issue, it's possibly a problem with the socket, which means the socket and/or board will need to be replaced. This can be a more dangerous repair, so consult your user manual or a technician before attempting.
Read less

$16.07
In Stock
Charcoal Filter
Part #8206230A
This Charcoal Filter traps grease from your oven's exhaust to help prevent it from entering the vent, which could cause damage over time. If the exhaust fan on your microwave is not working, you may need to replace your charcoal filter. This charcoal filter is located within the intake grille of your microwave, which will need to be unscr...Read moreewed and opened to gain access to the filter. The manufacturer recommends that you change your charcoal filter every six months. This filter measures 5 inches by 5.375 inches by 0.375 inches. Be sure to measure your current filter to assure correct replacement. This product is sold individually. We recommend the use of gloves during installation to protect your hands from messy grease during your repair. You should also unplug your appliance at the electrical outlet or switch it off at the breaker. Using a Phillips screwdriver, unthread the screws securing the grill. Open the door and slide the grill to the left and lift it up to remove it. This will allow access to the filter so it can be either replaced or cleaned. Remember to insert the tabs of the grill into the frame and slide it to the right when you are done. To finish, shut the oven door and secure the grill with the screws.
Read less

$27.36
In Stock
Grease Filter
Part #W10208631A
This Grease Filter is constructed of Acrylonitrile Butadiene Styrene and is used to trap grease and help eliminate odors from the exhaust air while cooking. It attaches onto the exhaust and is rated as easy to install. The part is 12 15/16" x 5 3/4", and comes in silver. Refer to your make and model number to ensure this part is right fo...Read morer you. If the exhaust fan of your appliance is not working, this part is the most likely cause. This part is sold individually, and it should be noted that many microwaves require two filters, so you may need to replace both at the same time by purchasing two of this part. You should consider gloves during this simple repair (which requires no tools) to save yourself from getting greasy hands.
Read less

$26.82
In Stock
DIODE
Part #W11256462
This diode, or high voltage diode, is used in microwaves. It is an electrical current control device that ensures power flows in one direction and not the other way. If your microwave produces no heat, heats inconsistently, or gets noisy, replacing this part can be the solution. The tools needed for this replacement are a nutdriver, plier...Read mores, and screwdrivers. First remove the microwave cover, then remove the old part by disconnecting the small thermostat. Replace with the new diode. Remember to use the diagram provided by the manufacturer for more instructions.
Read less

$36.85
In Stock
R Ceramic Fuse 20 A
Part #W11707984
If your microwave is not turning on it could be due to your fuse needing to be replaced. This part protects the microwave by shutting it off if there is an electrical surge. This fuse is just over an inch long, is metallic on both ends and ceramic in the middle. Before beginning this repair, unplug the appliance and wait a few minutes bef...Read moreore starting. Remove the outer cabinet which is held in place with two screws. You will then locate the power cord which will lead you to the fuse holder. Determine if the fuse has blown. Using an ohmmeter, you should be able to figure out if it has blown. A proper reading is zero ohms, if it reads as anything else then your fuse has in fact blown. Simply snap the old fuse out of place and place the new one in.
Read less

$10.70
In Stock
Light Socket
Part #W10210871
The light socket in your microwave houses the light bulb and connects it to the power source. The light bulb will screw into it, so the light bulb will be held in place. Be very careful when installing this part, and be sure to consult your manual before you begin this repair.

$51.65
In Stock
Microwave Glass Turntable Tray
Part #W11402532
The turntable tray rotates in the centre of the microwave to help ensure the food cooks evenly.

$20.37
In Stock
Top Interlock Support
Part #WP8206419
This top interlock support is a genuine OEM safety component designed for microwave ovens. It plays a critical role in ensuring the appliance operates only when the door is securely closed, preventing potential radiation exposure. The support holds the interlock switch in place and provides a reliable latching point, allowing the microwav...Read moree to function safely and efficiently. A faulty or misaligned support may result in the microwave failing to start, operating with the door ajar, or displaying error codes related to the door lock system. Replacing this part restores proper door engagement and ensures safe operation. Installation may require disassembling the control panel and should be performed with the appliance unplugged.
Read less

$11.77
In Stock

$16.07
In Stock
Plate Cam
Part #W10562613
Introducing the Interlock Cam Plate, an exceptional component designed and endorsed by the reputable Whirlpool brand. This CAM-PLATE is meticulously engineered to work with select microwaves, specifically from Whirlpool, KitchenAid, Maytag, Jenn-Air, Amana, Inglis, and Magic Chef models. Integrated into the functionality of your microwave...Read more's vent louver, this cam plate plays an integral role in the operation of the vent duct. It boasts hassle-free connectivity to the vent drive motor cam and the louver. Please remember this component carries significant importance and due to the risk of high-voltage capacitors holding lethal charge in a microwave, it is recommended to have this part installed by a qualified technician. Enhance the performance and longevity of your microwave operation with this Whirlpool Interlock Cam Plate.
Read less

$9.62
In Stock

$11.77
In Stock
Interlock Spring
Part #W10156812
Introducing the Interlock Spring from the trusted and reputable Whirlpool brand. This genuine OEM part is designed to work seamlessly with select models of Whirlpool, KitchenAid, Maytag, Jenn-Air, Amana, Inglis, and Magic Chef microwaves. The function of this part is critical, as it effectively resets the cam plate for the interlock switc...Read moreh each time you open the microwave door. However, due to the potential of high-voltage capacitors in your microwave retaining a dangerous electrical charge, even when unplugged, it is recommended to have this part installed by a qualified service technician. Kindly ensure to confirm that this interlock spring is the precise part appropriate for your appliance model before ordering. Trust in Whirlpool for high-quality, reliable appliance parts to keep your home running smoothly.
Read less
Common Symptoms of the YKMHS120EBS4
How this model fails, and the parts that fix it.
Won’t turn on
Fixed by
these parts
these parts


Show All
No heat
Fixed by
these parts
these parts


Show All
Door not closing properly
Fixed by
these parts
these parts


Show All
Exhaust fan not working
Fixed by
these parts
these parts

Show All
Tray won’t turn
Fixed by
these parts
these parts


Show All
Noisy
Fixed by
these parts
these parts
Show All
Doesn’t shut off
Fixed by
these parts
these parts
Show All
Watch our pros, then fix it yourself.
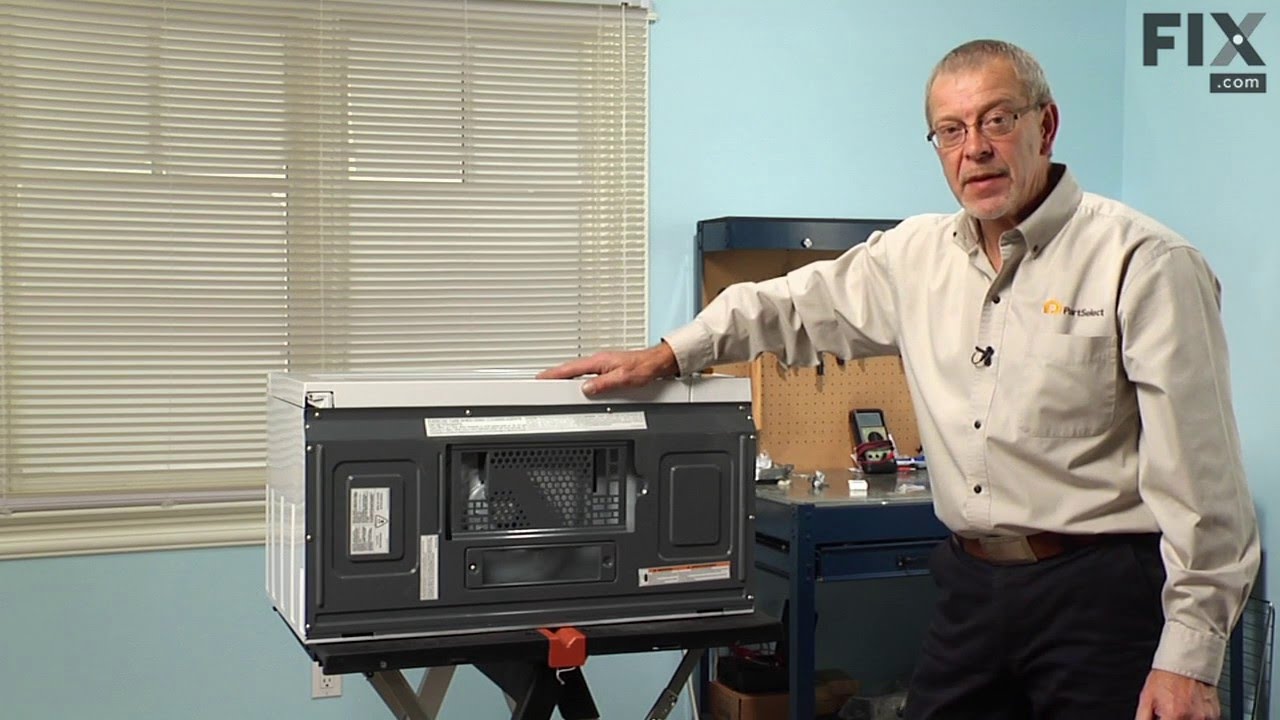
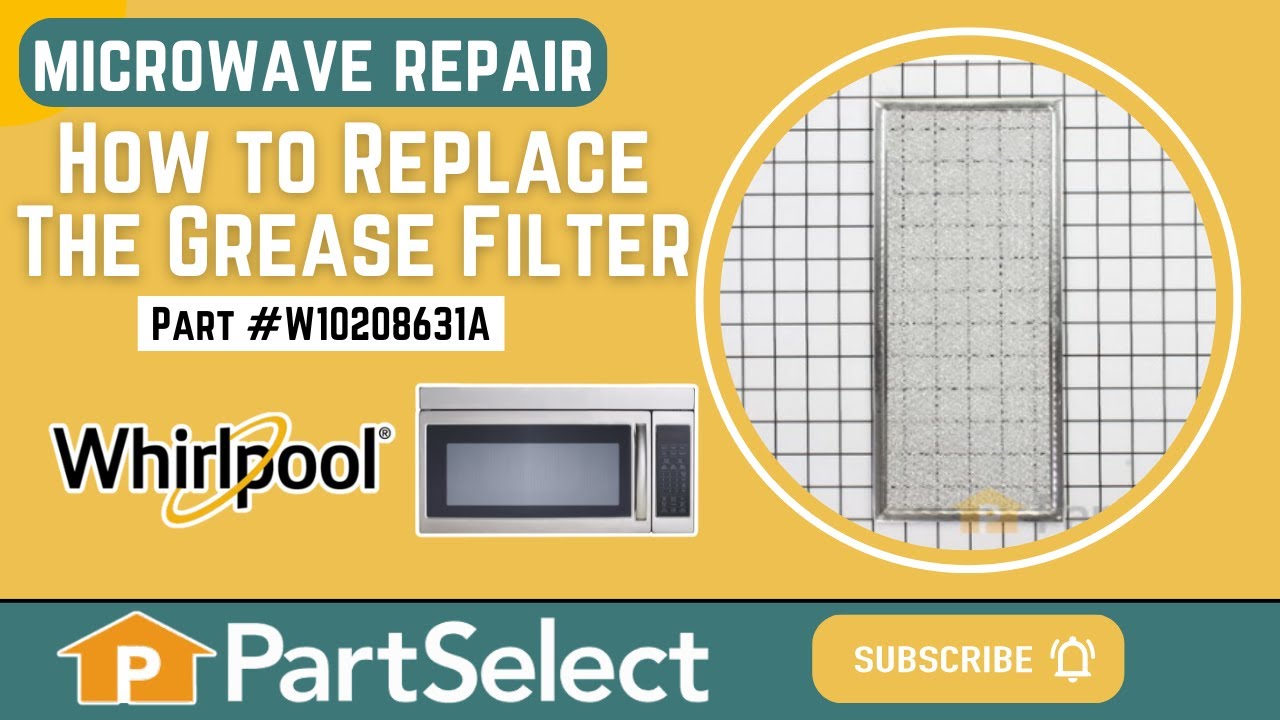
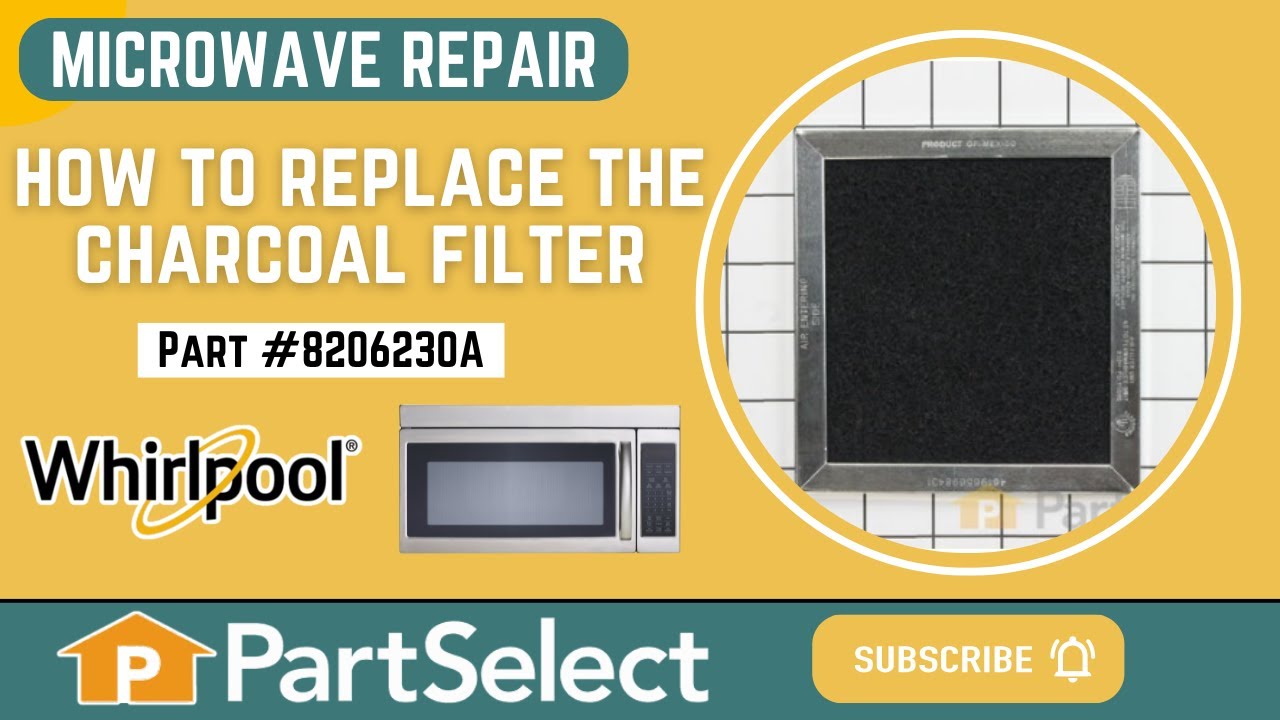
See how others fixed this model. Time, tools, difficulty, and steps that lead to victory!
View More