This oven rack is chrome in color and is approximately 24.76 inches wide by 15.78 inches deep. If your old oven rack is damaged, you should consider replacing it. Many of our customers have determined this repair to be very easy. You will not require any tools to complete it. To replace the oven rack, simply pull the old rack out, and rep...Read morelace it with the new one. Make sure to put the new rack back in the oven with the beveled edge in first. To keep your oven racks clean, we recommend that you pull them out before using the self-cleaning function on your oven.
This is a multi-use and multi-appliance screw. It can be used on a microwave, refrigerator, range/oven, air conditioner, dehumidifier, washer, or dryer. The measurements of this screw are 8 x 1/2 inch. It has 6 threads. Refer to the manual provided by the manufacturer for further information on repair and accurate guidance. Remember to wear work gloves as a safety precaution.
The temperature sensor measures the temperature inside the oven. If your oven is too hot, not heating evenly, is not heating enough when baking, or simply will not start, you could have a faulty temperature sensor. A faulty temperature sensor can be a fire risk. If your sensor is not working properly, you should look to replace it straigh...Read moret away. A failed oven sensor is most often responsible for F3 or F4 error messages on electronically-controlled ovens. Make sure you disconnect the power to your range before you start your repair.
This broil element is found on the roof of the oven. The broil element is at the top of the oven and supplies the heat to broiling. 14" x 15" with 1-3/8" inserts.
This part works with the following brands: Whirlpool, Roper, Admiral, Maytag, Hardwick, Jenn-Air, Estate, Magic Chef, Crosley, Inglis, Norge, Modern Maid, Amana, Kenmore, KitchenAid, Caloric.
This part is for oven ranges, it connects individual wires and protects the device from electrical surges, voltages, and current. With this part, the house power is connected to the range wire harness. Some symptoms replacing the terminal block could be a solution for are little to no heat when baking, element will not heat and/or it will...Read more not start. This part will prevent loosening and will reduce damage caused by corrosion (by two different metals). Refer to the instructional diagram for further replacement guidance and exact placement. You must unplug the appliance before installing this part and wear gloves to protect your hands.
This touch-up paint can be used on a wide variety of household appliances. It is most often used on washers, dryer, refrigerators, dishwashers, ranges, freezers, trash compactors, or microwaves. It is an 18 ml, or.6 fluid ounces, bottle of touch-up paint. It also features a brush for easy application. This quick-drying, long-lasting paint...Read more is perfect for fixing any nicks, scratches, or chips on the exterior of your appliance. This paint is white in color, and provides a durable finish.
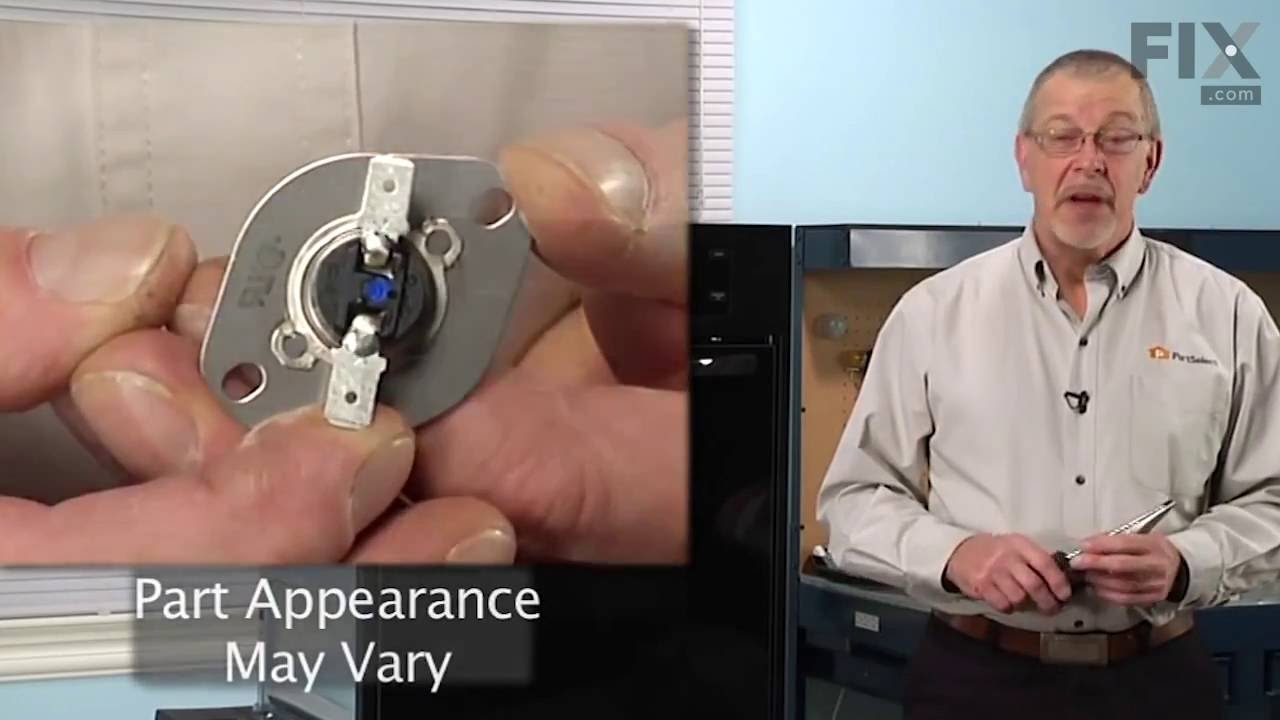
This thermostat is also known as a thermal cut-off fuse and is used in conjunction with your range. This part establishes and maintains the internal temperature of the oven cavity. When the temperature of your range gets too hot it will trip the high-limit thermostat safety, this will cut the power to the oven so that it does not continue...Read more to overheat. For this installation, you will need a Phillips screwdriver and a pair of needle-nose pliers. If your oven does not heat after a self-cleaning cycle you may need to replace the high-limit thermostat.
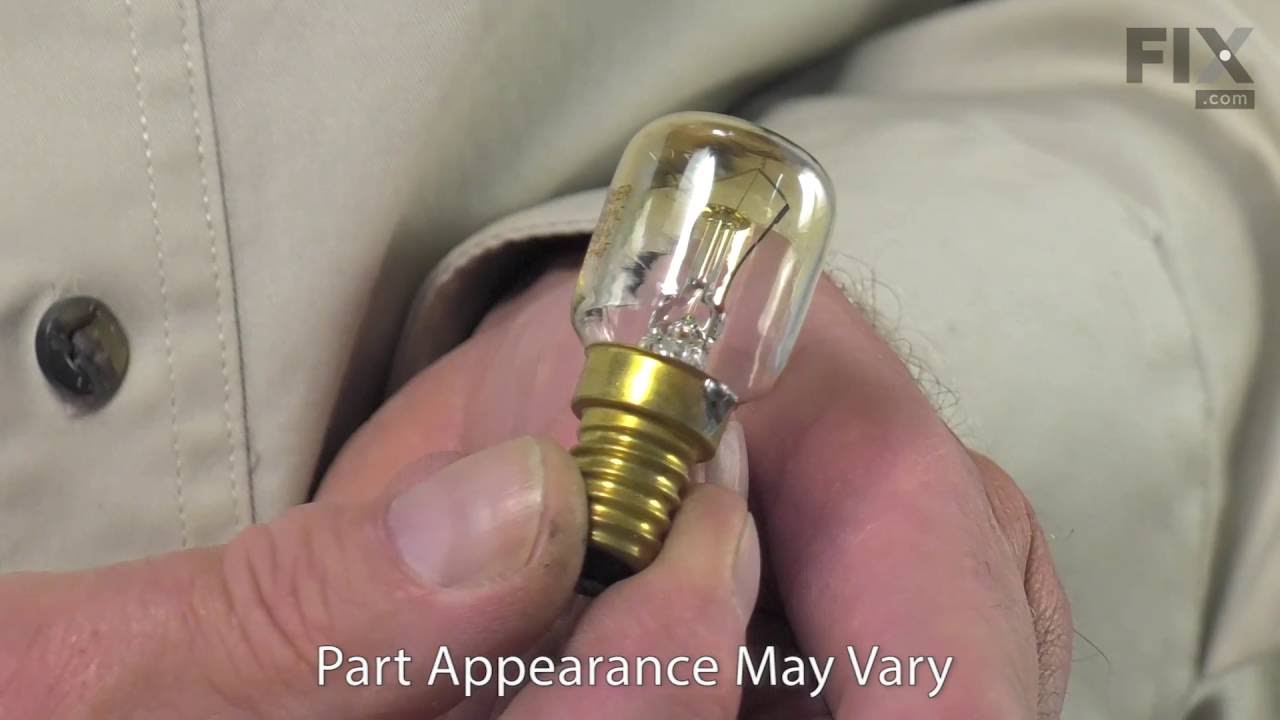
This part is a light bulb that is 120-130 volts and 15 watts, and is used in conjunction with your range or wall oven. The function of this bulb is to illuminate the interior of the oven.Before making this repair, you will need to disconnect your appliance from the electrical source. We recommend wearing work gloves to protect your hands ...Read moreduring this installation. No tools will be required for you to make this repair. However, if your old bulb breaks while you are trying to remove it, you will need a pair of pliers to grasp the socket and twist it until it comes out.
This bottle of non-abrasive cooktop cleaner breaks down and gets rid of the hardest baked-on stains and residue without causing any harm to your appliance. The bottle is 10 oz and does not require a large amount of product to do the job. This cleaner is perfectly safe to use on any glass, ceramic, stainless steel, chrome, or porcelain coo...Read morektop surface. The cleaner is creamy in texture and provides a protective coat of silicone on smooth surfaces. To apply, use a gentle scrub, sponge, or rag and gently press in a circular motion until the stains are removed.
Ask our experts a question about this model and we'll get back to you as soon as possible!
We may have answered a similar question already! Search questions and answers left by others using simple keywords like "fit", "broken", "easy", or "quality" to find questions that match.
Search filter:
Clear Filter
Your search term must have 3 or more characters.
Sort by:
Prev
1
Next
Sorry, we couldn't find any existing answers that matched.Try using some different or simpler keywords, or submit your new question by using the "Ask a Question" button above!
Jeanette - For model number YKESS907SS05
November 25, 2019
Purchased a condo with this range and want to know (1) year of the range (2) what causes the high pitched noise when the oven is turned on?
Hello Jeanette,
Thank you for your question. If the motor's bearing wears out over time, it may emit a high-pitched squealing noise when the fan activates. The motors are sealed units, so the only way to solve the problem is to replace the motor. The motor for your model is under part PS11703401. Hope this helps!
Hello Sharon, Thank you for the question. The timer and the buzzer are built into the Electronic Control Board so the Electronic Control Board will need to be replaced. If you need help placing an order, customer service is open 7 days a week. Please feel free to give us a call. We look forward to hearing from you!
Hi!
Hope you all are keeping well. Thabk you in advance.
Our bottom left burner on the cooktop is acting up. Sometimes it looses all heat then if we adjust the regulator it comes back. Would this be an issue with the burner itself or the regulator?
Thank you again for your time and attention.
Cheers,
Hi Rano, thank you for getting in touch. Based on the description that you have provided, we would recommend checking the surface element control switch, part number PS11747407. If it is faulty, you may need to replace it. If the issue persists, you may need to check the radiant surface element, part number PS11751048. We hope this helps!
Bonjour, J'ai ce poèle depuis 12 ans mais j'utilise très rarement le four. Il est très propre. Ça fait deux fois que j'allume le four la 1ere fois en Convect Bake et une espèce de suis blanche a recouvert tout l'intérieur du four. Je l'ai arrêté. J'ai tout nettoyé avec une lingette mouillée sans aucun produit. Je l'ai repartie une semaine plus tard cette-fois-ci en Bake seulement avec l'élément du haut et du bas à 350. Ça a pris au moins à peu près 12 minutes avant qu'il n'atteigne 225. Et le même phénomène s'est produit: une suie blanche a enduit tout l'intérieur du poèle. Pourriez-vous me dire si vous avez déjà eu une question sur ce genre de situation et/ou ce que vous en pensez. Merci à l'avance de m'aider avec ce problème.
Bonjour Lucie, merci pour votre excellente question. Merci également pour ces précisions concernant votre four YKESS907SS05. Nous comprenons votre inquiétude, surtout pour un four qui a été très peu utilisé ces dernières années.
La présence d'un résidu blanc, poudreux ou ressemblant à de la suie à l'intérieur de la cavité du four n'est pas normale en fonctionnement. Lorsque cela se produit, en particulier après une longue période d'utilisation peu fréquente, cela peut parfois être dû à des résidus qui se sont déposés sur des composants internes (notamment la zone du ventilateur de convection ou la résistance cachée) et qui brûlent lorsque le four atteint des températures plus élevées. Dans certains cas, cela peut également indiquer une détérioration de l'isolation interne ou de l'émail à l'intérieur de la cavité.
La lenteur du préchauffage que vous décrivez (12 minutes pour atteindre seulement 107 °C (225 °F) alors que le four est réglé sur 177 °C (350 °F)) est également anormale et peut indiquer un problème avec la résistance, la sonde de température ou la carte de commande. Si un élément chauffant ne fonctionne pas correctement, le four peut avoir des difficultés à atteindre la température souhaitée, ce qui peut entraîner la présence de résidus ou des problèmes de circulation d'air à l'intérieur de la cavité.
Compte tenu de la présence de résidus blancs et de la lenteur de la montée en température, nous vous recommandons :
D’inspecter les éléments de cuisson et de gril afin de détecter toute boursouflure, fissure ou séparation visible.
De vérifier la zone du ventilateur de convection (si accessible) afin de vous assurer qu’aucun isolant n’est détaché ou qu’il ne contient des débris.
De faire tester la sonde de température du four afin de vérifier sa résistance.
D’envisager une évaluation par un technicien, surtout si le problème persiste après un nouvel essai dans des conditions contrôlées.
Par mesure de sécurité, nous vous suggérons de ne plus utiliser l’appareil tant que la source des résidus n’est pas identifiée, en particulier s’ils réapparaissent après le nettoyage. Nous espérons que ces informations vous seront utiles.
Was this helpful?
Thank you for voting!
Prev
1
Next
✖
Ask a Question
Ask our experts a question on this model and we'll respond as soon as we can.
See how others fixed this model. Time, tools, difficulty, and steps that lead to victory!View More
Search repair tips from other customers using simple keywords like "replace", "fit", "remove", "inspect". DIY doesn't mean you have to do it alone!
Search filter:
Clear Filter
Your search term must have 3 or more characters.
Self Cleaning blows the thermostat fuse
137 of 157 peoplefound this instruction helpful.
Joseph from Worthington, PA
Really Easy
15 - 30 mins
Screw drivers
Something Kitchen Aid wont tell you but running a self clean on this model stove blows the fuse located on the back of the stove.
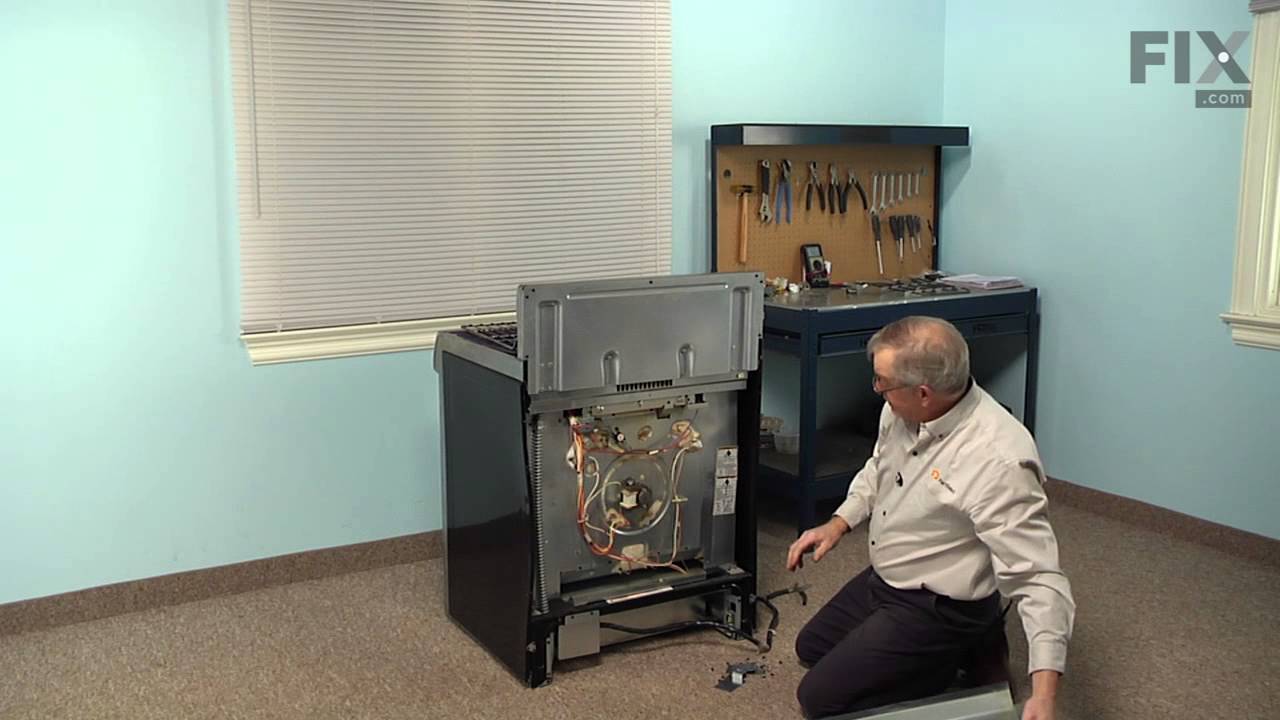
First I slid the stove out and removed the back of the stove held in place by 8 Phillips screws. The thermostat fuse is located near the top middle on the back of the stove. Remove the 2 screws hold
... Read moreing it in place. Disconnect the wires, plug in the new part. Put it all back together. Job done in less than 30 minutes.
This repair would have cost $164 through A&E factory service.
Read less
Was this helpful?
Thank you for voting!
Power shut down and door lock-up after self-cleaning
52 of 58 peoplefound this instruction helpful.
john from new market, MD
Really Easy
15 - 30 mins
Screw drivers
My wife used the self cleaning function for the first time after 1.5 years of owning, of course out of warranty. A quick google search identified the problem. Called Kitchenaid, they said of course it can't be that simple, they had never heard of this problem, need to schedule a service call. Googled and found this site, Ordered the part
... Read more, came in, only took a screwdriver and about 20 minutes, just like all the other posts.
shame on Kitchenaid for not owning up to the problem. I even e-mailed them all the links, they did not acknowledge them.
Read less
Was this helpful?
Thank you for voting!
Burned terminal block and filter board
95 of 208 peoplefound this instruction helpful.
Joseph from Decatur, GA
Easy
30 - 60 mins
Nutdriver, Screw drivers, Socket set, Wrench set
Removed and replaced above named parts, rewired.Be sure to tighten all nuts that secure wires. I believe this is what caused the problem.



 My Orders