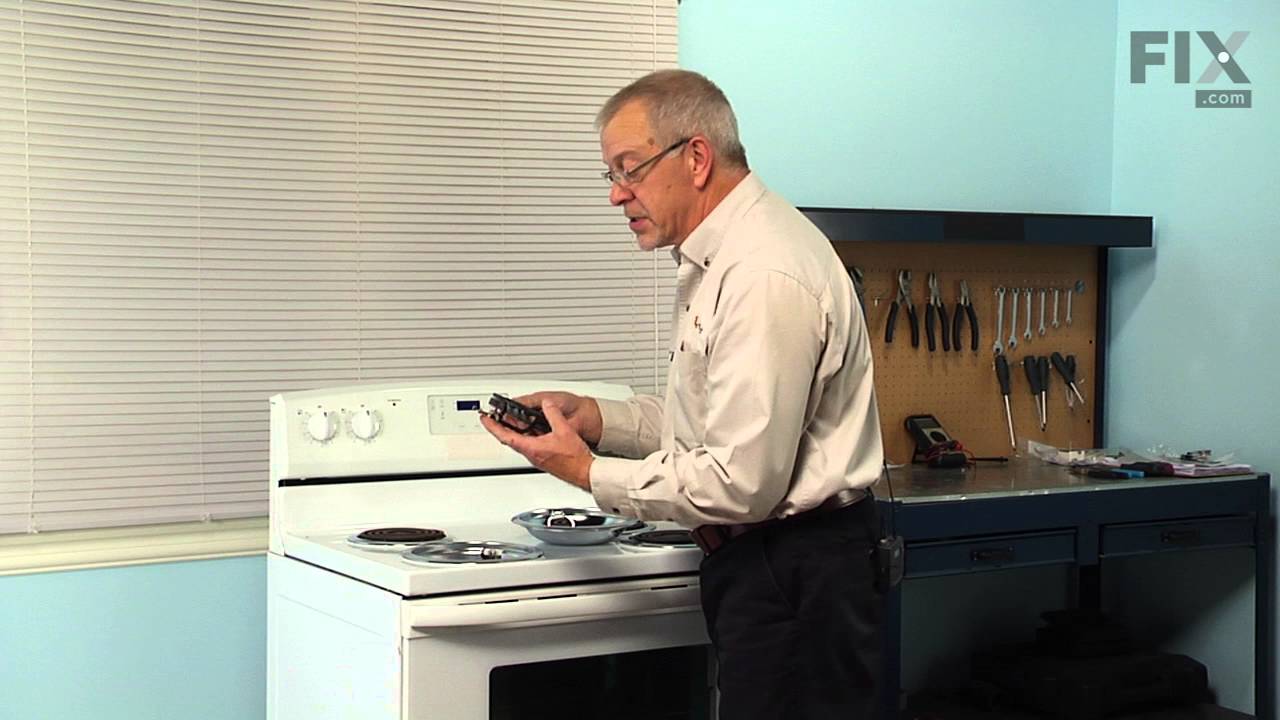
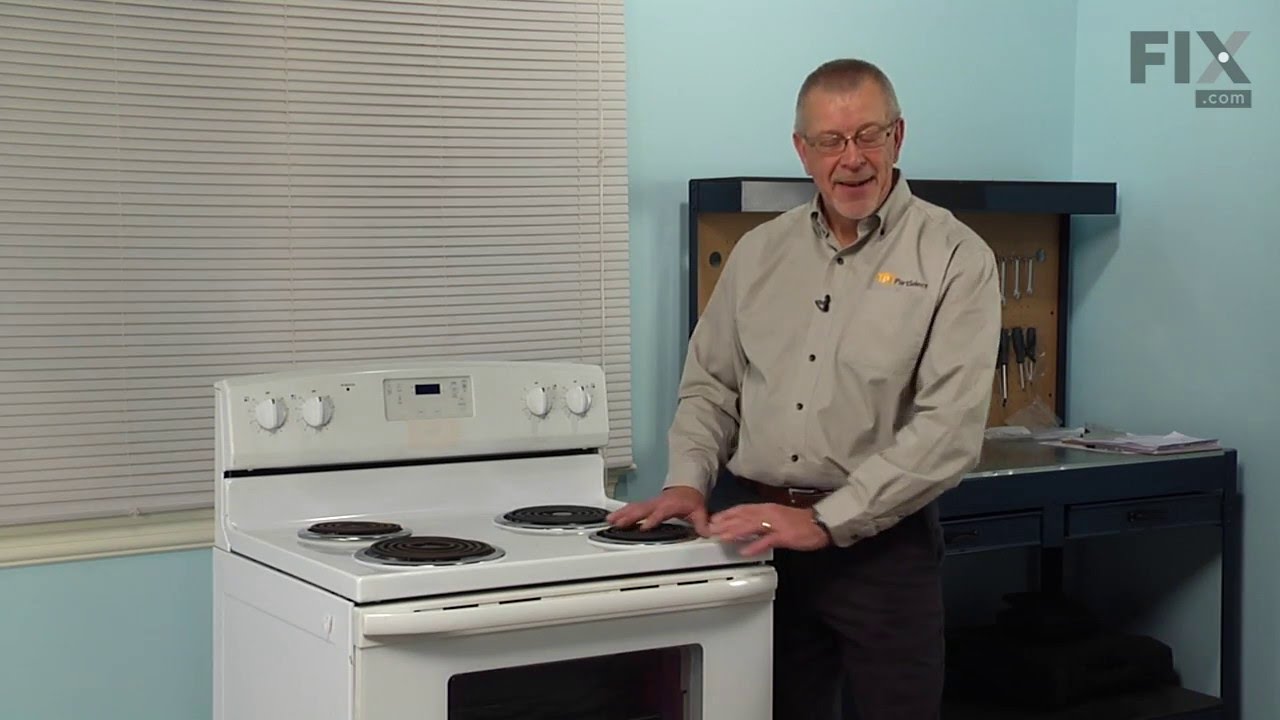
This manufacturer-certified drip bowl is also known as a drip pan, and it is designed for use with cooktops and ranges. It sits below 8-inch burner elements and catches drips and spills from the cookware on the burner. The diameter of the drip bowl is approximately 10 inches. This replacement might appear slightly different, but it will f...Read moreit your appliance.
You will need no tools to complete this repair. Simply remove the burner element, remove the old bowl, line up the hole on the new bowl with the terminal block and drop it into place. Make sure the bowl is flat before reinstalling the element. While you have the element out you should inspect the terminals for corrosion, damage, or discolouration. If you notice any of those things you should also replace the element and terminal block. You will need to replace your drip bowl if it is lost, damaged, or can no longer be cleaned. This replacement part is sold individually. To extend the life of your new drip bowl we recommend you clean it regularly with soap and water. We recommend only using the recommended drip bowl for your appliance; generic versions will not fit properly which could affect the performance of your elements and cause long-term damage.
This drip bowl is used for electric cooktops and ranges, it is designed to sit under a 6-inch surface burner. It catches the drips and spills coming from the cookware on the surface burner. This drip bowl is chrome, and it has a diameter of 8 inches. You need to remove the burner element to replace this part. Line the hole up with the ele...Read morement terminal blocks, and ensure the new bowl is flush with the surface of the cooktop before replacing the burner element. Drip bowls need to be replaced when they are lost, damaged, or you are no longer able to clean them adequately. This replacement part is sold individually.
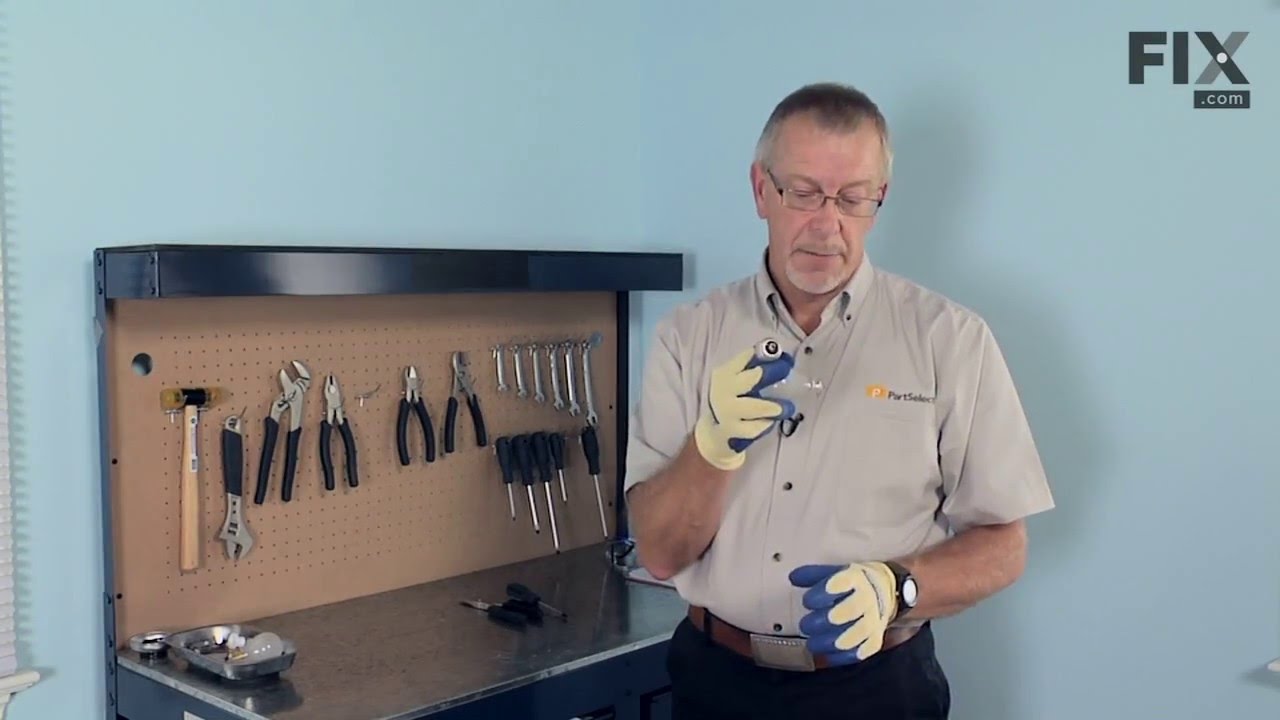
This an authentic OEM 40-Watt replacement light bulb, used in a number of household appliances. It is specially designed to withstand extreme temperatures, which is why these replacement bulbs are most often used to light the inside of refrigerators and ranges. It features a standard socket base, which means you simply unscrew the burnt-o...Read moreut bulb and screw in the replacement. Depending on the appliance you may require a screwdriver or nut driver to access the light bulb. We recommend you wear work gloves while handling this replacement part. It is constructed of glass and metal and is sold individually. Depending on the appliance and location of the bulb within it, you may want to consider disconnecting power and using a flashlight for easier access to unscrewing and re-screwing in your bulb during this repair.
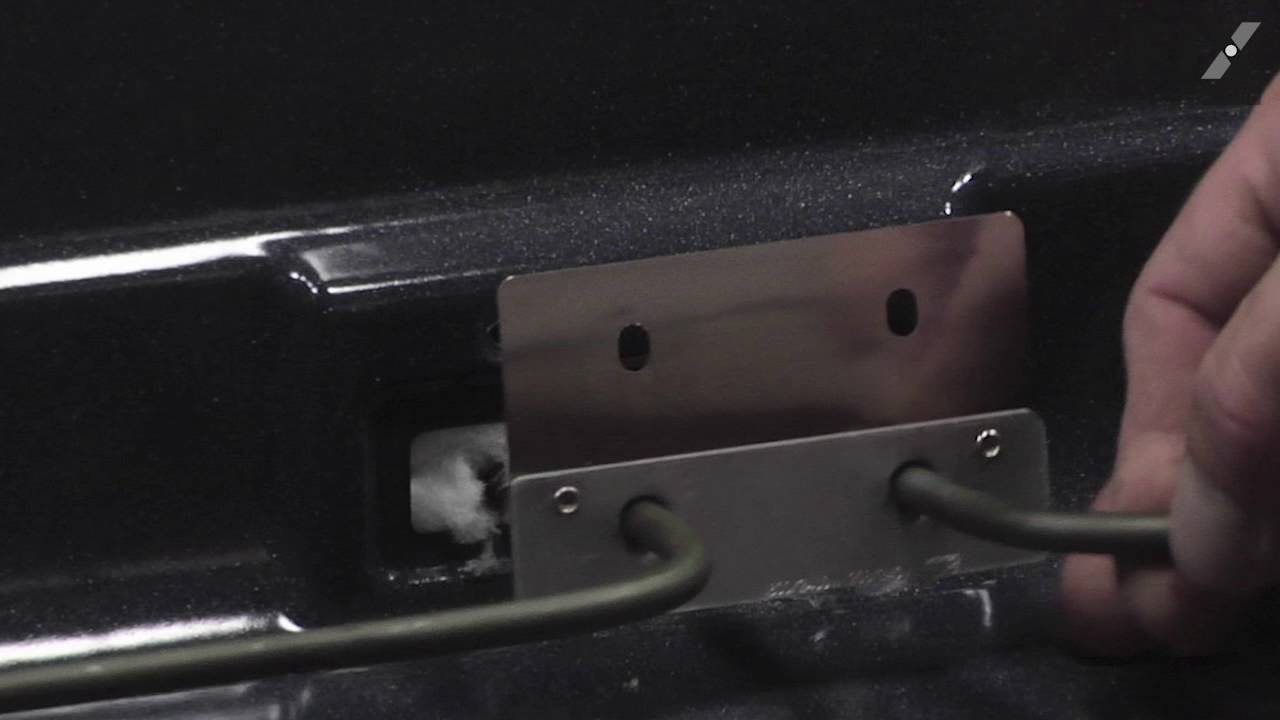
This bake element is located at the bottom of the oven to supply heat and it has push-on terminals. If your baking element is burnt out, the heat is not consistent, or is defective, then replacing the element could be a solution to your appliance problem. The tools needed for this replacement are: a screwdriver and needle-nose pliers. The...Read more first step in is to unplug the range or shut off the house circuit breaker before starting. Unscrew the black of the oven cavity to pull out wires from the defective element. Reconnect wires to the new element and screw it back on. Make sure the element is sitting flat.
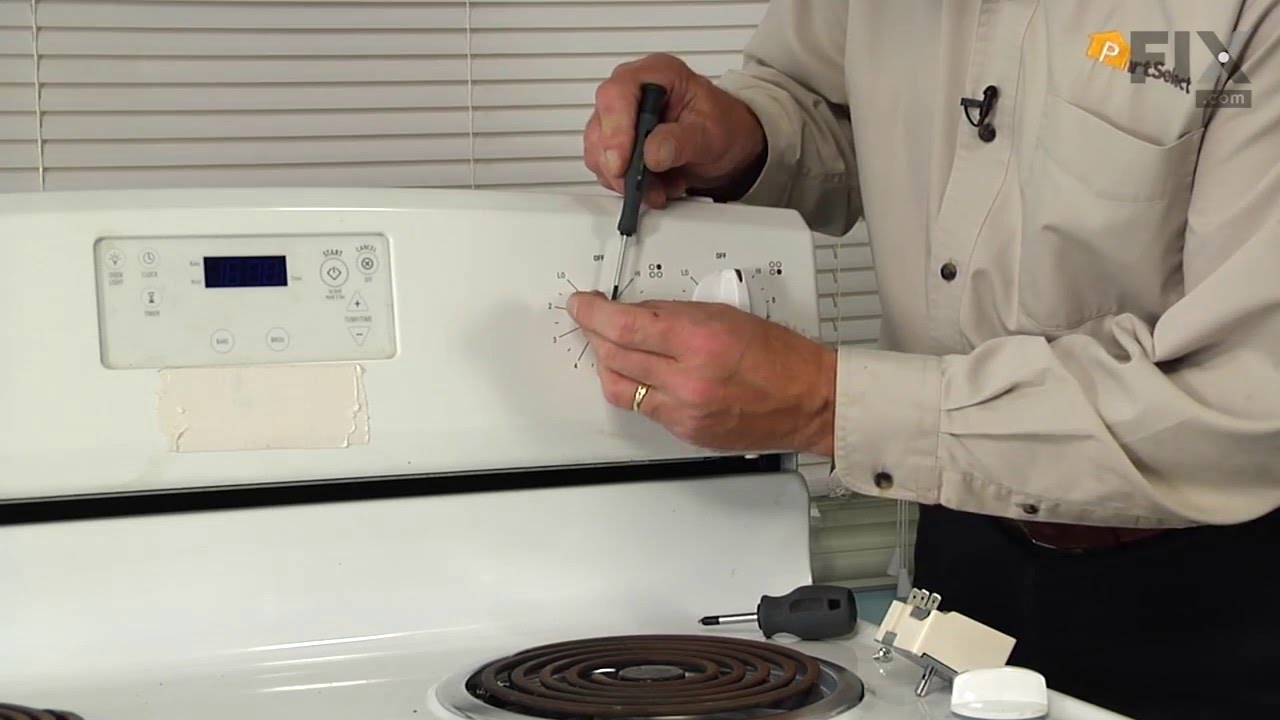
This surface burner element switch is for an 8-inch surface burner on an oven, stove, or range. The element switch controls the heat of the surface burner. Disconnect power to your range before completing this repair because you will be working closely with electrical circuits. Remove the screws from back panel and the console, and remove...Read more the console to expose the switch. It is recommended to check for overheating or arcing on the wiring harness in case they need to be replaced as well. The harness that connects to the switch features a slip-on terminal for easy installation.
This oven temperature sensor, for ranges, works together with the oven control board to measure and regulate the oven temperature. The sensor detects the temperature in the oven cavity. If the following symptoms occur, replacing the temperature sensor could be the solution: Little or no heat when baking, oven not heating evenly, oven will...Read more not start, and/or oven is overheating. Often, if the sensor is defective, the oven temperature will fluctuate and be inaccurate by more than 50 degrees. The tool needed for this replacement is a #2 square head screwdriver or a #2 Philips screwdriver. Remember to unplug the range before installing the part.
This is a multi-use and multi-appliance screw. It can be used on a microwave, refrigerator, range/oven, air conditioner, dehumidifier, washer, or dryer. The measurements of this screw are 8 x 1/2 inch. It has 6 threads. Refer to the manual provided by the manufacturer for further information on repair and accurate guidance. Remember to wear work gloves as a safety precaution.
This is a surface element for the stove top on your range. It supplies heat to the top of the range cooking area. This model is 2100 watts and is eight inches in diameter. It has looped terminal ends, and five turns. The most common reason for needing to replace this part is if your current element is not retaining heat. The first step to...Read more this repair is to make sure the burner control is set to off, and that the element is cool to the touch.
This touch-up paint can be used on a wide variety of household appliances. It is most often used on washers, dryer, refrigerators, dishwashers, ranges, freezers, trash compactors, or microwaves. It is an 18 ml, or.6 fluid ounces, bottle of touch-up paint. It also features a brush for easy application. This quick-drying, long-lasting paint...Read more is perfect for fixing any nicks, scratches, or chips on the exterior of your appliance. This paint is white in color, and provides a durable finish.
This broiler pan and roasting rack set is designed to help reduce mess while cooking by allowing grease to drain away from food. Its durable porcelain-coated construction stands up to high temperatures and makes cleanup simple. With approximate dimensions of 16 3/4 inches long, 12 3/4 inches wide, and 1 3/4 inches high, it offers a convenient size for everyday broiling and roasting.
This chrome-colored oven rack is designed to provide a stable and heat-resistant surface for cooking, baking, and broiling inside compatible range ovens. Engineered for durability, it fits a variety of models and withstands high temperatures and heavy use. Whether you're replacing a damaged rack or adding an extra one for increased cookin...Read moreg flexibility, this component helps maintain optimal oven performance. Sold individually.
This broil element supplies heat for cooking purposes and is located in the roof of an oven. If you find there is little to no heat when cooking, a burned-out element, or food is taking too long to cook, these symptoms could be solved by replacing this part. Before starting this replacement, make sure you unplug the range from the power s...Read moreource or shut off from the house circuit breaker. All you need to complete this repair is a Phillips screwdriver. For safety reasons, make sure to wear gloves. Refer to the manual provided by the manufacturer for more instruction.
Ask our experts a question about this model and we'll get back to you as soon as possible!
We may have answered a similar question already! Search questions and answers left by others using simple keywords like "fit", "broken", "easy", or "quality" to find questions that match.
Search filter:
Clear Filter
Your search term must have 3 or more characters.
Sort by:
Prev
1
Next
Sorry, we couldn't find any existing answers that matched.Try using some different or simpler keywords, or submit your new question by using the "Ask a Question" button above!
Fran - For model number YACR4330BCW0
December 30, 2019
Front left burner does not work correctly. Will turn red when it is not turned up...
Hello Fran, Thank you for the question. Normally this is an indication the switch that controls the element is defective and will need to be replaced. I looked up the part and it is listed as No Longer Available/Discontinued sorry. There are no part substitutions listed. My suggestion here would be to call the manufacturer and see if they can provide you with a substitution for these part numbers. We hope this helps!
2 peoplefound this instruction helpful.
Was this helpful?
Thank you for voting!
Meghan - For model number YACR4330BCW0
December 9, 2019
When using the oven for baking should the top element heat up?
Hello Meghan, Thank you for the question. When preheating the top element should turn on. Once the oven reaches the set temp, it will turn off. Hope this helps!
Was this helpful?
Thank you for voting!
Richard - For model number YACR4330BCW0
February 1, 2024
What is this malfonction F9, please do you can email the instruction guide
Hello Richard, thank you for reaching out. According to our research, the error code F9 indicates a door lock failure. We would recommend turning the breaker off to the unit for 60 seconds to see if it will reset. When you turn the circuit breaker on, go inside and push on the door and hold it for a minute or two in case it is rubbing on the door latch, not letting it release. If that does not work, then try to set the self clean, wait for 60 seconds and cancel it to see if that will reset the door latch assembly. If nothing resets the door lock, then you just need to manually open the door and replace the door latch assembly. It is not easy to manually unlock the door. You will need to use a coat hanger and pull the latch assembly from RIGHT to LEFT by slipping it down between the door and the oven frame at the top. Force the latch over to the left and open the door, then you can remove the panel in front of the door latch and replace the latch assembly. We hope this information helps!
Was this helpful?
Thank you for voting!
John - For model number YACR4330BCW0
July 5, 2024
What are the model numbers for the burners small and large ones thank you for any help I appreciate your time
Hello John, thanks for the great question. For your model, the left-rear and right-front elements (small ones) are PartSelect Number PS11751368, and the left-front and right-rear elements (large ones) are PartSelect Number PS11751367. If you would like assistance placing an order, please contact customer service. Good luck with your repair!


 My Orders