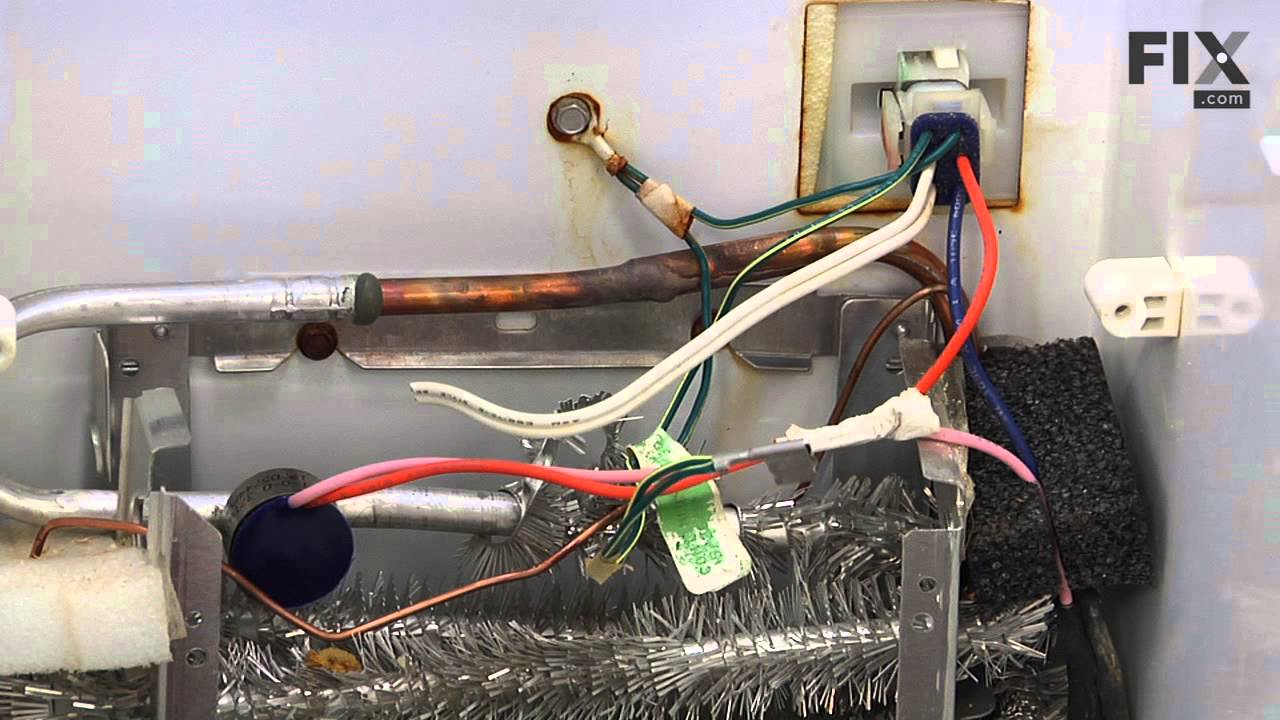
This sensor (Temperature Sensor, Thermistor, Refrigerator Temperature Sensor) sends the temperature reading of the compartment to the control board. If you notice your refrigerator is too warm, too cold, or not defrosting properly, then there may be a problem with your sensor. The temperature sensor can break from material fatigue or thro...Read moreugh normal use, and should be replaced. It is attached to the evaporator and control housing in your appliance. It measures approximately 1.25 inches long with 18 inch wire leads, and is constructed out of plastic. This part comes in white, beige. It includes the sensor, with wire leads.
This “Dispenser Door Assembly” (Door Recess Assembly, Ice Door Assembly, Dispenser Door, Refrigerator Dispenser Ice Chute Door Kit, Dispenser Door Flap, Ice Chute Door, Flapper) keeps the room air from infiltrating the freezer. Once the lever is pressed, the door flap opens and allows the ice to dispense into your container. If your door...Read more flapper is broken, it could allow outside air to enter the freezer and alter the inside temperature. You may notice frost buildup surrounding the dispenser area. The door flap can disconnect from the dispenser lever, or the tabs that hold it in place may break. Frequent use may distort the sealing face and cause air leaks and frost buildup. This part mounts in the ice dispenser, and measures approximately 3.25 inches in diameter. It is constructed of plastic and rubber, and comes in white/black. This part is sold individually.
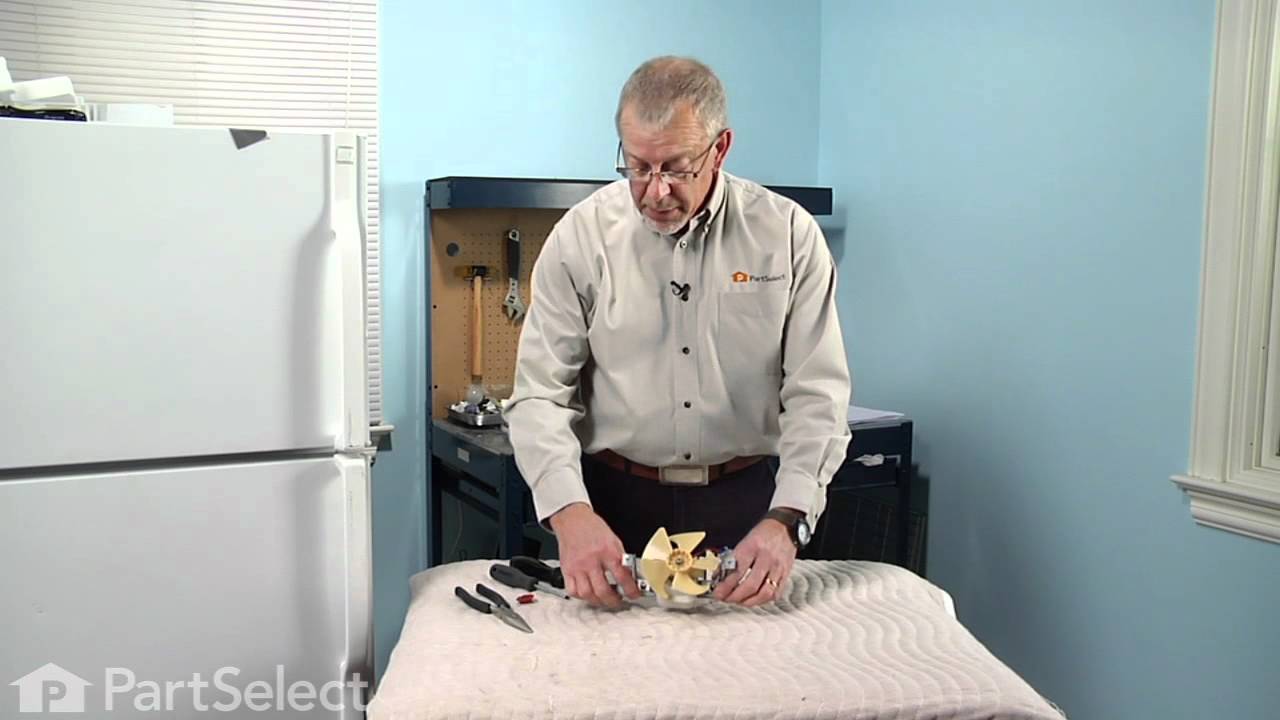
If you notice that your refrigerator or freezer is noisy or too warm, you may need to replace the evaporator fan grommet. This part is red in color, and is about 1 inch in diameter. The evaporator fan grommet is located behind the evaporator fan cover in the back of the freezer. You will need to remove the evaporator fan cover to access t...Read morehe evaporator fan and complete this repair. Before you begin this repair, ensure the power to the refrigerator is disconnected. You will need a pair of needle nose pliers, a small flat blade screw driver and both a 1/4 and 5/16-inch nut driver to complete this repair.
This genuine OEM solenoid is designed for use with GE refrigerators and controls the opening and closing of the ice chute door. It serves as a direct replacement for a worn or faulty solenoid, helping to restore proper ice dispenser function. Constructed from durable metal, this part includes all necessary wiring for installation and is s...Read moreold individually.
Installation requires a Phillips screwdriver. Always refer to your appliance’s manual or diagram to ensure proper placement and compatibility before beginning the repair.
This is the replacement dairy door for a refrigerator. It is installed on the inner door and rotates up and down to allow access to the dairy compartment. It is made of clear plastic. If your dairy door is cracked, broken, missing, or won't stay on, you may need to replace it. This is an OEM part sourced directly from the manufacturer.
This door recess spring or dispenser lever spring in your refrigerator is used to return the ice door to the closed position or the dispenser lever to the home position once released. You will find the spring in the water dispenser assembly, behind the main control panel. If the dispenser lever is malfunctioning or the dispenser ice door is not closing, you may need to replace this door recess spring.
This is the light switch that goes in your refrigerator. If the light is not working or stays on, you may need to replace the switch. It is made of mainly white plastic, and is an OEM part, directly from the manufacturer. Be sure to disconnect the refrigerator from the power source before you begin this repair. To remove the switch, simpl...Read morey use a flathead screwdriver to pop the switch out from the refrigerator wall, then disconnect the wires. Reconnect the wires to the new switch, snap it into place, and the repair is complete.
This refrigerator water filter helps reduce chlorine taste, lead, and other listed impurities from drinking water and ice. It has a built-in chip that lets select refrigerators track filter use. Replace it about every six months or after 170 gallons, whichever comes first. Use the complete refrigerator model number to guarantee the proper...Read more fit. It can replace the older XWF filter in many models. No tools are usually needed. After installation, flush the filter with the amount of water listed in the owners manual.
This compression ring is meant to hold the evaporator fan motor in place in the freezer compartment of your refrigerator. This is is a genuine OEM part. The tools needed to complete this repair are a Phillips screw driver and small flat blade screw driver. Be sure to turn off your refrigerator before removing the evaporator fan cover so t...Read morehe fan does not turn on during repair. It is recommended to check the grommets, evaporator fan, and fan blades during repair in case they also need replacning. The compression ring may need replacing if the fan is noisy, or the refrigerator compartments are too warm. This part is sold individually.
This door bin is for refrigerators and attaches to the inside of the refrigerator door and typically holds jars and bottles. Follow the instructions in the owner's manual for installing this part.
Ask our experts a question about this model and we'll get back to you as soon as possible!
We may have answered a similar question already! Search questions and answers left by others using simple keywords like "fit", "broken", "easy", or "quality" to find questions that match.
Search filter:
Clear Filter
Your search term must have 3 or more characters.
Sort by:
Prev
1
Next
Sorry, we couldn't find any existing answers that matched.Try using some different or simpler keywords, or submit your new question by using the "Ask a Question" button above!
Doris - For model number XSS25GYPECFS
March 3, 2025
I need the 3 lights for when I open the door
Hi Doris, thank you for the question. The LED light board you are looking for is part number PS11767930. Glad to be of help!
See how others fixed this model. Time, tools, difficulty, and steps that lead to victory!View More
Search repair tips from other customers using simple keywords like "replace", "fit", "remove", "inspect". DIY doesn't mean you have to do it alone!
Search filter:
Clear Filter
Your search term must have 3 or more characters.
my refigerator was warm but the freezer was cold and working correcttly
305 of 404 peoplefound this instruction helpful.
michele from North Smithfield, RI
Really Easy
15 - 30 mins
Pliers
I went to a GE repair center to explain my problem, the service center reccomended that I have a techinician come out o look at it. $75.00 for the visit and what ever labor and materials wuld cost.
I went on line to see if there were others having this same problem and found that there were many with the same problem.
... Read more />After reading some of the ways that people found out what was wrong ...it became a matter of three components, the timer, heater or thermostat.
I tried the most common component and the less expensive one first , the thermostat switch I installed it very easily snipping two wires and attaching the news using wire nuts I used the diagram on this website to pinpoint the component and there has not been a problem since.
Read less
Was this helpful?
Thank you for voting!
Flapper Door Stuck Open Allowing Ice Tube To Frost Shut
165 of 223 peoplefound this instruction helpful.
Joe from Maryville, TN
Easy
30 - 60 mins
Screw drivers, Wrench set
I read in a previous post how to do the job from outside fridge which saved me lots of time. No need to remove inner door lining. Here is my procedure: 1.Turned off power. 2.Snapped off outside trim ring. 3.Located three small holes inside lip just above ice tube. The center hole was not used. 4.Pushed rather firmly up through
... Read more two remaining holes with small Allen wrench to release front control panel. 5.Removed (3) wire connectors from printed circuit board. Firmly pull/pry them straight out as lifting on retaining clip will break it off. I broke one & had to elect. tape it back in place later although I doubt it would have ever come off. 6.Release secondary panel by removing (4) screws. The problem was obvious as the solenoid had broken the crank arm off the flapper rod & trapped it open 7.Replaced solenoid, crank arm with flapper attached, spring & micro switch. Switch was okay but I changed anyway. 8.Cleaned all areas with 1/10 bleach water to sanitize. 9.Re-installed evrything in reverse order & all is okay. Thanks to someone for telling about those two small holes. Made job easy versus a very hard one.




 My Orders