



 My Orders




XSS25GGPBCBB General Electric Refrigerator - Overview
Diagrams for XSS25GGPBCBB
See every part. Know exactly what you need.


Enter a part description. DIY Heroes keep it simple, eg. "belt" or "pump".
Search filter:
Clear Filter
Your search term must have 3 or more characters.

$207.55
In Stock
Ice Maker
Part #WR30X10093
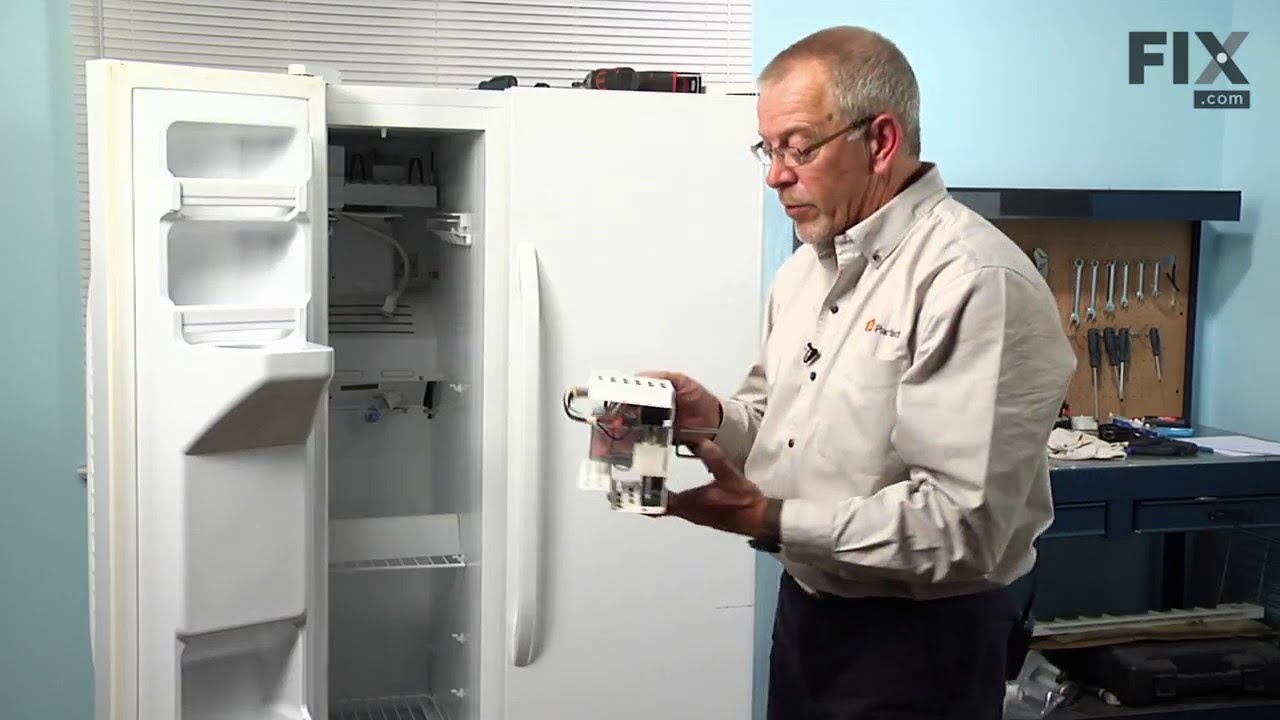
This 10 by 5 inch ice maker (Electromechanical Icemaker Kit, Ice Maker Assembly) produces ice. This particular model will produce seven crescent shaped cubes every cycle. It is constructed of plastic and metal, and comes in black/white. This kit includes a set of installation instructions, a 4-pin round plug-in connector, 6 post plug-in c...Read moreonnectors, tube and fill cup. The ideal temperature of a freezer is zero degrees Fahrenheit. If the temperature in your freezer is at an appropriate level yet ice is still not being made, it could be an issue with the water inlet valve or your ice maker assembly. If you determine it is the ice maker, this is the replacement you need. The ice maker can break from normal wear and accidental damage. Ice makers will need to be replaced every 3-10 years depending on the frequency of usage and water quality. This model is mounted on the freezer wall.
Read less

$42.47
In Stock
DOOR DAIRY
Part #WR71X38317
This is the replacement dairy door for a refrigerator. It is installed on the inner door and rotates up and down to allow access to the dairy compartment. It is made of clear plastic. If your dairy door is cracked, broken, missing, or won't stay on, you may need to replace it. This is an OEM part sourced directly from the manufacturer.

$18.37
In Stock
REFRIGERATOR DOOR LIGHT SWITCH
Part #WR23X31507
This is the light switch that goes in your refrigerator. If the light is not working or stays on, you may need to replace the switch. It is made of mainly white plastic, and is an OEM part, directly from the manufacturer. Be sure to disconnect the refrigerator from the power source before you begin this repair. To remove the switch, simpl...Read morey use a flathead screwdriver to pop the switch out from the refrigerator wall, then disconnect the wires. Reconnect the wires to the new switch, snap it into place, and the repair is complete.
Read less

$16.05
In Stock
Compression Ring
Part #WR02X12149
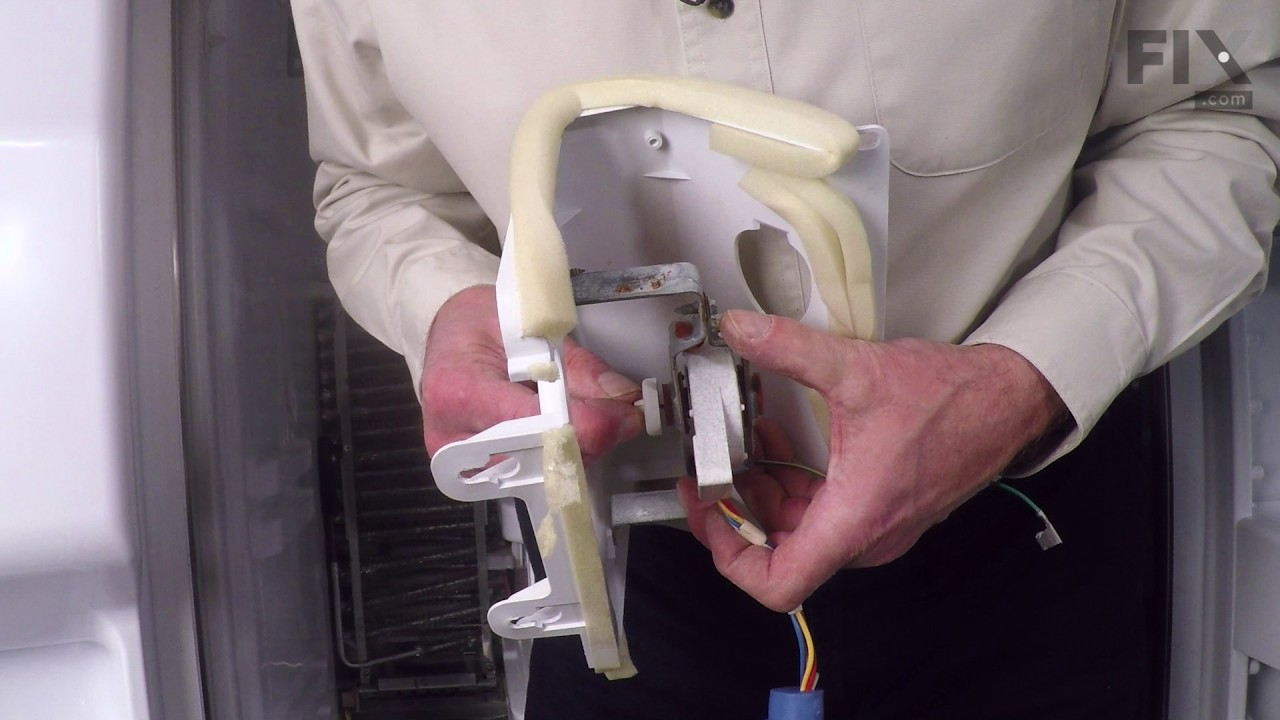
This compression ring is meant to hold the evaporator fan motor in place in the freezer compartment of your refrigerator. This is is a genuine OEM part. The tools needed to complete this repair are a Phillips screw driver and small flat blade screw driver. Be sure to turn off your refrigerator before removing the evaporator fan cover so t...Read morehe fan does not turn on during repair. It is recommended to check the grommets, evaporator fan, and fan blades during repair in case they also need replacning. The compression ring may need replacing if the fan is noisy, or the refrigerator compartments are too warm. This part is sold individually.
Read less

$55.05
In Stock
SHELF MODULE FF
Part #WR71X38318
This door bin is for refrigerators and attaches to the inside of the refrigerator door and typically holds jars and bottles. Follow the instructions in the owner's manual for installing this part.

$73.19
In Stock

$64.12
In Stock
Middle Pan Cover Frame - No Glass
Part #WR32X26246
This refrigerator middle pan cover is a durable, precision-fit component designed to sit above the middle crisper or storage drawer. It provides structural support for items stored above while helping to maintain optimal humidity levels within the drawer below. Constructed from high-quality materials, it serves as a direct replacement for...Read more cracked, warped, or missing covers, restoring both functionality and appearance. Replacing this part helps preserve food freshness and ensures the refrigerator operates efficiently and remains well-organized.
Read less

$16.05
In Stock
Lid Bumper
Part #WR02X10540
The lid bumper or evaporator fan motor bumper in your refrigerator prevents the fan motor from scraping against the side bracket. If your refrigerator/freezer is noisy, the bumper could be worn down or missing, and the sound could be a result of the motor scraping the side bracket. You will find it between the fan motor and the side brack...Read moreet on the evaporator fan motor assembly. To access the bumper, you will need to remove the evaporator fan motor assembly from the freezer. This part is made of orange rubber and is less than half an inch in diameter. It has a rounded top and a slightly pointed bottom, and is sold individually.
Read less

$87.76
In Stock
Refrigerator Crisper Drawer
Part #WR32X32346
This part is the replacement bottom crisper drawer for your refrigerator. The crisper drawer is used to store food items, and because it is made of plastic, it can occasionally become cracked or broken. You may notice a leak from the bottom of the drawer, and this can indicate damage to the crisper drawer. To replace the drawer, simply sl...Read moreide the old one out, and replace it with the new one. This crisper is made of white and clear plastic and measures approximately 22 inches wide, 15 inches tall, and 19 inches deep. This part is sold individually and is designed for the bottom drawer of your refrigerator.
Read less

$61.39
In Stock
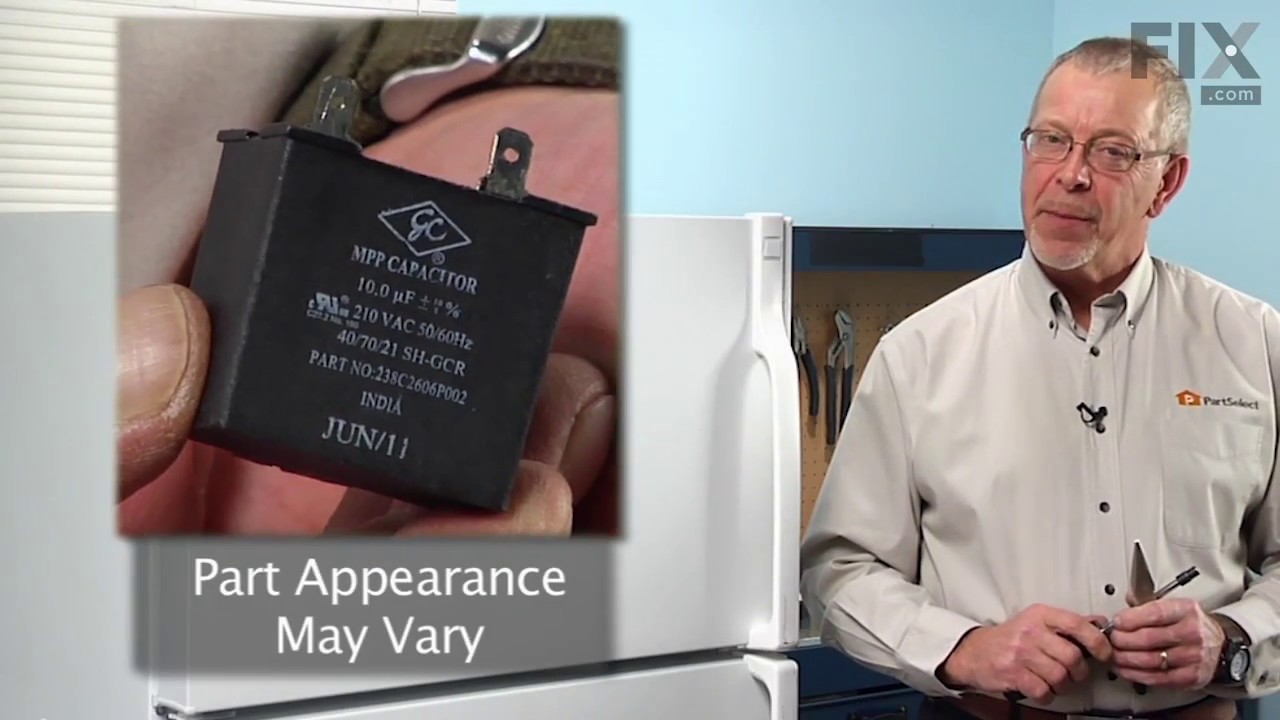
Run Capacitor
Part #WR55X24064
This part helps the compressor kick on and off while maintaining a constant temperature to keep things frozen in your freezer. This part has been updated by the manufacturer and may appear different than the original, but should function the same.

$78.38
In Stock
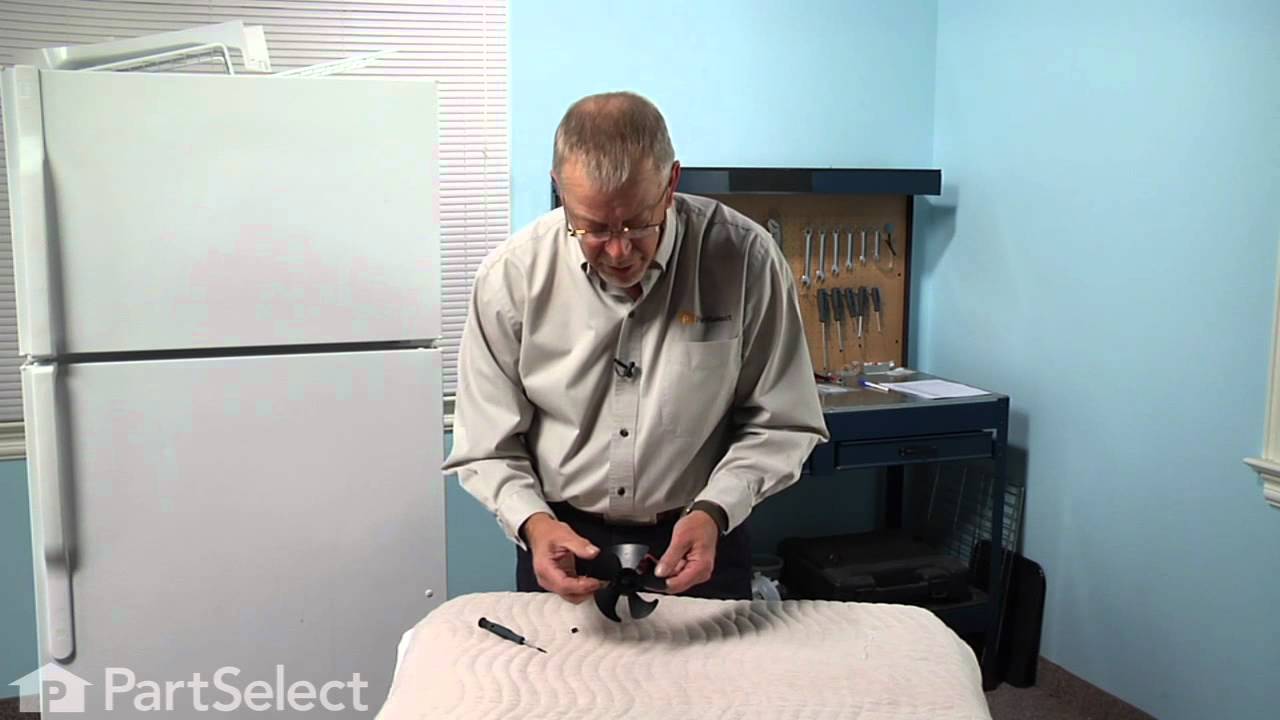
EVAPORATOR FAN BLADE
Part #WR60X30922
This evaporator fan blade is for your refrigerator, and it circulates air so that the temperature of the fridge is regulated. This model has 3 blades, and is a little more than 4 inches in diameter. It is made of white plastic and is sold individually. If your refrigerator is noisy and you hear a clicking sound, it is a good indication th...Read moreat the evaporator fan blade is warped or damaged. If the fridge or freezer sections become too warm, the fan could be to blame as well.
Read less

$40.56
In Stock
Plastic Tubing - 5/16 Inch
Part #WR17X2891
This part is the replacement water line for your refrigerator. It is a long plastic tube, which is 5/16 of an inch in diameter. If your refrigerator is leaking, or will not dispense water or ice, you may have a damaged water line. When you replace the water line, you may want to pick up a new water tube union as well. You can use a utilit...Read morey knife to cut the old water line where it is damaged, and use the union to attach the new water line to the old one. This tubing is sold individually and is an OEM part.
Read less
Common Symptoms of the XSS25GGPBCBB
How this model fails, and the parts that fix it.
Noisy
Fixed by
these parts
these parts


Show All
Ice maker not making ice
Fixed by
these parts
these parts


Show All
Leaking
Fixed by
these parts
these parts

Show All
Light not working
Fixed by
these parts
these parts


Show All
Fridge too warm
Fixed by
these parts
these parts


Show All
Ice maker won’t dispense ice
Fixed by
these parts
these parts


Show All
Will Not Start
Fixed by
these parts
these parts
Show All
Freezer section too warm
Fixed by
these parts
these parts
Show All
Door won’t open or close
Fixed by
these parts
these parts


Show All
Not dispensing water
Fixed by
these parts
these parts

Show All
Fridge and Freezer are too warm
Fixed by
these parts
these parts

Show All
Door Sweating
Fixed by
these parts
these parts
Show All
Clicking sound
Fixed by
these parts
these parts
Show All
Frost buildup
Fixed by
these parts
these parts

Show All
Too warm
Fixed by
these parts
these parts
Show All
Fridge runs too long
Fixed by
these parts
these parts
Show All
Won’t start
Fixed by
these parts
these parts
Show All
Ice maker dispenses too little ice
Fixed by
these parts
these parts
Show All
Freezer not defrosting
Fixed by
these parts
these parts
Show All
Ice maker dispenses too much ice
Fixed by
these parts
these parts
Show All
Watch our pros, then fix it yourself.



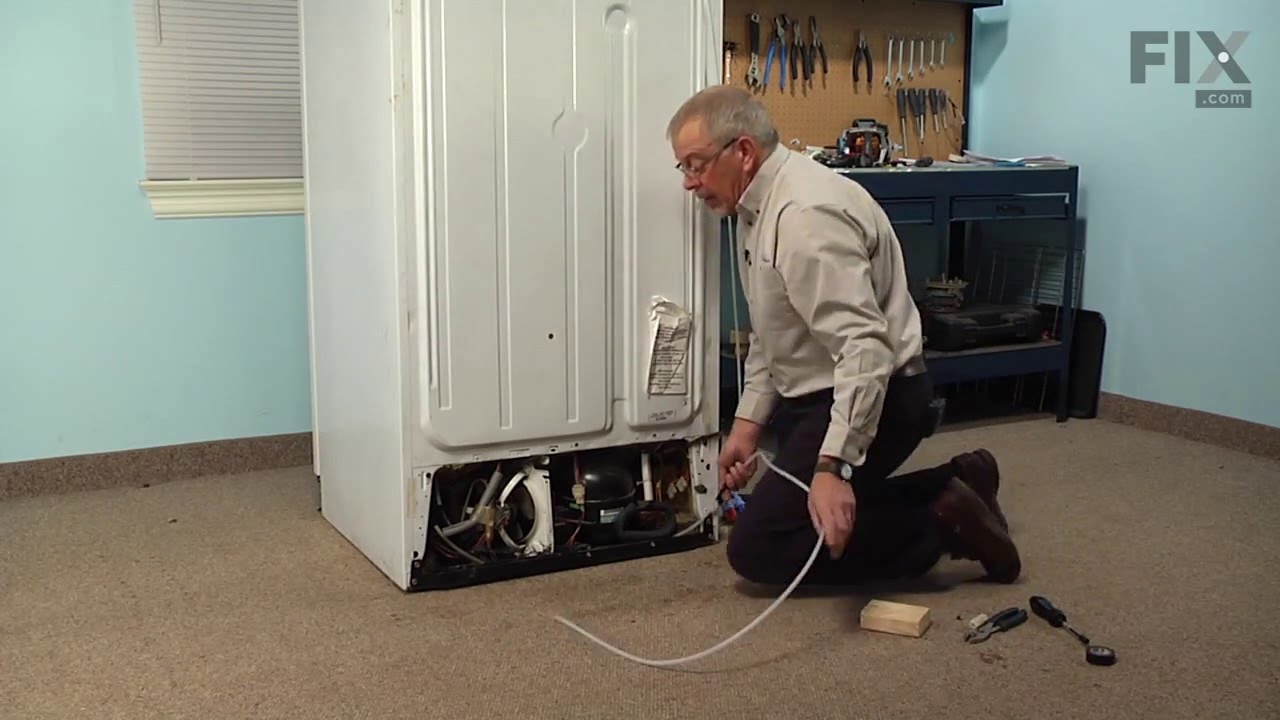
See how others fixed this model. Time, tools, difficulty, and steps that lead to victory!
View More