



 My Orders




XRSS465BB (PXRSS465BB0) Amana Refrigerator - Overview
Diagrams for XRSS465BB
See every part. Know exactly what you need.
-
CABINET BACK

-
CONTROLS

-
CRISPER ASSY

-
DELI AND REF SHELF

-
EVAP FAN ASSY AND LIGHTS

-
EVAPORATOR ASSY AND ROLLERS

-
FZ DOOR AND FACADE

-
FZ SHELF

-
HANDLES AND TRIM (BLK)

-
HINGES

-
ICE BUCKET ASSY

-
LIGHT COVERS AND TOE GRILLE

-
LIGHTS AND ICE MAKER

-
MACHINE COMPARTMENT

-
REF / FZ DOOR AND SHELF

-
SUPPLEMENTAL INFORMATION
.gif "SUPPLEMENTAL INFORMATION Diagram and Parts List for PXRSS465BB0 Amana Refrigerator")
-
WIRING INFORMATION

Enter a part description. DIY Heroes keep it simple, eg. "belt" or "pump".
Search filter:
Clear Filter
Your search term must have 3 or more characters.

$30.53
In Stock
Door Switch
Part #W11396033
This light switch may also be known as a refrigerator door switch or a light switch kit, and is compatible with your refrigerator. The function of the refrigerator door switch is to turn on the light when your fridge door is open, and to make sure it is off when your refrigerator door is closed. The reason you would need to replace this p...Read moreart is if your light is not turning on when your door is open. For this repair, you will need a putty knife, and a small flat-blade screwdriver.
Read less

$9.62
In Stock
Door Closure Cam Kit
Part #R0181181
This door closing cam kit is intended for use on the bottom of your refrigerator and freezer door hinges. The cam helps close the doors and to lifts them slightly when opened. If your door will not open or close, or will not stay closed, there could be an issue with the door close cam. Other common symptoms associated with the door close ...Read morecam are: the door is sweating, the fridge is too warm, or a clicking sound can be heard coming from the door. If your refrigerator has an ice and water dispenser, you will need to disconnect the power and water to the unit before you begin the repair.
Read less

$21.45
In Stock
Screw
Part #W11233072
This is a multi-use and multi-appliance screw. It can be used on a microwave, refrigerator, range/oven, air conditioner, dehumidifier, washer, or dryer. The measurements of this screw are 8 x 1/2 inch. It has 6 threads. Refer to the manual provided by the manufacturer for further information on repair and accurate guidance. Remember to wear work gloves as a safety precaution.

$7.47
In Stock

$10.70
In Stock
Refrigerator Crisper Frame Support
Part #WP12603701
This genuine OEM crisper frame support provides stability to the crisper drawer in your refrigerator, preventing sagging or collapse under the weight of produce. It is typically located at the bottom or near the rear wall of the fridge. If the crisper drawer feels unstable or wobbly, it may indicate a broken or damaged frame support. To r...Read moreeplace it, remove items from the crisper shelf, then the shelf and crisper itself. Take off the glass from the top of the frame, and pull the support off the mounting stud. Note that the wall anchor for mounting this replacement part is sold separately.
Read less

$101.19
In Stock
Crisper Pan - Large
Part #WP67001503
Sold individually.
Front Width: 16.8;
Front to Back: 14.9";
Width at Rear: 16.42.

$122.57
In Stock

$27.36
In Stock
Ice Maker Helix End Cap
Part #WPD7749401
This helix end cap is almost four inches in diameter. It is all white in color and is made of plastic. This end cap is used in a refrigerator's icemaker.

$28.42
In Stock
Refrigerator Switch
Part #W11291138
This is a light switch for your refrigerator. It activates when the door of your appliance is opened, and it will turn the light inside on and off. You will need to replace this part is if your light is not working properly. In order to make this repair you will need a Phillips screwdriver, a pair of needle nose pliers, and a small flat b...Read morelade screwdriver. This light switch is almost 2 inches long, 1.5 inches wide, and just over an inch thick.
Read less

$28.42
In Stock
Evaporator Fan Blade
Part #WP2169142
If your refrigerator or freezer is too warm, or making noises, you may need to replace the fan blade. The fan blade attaches to the evaporator motor, which is in the freezer section, to help circulate the cold air into the refrigerator and freezer sections. The fan blade is white in color and made from plastic. This is a genuine OEM part...Read more. Please be sure to disconnect the power to your refrigerator before starting your repair.
Read less

No Longer Available
Shelf Support - Right Side
Part #WP10941102
This right side shelf support is just over an inch long. It is all white in color and it is made entirely of plastic.

No Longer Available
Shelf Support - Left Side
Part #12015002
Common Symptoms of the XRSS465BB
How this model fails, and the parts that fix it.
Light not working
Fixed by
these parts
these parts


Show All
Ice maker won’t dispense ice
Fixed by
these parts
these parts



Show All
Leaking
Fixed by
these parts
these parts


Show All
Door won’t open or close
Fixed by
these parts
these parts


Show All
Noisy
Fixed by
these parts
these parts

Show All
Fridge too warm
Fixed by
these parts
these parts

Show All
Ice maker not making ice
Fixed by
these parts
these parts
Show All
Not dispensing water
Fixed by
these parts
these parts


Show All
Clicking sound
Fixed by
these parts
these parts
Show All
Door Sweating
Fixed by
these parts
these parts

Show All
Too warm
Fixed by
these parts
these parts
Show All
Freezer section too warm
Fixed by
these parts
these parts
Show All
Watch our pros, then fix it yourself.


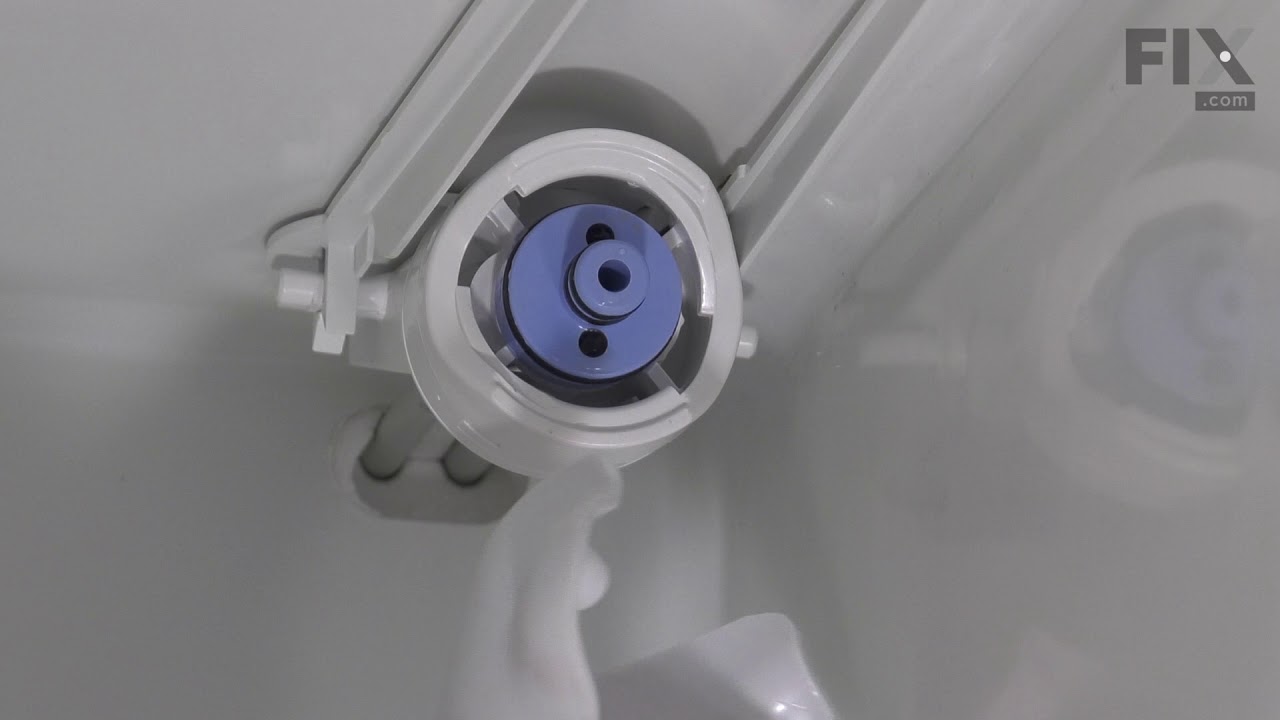
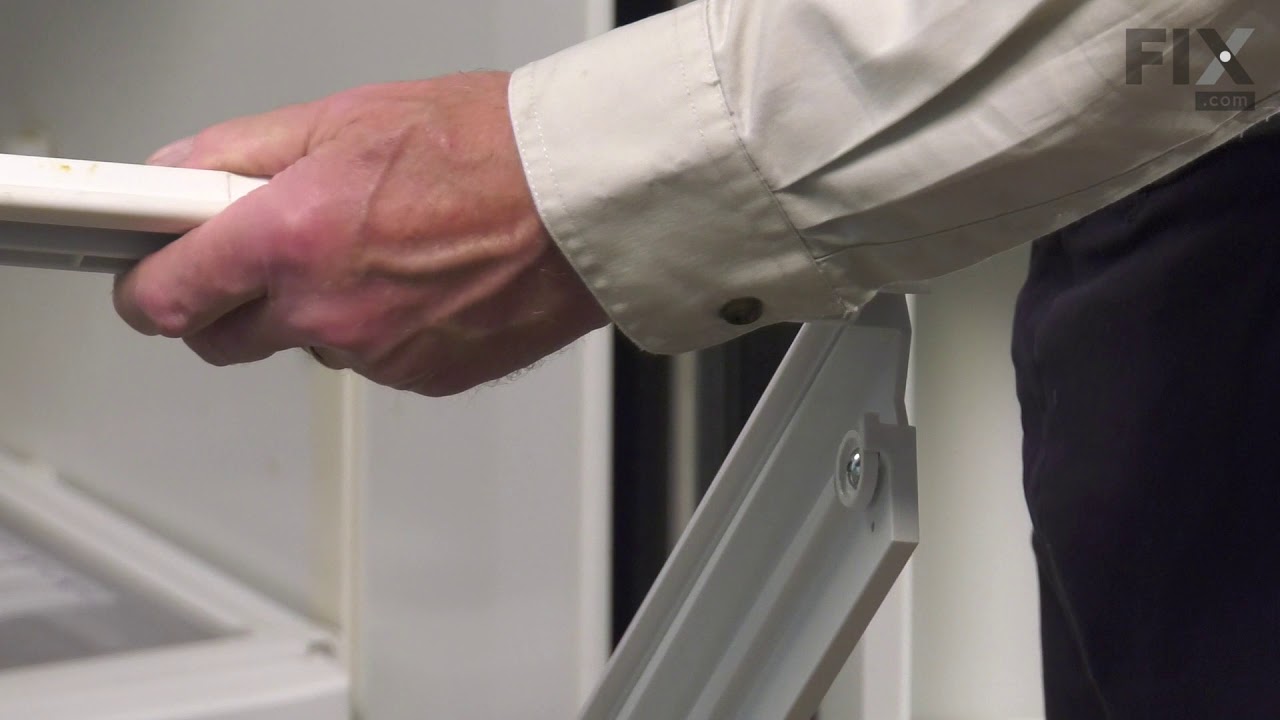
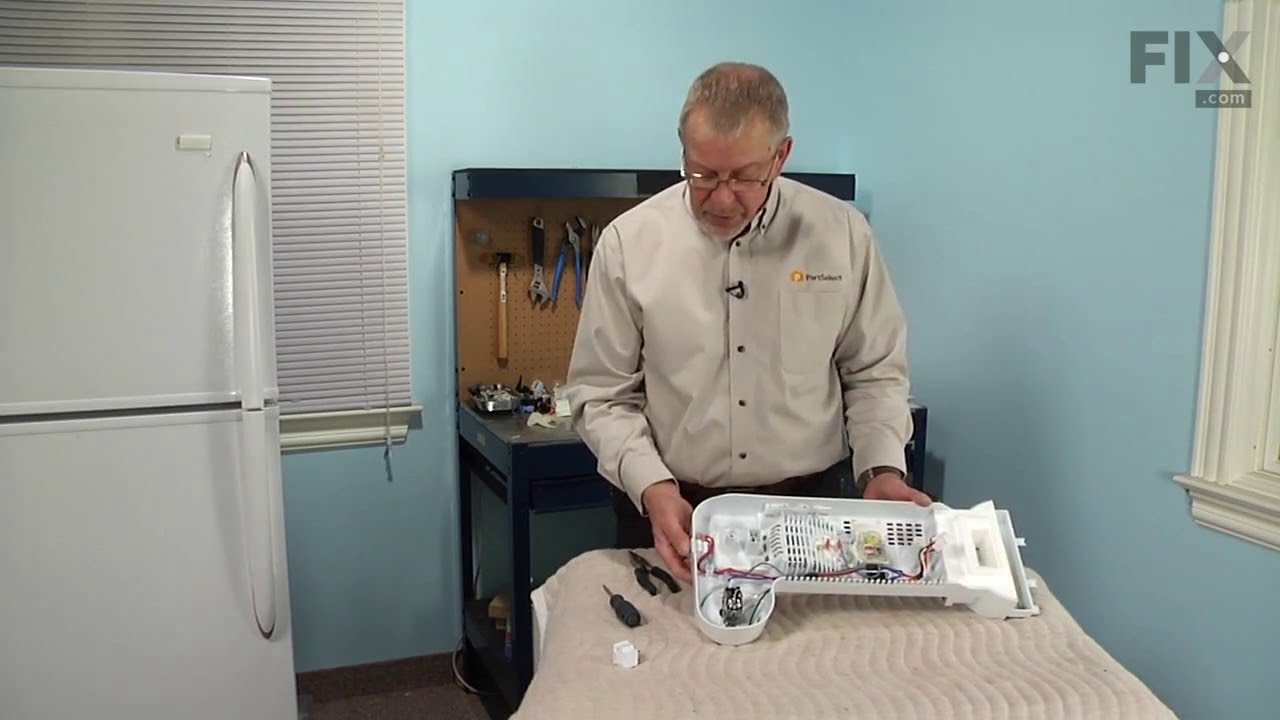
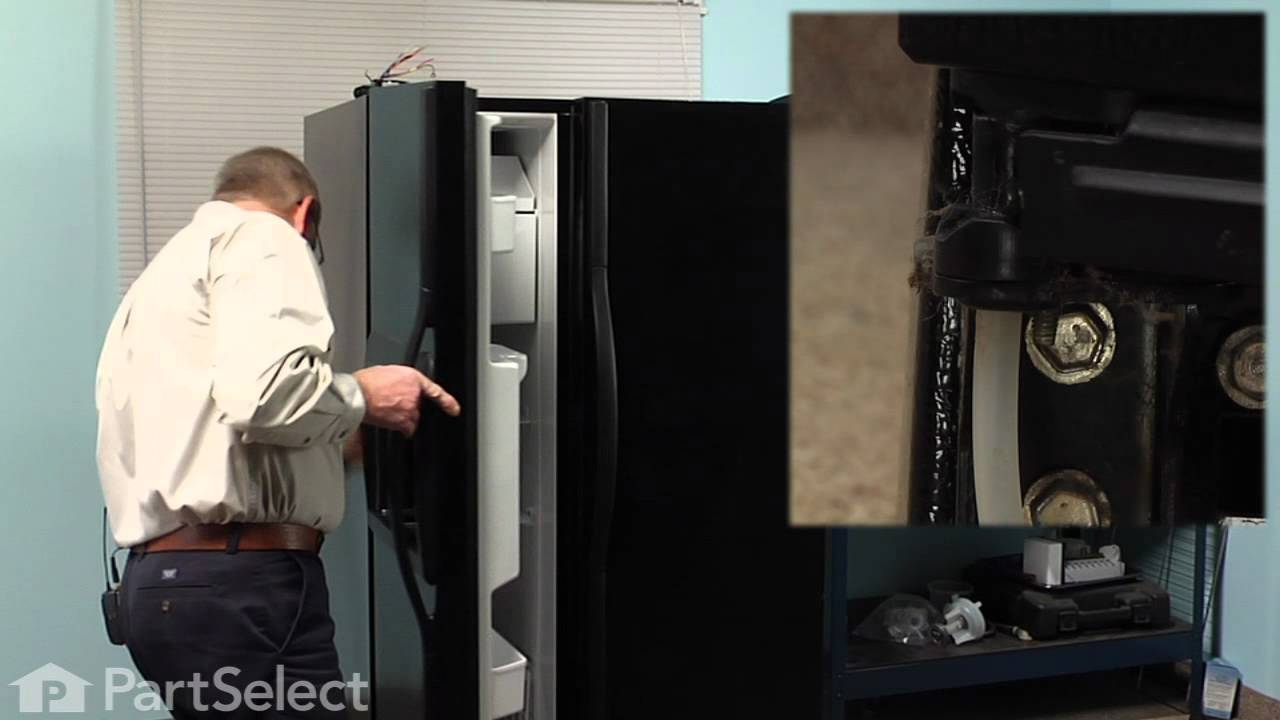
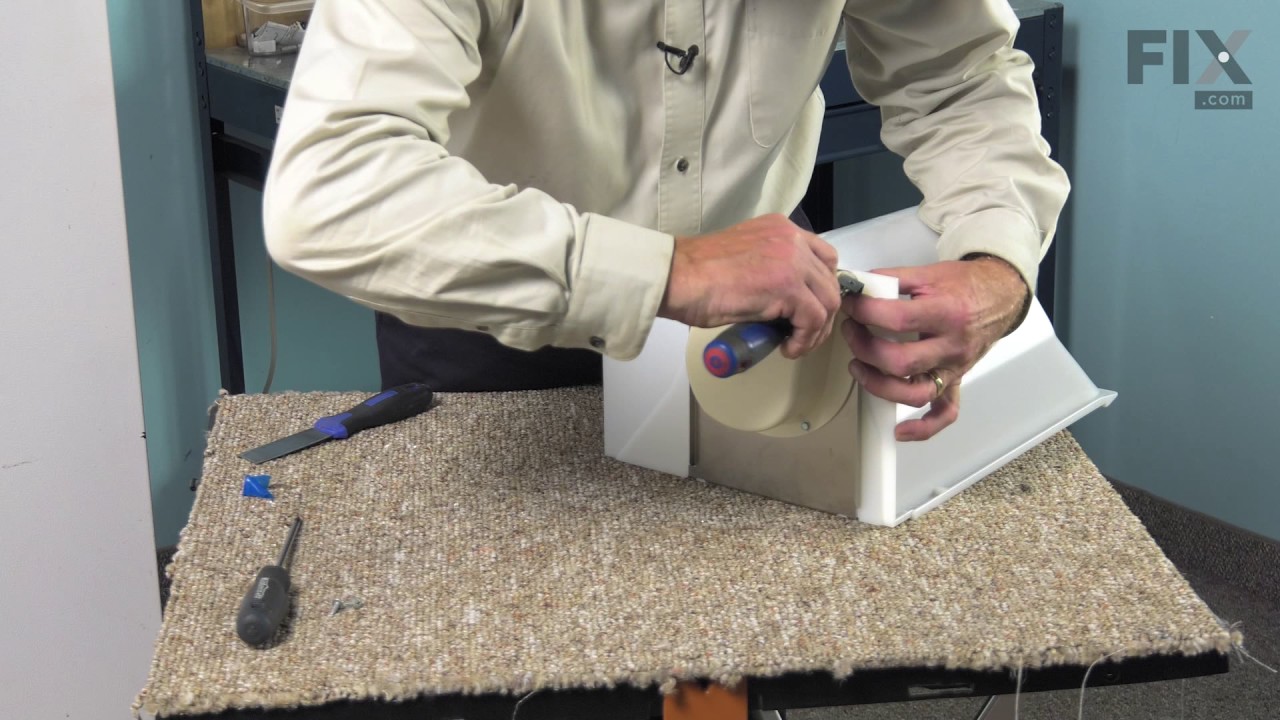
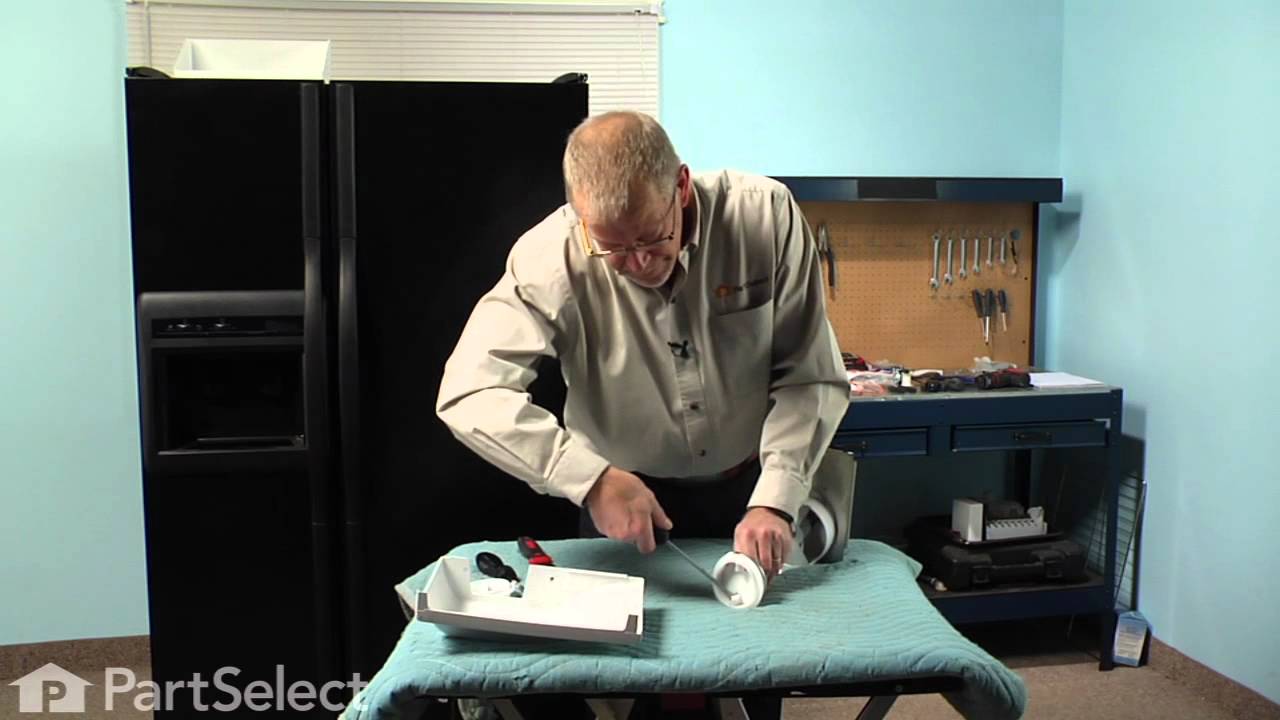
See how others fixed this model. Time, tools, difficulty, and steps that lead to victory!
View More
Search repair tips from other customers using simple keywords like "replace", "fit", "remove", "inspect". DIY doesn't mean you have to do it alone!
Search filter:
Clear Filter
Your search term must have 3 or more characters.
Ice maker would not turn allowing the ice to come out the dispenser. The ice bucket was also cracked from kids (ok and parents) getting frustrated and shaking the ice bucket!
50 of 56 people
found this instruction helpful.
Piece of cake!
Removed the old ice bucket which was cracked and ice would not dispense. The Helix Cap also looked worn which is why I ordered both parts. (Probably if not for the shaking of the ice bucket the Helix cap would have been the only part required. We ended up cracking the ice bucket) Removed the four hex screws from ... Read more the auger system on the old ice bucket with a socket wrench. Removed the old Helix end cap from the auger system and replaced with the new. Literally just slips on the auger. Reinstalled auger system back onto the new ice bucket. Total time not even five minutes.
Working great! Probably saved $ 75.00 - $ 100.00 on a service call. Half of a wrench on skill level needed (One=Low skill level/ Five=High skill level)
Great response & delivery from Parts Select!
Definitely recommend highly.
Todd
Lancaster-PA
Removed the old ice bucket which was cracked and ice would not dispense. The Helix Cap also looked worn which is why I ordered both parts. (Probably if not for the shaking of the ice bucket the Helix cap would have been the only part required. We ended up cracking the ice bucket) Removed the four hex screws from ... Read more the auger system on the old ice bucket with a socket wrench. Removed the old Helix end cap from the auger system and replaced with the new. Literally just slips on the auger. Reinstalled auger system back onto the new ice bucket. Total time not even five minutes.
Working great! Probably saved $ 75.00 - $ 100.00 on a service call. Half of a wrench on skill level needed (One=Low skill level/ Five=High skill level)
Great response & delivery from Parts Select!
Definitely recommend highly.
Todd
Lancaster-PA
Read less
Other Parts Used:


Was this helpful?
Thank you for voting!