



 My Orders




XRS22KGABBB General Electric Refrigerator - Overview
Diagrams for XRS22KGABBB
See every part. Know exactly what you need.

Enter a part description. DIY Heroes keep it simple, eg. "belt" or "pump".
Search filter:
Clear Filter
Your search term must have 3 or more characters.

$75.13
In Stock
Evaporator Fan Motor
Part #WR60X31522
This 115-volt 60Hz evaporator fan motor is located in the back of the freezer and circulates air over the refrigerator coils. These coils will convert the heat into cool air, which is then circulated. If the motor has failed, the freezer/refrigerator will become too warm because the fan motor is not circulating the cool air from the freez...Read moreer into the refrigerator. This is a genuine OEM part. Please remember to disconnect the power to the appliance before starting your repair.
Read less

$13.92
In Stock
Evaporator Fan Grommet - Red
Part #WR02X12008
If you notice that your refrigerator or freezer is noisy or too warm, you may need to replace the evaporator fan grommet. This part is red in color, and is about 1 inch in diameter. The evaporator fan grommet is located behind the evaporator fan cover in the back of the freezer. You will need to remove the evaporator fan cover to access t...Read morehe evaporator fan and complete this repair. Before you begin this repair, ensure the power to the refrigerator is disconnected. You will need a pair of needle nose pliers, a small flat blade screw driver and both a 1/4 and 5/16-inch nut driver to complete this repair.
Read less

$29.32
In Stock

$16.05
In Stock
Lid Bumper
Part #WR02X10540
The lid bumper or evaporator fan motor bumper in your refrigerator prevents the fan motor from scraping against the side bracket. If your refrigerator/freezer is noisy, the bumper could be worn down or missing, and the sound could be a result of the motor scraping the side bracket. You will find it between the fan motor and the side brack...Read moreet on the evaporator fan motor assembly. To access the bumper, you will need to remove the evaporator fan motor assembly from the freezer. This part is made of orange rubber and is less than half an inch in diameter. It has a rounded top and a slightly pointed bottom, and is sold individually.
Read less

$16.23
In Stock

$54.08
In Stock
SNACK PAN 28 30 33
Part #WR32X31467
This clear plastic snack pan is designed to restore organization and functionality within the fresh food compartment of compatible refrigerators. Serving as a dedicated storage drawer, it provides convenient access to frequently used items such as snacks, deli meats, vegetables, and condiments. Its durable construction ensures long-term p...Read moreerformance, while its transparent design allows for easy visibility of contents. Replacing a broken or missing pan helps maintain the refrigerator’s efficiency and cleanliness. Installation is quick and straightforward, requiring no tools and taking only minutes to complete.
Read less

$17.47
On Order
HANDLE FASTENER KIT UNIVERSAL
Part #WR01X48767

$16.05
In Stock

$16.06
In Stock
Evaporator Fan Bracket
Part #WR21X30022

$42.85
In Stock
ICE BUCKET
Part #WR30X30034
If ice spills inside the freezer or the storage bin no longer slides correctly, a damaged bucket may be the cause. This replacement container collects and stores cubes made by the refrigerators automatic ice maker. Its simple plastic design allows the bin to be removed for serving or cleaning. Inspect the support rails and nearby ice-maki...Read moreng parts before installation, since a bent guide or heavy ice buildup can also block movement. Confirm the appliance model and compare the new bin with the old one. Remove any stored ice, slide out the worn bucket, clean the mounting area, and insert the replacement evenly.
Read less

$19.64
In Stock

$149.36
In Stock
REFRIGERATOR MAIN CONTROL BOAR
Part #WR55X43825
This main control board is a vital electronic component that governs the essential operations of compatible refrigerators. Acting as the central processor, it regulates temperature settings, manages fan speeds, controls the defrost cycle, and coordinates other key functions to ensure consistent cooling and food preservation. Integrated LE...Read moreD lighting enhances visibility within the refrigerator, while sensor inputs allow the board to dynamically adjust performance for optimal energy efficiency. A malfunctioning control board may result in erratic temperatures, non-functional lighting, or unresponsive controls. Replacing a faulty unit with this genuine OEM component restores reliable operation and supports long-term appliance performance.
Read less
Common Symptoms of the XRS22KGABBB
How this model fails, and the parts that fix it.
Noisy
Fixed by
these parts
these parts


Show All
Fridge too warm
Fixed by
these parts
these parts
Show All
Freezer section too warm
Fixed by
these parts
these parts
Show All
Clicking sound
Fixed by
these parts
these parts
Show All
Door won’t open or close
Fixed by
these parts
these parts

Show All
Fridge and Freezer are too warm
Fixed by
these parts
these parts
Show All
Will Not Start
Fixed by
these parts
these parts
Show All
Light not working
Fixed by
these parts
these parts

Show All
Too warm
Fixed by
these parts
these parts
Show All
Fridge runs too long
Fixed by
these parts
these parts
Show All
Leaking
Fixed by
these parts
these parts

Show All
Won’t start
Fixed by
these parts
these parts
Show All
Watch our pros, then fix it yourself.
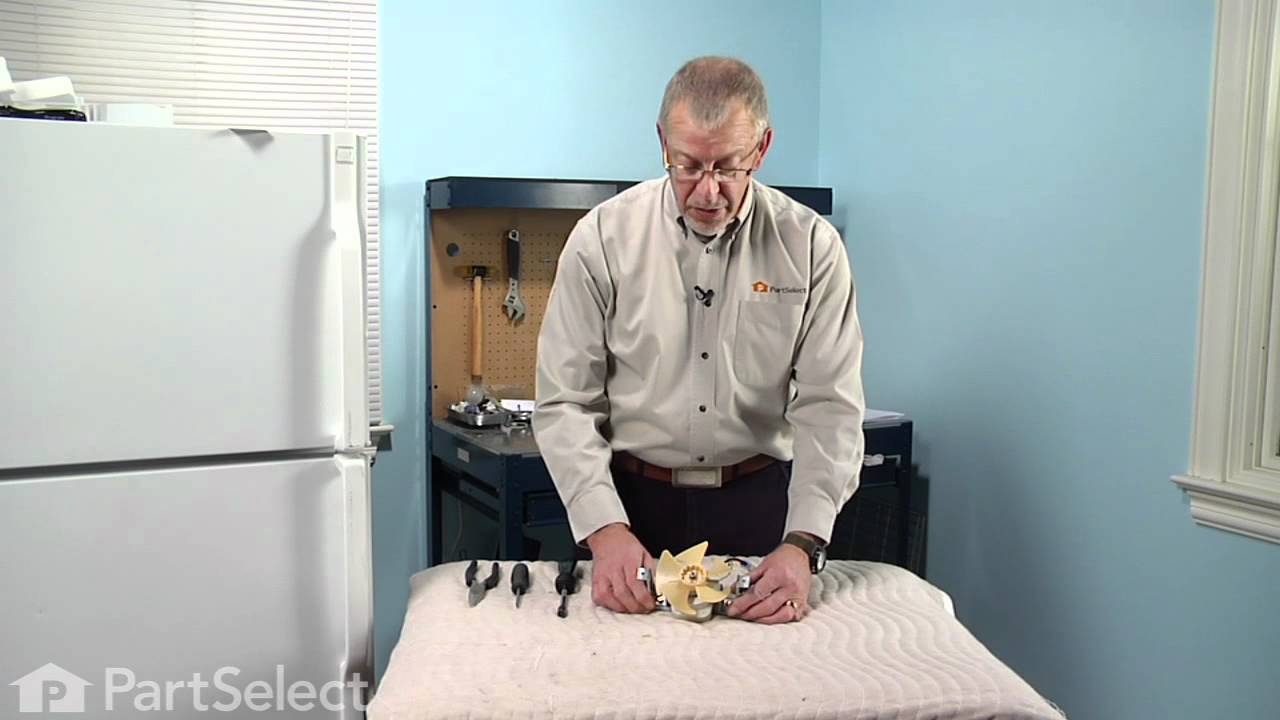
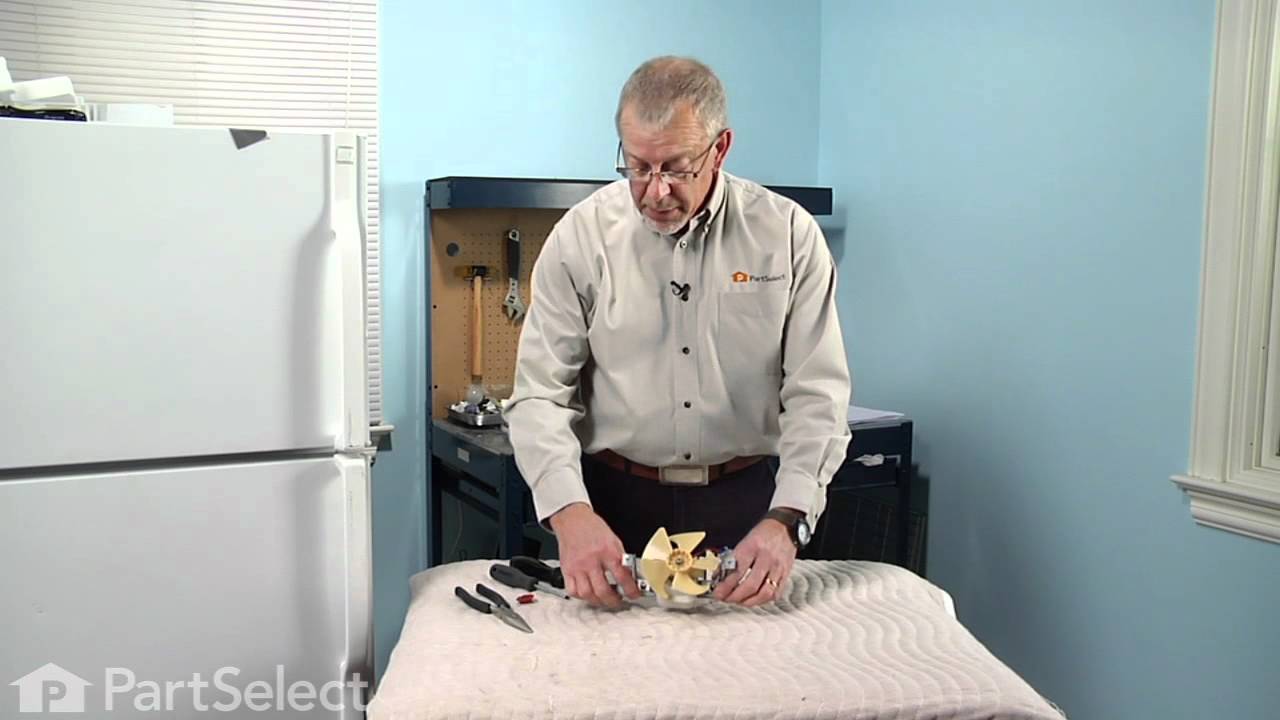
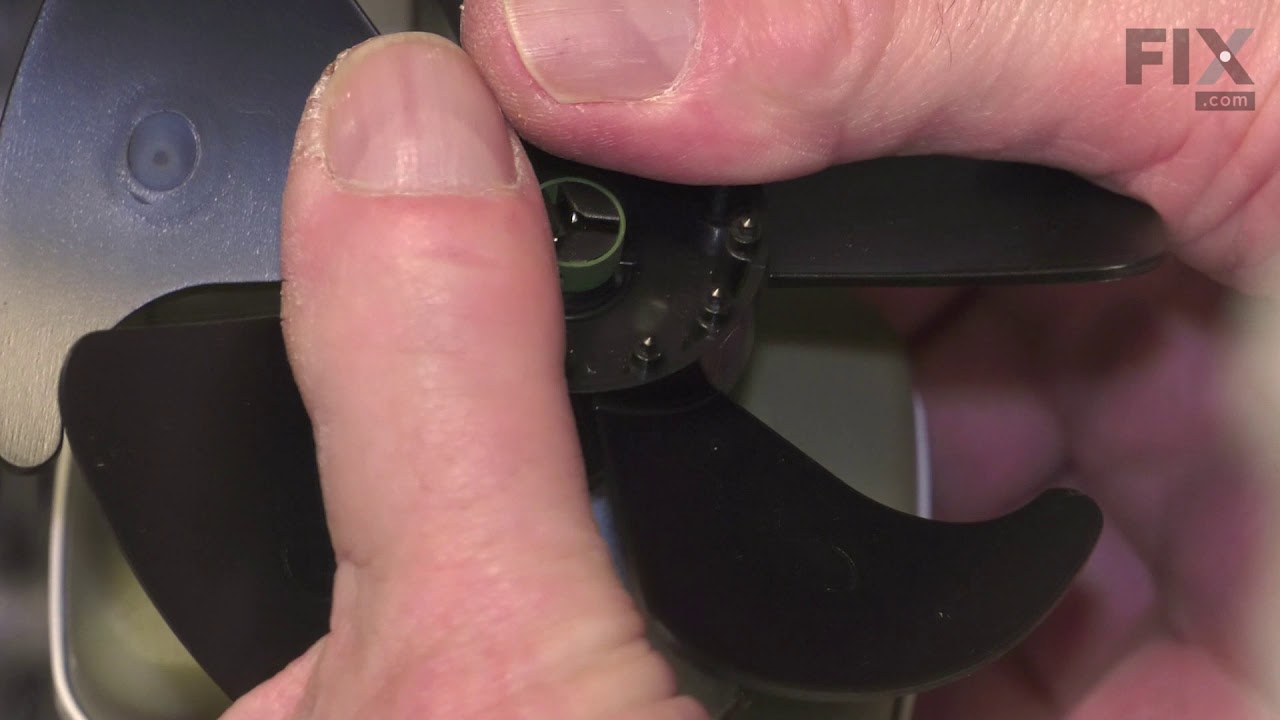

See how others fixed this model. Time, tools, difficulty, and steps that lead to victory!
View More
Search repair tips from other customers using simple keywords like "replace", "fit", "remove", "inspect". DIY doesn't mean you have to do it alone!
Search filter:
Clear Filter
Your search term must have 3 or more characters.
evaporator fan making lots of noise
122 of 150 people
found this instruction helpful.
the repair was really easy!!! took longer to put the little clip on the fan part than it was to install the whole moter and put everthing back together
save money do it yourself.....
save money do it yourself.....
Other Parts Used:


Was this helpful?
Thank you for voting!