



 My Orders




XFE26JSMPFSS General Electric Refrigerator - Overview

Enter a part description. DIY Heroes keep it simple, eg. "belt" or "pump".
Search filter:
Clear Filter
Your search term must have 3 or more characters.

$30.53
In Stock
Temperature Sensor
Part #WR55X10025
This sensor (Temperature Sensor, Thermistor, Refrigerator Temperature Sensor) sends the temperature reading of the compartment to the control board. If you notice your refrigerator is too warm, too cold, or not defrosting properly, then there may be a problem with your sensor. The temperature sensor can break from material fatigue or thro...Read moreugh normal use, and should be replaced. It is attached to the evaporator and control housing in your appliance. It measures approximately 1.25 inches long with 18 inch wire leads, and is constructed out of plastic. This part comes in white, beige. It includes the sensor, with wire leads.
Read less

$15.00
In Stock
Union Connector - 5/16 Inch to 5/16 Inch
Part #WR02X11330
Quick connector for plastic water line - 5/16" to 5/16"

$82.74
In Stock
Refrigerator Water Filter
Part #XWFE
This refrigerator water filter helps reduce chlorine taste, lead, and other listed impurities from drinking water and ice. It has a built-in chip that lets select refrigerators track filter use. Replace it about every six months or after 170 gallons, whichever comes first. Use the complete refrigerator model number to guarantee the proper...Read more fit. It can replace the older XWF filter in many models. No tools are usually needed. After installation, flush the filter with the amount of water listed in the owners manual.
Read less

$16.05
In Stock
Compression Ring
Part #WR02X12149
This compression ring is meant to hold the evaporator fan motor in place in the freezer compartment of your refrigerator. This is is a genuine OEM part. The tools needed to complete this repair are a Phillips screw driver and small flat blade screw driver. Be sure to turn off your refrigerator before removing the evaporator fan cover so t...Read morehe fan does not turn on during repair. It is recommended to check the grommets, evaporator fan, and fan blades during repair in case they also need replacning. The compression ring may need replacing if the fan is noisy, or the refrigerator compartments are too warm. This part is sold individually.
Read less

$27.86
In Stock
Fastener Handle Assembly
Part #WR01X39781
This part is the replacement door handle fastener for your refrigerator. It is made of white plastic and metal, is sold individually, and measures approximately 1-1/4 inches by 1 inch. The door handle fastener allows you to connect your door handle to the refrigerator door. If your door handle is loose or missing, this is the part that wi...Read morell replace it. This part is an authentic OEM part sourced directly from the manufacturer.
Read less

$61.39
In Stock
Run Capacitor
Part #WR55X24064
This part helps the compressor kick on and off while maintaining a constant temperature to keep things frozen in your freezer. This part has been updated by the manufacturer and may appear different than the original, but should function the same.

$78.38
In Stock
EVAPORATOR FAN BLADE
Part #WR60X30922
This evaporator fan blade is for your refrigerator, and it circulates air so that the temperature of the fridge is regulated. This model has 3 blades, and is a little more than 4 inches in diameter. It is made of white plastic and is sold individually. If your refrigerator is noisy and you hear a clicking sound, it is a good indication th...Read moreat the evaporator fan blade is warped or damaged. If the fridge or freezer sections become too warm, the fan could be to blame as well.
Read less

$57.88
In Stock
Door Shelf Bin
Part #WR71X38307
This door shelf bin is a genuine OEM replacement part designed for refrigerators. It is made of highly durable clear plastic, which allows users to easily view the contents of the bin. The bin is a storage compartment used to hold various items such as bottles, jars, and condiments. It provides a convenient way to store and organize food ...Read moreitems for easy access. The bin is vulnerable to breakage, discoloration, and warping over time. The bin may also fail due to overloading or accidental impacts. Do not place any items in the bin if it is damaged as this may result in accidental spills and damage to the interior components of the refrigerator. No mounting hardware is needed for this repair.
Read less

$16.05
In Stock

$18.43
On Order

$36.95
In Stock
Defrost Thermostat
Part #WR50X10069
If your refrigerator isn’t defrosting properly, the defrost thermostat may be the cause. This component plays a key role in regulating the defrost cycle by monitoring the temperature and signaling when to activate or deactivate the defrost heater. A faulty thermostat can lead to frost buildup and cooling issues. Replacing it can restore p...Read moreroper function and help maintain consistent performance. Be sure to check your appliance’s model number to ensure compatibility before installation.
Read less

$15.00
In Stock
Common Symptoms of the XFE26JSMPFSS
How this model fails, and the parts that fix it.
Fridge too warm
Fixed by
these parts
these parts


Show All
Leaking
Fixed by
these parts
these parts


Show All
Freezer section too warm
Fixed by
these parts
these parts

Show All
Noisy
Fixed by
these parts
these parts


Show All
Fridge too cold
Fixed by
these parts
these parts
Show All
Freezer not defrosting
Fixed by
these parts
these parts
Show All
Will Not Start
Fixed by
these parts
these parts
Show All
Fridge and Freezer are too warm
Fixed by
these parts
these parts
Show All
Not dispensing water
Fixed by
these parts
these parts


Show All
Too warm
Fixed by
these parts
these parts
Show All
Frost buildup
Fixed by
these parts
these parts
Show All
Fridge runs too long
Fixed by
these parts
these parts
Show All
Freezer too cold
Fixed by
these parts
these parts
Show All
Door won’t open or close
Fixed by
these parts
these parts


Show All
Ice maker not making ice
Fixed by
these parts
these parts
Show All
Clicking sound
Fixed by
these parts
these parts
Show All
Light not working
Fixed by
these parts
these parts

Show All
Doesn’t stop running
Fixed by
these parts
these parts
Show All
Too cold
Fixed by
these parts
these parts
Show All
Won’t start
Fixed by
these parts
these parts
Show All
Watch our pros, then fix it yourself.
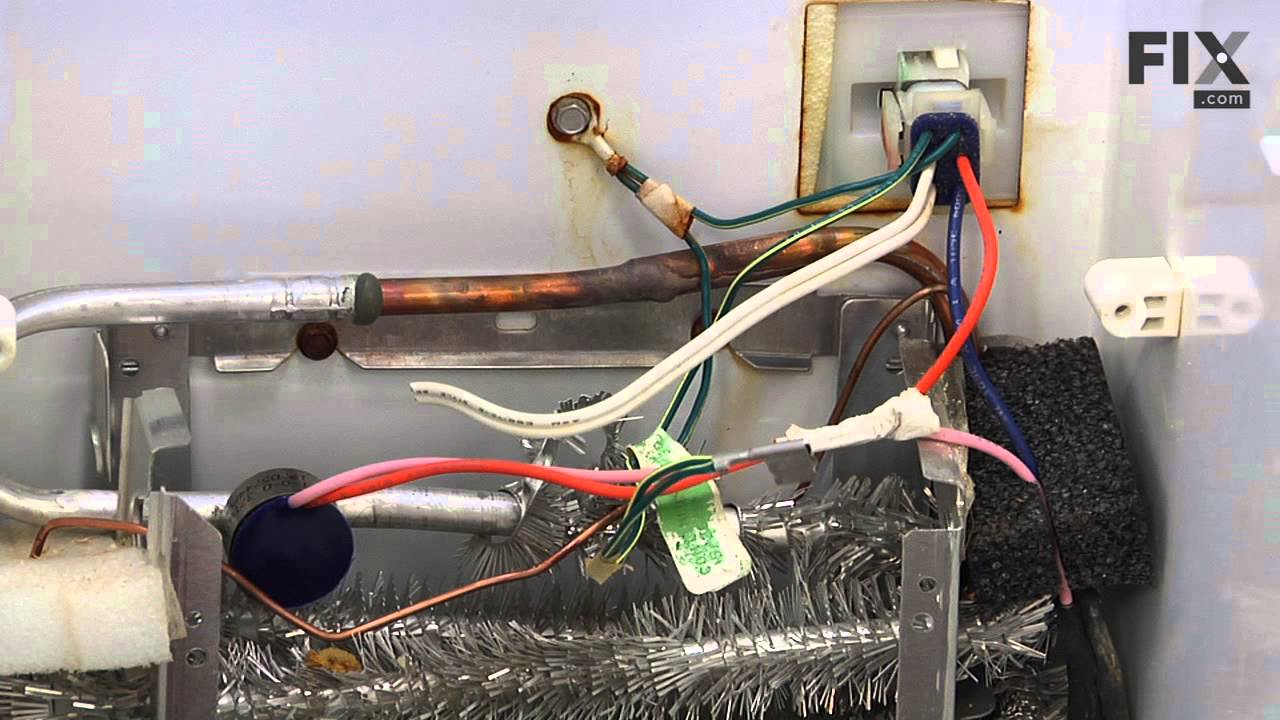
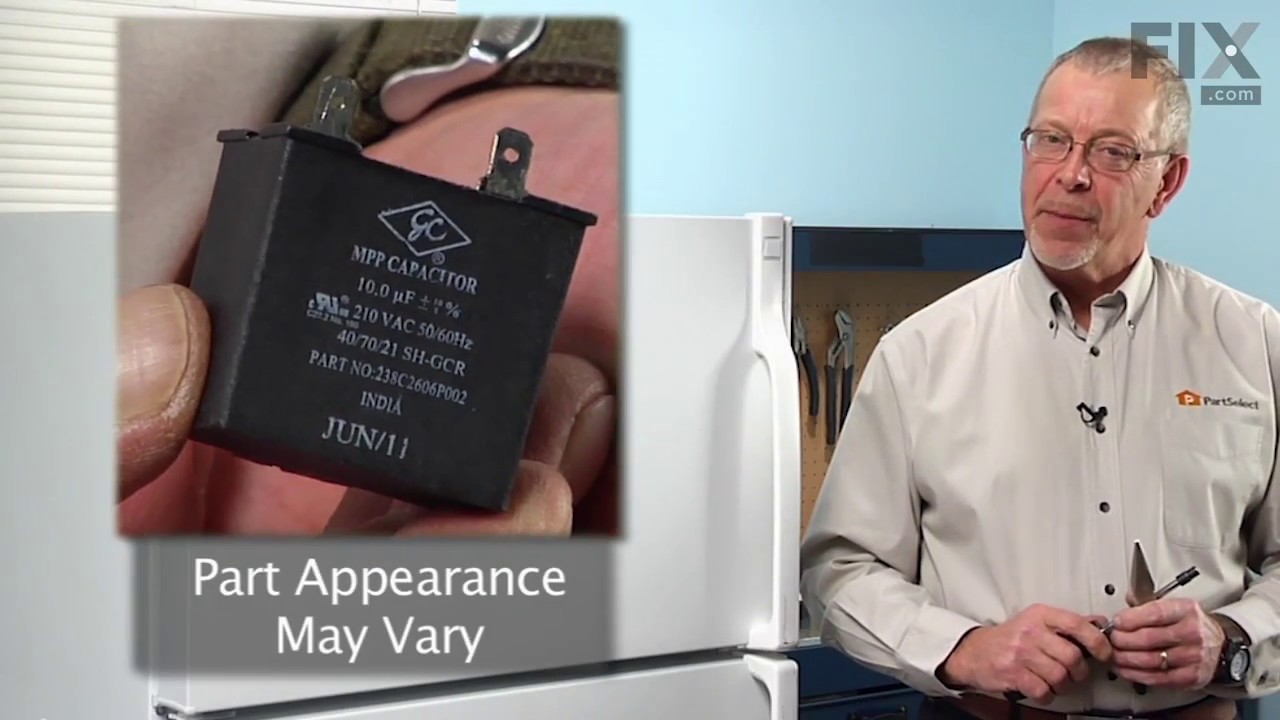
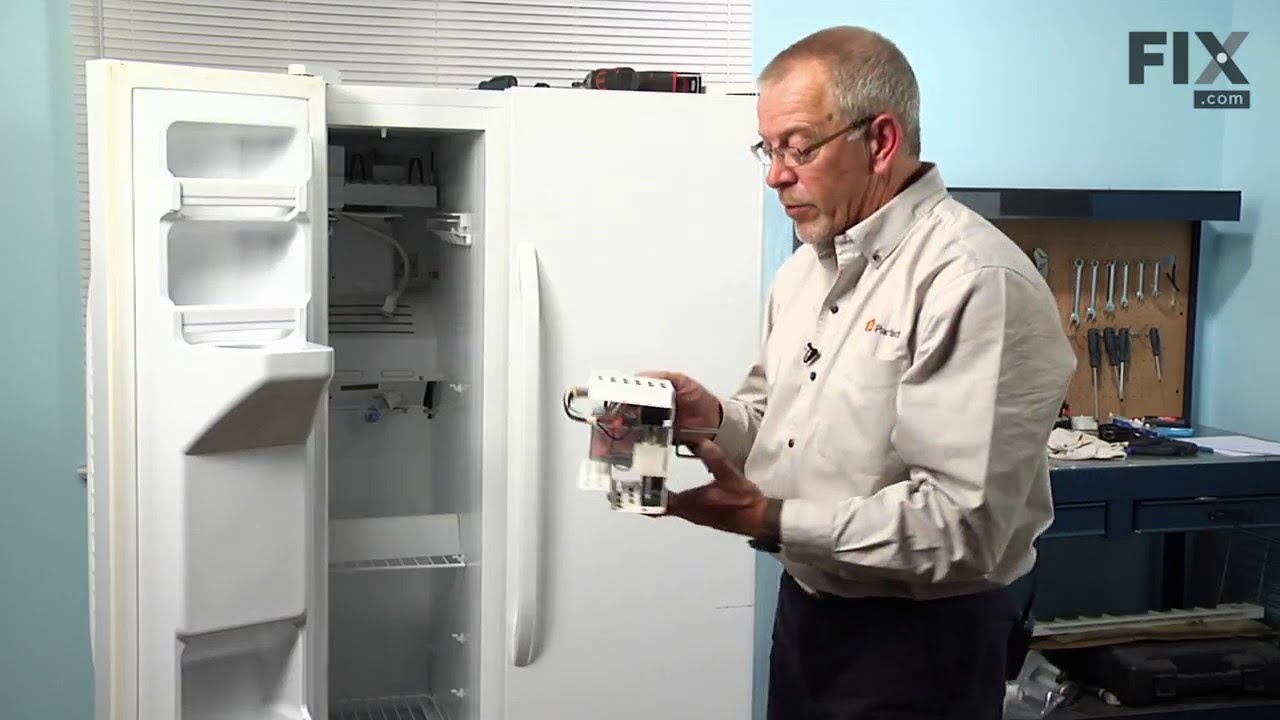
See how others fixed this model. Time, tools, difficulty, and steps that lead to victory!
View More