



 My Orders




XCF200SM1WW General Electric Range - Overview
Diagrams for XCF200SM1WW
See every part. Know exactly what you need.


Enter a part description. DIY Heroes keep it simple, eg. "belt" or "pump".
Search filter:
Clear Filter
Your search term must have 3 or more characters.

$15.00
In Stock

$100.47
In Stock
Bake Element
Part #WB30X46987
The bake element is located on the bottom of the oven. If your oven will not heat properly it may be due to a faulty or damaged baking element. If you can see that the element has been separated or blistered, you should replace the part immediately. If there is no visible damage, turn the oven on and check to see if the element heats even...Read morely. If the element is not heating evenly, or if it is not heating at all, it will need to be replaced. This element is 19 inches wide x 19 inches long, and has male spade push on terminals.
Read less

$16.07
In Stock
Chrome Burner Bowl - 8 Inch
Part #WB31K10266
This burner drip bowl, also referred to as a drip pan or burner pan, is a genuine OEM replacement part that is designed to fit ranges. The bowl is located beneath the burner where it catches food particles and other items that may fall during the cooking process. It prevents these substances from making contact with and potentially damagi...Read moreng the burner or cooktop surface. Each bowl has a diameter of 8 inches. It also comes with a chrome finish that gives the bowl a sleek and modern appearance, helps to protect the bowl from corrosion, and makes it easier to wipe off spills and drips.
Read less

$21.95
In Stock
Light Bulb - 40W
Part #40A15
This 40-Watt light bulb is sold individually.
It is specially designed to withstand extreme temperatures, so this bulb is compatible with a variety of appliance types including refrigerators, ranges, microwaves, and dryers. It features a frosted glass bulb with a standard metal socket base, which allows you to easily unscrew the burnt-out light and twist the new bulb into place.

$152.35
In Stock
CONTROL OVEN TO9
Part #WB27X45466
This electronic control board is the central component of your wall oven, managing functions such as temperature regulation and heating elements. The manufacturer has modified the wiring on this part, so professional installation may be necessary for proper setup. Before installation, shut off the circuit breaker or unplug the oven for sa...Read morefety. This genuine OEM part ensures optimal oven performance and compatibility with select models.
Read less

$29.47
In Stock
GASKET DOOR ASM
Part #WB35X29720
This oven door gasket prevents heat from escaping the oven cavity when in use. It contains all of the attaching clips needed for installation.

$79.26
In Stock
Oven Rack
Part #WB48X20249
This metal oven rack provides a stable and durable surface for baking, roasting, and broiling inside your oven. Designed to fit select gas range and oven models, it promotes even heat circulation and airflow around food for consistent cooking results. Constructed from solid 304 stainless steel, the rack resists rust and warping even at hi...Read moregh temperatures, ensuring long-term reliability. Measuring approximately 23.75 inches in length and 16.25 inches in width, it offers ample space for cookware. Many versions feature convenient handles at each end, allowing for easy placement and removal from the oven.
Read less

$16.05
Special Order
Range Screw
Part #WB1K5062

$140.74
In Stock
Temperature Sensor Kit
Part #WB23X5340
This kit includes the sensor as well as the connectors. NOTE This sensor is 2" long.

$109.95
In Stock
8 SURFACE BURNER
Part #WB31X46066
This surface element is designed to deliver heat to a specific cooking area on the top of an electric range, providing consistent and efficient performance for everyday cooking tasks. Positioned beneath the cooktop surface, it plays a key role in maintaining accurate temperature control. For safety, always unplug the range or switch off t...Read morehe appropriate circuit breaker before beginning installation. Wearing protective work gloves is also recommended to prevent injury while handling electrical components.
Read less

$16.16
In Stock
Receptacle Clip
Part #WB02K10133

$15.00
In Stock
Wire Clip
Part #WB2X8115
Common Symptoms of the XCF200SM1WW
How this model fails, and the parts that fix it.
Little to no heat when baking
Fixed by
these parts
these parts


Show All
Element will not heat
Fixed by
these parts
these parts

Show All
Touchpad does not respond
Fixed by
these parts
these parts
Show All
Oven not heating evenly
Fixed by
these parts
these parts
Show All
Will Not Start
Fixed by
these parts
these parts
Show All
Oven is too hot
Fixed by
these parts
these parts
Show All
Will not program
Fixed by
these parts
these parts
Show All
Timer will not advance
Fixed by
these parts
these parts
Show All
Door won’t close
Fixed by
these parts
these parts

Show All
Watch our pros, then fix it yourself.
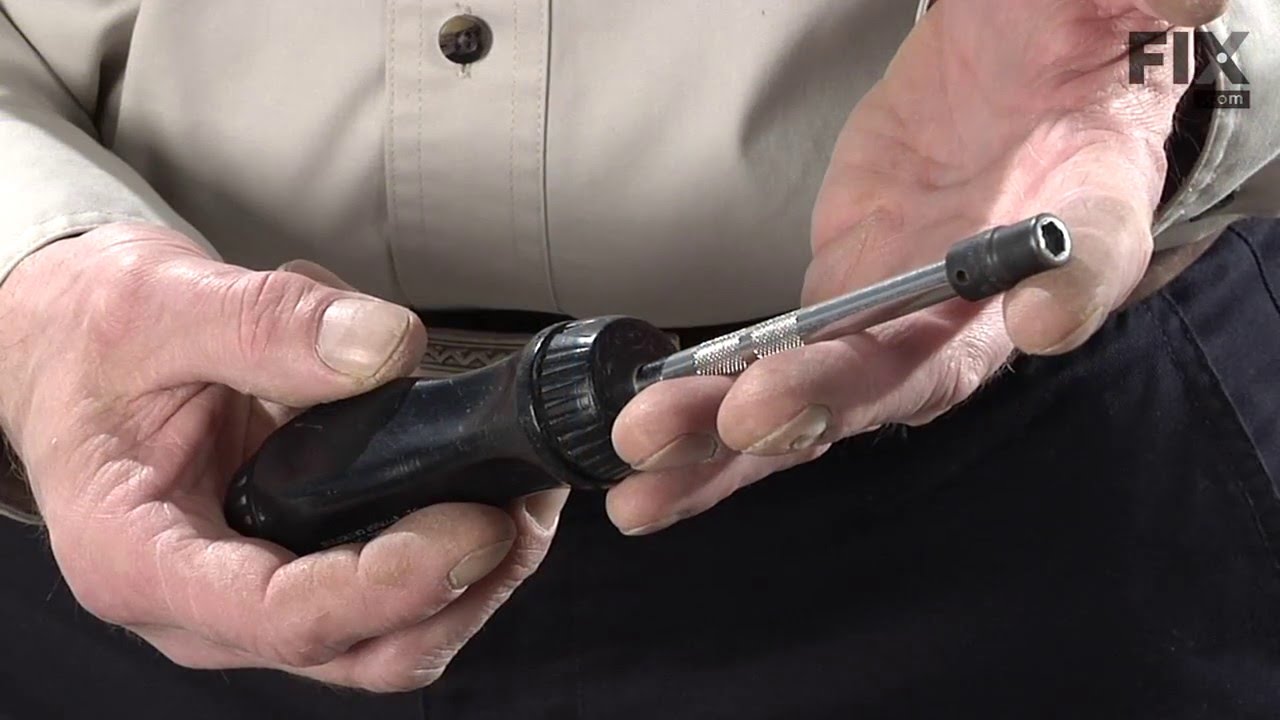

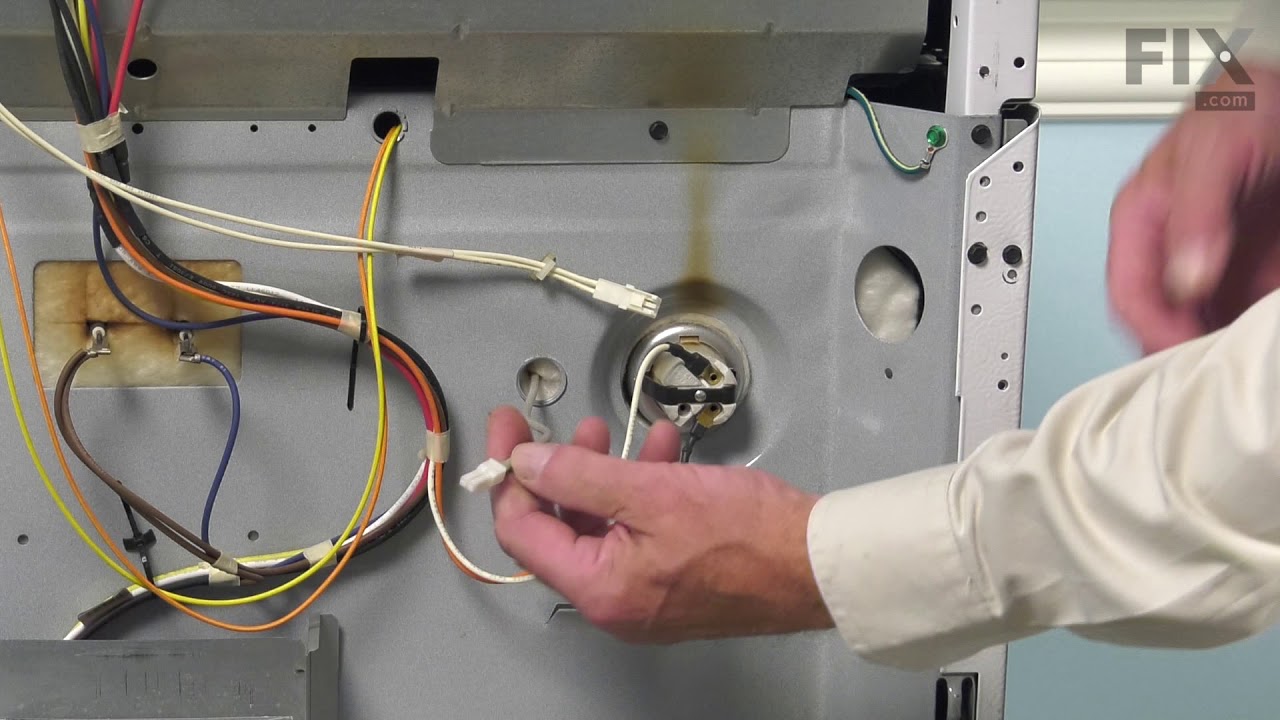
See how others fixed this model. Time, tools, difficulty, and steps that lead to victory!
View More