


 My Orders




XCAE2763CQ0 Whirlpool Washer - Overview
Diagrams for XCAE2763CQ0
See every part. Know exactly what you need.


Enter a part description. DIY Heroes keep it simple, eg. "belt" or "pump".
Search filter:
Clear Filter
Your search term must have 3 or more characters.

$7.47
In Stock

$7.47
In Stock
Washer Hose Clamp
Part #WP596669
This hose clamp is used in a wide variety of household appliances. Most often it is found in washers, dishwashers, refrigerators, freezers, dehumidifiers, garbage disposals, or air conditioners. This clamp is used to securely attach a hose to another part of your appliance, which helps prevent leaks from those connections. Depending on th...Read moree appliance, it can attach hoses to drain pumps, water inlet valves, pressure switches, and injector nozzles. We recommend you refer to model-specific diagrams for appropriate uses and exact placement. This hose clamp is made of metal, and is sold individually. To access and replace this part you will need a nut driver, pliers, and screwdrivers. Before you begin any repair work, make sure you have unplugged your appliance, and shut off the water supply if applicable.
Read less

$12.85
In Stock

No Longer Available
Touch-Up Paint - White
Part #72017
This touch-up paint can be used on a wide variety of household appliances. It is most often used on washers, dryer, refrigerators, dishwashers, ranges, freezers, trash compactors, or microwaves. It is an 18 ml, or.6 fluid ounces, bottle of touch-up paint. It also features a brush for easy application. This quick-drying, long-lasting paint...Read more is perfect for fixing any nicks, scratches, or chips on the exterior of your appliance. This paint is white in color, and provides a durable finish.
Read less

$31.58
In Stock
Lid Latch Strike
Part #WPW10240513
This part is the replacement lid latch or latch assembly for your top-load washer. The lid latch holds your washer door closed, and allows the washer to run its cycle. If the lid latch is damaged, your washer door may not close properly and you may not be able to run your washer. The latch is found under the lid and can be screwed out and...Read more replaced. You will need a Phillips-head screwdriver for this repair. This part is sold individually and is and OEM part from the manufacturer.
Read less

$9.62
In Stock
Hose Clamp
Part #WP285655
The hose clamp is used to hold the water hose in place which will prevent the hose from leaking water. Sometimes the clamp may lose its ability to latch on, causing a leaking washer. For the installation, you will need a flat head screw driver to replace the clamp and a drill to access the screws to remove the front of the washer. Be care...Read moreful if you do not have specific clamp pliers as the clamp could fly off. Once the front of the washer has been removed, take a quick look for water damage or any obvious signs of where the leak is coming from. If it is not obvious, run water to test.
Read less

$20.36
Special Order
Affresh Washing Machine Cleaner - 3 pack
Part #W10135699
Affresh Washing Machine Cleaner includes three slow-dissolving tablets that help remove odor-causing residue from inside the washer. Suitable for all washer brands, including high-efficiency (HE) machines, the formula is also septic-safe. Place one tablet directly in the empty wash basket and run the Clean Washer cycle, or use a normal cycle with hot water. Use monthly or every 30 wash cycles for best results.

$7.47
In Stock
Lid Hinge Mounting Screw
Part #WPW10119828
Sold individually. NOTE: The color on the screw may not be the same as the image, but will still function the same.

$26.82
In Stock
Washer Drain Hose
Part #W11244231
The drain hose carries used water from the washer to your house drain.

No Longer Available
Spray Paint - 12 oz. - White
Part #350930
Appliance spray paint is a great way to cover up any chips and scratches that have appeared on your appliances. Instead of replacing the part entirely, this is an easy fix. This is also a great way to give a fresh new look to any handles or areas that have discoloring due to wear. Make sure to clean the area before you begin and wear a pr...Read moreotective mask for safety. Give the can a good shake and spray a few inches away from the surface. Apply the paint until the area is fully covered as desired. Wait until the paint has dried before using the appliance.
Read less

$7.47
In Stock

$6.40
In Stock
Common Symptoms of the XCAE2763CQ0
How this model fails, and the parts that fix it.
Leaking
Fixed by
these parts
these parts


Show All
Will not agitate
Fixed by
these parts
these parts


Show All
Will Not Start
Fixed by
these parts
these parts


Show All
Lid or door won’t close
Fixed by
these parts
these parts

Show All
Locking Issues
Fixed by
these parts
these parts
Show All
Will not drain
Fixed by
these parts
these parts
Show All
Draining Issues
Fixed by
these parts
these parts
Show All
Shaking and Moving
Fixed by
these parts
these parts

Show All
Watch our pros, then fix it yourself.
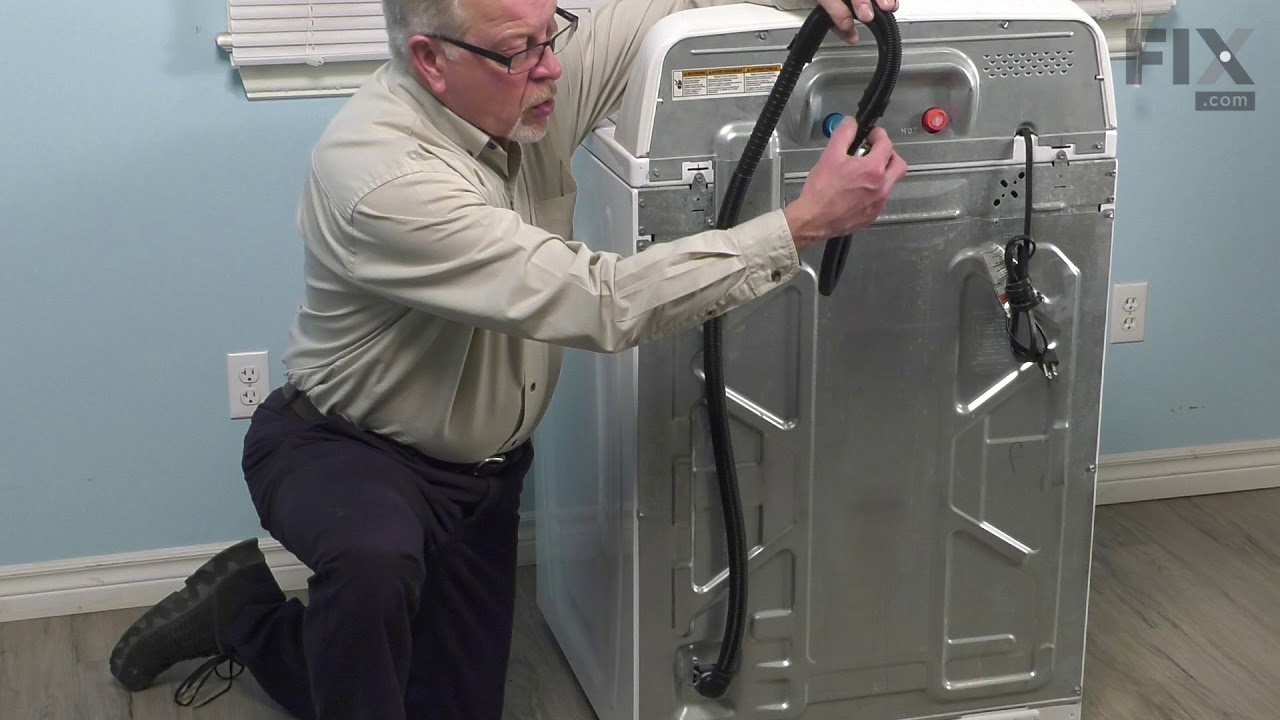
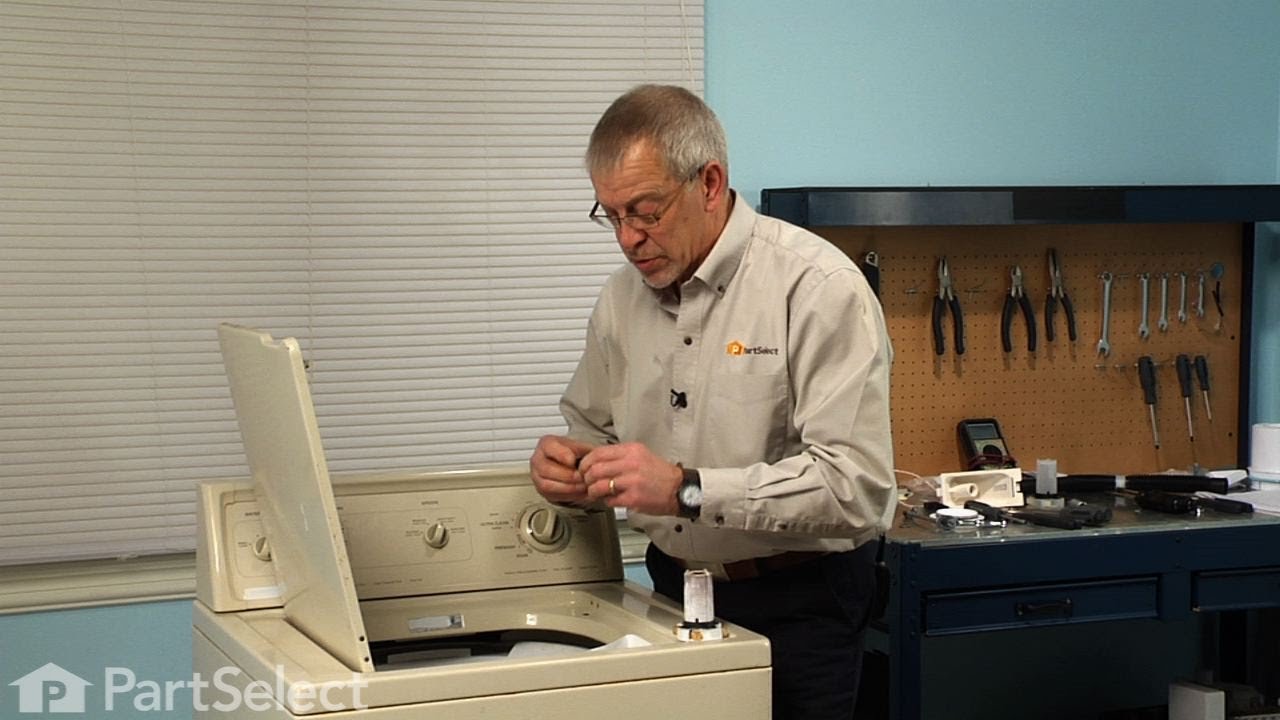
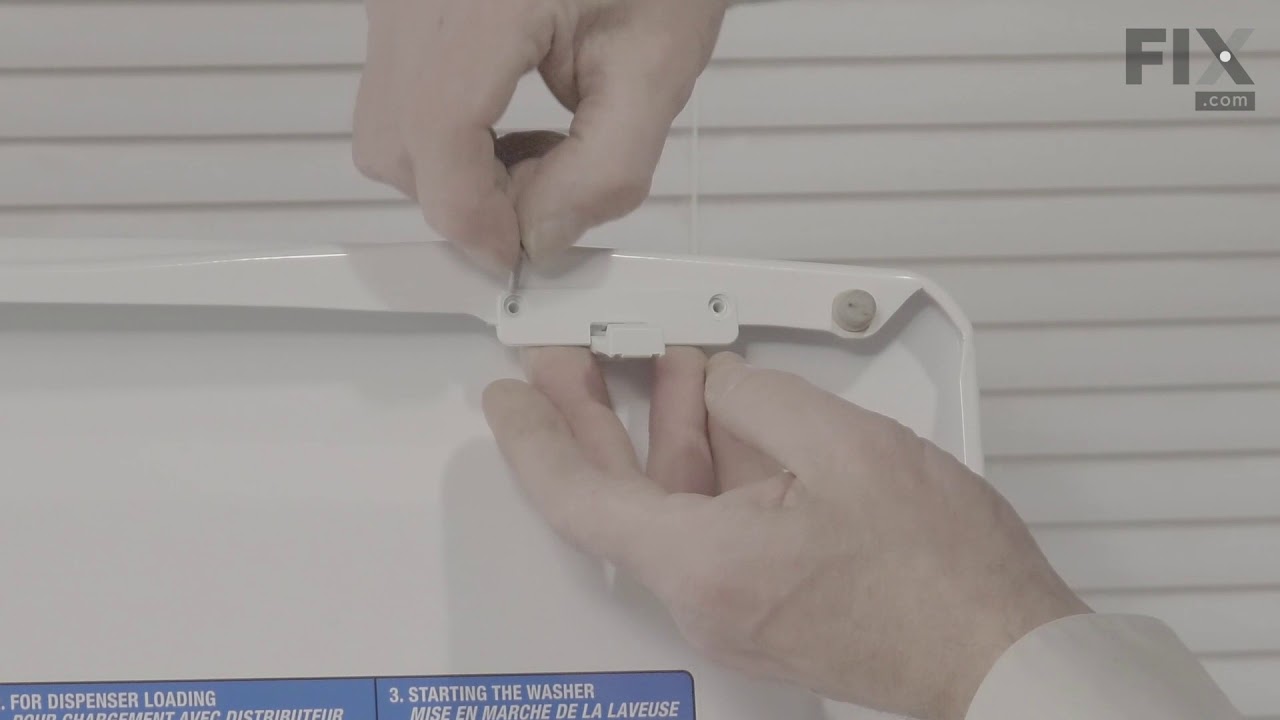
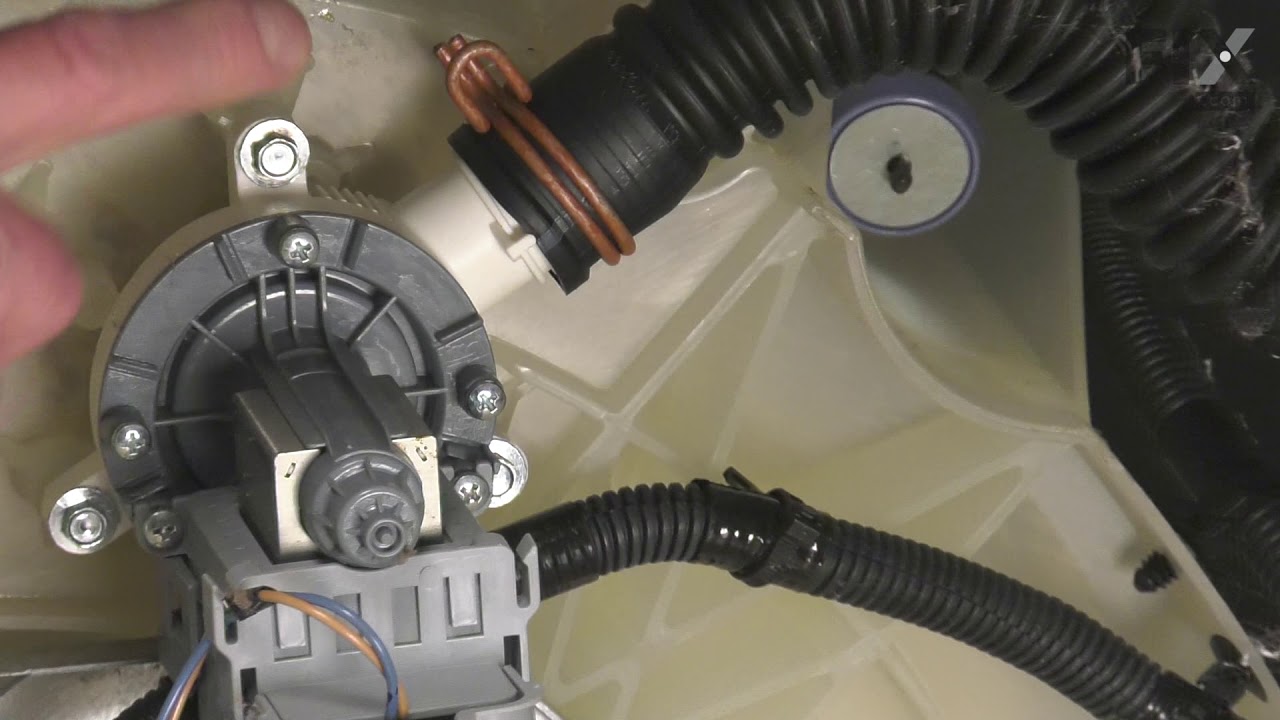


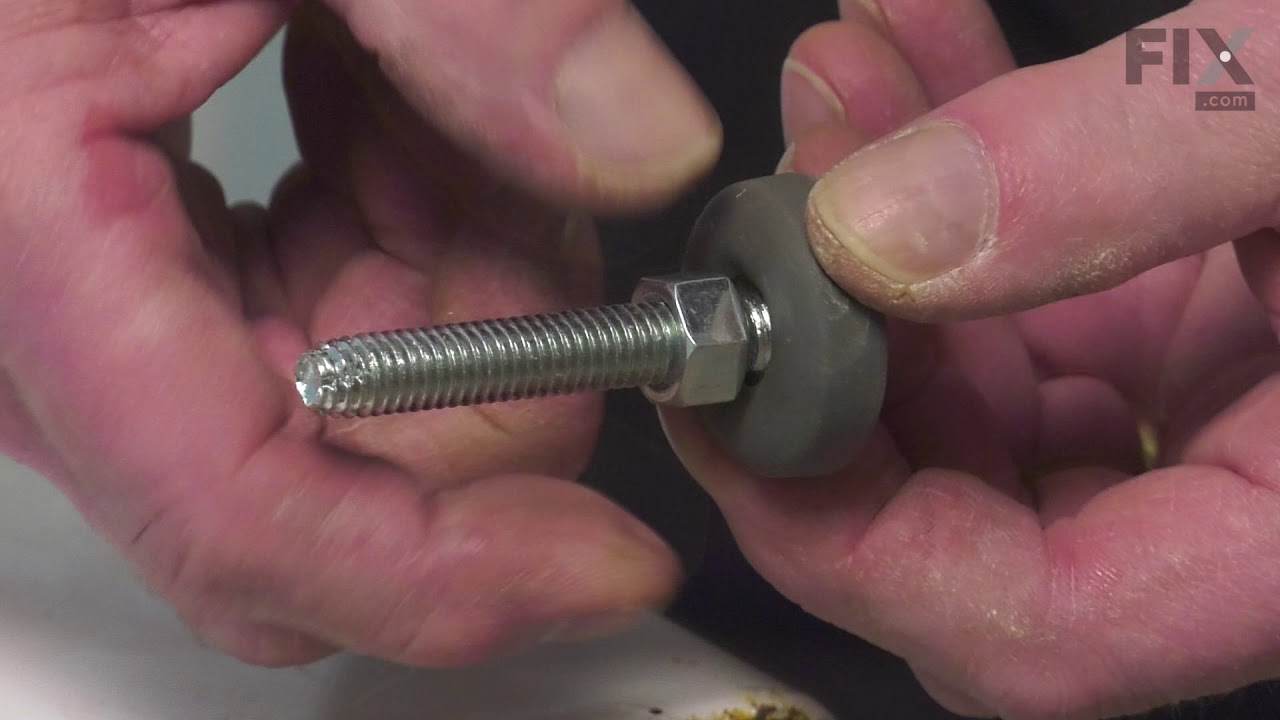
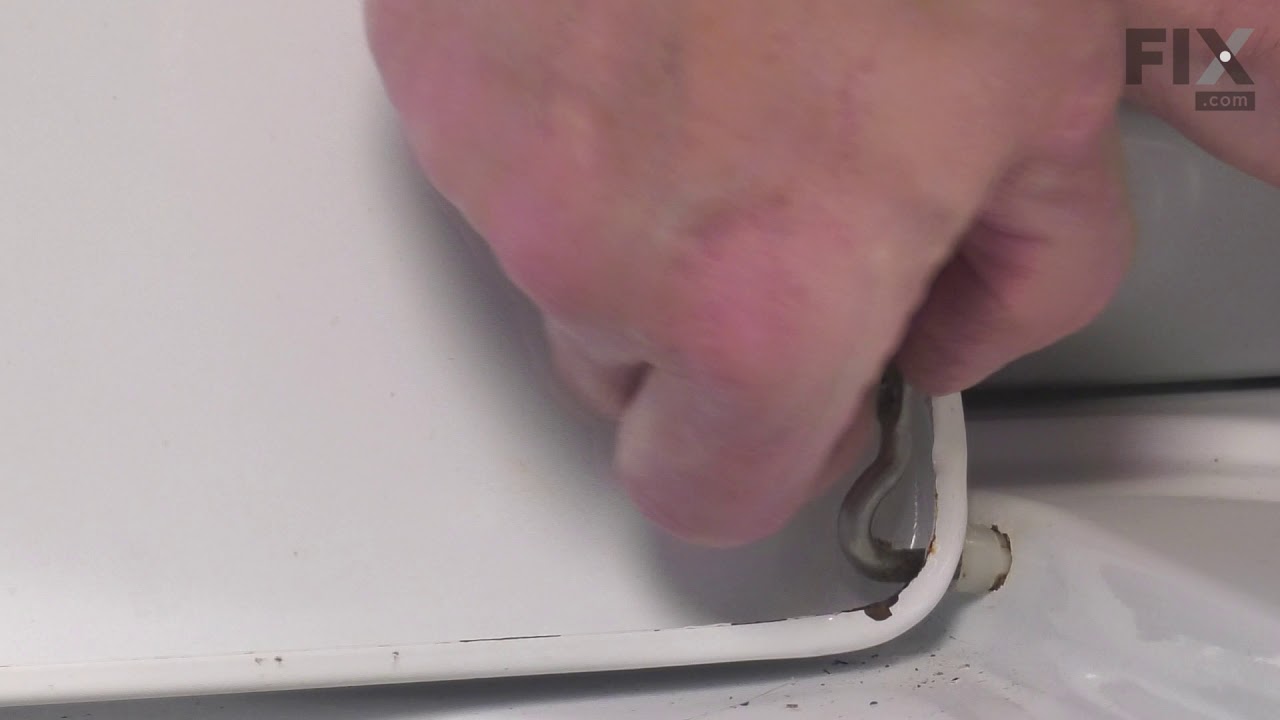
See how others fixed this model. Time, tools, difficulty, and steps that lead to victory!
View More