



 My Orders




XB625DK4WW General Electric Range - Overview
Diagrams for XB625DK4WW
See every part. Know exactly what you need.

Enter a part description. DIY Heroes keep it simple, eg. "belt" or "pump".
Search filter:
Clear Filter
Your search term must have 3 or more characters.

$21.95
In Stock
Light Bulb - 40W
Part #40A15
This 40-Watt light bulb is sold individually.
It is specially designed to withstand extreme temperatures, so this bulb is compatible with a variety of appliance types including refrigerators, ranges, microwaves, and dryers. It features a frosted glass bulb with a standard metal socket base, which allows you to easily unscrew the burnt-out light and twist the new bulb into place.

$152.35
In Stock
CONTROL OVEN TO9
Part #WB27X45466
This electronic control board is the central component of your wall oven, managing functions such as temperature regulation and heating elements. The manufacturer has modified the wiring on this part, so professional installation may be necessary for proper setup. Before installation, shut off the circuit breaker or unplug the oven for sa...Read morefety. This genuine OEM part ensures optimal oven performance and compatibility with select models.
Read less

$16.05
In Stock
REAR SUPPORT
Part #WB02X33180
This genuine GE drawer support is an original replacement part sourced from the manufacturer and is designed for use with electric ranges. Made of durable plastic, it attaches to the rear of the drawer and provides stable support by securing the rear side in place. This part includes the necessary mounting screw for installation and is so...Read moreld individually. It’s a simple yet essential component for maintaining smooth drawer operation and proper alignment.
Read less

$52.95
In Stock
Range Surface Element Control Switch - 6 Inch - 1560 W
Part #WB24T10029
This surface element control switch, also known as an infinite switch, regulates the power supplied to a 6-inch, 1560-watt heating element on electric ranges. It allows for precise adjustment of heat levels by cycling the element on and off, rather than relying on fixed temperature settings. Operating at 240 volts and drawing between 4.4 ...Read moreto 7.4 amps, the switch ensures consistent and responsive heat control. Replacing a faulty switch can resolve issues such as the element not heating, staying stuck on high, or fluctuating in temperature. This component is essential for maintaining safe and efficient cooking performance.
Read less

$68.15
In Stock
Radiant Element - 8 Inch
Part #WB30T10132
This 8-inch radiant stovetop element is a genuine replacement part designed to deliver consistent heat to cookware during stovetop use. It fits select electric ranges and cooktops and is engineered to restore proper heating performance when an existing burner is damaged, unevenly heating, or non-functional. The element transfers heat effi...Read moreciently to support even cooking across a variety of pot and pan sizes. Installation involves lifting the cooktop and removing the screw and clip securing the old burner. A screwdriver is required, and the appliance should be disconnected from power before beginning the repair to ensure safety.
Read less

$56.57
In Stock
Oven Rack
Part #WB48T10063
This is an authentic GE oven rack, sourced directly from the manufacturer. It is made of metal, and provides a stable surface for cookware inside the oven. If your current oven rack is damaged or missing, simply lift it up gently to slide it out. Insert the new rack, ensuring it is level.

$76.48
In Stock
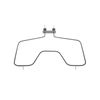
BAKE ELEMENT
Part #WB44X45494
This part is the replacement bake element for your range. It is in an M shape, and is approximately 18 inches wide and 18 inches long.This is an OEM part and is sold individually.

$55.21
In Stock
Range Oven Door Gasket
Part #WB04T10086
The oven door gasket creates a seal between the oven door and the opening of the oven to prevent heat from escaping when the oven is closed.

$25.26
In Stock

$16.47
In Stock
RECEPTACLE PUSH-IN
Part #WB08T10026
This part is the replacement light socket for your oven. The oven light socket provides power to the light, and at the same time holds the light bulb in place.

$19.54
In Stock
Bottom Trim Channel (White)
Part #WB07X42948
This part is the replacement door trim for your oven. It is white in color and is approximately 30 inches long and 2 inches wide. The bottom door trim supports the outer glass from the bottom. The main reason to replace the bottom door trim is if it is cracked or damaged, or if it is corroded and you cannot close your oven door properly. This part is sold individually and is an authentic OEM part.

$16.05
In Stock
Common Symptoms of the XB625DK4WW
How this model fails, and the parts that fix it.
Element will not heat
Fixed by
these parts
these parts


Show All
Touchpad does not respond
Fixed by
these parts
these parts

Show All
Will Not Start
Fixed by
these parts
these parts

Show All
Little to no heat when baking
Fixed by
these parts
these parts
Show All
Door won’t close
Fixed by
these parts
these parts

Show All
Oven not heating evenly
Fixed by
these parts
these parts

Show All
Oven is too hot
Fixed by
these parts
these parts
Show All
Will not program
Fixed by
these parts
these parts
Show All
Timer will not advance
Fixed by
these parts
these parts
Show All
Watch our pros, then fix it yourself.
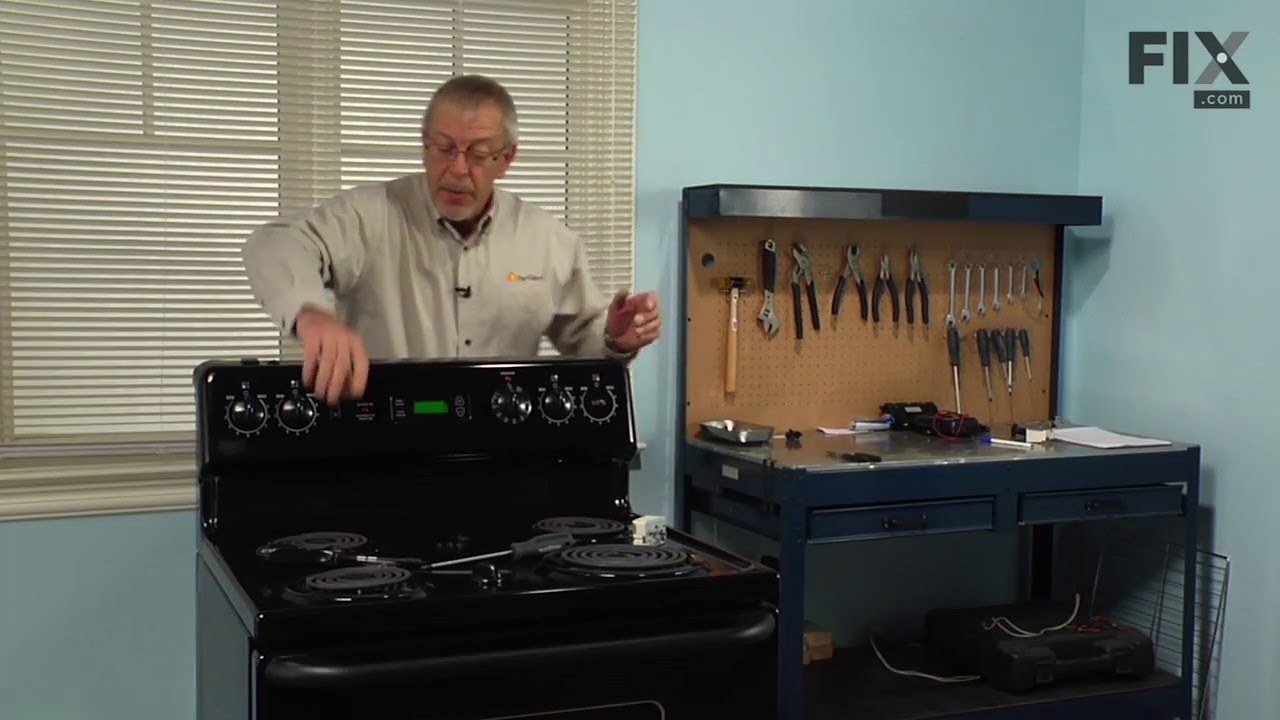
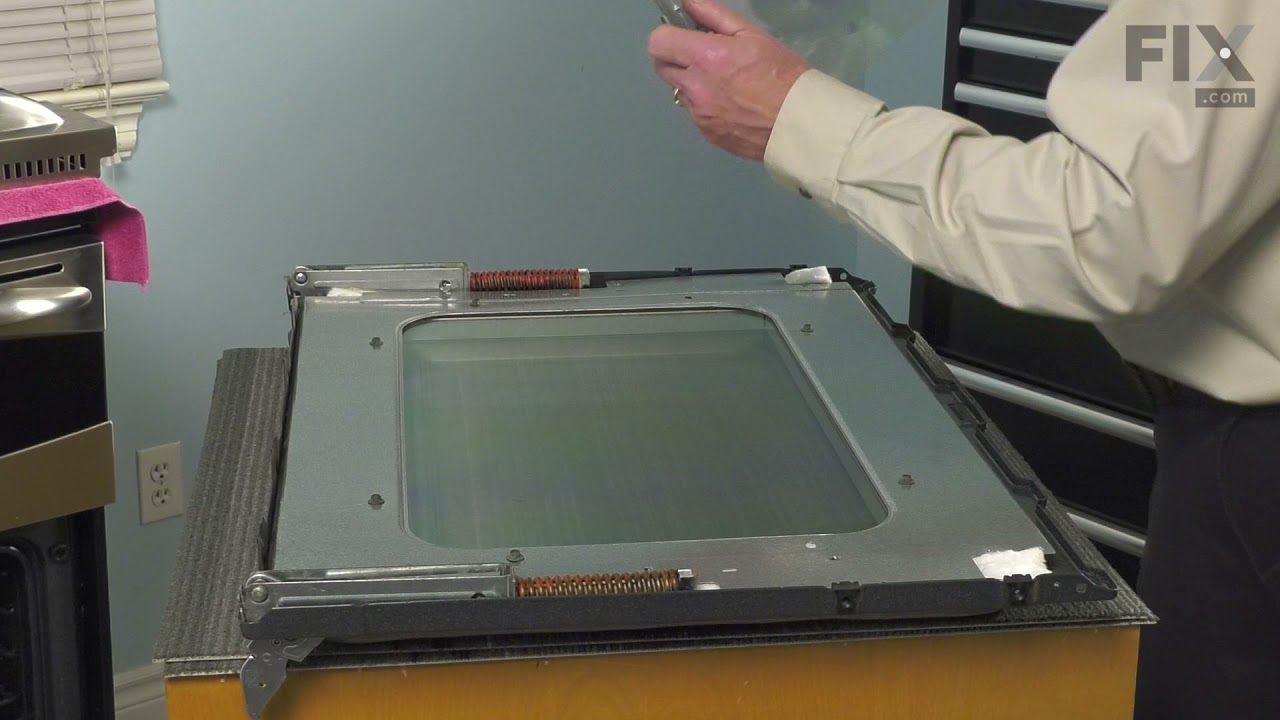


See how others fixed this model. Time, tools, difficulty, and steps that lead to victory!
View More