



 My Orders




WWTR1802KWJ Westinghouse Refrigerator - Overview
Diagrams for WWTR1802KWJ
See every part. Know exactly what you need.


Enter a part description. DIY Heroes keep it simple, eg. "belt" or "pump".
Search filter:
Clear Filter
Your search term must have 3 or more characters.

$47.25
In Stock
Door Shelf Retainer Bar
Part #240534901
This door shelf retaining bar, also known as refrigerator door bar retainer or fridge door rack, is a genuine part sourced from the original manufacturer. It is a white This manufacturer-certified Door Shelf Retainer Bar, sometimes otherwise known as the door rack or bar retainer, is a white, plastic part which can be easily installed on...Read moreto the inside of the refrigerator or freezer door to hold items on the door shelves. It holds items in your fridge and will show physical damage if broken or warped, at which time it should be replaced. Check your user manual and model number to see if this part is right for you. No tools are required for this installation, the part should simply snap into place. This part measures roughly 25 inches wide, 3 inches high, and 5 inches deep. This part is sold individually, and we recommend checking the other door shelf retaining bars on your refrigerator or freezer at the same time as ordering this part to ensure that no others need to be replaced, as they often wear or warp at similar speeds.
Read less

$38.45
In Stock
Door Shelf Retainer Bar
Part #240534701
The Door Shelf Retainer Bar, also known as a refrigerator door rack, is a white, plastic part which can be easily installed onto your fridge door. It holds items in your fridge and will show physical damage if broken, at which time it should be replaced. Check your user manual and model number to see if this part is right for you. To ins...Read moretall this part, you will need to remove the old one by unlocking the tabs, which can be slid with your fingers. To install the new shelf, line it up with the shelf cut-outs, over the tabs, and gently press it down to lock it into place. This part generally fits the middle door shelf of refrigerators. This is a part that frequently requires multiple parts per refrigerator. Because it is sold individually, you will need to purchase as many door racks as necessary to complete your repair.
Read less

$32.95
In Stock
Door Handle
Part #218428101
This white refrigerator door handle is a genuine OEM replacement designed for use on both the freezer and fresh food doors of select models. Constructed for durability and a secure fit, this handle restores functionality and appearance to your appliance. Installation is straightforward and requires only a Phillips screwdriver. To replace,...Read more remove the two screws from the top of the door, slide out the old handle, attach the mounting block to the new handle, and secure it in place. Always verify model compatibility before purchase.
Read less

$53.85
On Order
Crisper Glass Shelf Insert
Part #240350608
This refrigerator crisper shelf insert is a genuine replacement component designed to sit above the crisper drawers, providing a stable surface for food storage while helping to maintain proper humidity levels below. Measuring approximately 23.82 inches by 15.50 inches, it is made of durable glass and fits select Frigidaire refrigerator m...Read moreodels. Installation is tool-free—simply remove the old insert and slide the new one into place. This OEM part is sold individually and ensures a precise fit and reliable performance.
Read less

$27.45
In Stock
Light Bulb
Part #316538904
This OEM 40 watt appliance light bulb is used for some ranges, refrigerators, freezers, and microwaves. Simply locate the existing bulb, unscrew it from its socket, and replace with new light bulb. If the existing bulb is broken in the socket, disconnect the power to the refrigerator and use a pair of needle nose pliers to grip the intern...Read moreal fragments of the bulb to unscrew. Replace with the new bulb and reconnect the power to the refrigerator. These bulbs are sold individually and are a commonly replaced part; consider ordering a spare.
Read less

$17.17
In Stock
Screw - Kit of Four
Part #5304515677
This screw is used in refrigerators. The screw can be loosened or tightened with a Phillips-head or square-head screwdriver. This screw is used to secure the refrigerator handle to the refrigerator door. This is an OEM part sourced directly from the manufacturer.

$53.85
In Stock
Dairy Door - Clear
Part #240337712
This is a dairy door for your refrigerator. This part covers the products in the dairy bin section. To access this section, simply lift the lid. This dairy door is made entirely of plastic and is transparent. It is almost 10 inches wide, and roughly 6 inches long. In order to make this repair you will not need any tools, as this part will easily clip in and out of place of the hinged holes.

$26.35
In Stock
Screw
Part #240521303
This small, Phillips-head screw works with your refrigerator/freezer. It screws in to the freezer door and connects to the door handle. This part is made of stainless steel and is sold individually. This is an OEM part sourced directly from the manufacturer.

$137.45
In Stock
Refrigerator Door Gasket - White
Part #242193206
This is an OEM door gasket, also known as a door seal, for various refrigerators. A door gasket is used to create a barrier between the warmer, ambient temperature of your home, and the cooler interior of the refrigerator. But if used for a long period of time, or simply after general wear and tear, this gasket can tear, break, and/or war...Read morep. If your gasket is broken, warped, or moldy, it will need to be replaced immediately. To replace this gasket, carefully peel out the old gasket and discard it, then carefully wrap the new gasket around the frame of the fridge door to install it. This door gasket is white and rectangular and measures 28.5 inches long, .75 inches thick, and approximately 42 inches wide. This door gasket is sold individually and does not come with any other parts or accessories.
Read less

$53.85
In Stock
Evaporator Fan Blade
Part #5308000010
This evaporator fan blade is a genuine OEM part that is sourced directly from the manufacturer. The evaporator fan blade circulates air through the refrigerator to control the amount of cold air goes that goes to internal compartments of the unit. It may need to be replaced if the fridge is noisy or not cold enough. This part is made of p...Read morelastic and is sold individually. It will be necessary to disconnect power to the refrigerator and empty the freezer compartment of the refrigerator. The tools needed to complete this repair are a 1/4 inch nut driver and a pair of needle nose pliers.
Read less

$13.73
In Stock
Hinge Bearing
Part #5304507146
This is a replacement hinge bearing for your refrigerator. The hinge bearing is found on the door hinge, and reduces friction when the door opens and closes. If the bearing is damaged, you may not be able to open or close the door properly, and in this case, it will need to be replaced. It is made of white plastic and is approximately 2 i...Read morenches long and 1 inch in diameter. This part is sold individually and is a genuine OEM part.
Read less

$42.38
In Stock
Manuals & Care Guides for WWTR1802KWJ
Click to downloadInstall
Installation Instructions
(0.84MB)
Install
Installation Instructions
(0.77MB)
Specs
Product Specifications Sheet
(0.77MB)
Care
Use and Care Manual
(0.77MB)
Wiring
Wiring Diagram
(0.77MB)
Common Symptoms of the WWTR1802KWJ
How this model fails, and the parts that fix it.
Door won’t open or close
Fixed by
these parts
these parts


Show All
Noisy
Fixed by
these parts
these parts


Show All
Fridge too warm
Fixed by
these parts
these parts


Show All
Freezer not defrosting
Fixed by
these parts
these parts


Show All
Light not working
Fixed by
these parts
these parts


Show All
Will Not Start
Fixed by
these parts
these parts

Show All
Fridge and Freezer are too warm
Fixed by
these parts
these parts
Show All
Freezer section too warm
Fixed by
these parts
these parts
Show All
Frost buildup
Fixed by
these parts
these parts

Show All
Won’t start
Fixed by
these parts
these parts
Show All
Door Sweating
Fixed by
these parts
these parts


Show All
Leaking
Fixed by
these parts
these parts


Show All
Fridge too cold
Fixed by
these parts
these parts
Show All
Too warm
Fixed by
these parts
these parts
Show All
Fridge runs too long
Fixed by
these parts
these parts
Show All
Clicking sound
Fixed by
these parts
these parts
Show All
Watch our pros, then fix it yourself.
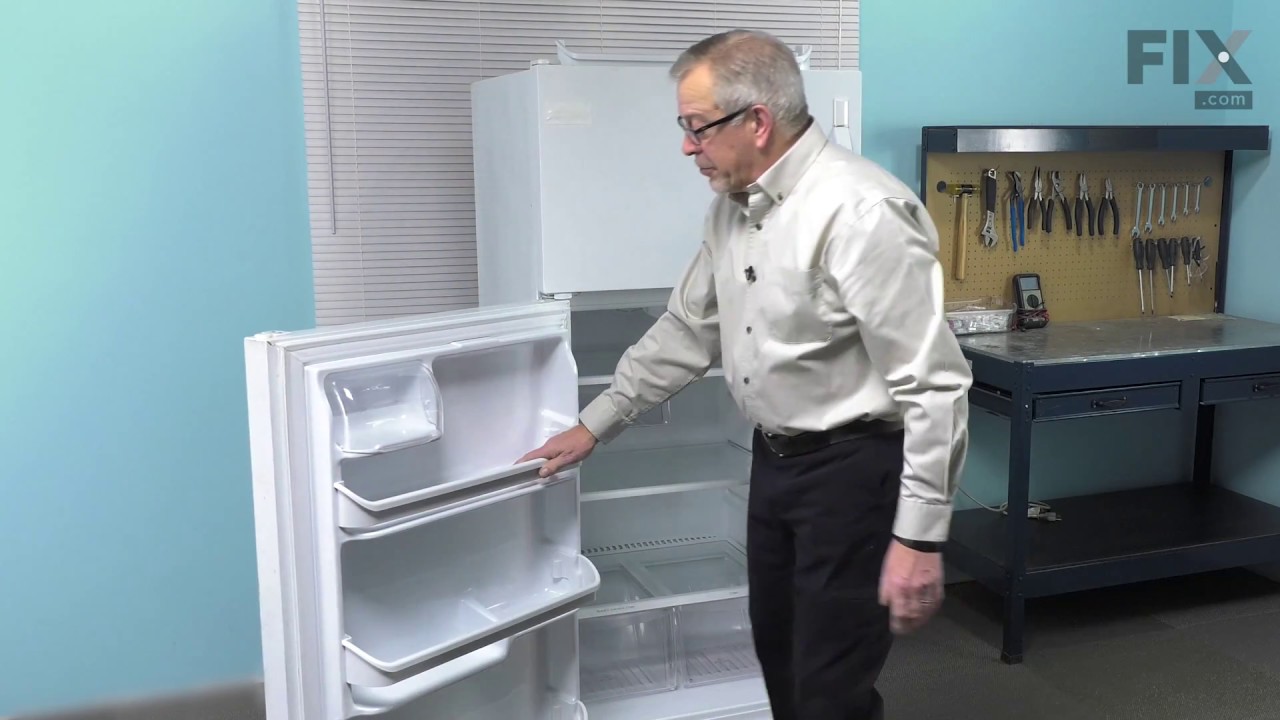
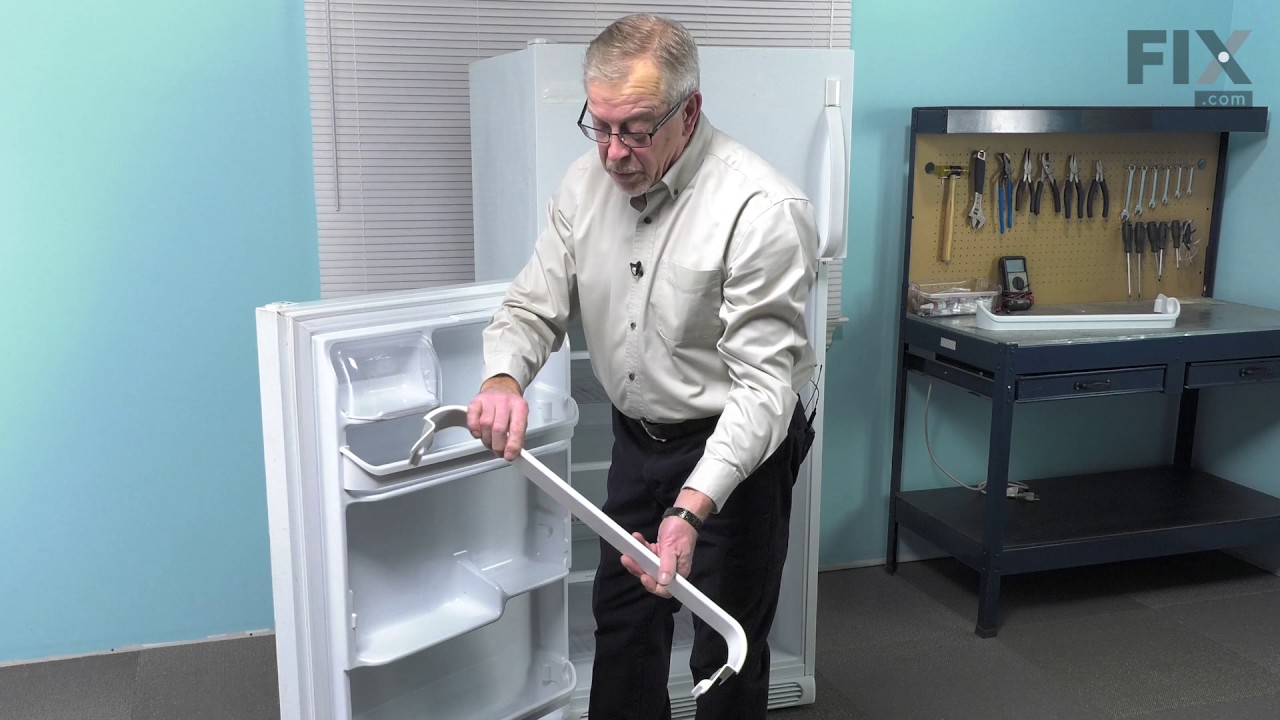
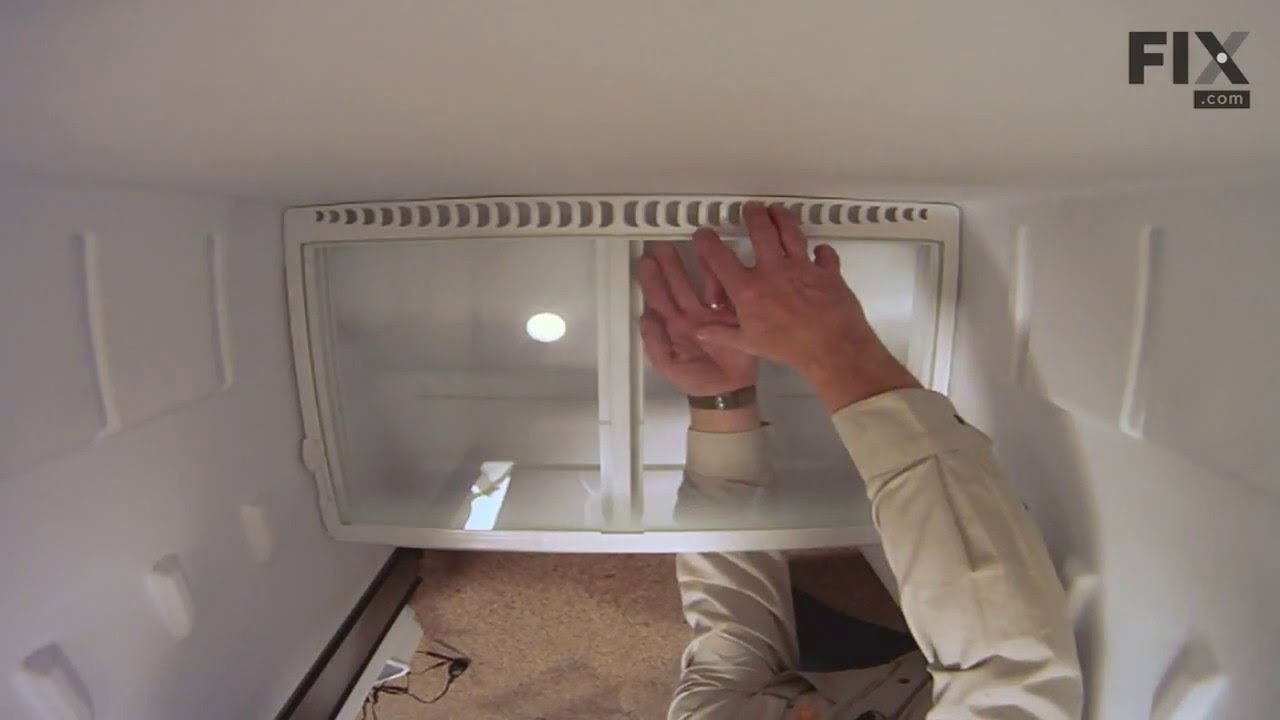

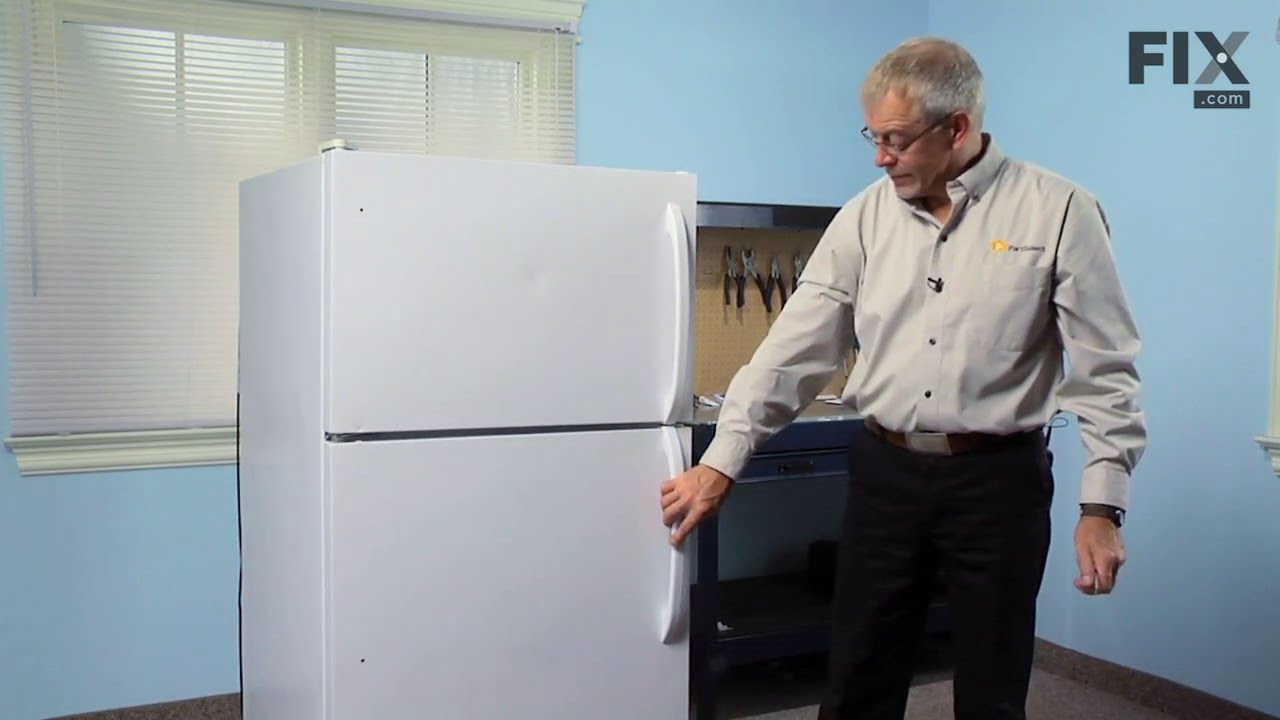
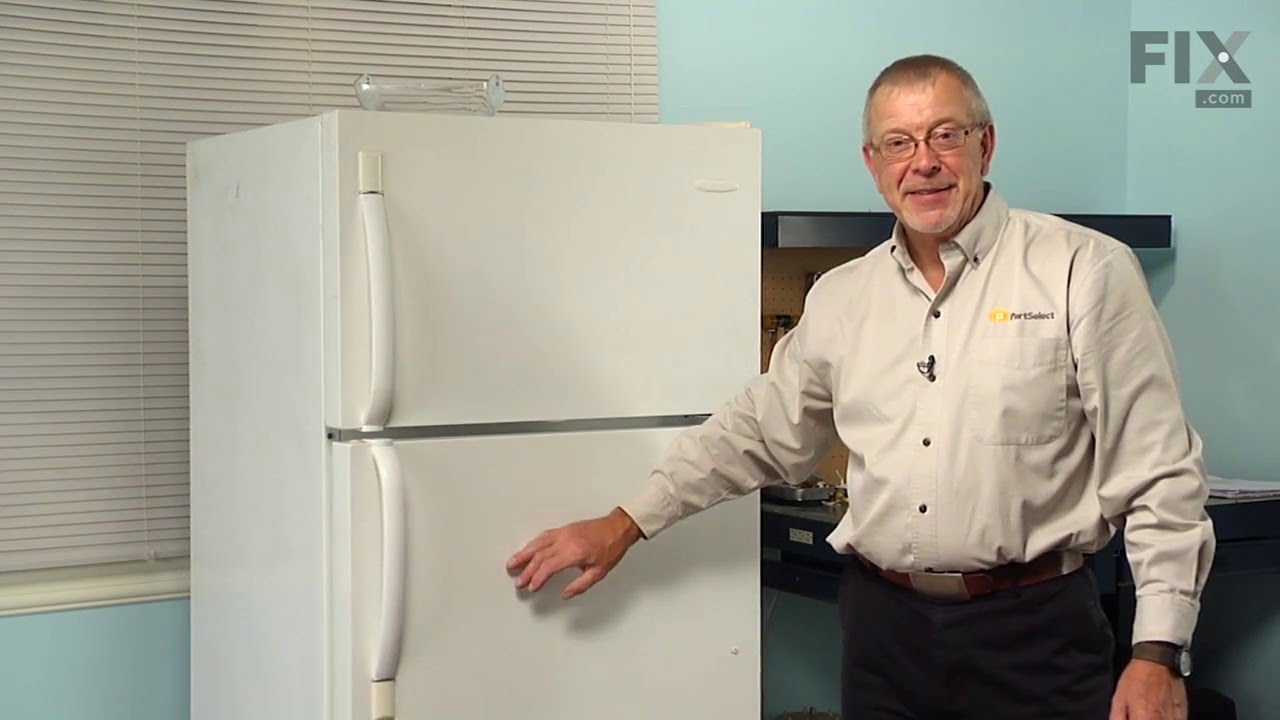
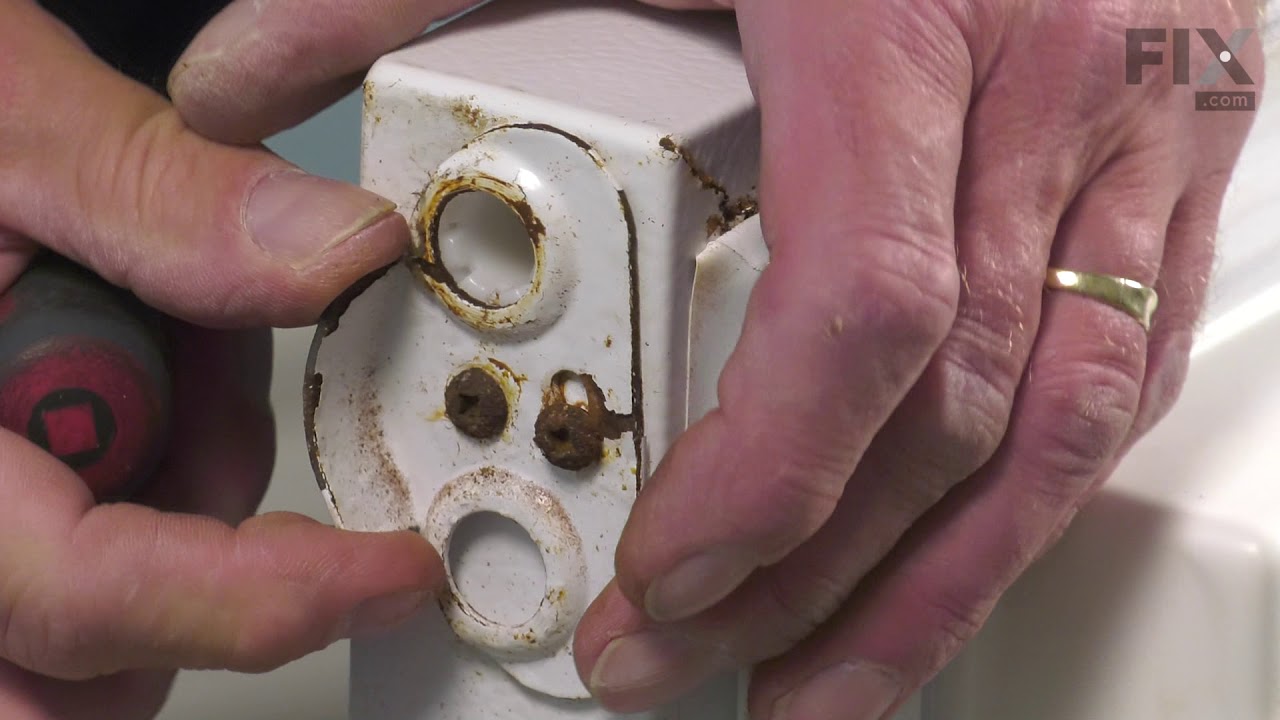
See how others fixed this model. Time, tools, difficulty, and steps that lead to victory!
View More