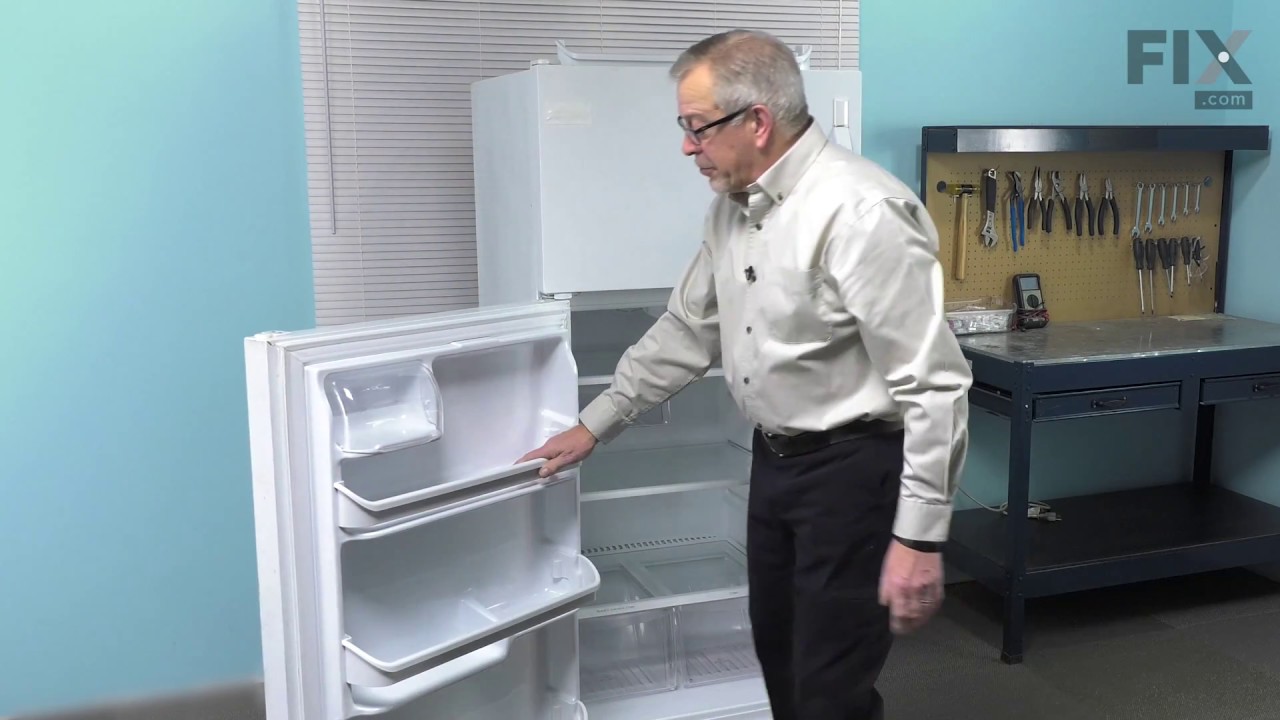
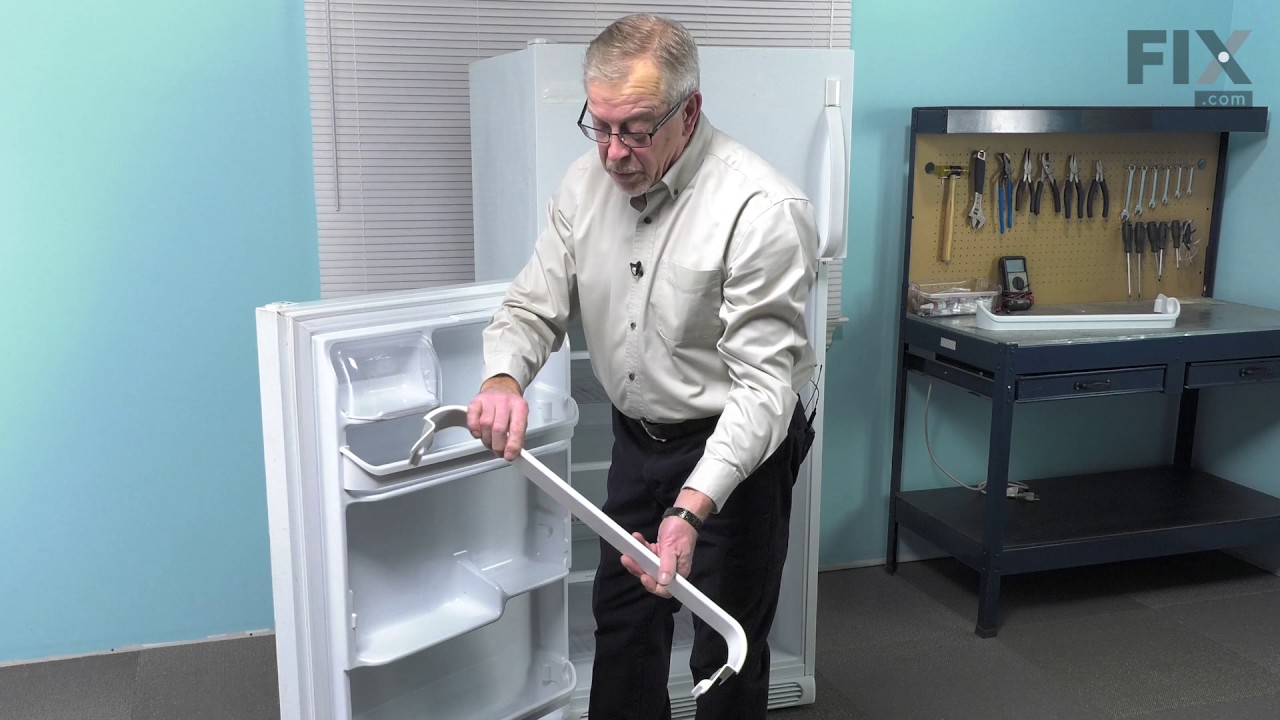
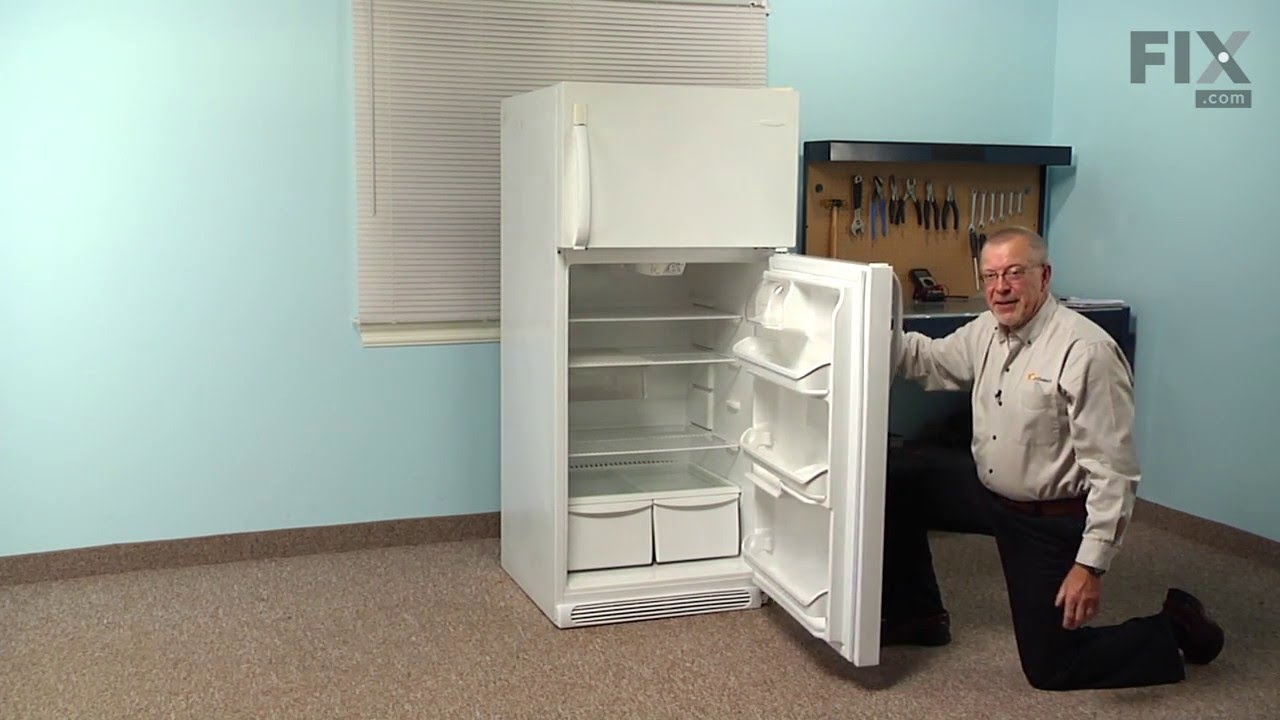
This door shelf retaining bar, also known as refrigerator door bar retainer or fridge door rack, is a genuine part sourced from the original manufacturer. It is a white This manufacturer-certified Door Shelf Retainer Bar, sometimes otherwise known as the door rack or bar retainer, is a white, plastic part which can be easily installed on...Read moreto the inside of the refrigerator or freezer door to hold items on the door shelves. It holds items in your fridge and will show physical damage if broken or warped, at which time it should be replaced. Check your user manual and model number to see if this part is right for you. No tools are required for this installation, the part should simply snap into place. This part measures roughly 25 inches wide, 3 inches high, and 5 inches deep. This part is sold individually, and we recommend checking the other door shelf retaining bars on your refrigerator or freezer at the same time as ordering this part to ensure that no others need to be replaced, as they often wear or warp at similar speeds.
The Door Shelf Retainer Bar, also known as a refrigerator door rack, is a white, plastic part which can be easily installed onto your fridge door. It holds items in your fridge and will show physical damage if broken, at which time it should be replaced. Check your user manual and model number to see if this part is right for you. To ins...Read moretall this part, you will need to remove the old one by unlocking the tabs, which can be slid with your fingers. To install the new shelf, line it up with the shelf cut-outs, over the tabs, and gently press it down to lock it into place. This part generally fits the middle door shelf of refrigerators. This is a part that frequently requires multiple parts per refrigerator. Because it is sold individually, you will need to purchase as many door racks as necessary to complete your repair.
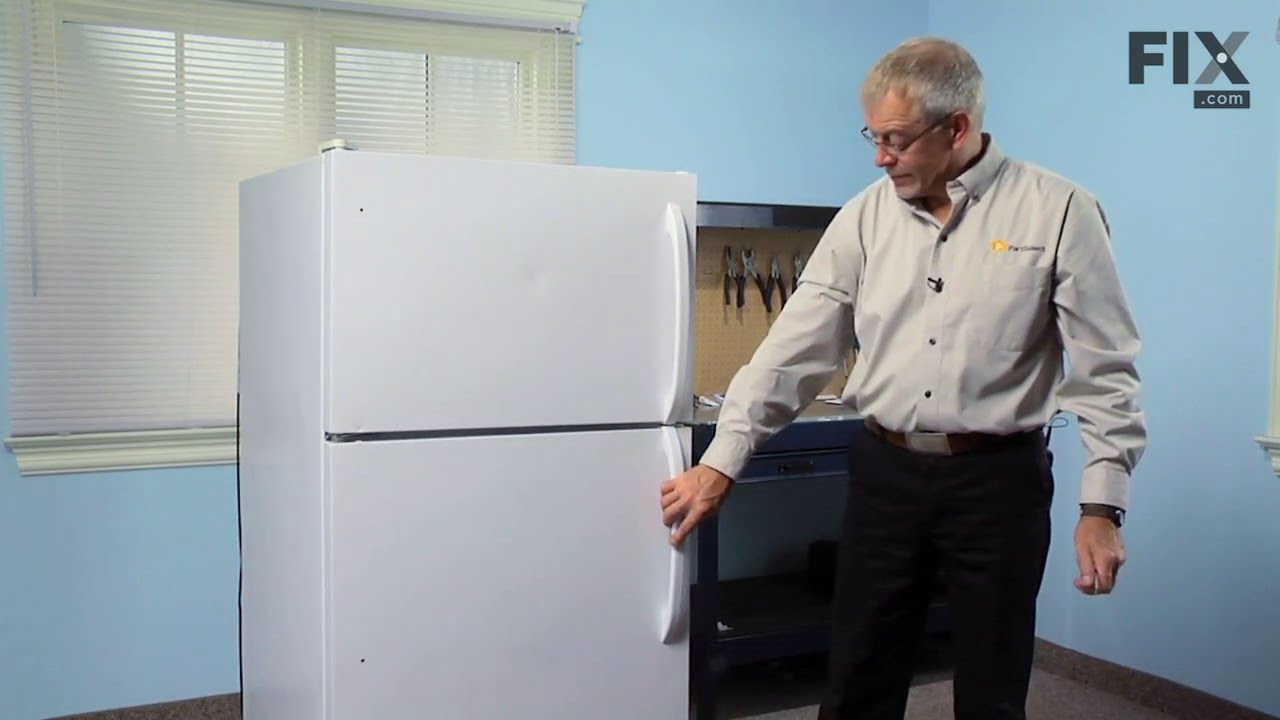
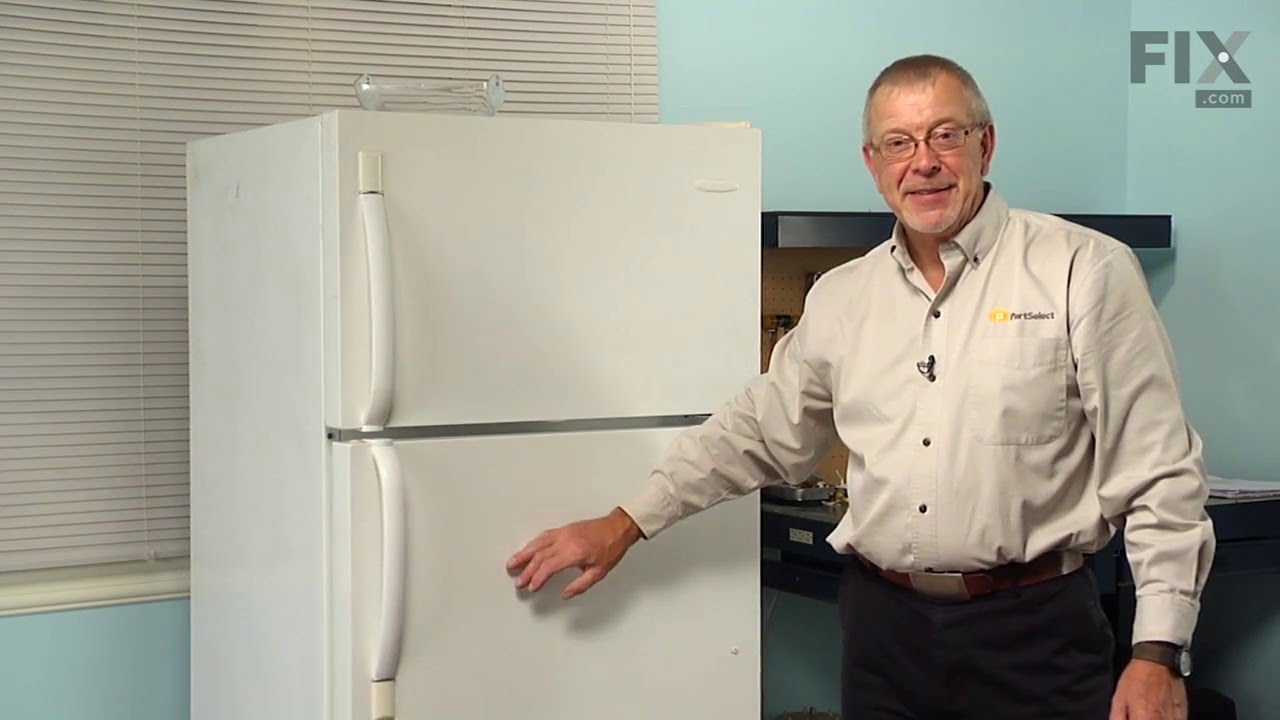
This white refrigerator door handle is a genuine OEM replacement designed for use on both the freezer and fresh food doors of select models. Constructed for durability and a secure fit, this handle restores functionality and appearance to your appliance. Installation is straightforward and requires only a Phillips screwdriver. To replace,...Read more remove the two screws from the top of the door, slide out the old handle, attach the mounting block to the new handle, and secure it in place. Always verify model compatibility before purchase.
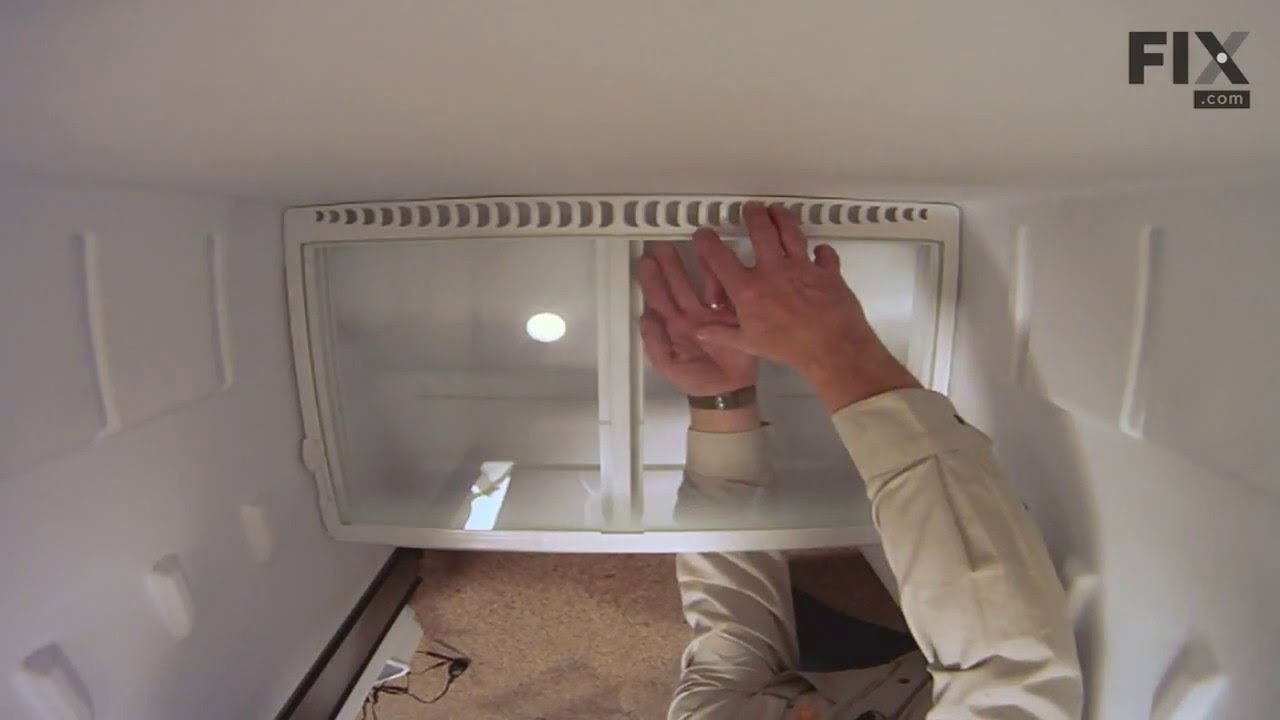
This refrigerator crisper shelf insert is a genuine replacement component designed to sit above the crisper drawers, providing a stable surface for food storage while helping to maintain proper humidity levels below. Measuring approximately 23.82 inches by 15.50 inches, it is made of durable glass and fits select Frigidaire refrigerator m...Read moreodels. Installation is tool-free—simply remove the old insert and slide the new one into place. This OEM part is sold individually and ensures a precise fit and reliable performance.
Upgrade your refrigerator's performance with this genuine OEM gasket-door ref. 21 in white from Frigidaire. Designed to prevent warm air from invading your fridge, this door gasket guarantees a seamless seal to maintain optimum cooling efficiency. This is perfect to replace part models in certain Frigidaire, Electrolux, White Westinghouse...Read more, and Tappan models. Its size measures a standard 21 inches. For trouble-free installation, smooth any folds and creases on the gasket by soaking it in warm water or gently warming it with a hairdryer on low heat. Do remember to safely store any perishables while the door is open during installation.
This OEM 40 watt appliance light bulb is used for some ranges, refrigerators, freezers, and microwaves. Simply locate the existing bulb, unscrew it from its socket, and replace with new light bulb. If the existing bulb is broken in the socket, disconnect the power to the refrigerator and use a pair of needle nose pliers to grip the intern...Read moreal fragments of the bulb to unscrew. Replace with the new bulb and reconnect the power to the refrigerator. These bulbs are sold individually and are a commonly replaced part; consider ordering a spare.
The run capacitor helps the compressor kick on and off while maintaining a constant temperature in your fridge and freezer. You may need to replace your run capacitor if your refrigerator or freezer section will not start, if they are too warm, or if your refrigerator has become too noisy. Replacing the run capacitor is a relatively easy ...Read moreproject. For this repair you will only need a 1/4 inch nut driver and needle nose pliers. Remember to disconnect the power and water supply line to the unit before you begin this repair. For full step by step instructions, simply click on the video below.
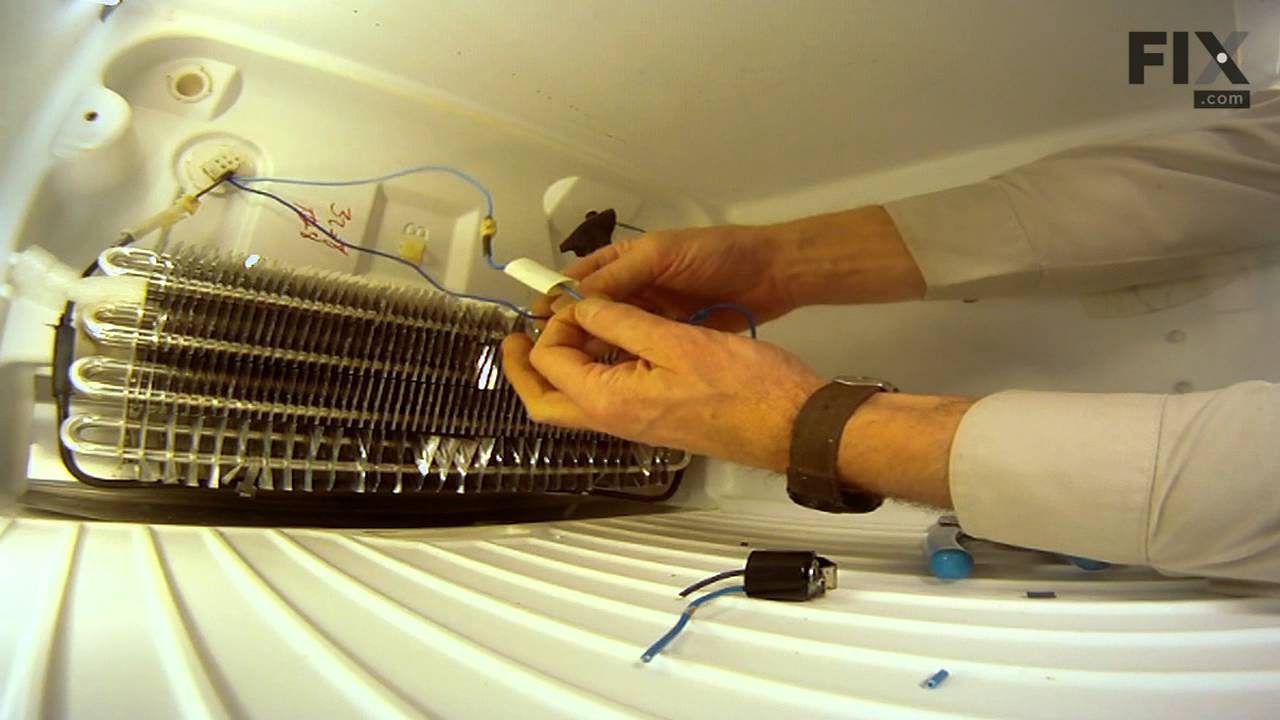
This defrost thermostat is also known as a refrigerator defrost bi-metal thermostat kit. The function of the defrost bi-metal thermostat is to prevent overheating during the defrost cycle in your refrigerator by protecting the evaporator. The most common sign that there is a problem with your refrigerator defrost thermostat kit is if your...Read more freezer is cold but your refrigerator is warm. If your evaporator coils are icy then your defrost bi-metal thermostat kit could be defective. To do this installation the tools you will need include a 1/4 inch nut driver, a pair of wire strippers and crimpers, and a heat gun.
This screw is used in refrigerators. The screw can be loosened or tightened with a Phillips-head or square-head screwdriver. This screw is used to secure the refrigerator handle to the refrigerator door. This is an OEM part sourced directly from the manufacturer.
This is a dairy door for your refrigerator. This part covers the products in the dairy bin section. To access this section, simply lift the lid. This dairy door is made entirely of plastic and is transparent. It is almost 10 inches wide, and roughly 6 inches long. In order to make this repair you will not need any tools, as this part will easily clip in and out of place of the hinged holes.
This small, Phillips-head screw works with your refrigerator/freezer. It screws in to the freezer door and connects to the door handle. This part is made of stainless steel and is sold individually. This is an OEM part sourced directly from the manufacturer.
This evaporator fan blade is a genuine OEM part that is sourced directly from the manufacturer. The evaporator fan blade circulates air through the refrigerator to control the amount of cold air goes that goes to internal compartments of the unit. It may need to be replaced if the fridge is noisy or not cold enough. This part is made of p...Read morelastic and is sold individually. It will be necessary to disconnect power to the refrigerator and empty the freezer compartment of the refrigerator. The tools needed to complete this repair are a 1/4 inch nut driver and a pair of needle nose pliers.
Ask our experts a question about this model and we'll get back to you as soon as possible!
We may have answered a similar question already! Search questions and answers left by others using simple keywords like "fit", "broken", "easy", or "quality" to find questions that match.
Search filter:
Clear Filter
Your search term must have 3 or more characters.
Sort by:
Prev
1
Next
Sorry, we couldn't find any existing answers that matched.Try using some different or simpler keywords, or submit your new question by using the "Ask a Question" button above!
Thomas - For model number WWTR1802KW7
January 18, 2023
There is water dripping inside my refrigerator from where the fan is below the freezer compartment. I would like to know what is happening and how to fix the problem.
Hello Thomas, thank you for contacting us. Please check the defrost drain tube, part number PS430889. The defrost drain tube may be clogged with food debris or ice, preventing the water from draining properly. The defrost timer, part number PS423802, controls the defrost cycle, and if it is malfunctioning, it may cause the freezer to defrost too frequently or not at all, leading to a buildup of ice and water. A weary freezer door seal, part number PS1991435, can allow warm and humid air to enter the freezer, causing the ice to melt and leak into the refrigerator. Please check these parts and replace the faulty one. Customer service is available 7 days a week if you require assistance placing an order. Thanks again for reaching out!
See how others fixed this model. Time, tools, difficulty, and steps that lead to victory!View More
Search repair tips from other customers using simple keywords like "replace", "fit", "remove", "inspect". DIY doesn't mean you have to do it alone!
Search filter:
Clear Filter
Your search term must have 3 or more characters.
Refrigerator door gasket torn
316 of 334 peoplefound this instruction helpful.
Matthew from Washington, DC
Easy
Less than 15 mins
No instructions included, so it took a little bit of staring at the new part to figure out how it works. The barbed ridge on the gasket fits into a slot on the door. The flat face of the gasket has an internal magnetic strip that helps keep the seal tight against the steel face of the refrigerator. Installation requires no tools. This is
... Read morethe basic process: 1) Unbox the new gasket and get it ready to install so you don't have to leave the fridge open too long. 2) Open the door and grab the old gasket at one of the corners and pull away. This will unseat the barbed ridge I mentioned above. Work your way around the door until the whole gasket is free. 3) Set aside the old gasket 4) Grab a moistened paper towel and wipe down the (now exposed) sealing surface of the fridge and door. 5) Align the new gasket in the door and start pushing the barb into place. I found that the new gasket seemed slightly oversize compared to the original, so it took a little tweaking. What worked for me was to get all the corners seated, then work my way around the door making sure the gasket is fully seated. 6) Once you have the new gasket installed, close the door to make sure everything fits OK. 7) Open the door again and run your finger along the inside edge of the gasket seal. What you want to do is fold the edge of the gasket down so it lays flat against the outer wall of the door. 8) Shut the door and look from the sides and top to try to spot any gaps. You should be able to poke the gasket from the side and get the magnet strips to click into place. It seems like after a day or so the gasket 'relaxed' and I didn't have to worry about this anymore. 9) Dispose of the old gasket. I was able to pull the gasket into four pieces (separating at the corners) so it would fit in my city trash can...
Read less
Was this helpful?
Thank you for voting!
Door handle broke off
201 of 218 peoplefound this instruction helpful.
Lisa from Linton, ND
Really Easy
1- 2 hours
Screw drivers
First I removed the top screws, then I slide it off the lower screw that is hidden behind the handle. I replaced the handle by sliding it onto the bottem first then attaching it onto the top with the two top screws.
This was the second part I tried. The defrost timer was first, but that did not fix it. To do this I had to remove the ice maker and the back plate of the freezer. Then I defrosted the coil and cut the wires. stripped them back and installed the new thermostat. re-assembled and tested. has been working great ever since.



 My Orders