


 My Orders




WWSS2601KW6 Crosley Refrigerator - Overview
Diagrams for WWSS2601KW6
See every part. Know exactly what you need.


Enter a part description. DIY Heroes keep it simple, eg. "belt" or "pump".
Search filter:
Clear Filter
Your search term must have 3 or more characters.

$37.59
In Stock
Refrigerator Door Bin
Part #240323001
This door bin (Bottom Door Bin, Refrigerator Door Bin, Door Shelf Bin, Refrigerator Door Bin) is a movable bin mounted on the inner door to hold food items, bottles, and jars. Over time, a cold refrigerator can cause plastic to become fragile and break down. This can lead to other issues in the refrigerator. When the door bin will not hol...Read mored securely onto the inner door panel, it must be replaced. This door bin measures 5.75 inches high, 16 inches wide, by 4.25 inches deep and is made of white plastic. Sold individually.
Read less

$13.12
In Stock
Crisper Cover Support - Front
Part #241993101
This crisper cover front support is used to keep the crisper shelf in place and may need replacing if the door will not open or close. This white, OEM part measures roughly 1 inch in diameter and can be used for the front and the rear support, as designed by the manufacturer, and mounts to the inside cabinet wall. Replacing this part is a...Read moren easy repair, and will require a small flat blade screwdriver, a putty knife, and a soft hammer. Remove the crisper and shelf from the refrigerator before replacing the support. The crisper cover front support is held in place with a locking pin. To remove the old part, you will first need to push the pin into the interior of the cabinet using the screwdriver, and then you can pull the support out with a putty knife. If you cannot get the pin out you can use a flat-blade screwdriver to push it down and out of sight and it will not harm anything in your refrigerator After removing the pin and attaching the new support, simply use the soft hammer to lock the new pin in place.
Read less

$17.18
In Stock
Crisper Support - Rear
Part #241993001
This authentic rear crisper support is a white, plastic part which is rated as "easy" to install by our customers. This OEM part replaces the rear crisper cover support in your fridge and mounts to the inside cabinet wall. If there is visible damager or your crisper stops fitting properly, it may be time to replace the part. Check your us...Read moreer manual and model number to ensure this part is what you need. Replacing the rear crisper support in your refrigerator is an easy job. This part is made from plastic and mounts on the inside of the wall. To complete this repair you will need a small putty knife, a punch or a short flat blade screwdriver, and a small hammer. You may need to replace your rear crisper support if you find that the door will not open or close. In order to complete this repair, you will need to remove all the shelves above the crisper in order to have ample room to work. It is also good to have duct tape on hand, which can be used to protect the liner around the support. This part is sold individually. Please note that the rear and front crisper support are different parts; this is the one you are looking for if it is your rear support that needs replacing.
Read less

$70.35
In Stock
Door Bin
Part #240356401
This OEM white door bin is made of white plastic and is easy to install. It is used to hold items in the fridge, and you'll be able to visually see if the part is broken. This part attaches to the fridge door. You can check if this model is right for your appliance by checking your user manual and model number. The size of this door bin i...Read mores approximately 15.42 inches wide x 7.1 inches deep x 5.04 inches in height and holds 1 gallon. No tools will be required to complete this repair, which our customers rated as very easy, and only takes a minute. Just pop the old part out of place and snap the new one in. This part is sold individually.
Read less

$52.75
In Stock
Door Shelf
Part #240351601
This original equipment manufacturer Door Shelf is a white plastic part which holds items inside of your freezer or refrigerator door. It is roughly 10 inches long by 4 inches high by 5.5 inches wide. It can be used in the freezer or refrigerator and is very easy to repair. All you need to do is snap the new door bin into place, which req...Read moreuires no tools. This part is sold individually and not as part of a set, even though your refrigerator may take more than one of this part.
Read less

$59.47
In Stock
Water Filter
Part #WFCB
This OEM cup filter is designed to be compatible with all rear-filter refrigerators made before April 2001. The filter fits into a round white plastic housing. For this repair you may also require the PS428513 wrench or PS428532 O-ring. To install you will need to unscrew the cup before you can see the old filter, and then dump the water....Read more Pull the old filter straight down and place the new filter inside the filter cup. The end of the filter with the O-ring should be directed upward. As you tighten the filter it will align itself. If your refrigerator has a Change Filter light, it will need to be reset. Press and hold this button until the green light flashes (up to 15 seconds). This filter has a 2-Inch depth, 4.25-Inch height, 2-Inch width and needs to be replaced every 6 months of use or 200 gallons depending on which comes first. Filters for: Taste and odor Sediment 99.3% of Lead 99.99% of Cysts 99.7% of Turbidity 99.8% of Particulates (Class I) 94.9% of Atrazine (a herbicide) 94.2% of 2,4-D (a herbicide) 97.8% of Chlorine (Class I) 87.5% of Toxaphene (a pesticide).
Read less

$68.15
In Stock
Refrigerator Water Inlet Valve
Part #242252702
The function of the Refrigerator Water Inlet Valve (Triple Solenoid Water-Valve, Water Valve, Water Inlet Valve, Refrigerator Water Inlet Valve Assembly) is to release water from the supply line when activated, and send it through to your water dispenser or ice maker in your refrigerator. The water inlet valve is located at the back of th...Read moree refrigerator, and connects to the water supply. The valve can break from material fatigue or normal use. If your water inlet valve is malfunctioning, you could be getting a lack of water to the inside of your refrigerator. Your ice maker may not produce cubes or your water dispenser may not work. The water inlet valve must be replaced if the solenoids no longer have continuity or the valve has internal blockage. This valve measures approximately 7 inches long and 4.5 inches wide, and is constructed of plastic and metal. It comes in blue, and includes the valve and mounting bracket.
Read less

$53.85
On Order
Upper Crisper Drawer Cover - Glass NOT Included
Part #240350702
This upper crisper drawer cover is a manufacturer-approved replacement part for your refrigerator. It has drawer glides molded into the frame but this part does not include the glass cover. To replace this part, lift out the glass cover and snap out the drawer frame. Snap this new frame cover into place and replace the glass.

$74.82
In Stock
Refrigerator Crisper Drawer
Part #240351061
This clear plastic crisper drawer is for side-by-side refrigerators. It is sold individually and sourced right from the original manufacturer. Please note that the new pan does not have the humidity control slide, and this component is now sold separately. The crisper drawer is designed to store produce at a humidity level that ensures yo...Read moreur food is kept fresh for as long as possible. It is commonly replaced because it is cracked, warped, or stained. For this simple tool-free repair, start by opening your refrigerator door and sliding out the old crisper drawer. Take your new crisper drawer and align the thin ridge on the top of the drawer with the track located inside the refrigerator. Slide the new part into place and your repair is complete.
Read less

$39.55
In Stock
Defrost Thermostat Kit
Part #5303918214
If you find that there is excessive frost in your freezer, or the freezer will not defrost, you may need to replace the defrost thermostat. The defrost thermostat kit comes with the clip, leads, and one heat shrink. To access the defrost thermostat for this repair, you will need to remove your freezer shelves, as well as the back panel of...Read more your freezer. To complete this repair, you will need a 1/4-inch nut driver, a set of wire strippers and crimpers, and a heat gun or blow dryer. Before you begin this repair, be sure to disconnect the power source from the appliance.
Read less

$87.51
In Stock
Refrigerator Ice Maker Assembly
Part #241798231
This 8-cube ice maker is used to create ice for your refrigerator. The ice maker receives water from the water inlet valve and will freeze until ice cubes are formed. Once the water has been frozen the cubes will be ejected from the mold in to the ice bucket. The ice maker will continue the process until the ice bucket has reached the l...Read moreimit. If your ice maker is not making ice you may need to replace this part. Please remember to disconnect the power and water supply before starting your repair. This ice maker is a genuine OEM part.
Read less

$102.37
In Stock
Crisper Glass Insert
Part #240350649
Cracked crisper glass? This replacement insert is just what you need. It’s about 17.12" by 15.40" and fits right into the frame above your crisper drawers, giving you extra shelf space and keeping things neat. Made of sturdy glass and easy to install—just slide the old one out and pop the new one in. Sold individually, so make sure it matches your fridge model before ordering!
Manuals & Care Guides for WWSS2601KW6
Click to downloadInstall
Installation Instructions
(0.98MB)
Install
Installation Instructions
(1.58MB)
Manual
Owner's Manuals
(1.3MB)
Manual
Owner's Manuals
(7.78MB)
Wiring
Wiring Diagram
(0.53MB)
Common Symptoms of the WWSS2601KW6
How this model fails, and the parts that fix it.
Leaking
Fixed by
these parts
these parts


Show All
Ice maker not making ice
Fixed by
these parts
these parts


Show All
Not dispensing water
Fixed by
these parts
these parts

Show All
Fridge too warm
Fixed by
these parts
these parts


Show All
Noisy
Fixed by
these parts
these parts


Show All
Ice maker won’t dispense ice
Fixed by
these parts
these parts

Show All
Fridge too cold
Fixed by
these parts
these parts


Show All
Light not working
Fixed by
these parts
these parts


Show All
Door won’t open or close
Fixed by
these parts
these parts


Show All
Freezer section too warm
Fixed by
these parts
these parts

Show All
Freezer not defrosting
Fixed by
these parts
these parts

Show All
Will Not Start
Fixed by
these parts
these parts

Show All
Fridge and Freezer are too warm
Fixed by
these parts
these parts
Show All
Too warm
Fixed by
these parts
these parts
Show All
Frost buildup
Fixed by
these parts
these parts
Show All
Won’t start
Fixed by
these parts
these parts
Show All
Clicking sound
Fixed by
these parts
these parts
Show All
Door Sweating
Fixed by
these parts
these parts
Show All
Ice maker dispenses too little ice
Fixed by
these parts
these parts

Show All
Fridge runs too long
Fixed by
these parts
these parts
Show All
Ice maker dispenses too much ice
Fixed by
these parts
these parts

Show All
Freezer too cold
Fixed by
these parts
these parts
Show All
Doesn’t stop running
Fixed by
these parts
these parts
Show All
Touchpad does not respond
Fixed by
these parts
these parts
Show All
Leaks water
Fixed by
these parts
these parts
Show All
Watch our pros, then fix it yourself.
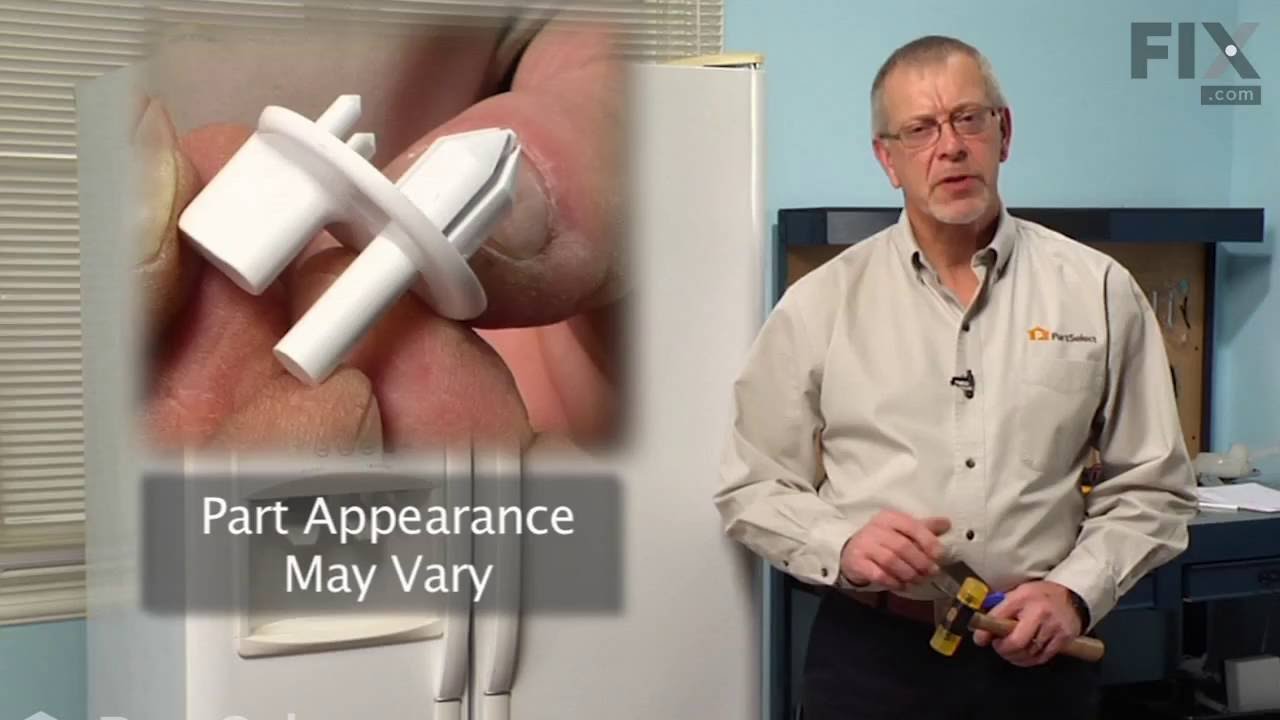
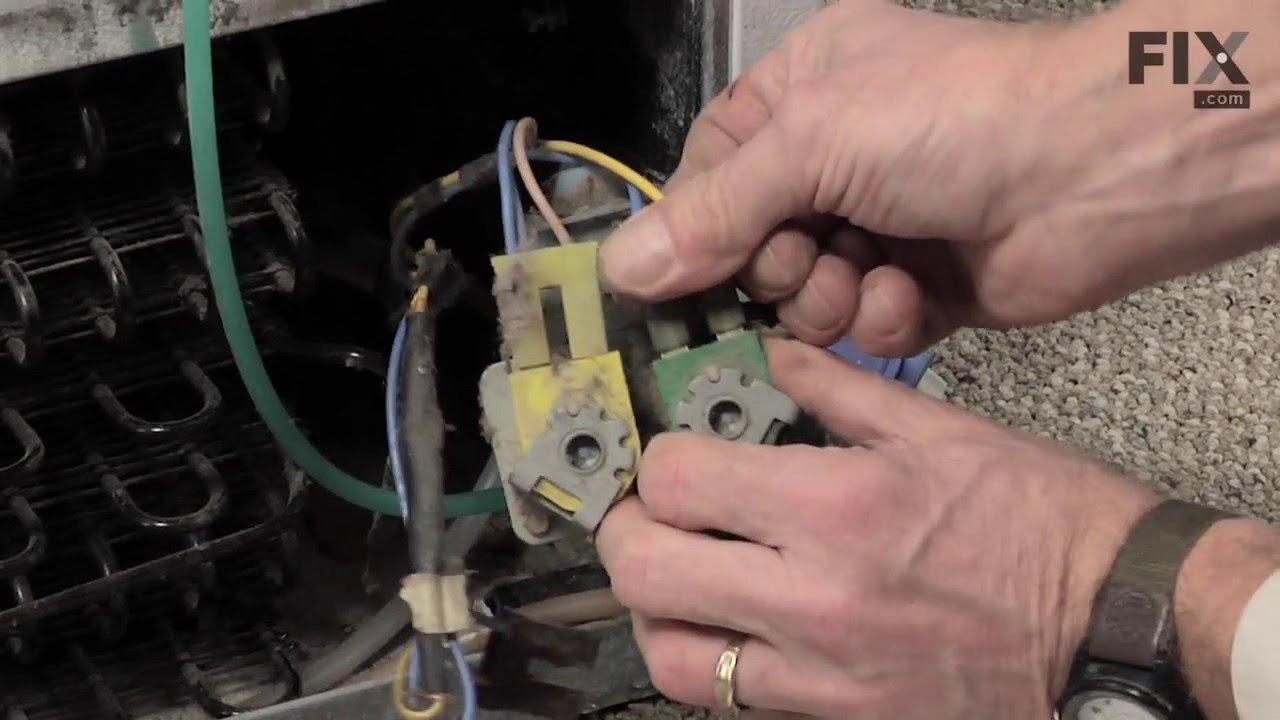

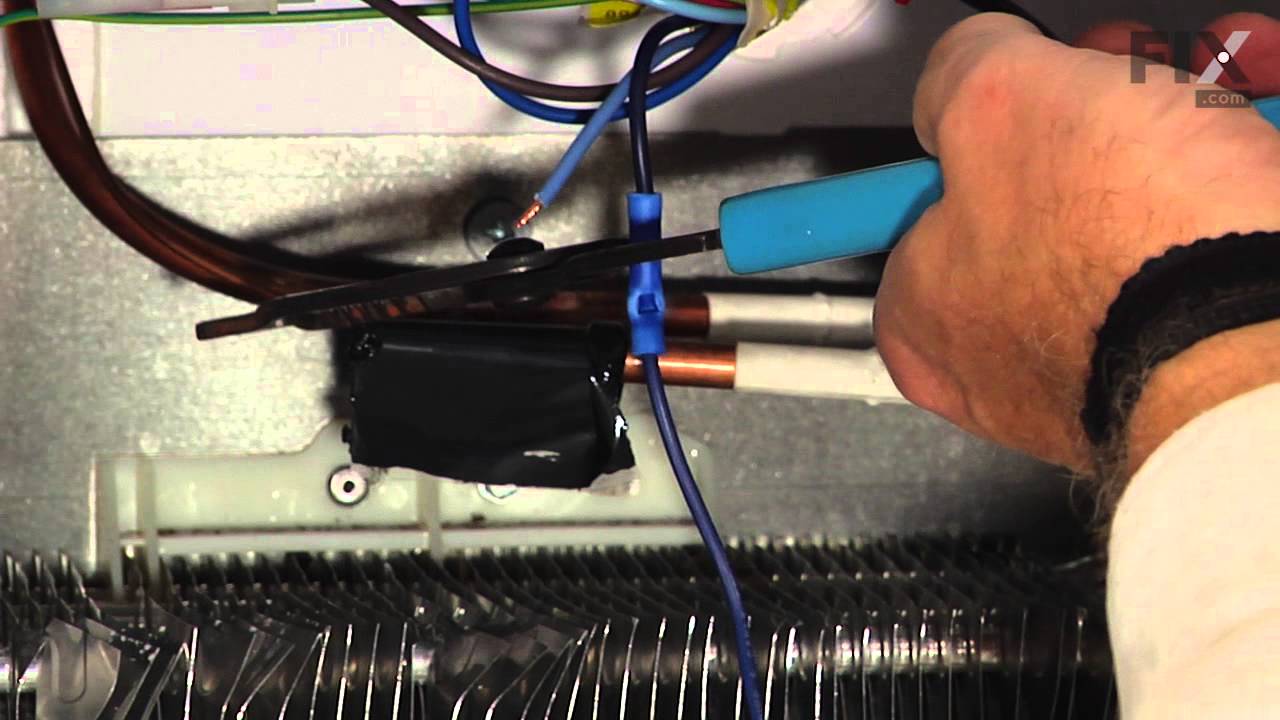
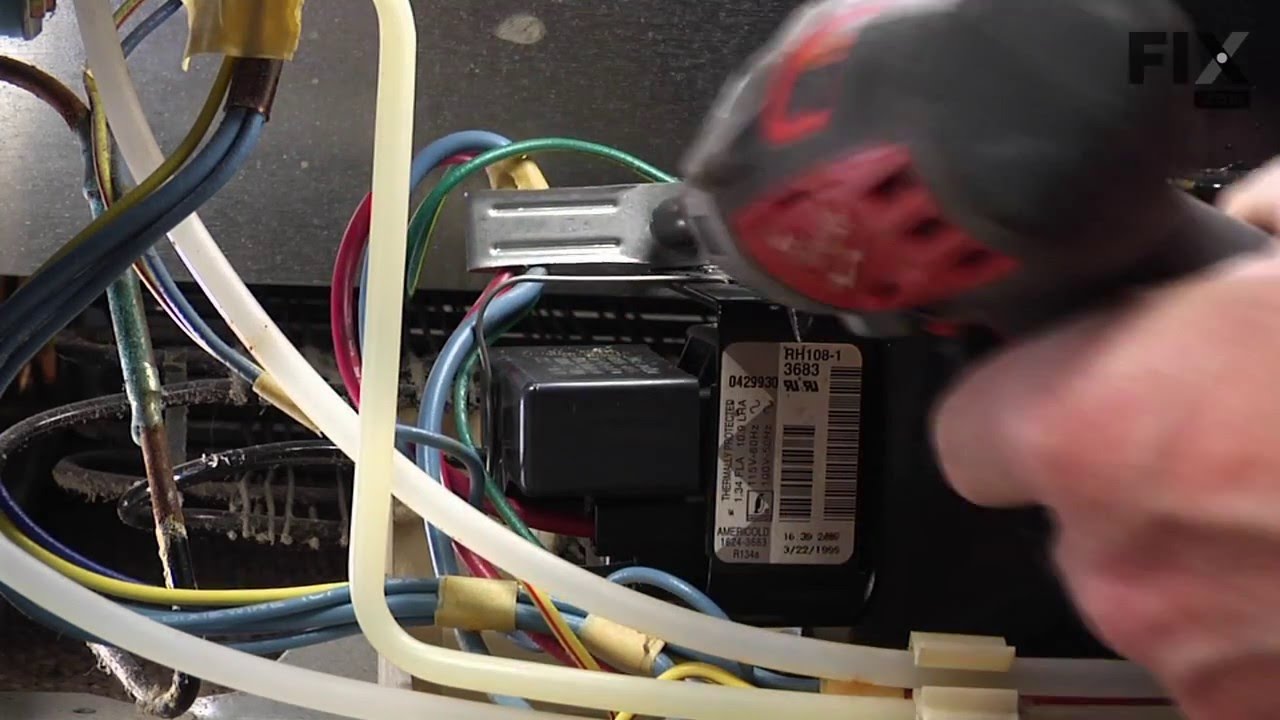

See how others fixed this model. Time, tools, difficulty, and steps that lead to victory!
View More
Search repair tips from other customers using simple keywords like "replace", "fit", "remove", "inspect". DIY doesn't mean you have to do it alone!
Search filter:
Clear Filter
Your search term must have 3 or more characters.
Aged parts broken
716 of 756 people
found this instruction helpful.
After sitting in a cold refrigerator for year after year, plastic becomes brittle and breaks. This is what started happening to my shelves and door bins. The problem a lot of times is getting the right part since some of the parts do not have numbers.
This website gives a accurate description and best of all photos on an inch ... Read more grid, so I can measure what I have and find what I need. This time everything was perfect and fit easily. took no time and just like that I have almost double the space again. Funny how that works. Once before I didn't get the right piece so just pay attention to the dimensions.
This website gives a accurate description and best of all photos on an inch ... Read more grid, so I can measure what I have and find what I need. This time everything was perfect and fit easily. took no time and just like that I have almost double the space again. Funny how that works. Once before I didn't get the right piece so just pay attention to the dimensions.
Read less
Other Parts Used:
Was this helpful?
Thank you for voting!
cracked, broken door bins
527 of 557 people
found this instruction helpful.
The new bins and I installed them in the door. Nice to have door space again.
Other Parts Used:
Was this helpful?
Thank you for voting!